Garlic bread rolls are soft and fluffy dinner rolls packed with garlic flavor. These homemade rolls are made with lots of fresh garlic in the dough and brushed with even more garlic herb butter after baking!
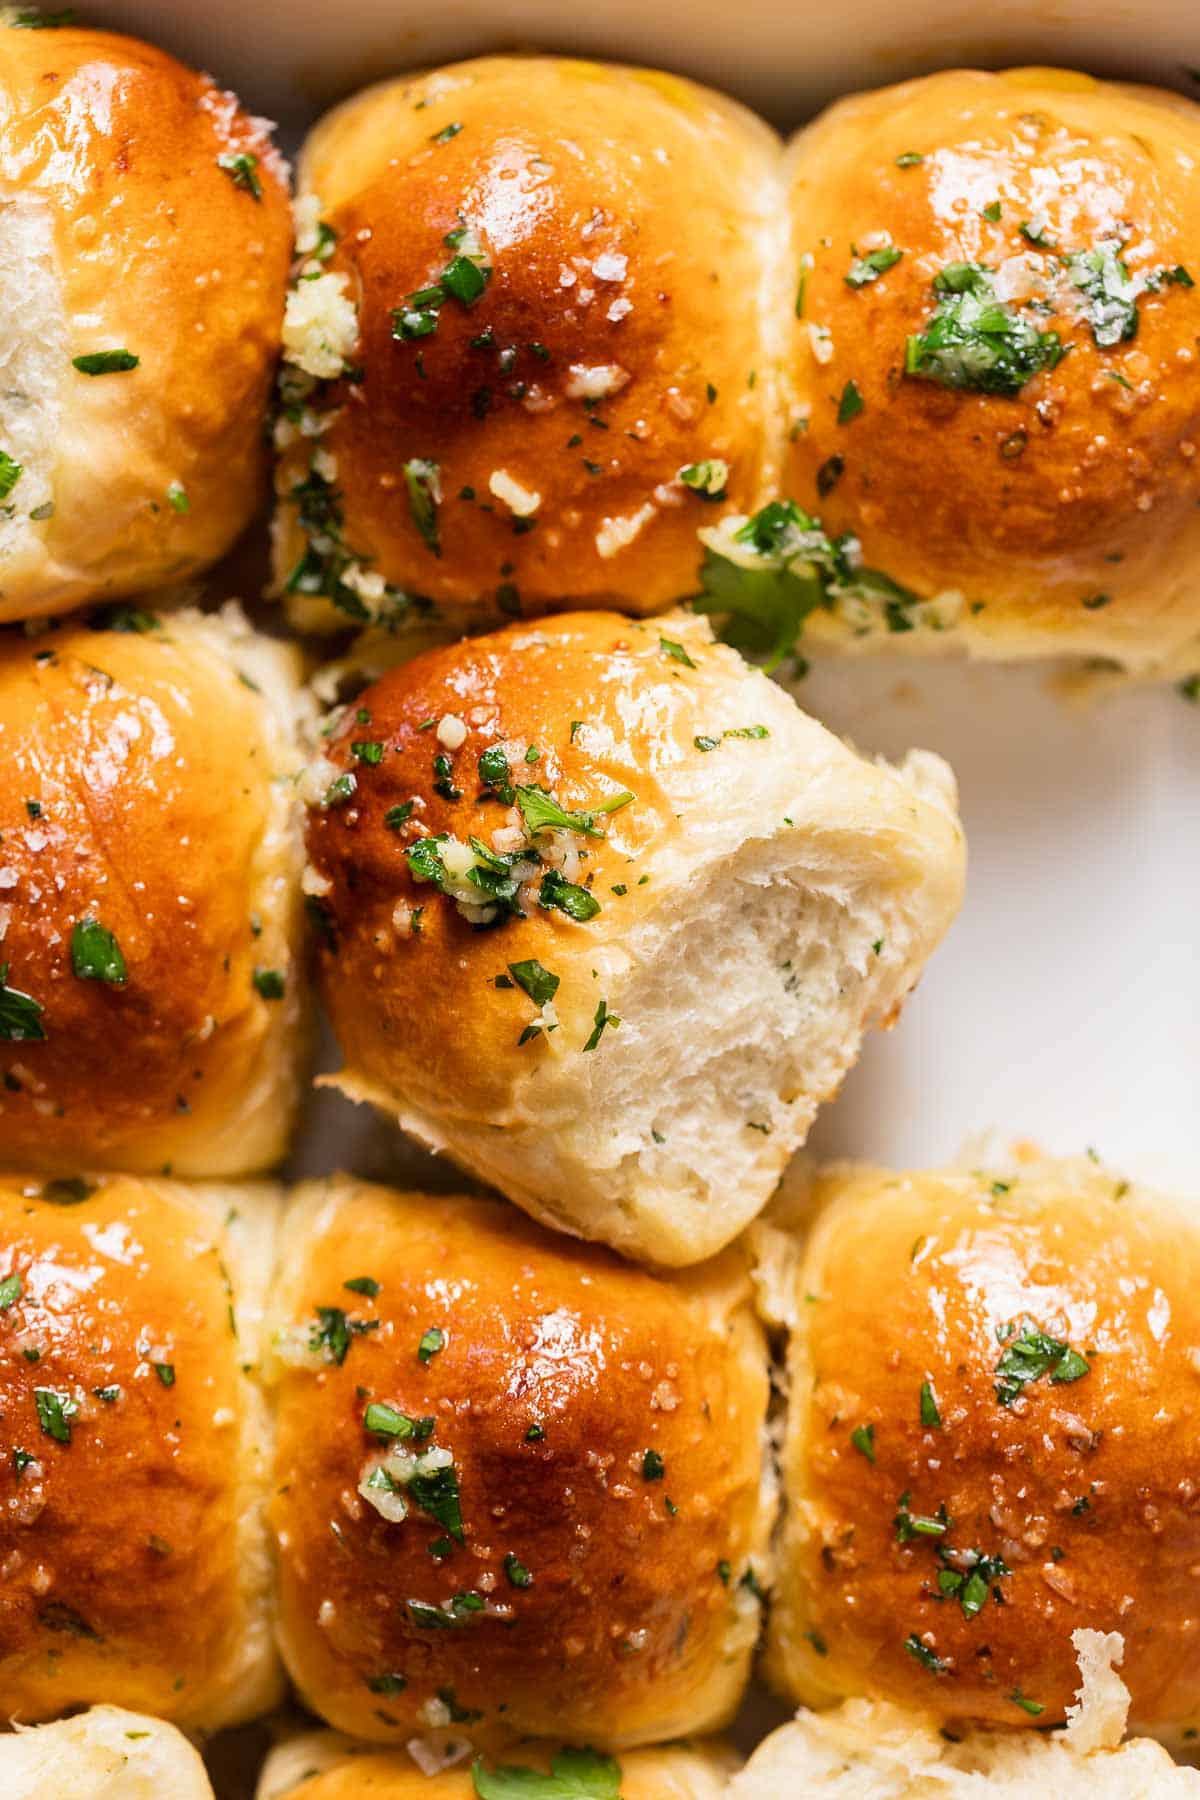
The first thing I learned how to make in pastry school was homemade dinner rolls and pizza dough from scratch- they are so easy to make!
These garlic rolls are basically your favorite dinner rolls packed with fresh herbs and garlic butter, so they taste just like garlic bread! Serve them as the perfect side to your favorite meal; they’re my favorite to make around the holidays, like Thanksgiving, Christmas, and Easter!
Try my parmesan bread bites for a mini appetizer version!
Table of Contents
Tips for Making Dinner Rolls
Use a stand mixer. Kneading the dough in a stand mixer is much easier than kneading by hand. If you knead it by hand, note that it may take longer to get to a smooth, finished dough ball.
Use a kitchen scale. Baking with a scale is my #1 baking tip! If your rolls come out really dry and dense, too much flour could be the main culprit!
Don’t rush the rising. Allow the dinner rolls to rise in a warm environment until they double in size. Rushing this step can result in dense rolls instead of a fluffy texture.
Shape uniform rolls. Aim for every roll to be close to the same size to ensure even baking. I highly recommend using a kitchen scale for this!
Brush with garlic butter. For even more garlicky flavor, brush the rolls with more garlic butter immediately after baking.
Serve with your holiday meal. Aside from the everyday side dish, garlic rolls are a staple holiday side at my house, along with savory bread pudding and cheesy green bean casserole!
Ingredient Notes and Substitutions
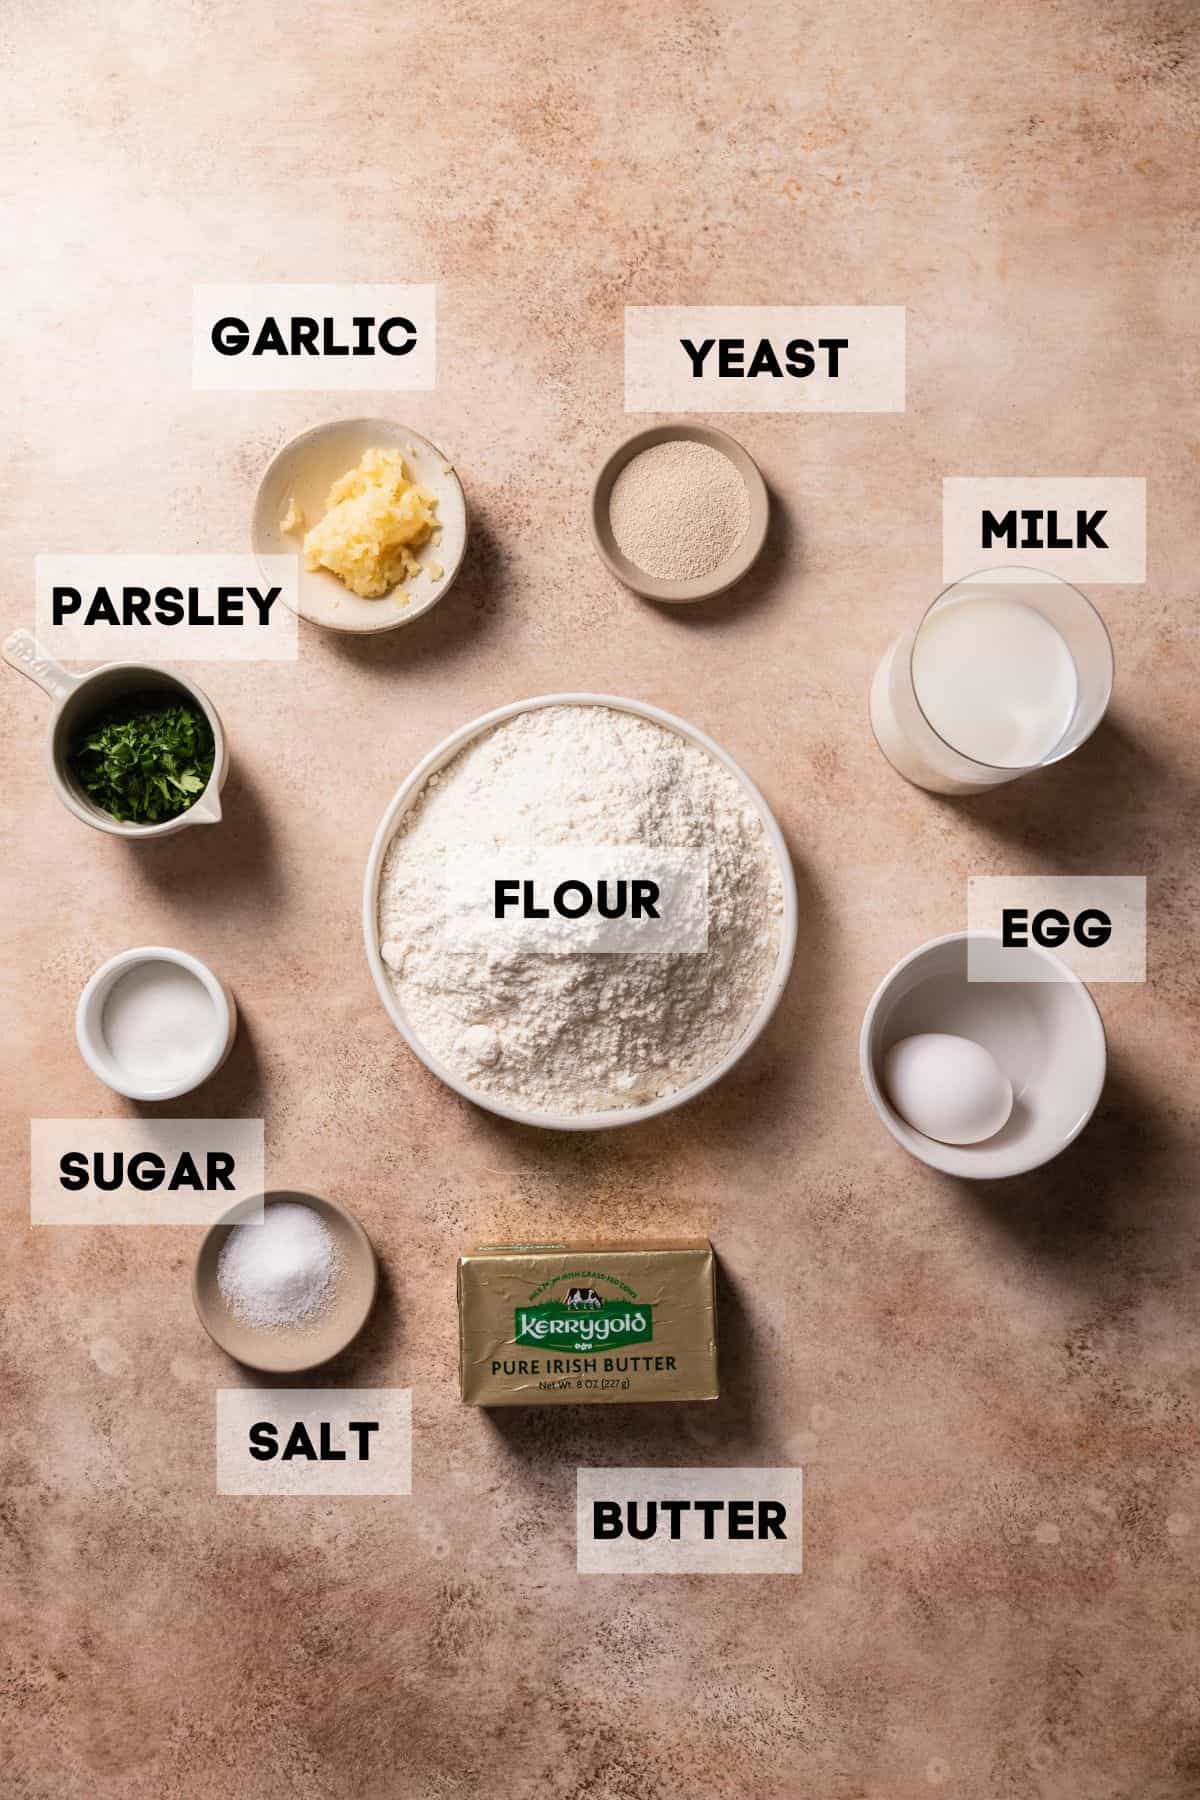
Instant yeast: This yeast is quick and easy to work with because it doesn’t require activation and still produces the super yeasty flavor you want in a dinner roll. Note: If you are using active dry yeast, it must be activated in warm milk until it is foamy before use. See my baking with yeast post for help!
Garlic: I recommend fresh garlic cloves for the best flavor. Choose a head of garlic that is firm, plump, and has unbroken papery skin covering the cloves for freshness.
Parsley: We’re using fresh parsley in the garlic rolls for even more flavor! Substitute it with fresh thyme or fresh oregano. Dried parsley can also be used (roughly one teaspoon).
Granulated sugar: You can also use honey or maple syrup for a sweeter and more floral flavor.
Milk: I recommend using whole or 2% milk for this recipe as it gives the bread rolls the best flavor and structure.
Butter: I always recommend high-quality butter, especially when the recipe only requires a few ingredients like this one. Any high-fat European butter like Kerry Gold will give the rolls a richer, buttery flavor!
Find the full ingredient measurements and instructions in the recipe card below!
Recipe Instructions
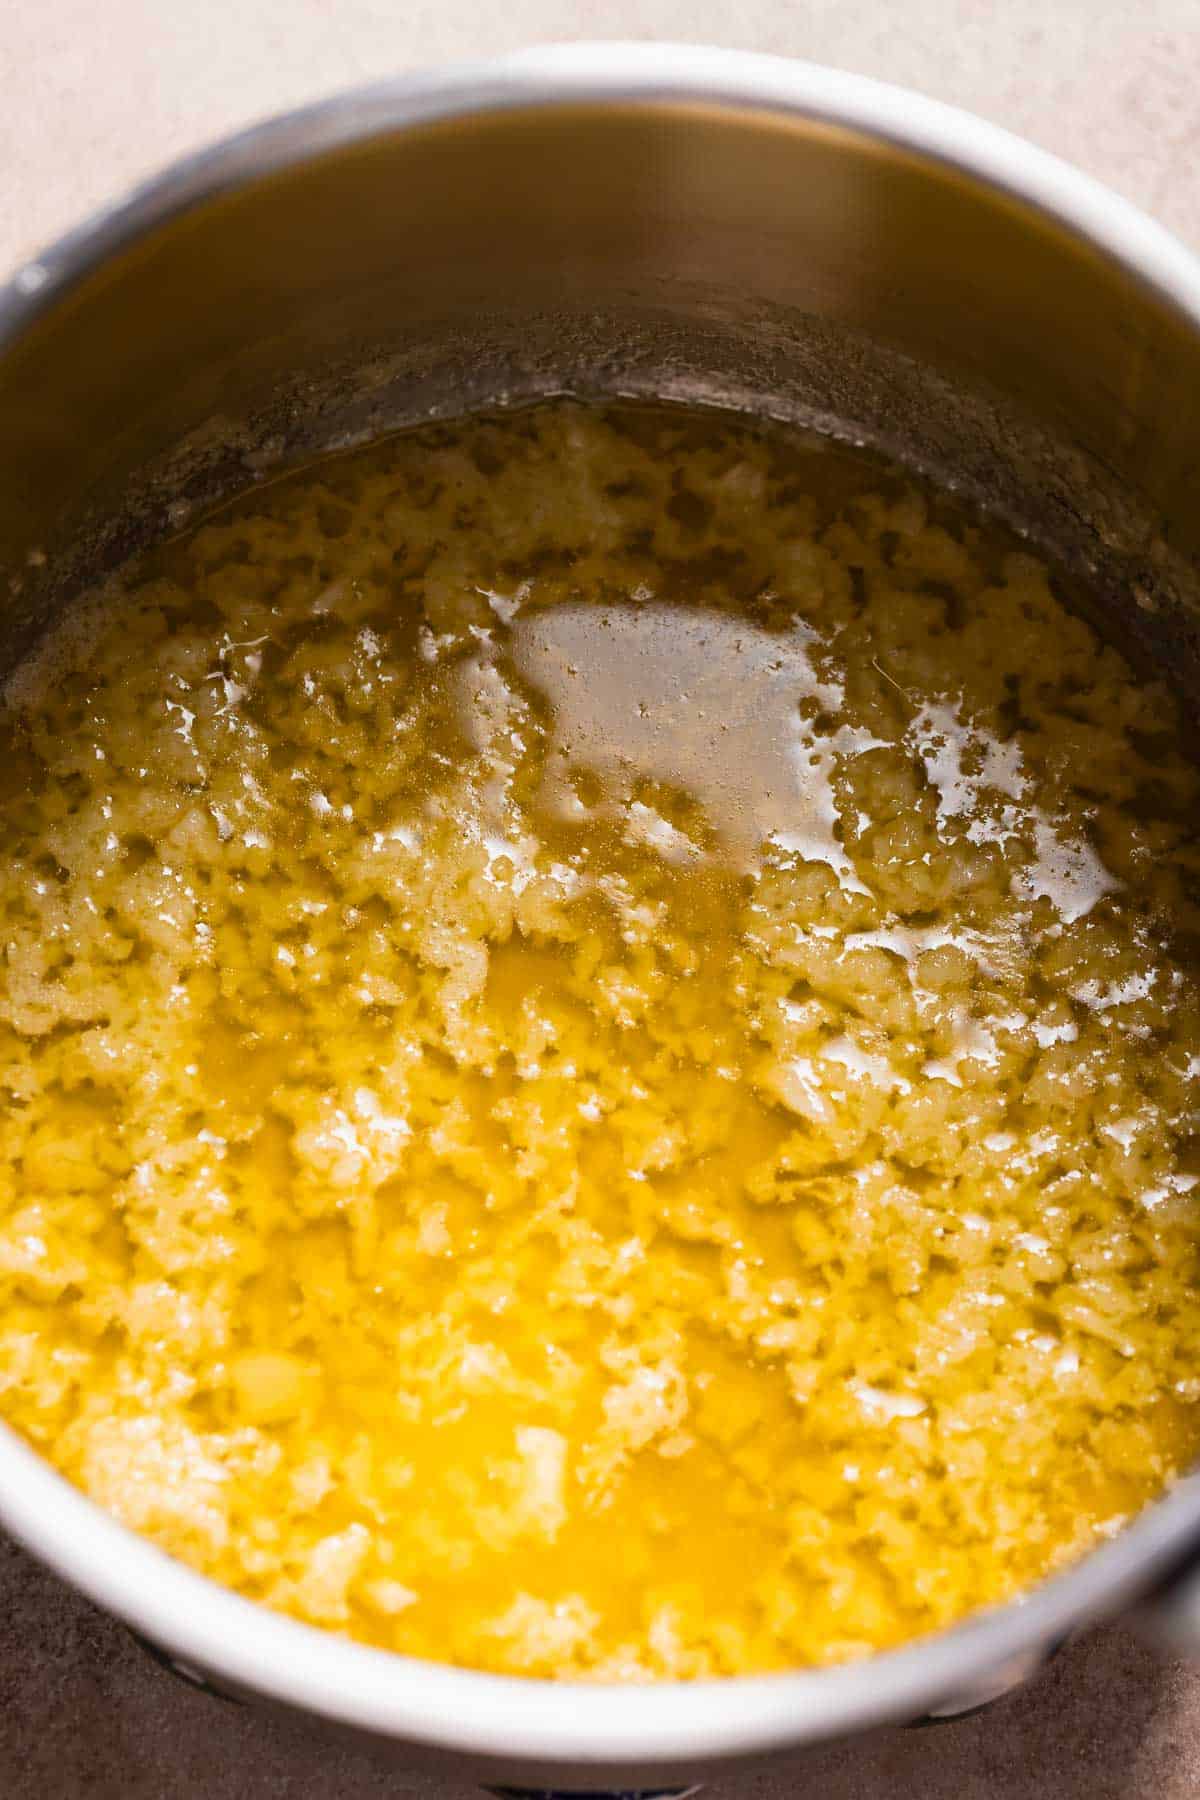
Step 1: Make the garlic butter. In a small saucepan, cook the butter and garlic until the garlic is sizzling and fragrant. Set it aside to cool briefly.
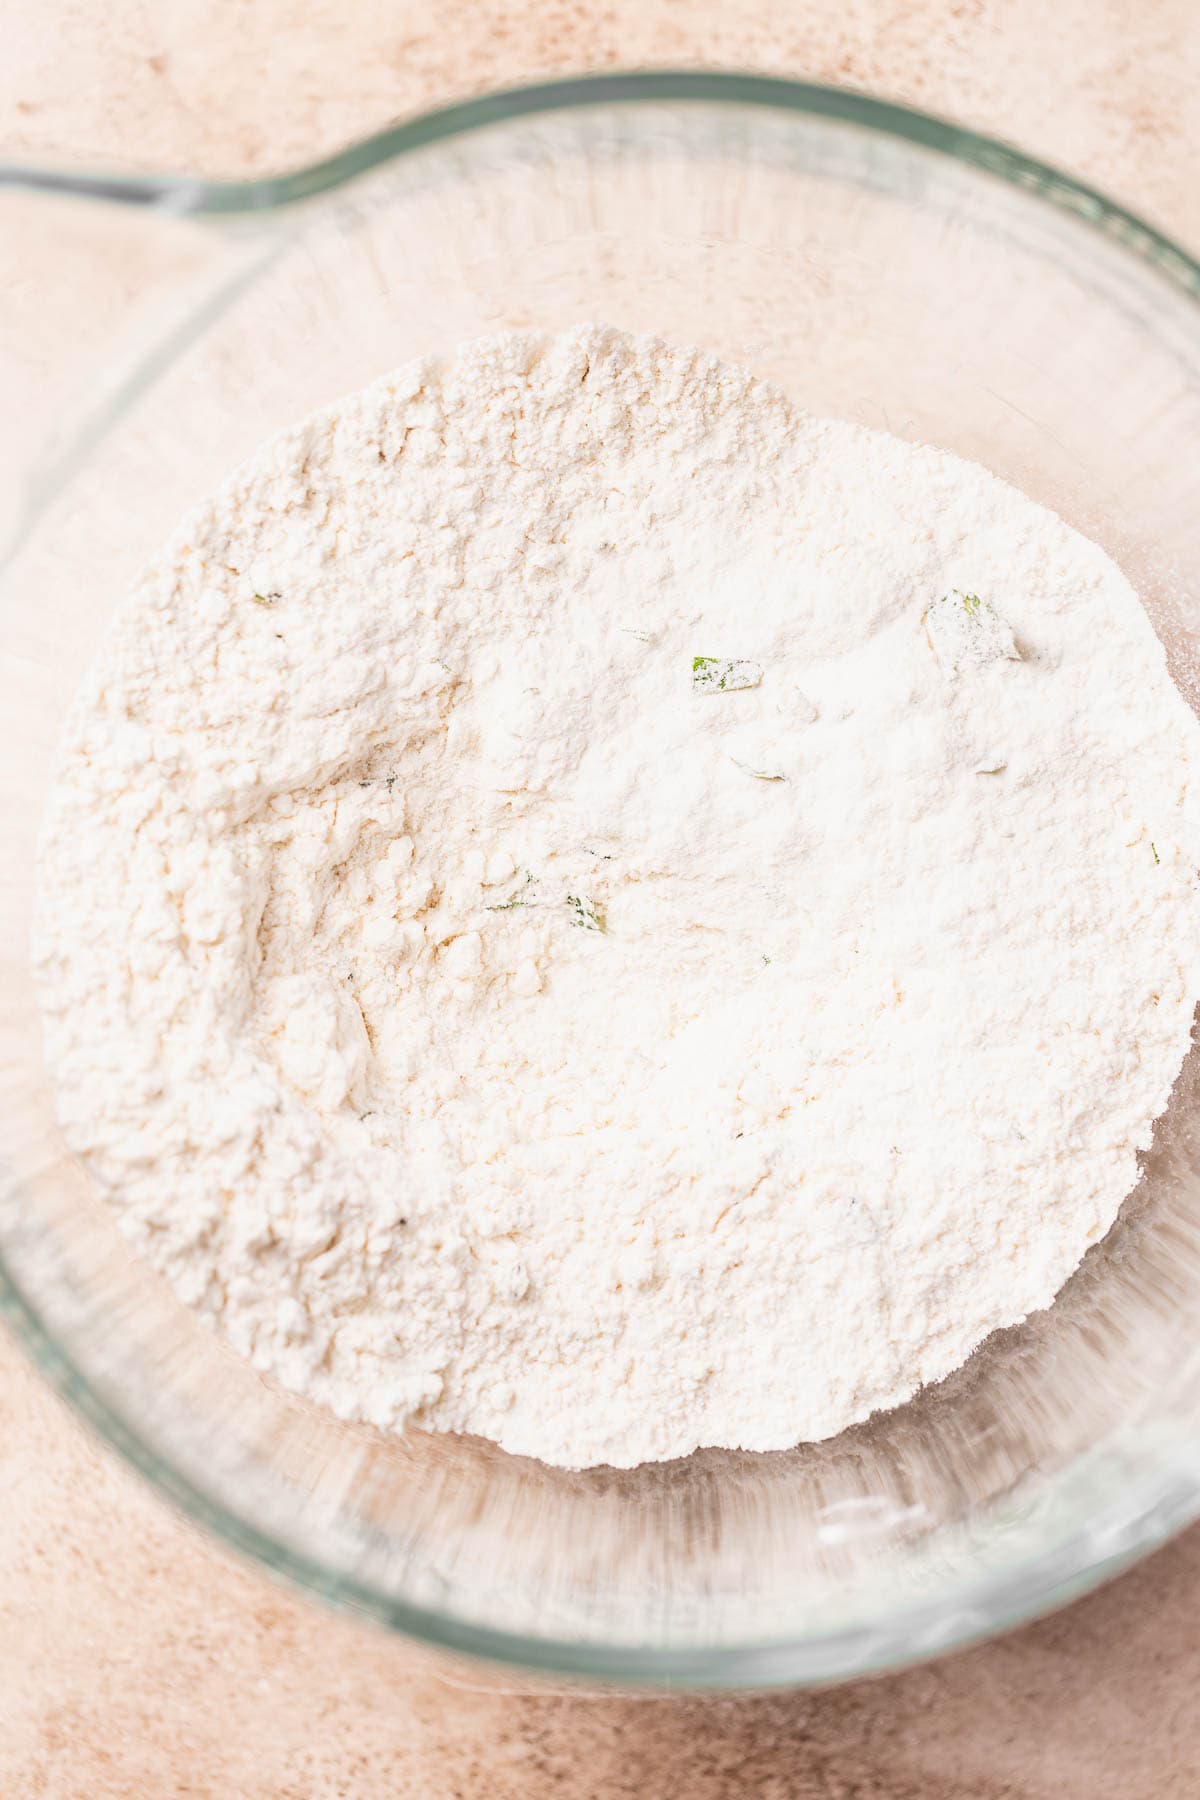
Step 2: Combine the dry ingredients. In a stand mixing bowl, combine the all-purpose flour, sugar, yeast, salt and parsley. Then add the warm milk, melted garlic butter, and egg.
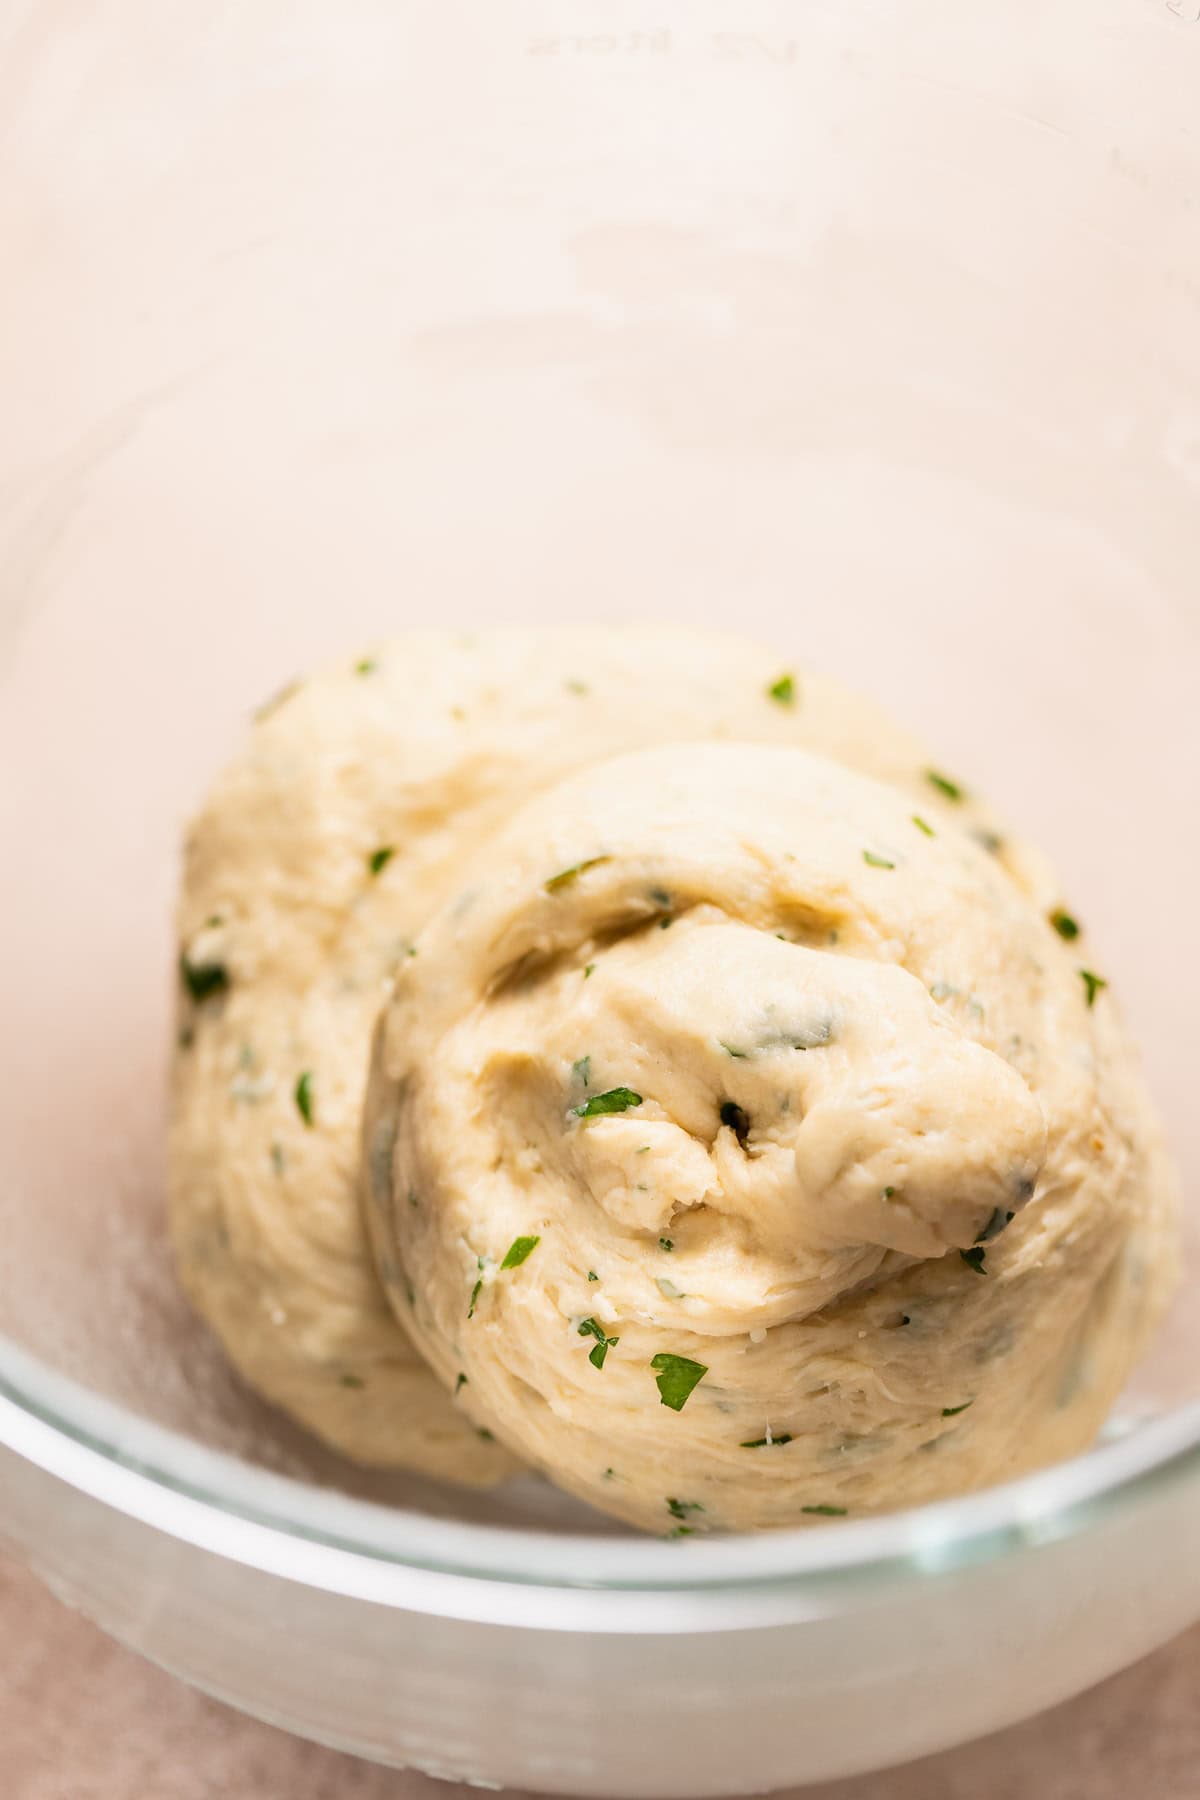
Step 3: Knead the bread dough. On low speed, knead the dough with the dough hook attachment until it comes together into a ball. It should look smooth and feel soft and tacky.
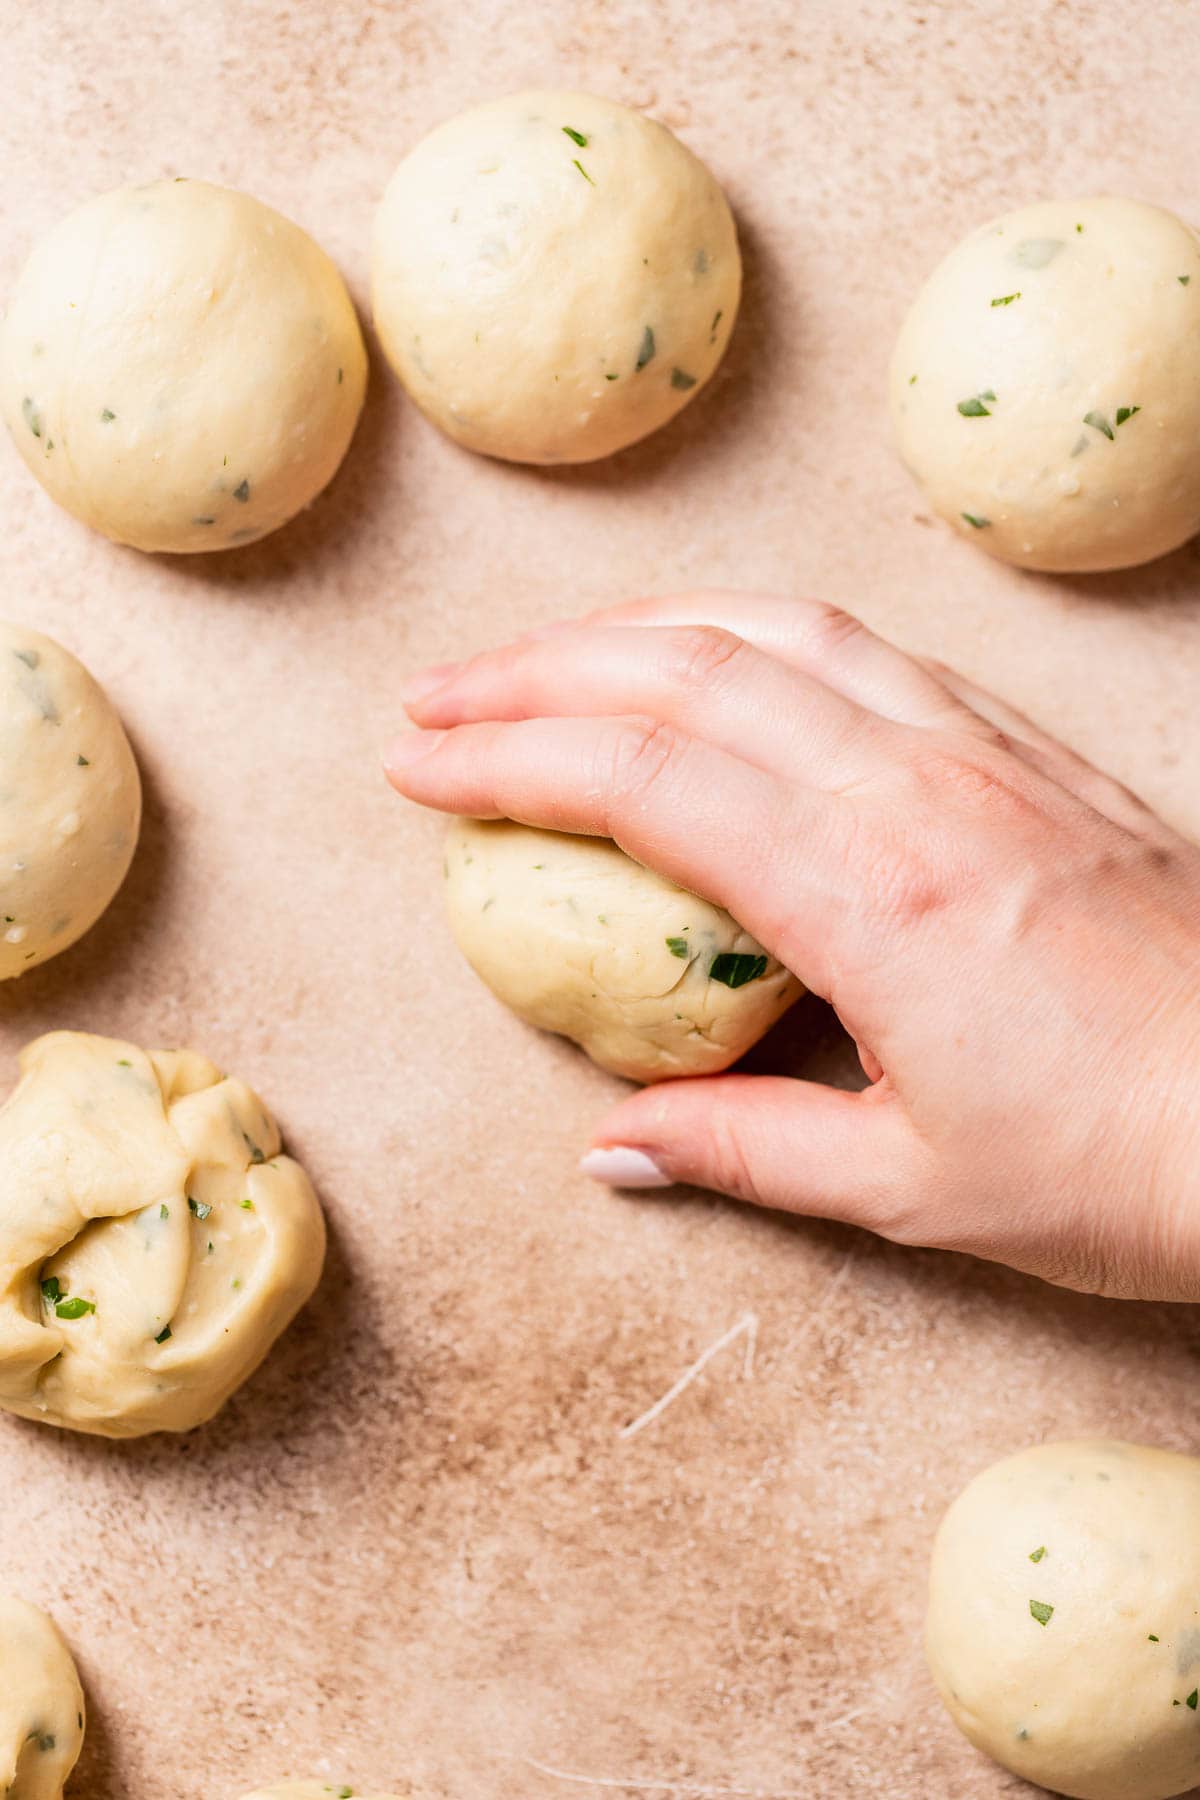
Step 4: Shape into individual rolls. Cut the dough into 12 equal portions. Use a scale for this part for accuracy!
Then cup your hand around each portion, moving in a clockwise direction and applying some pressure, until the dough forms a perfect round ball. See the video in the recipe card for help!
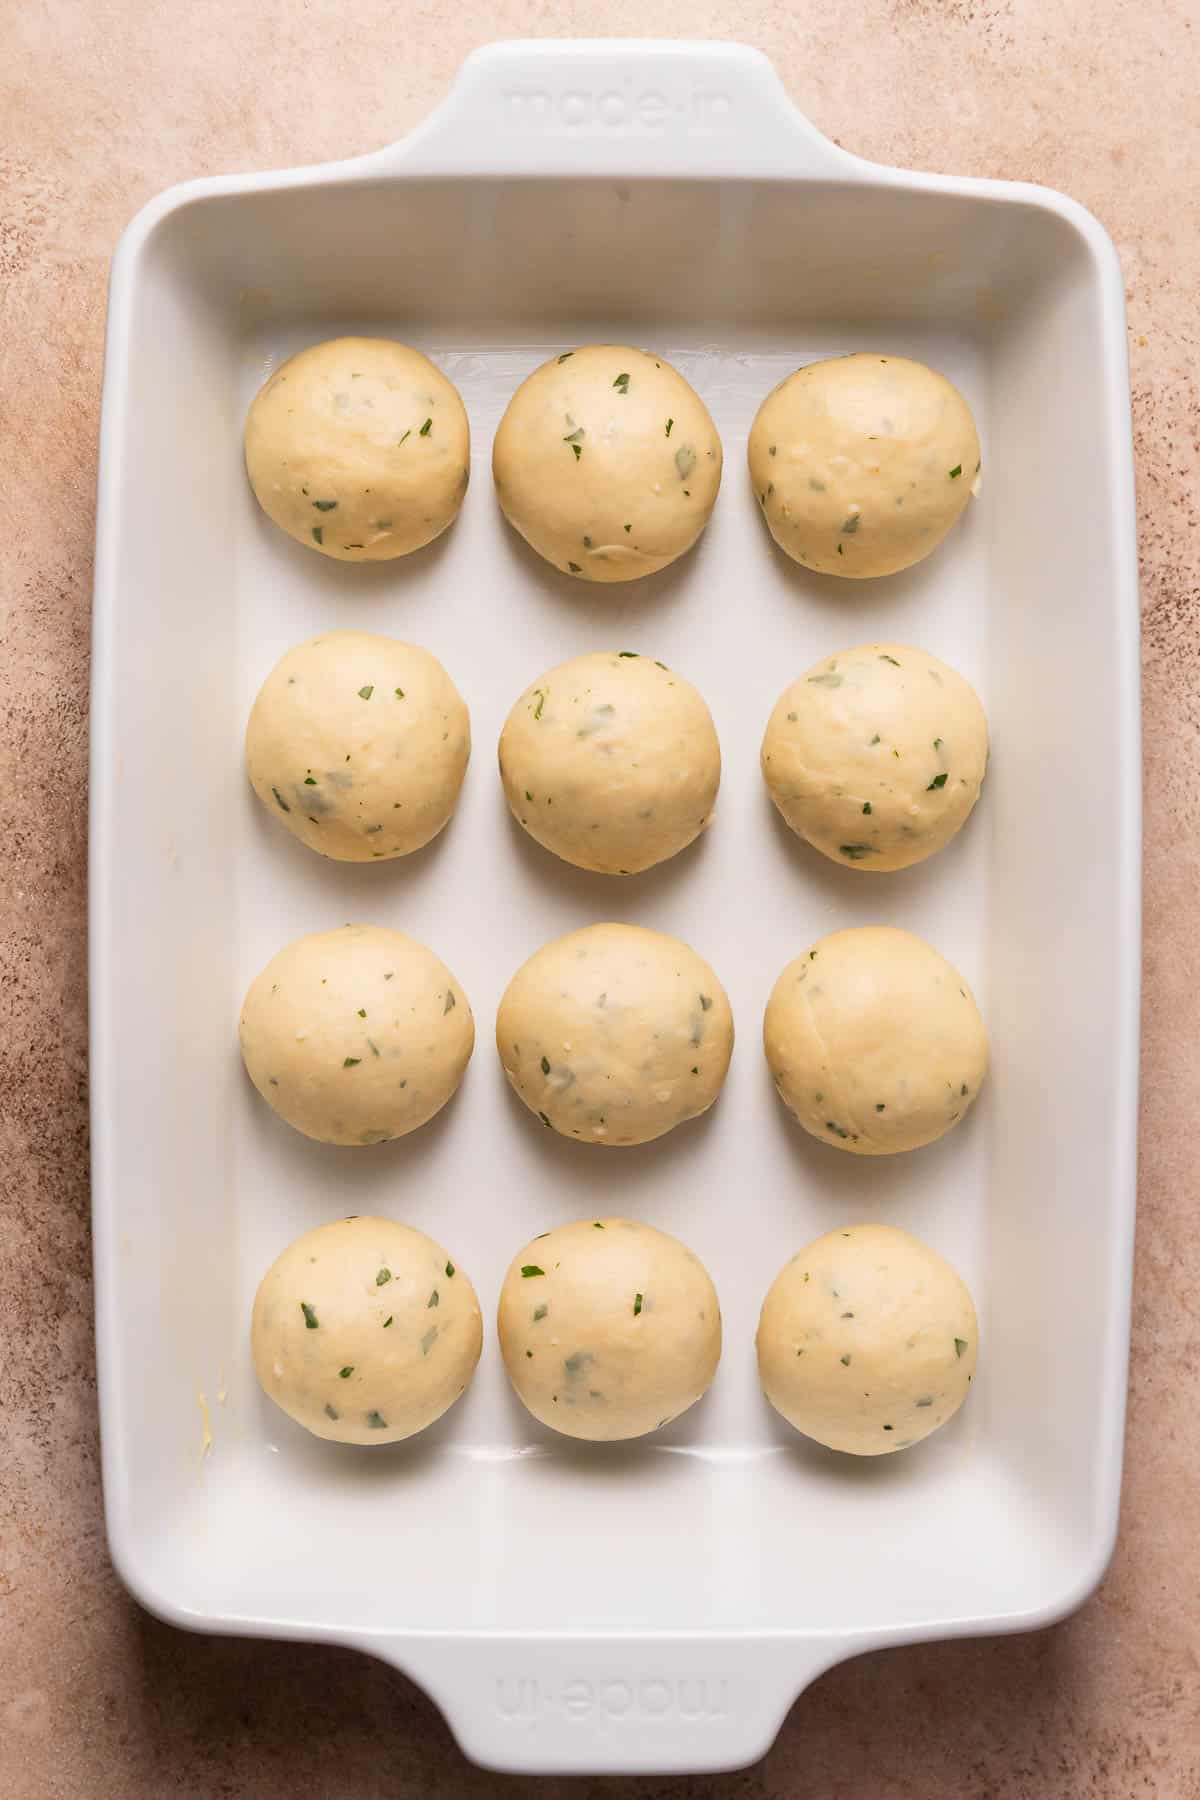
Step 5: Let the dough rise. Place the shaped rolls in a buttered baking dish and cover the top with plastic wrap. Set in a warm place to rise until doubled in size, about 1-2 hours.
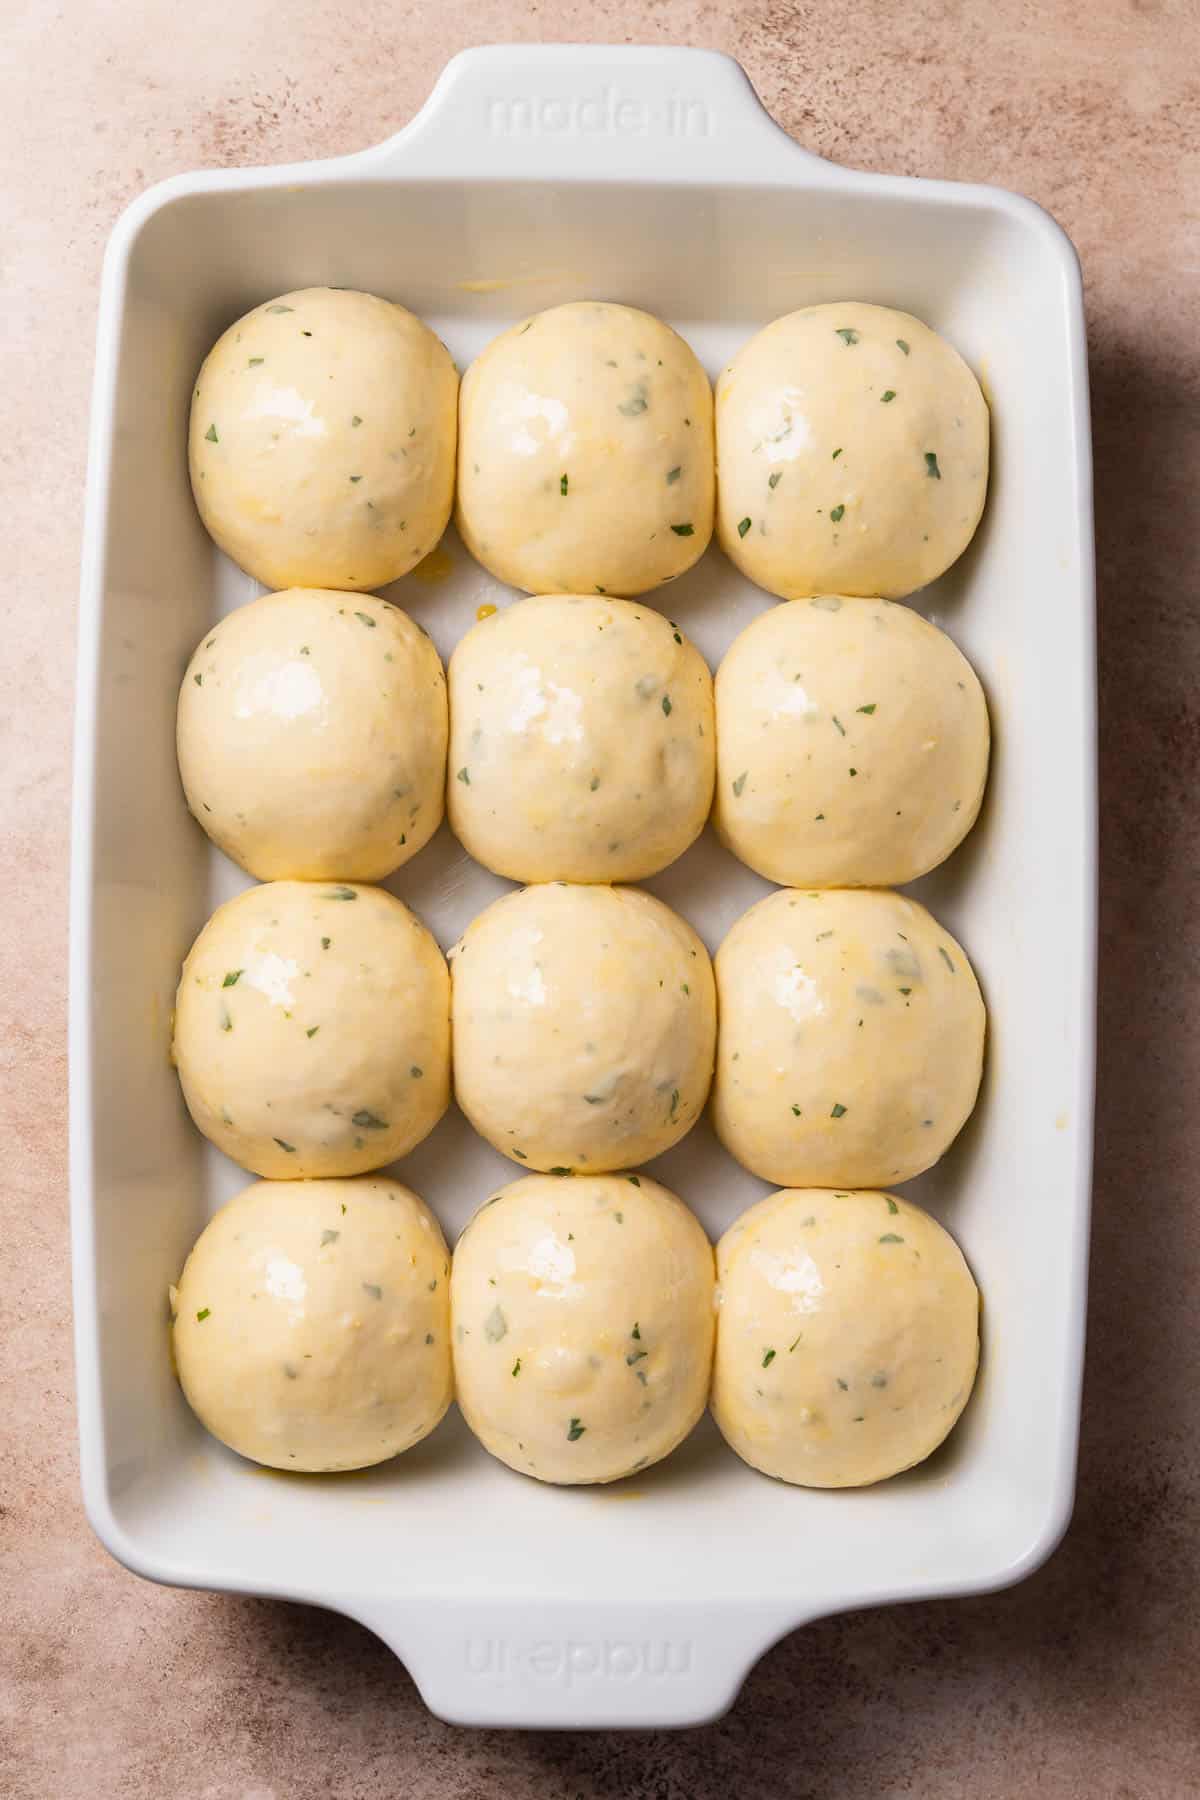
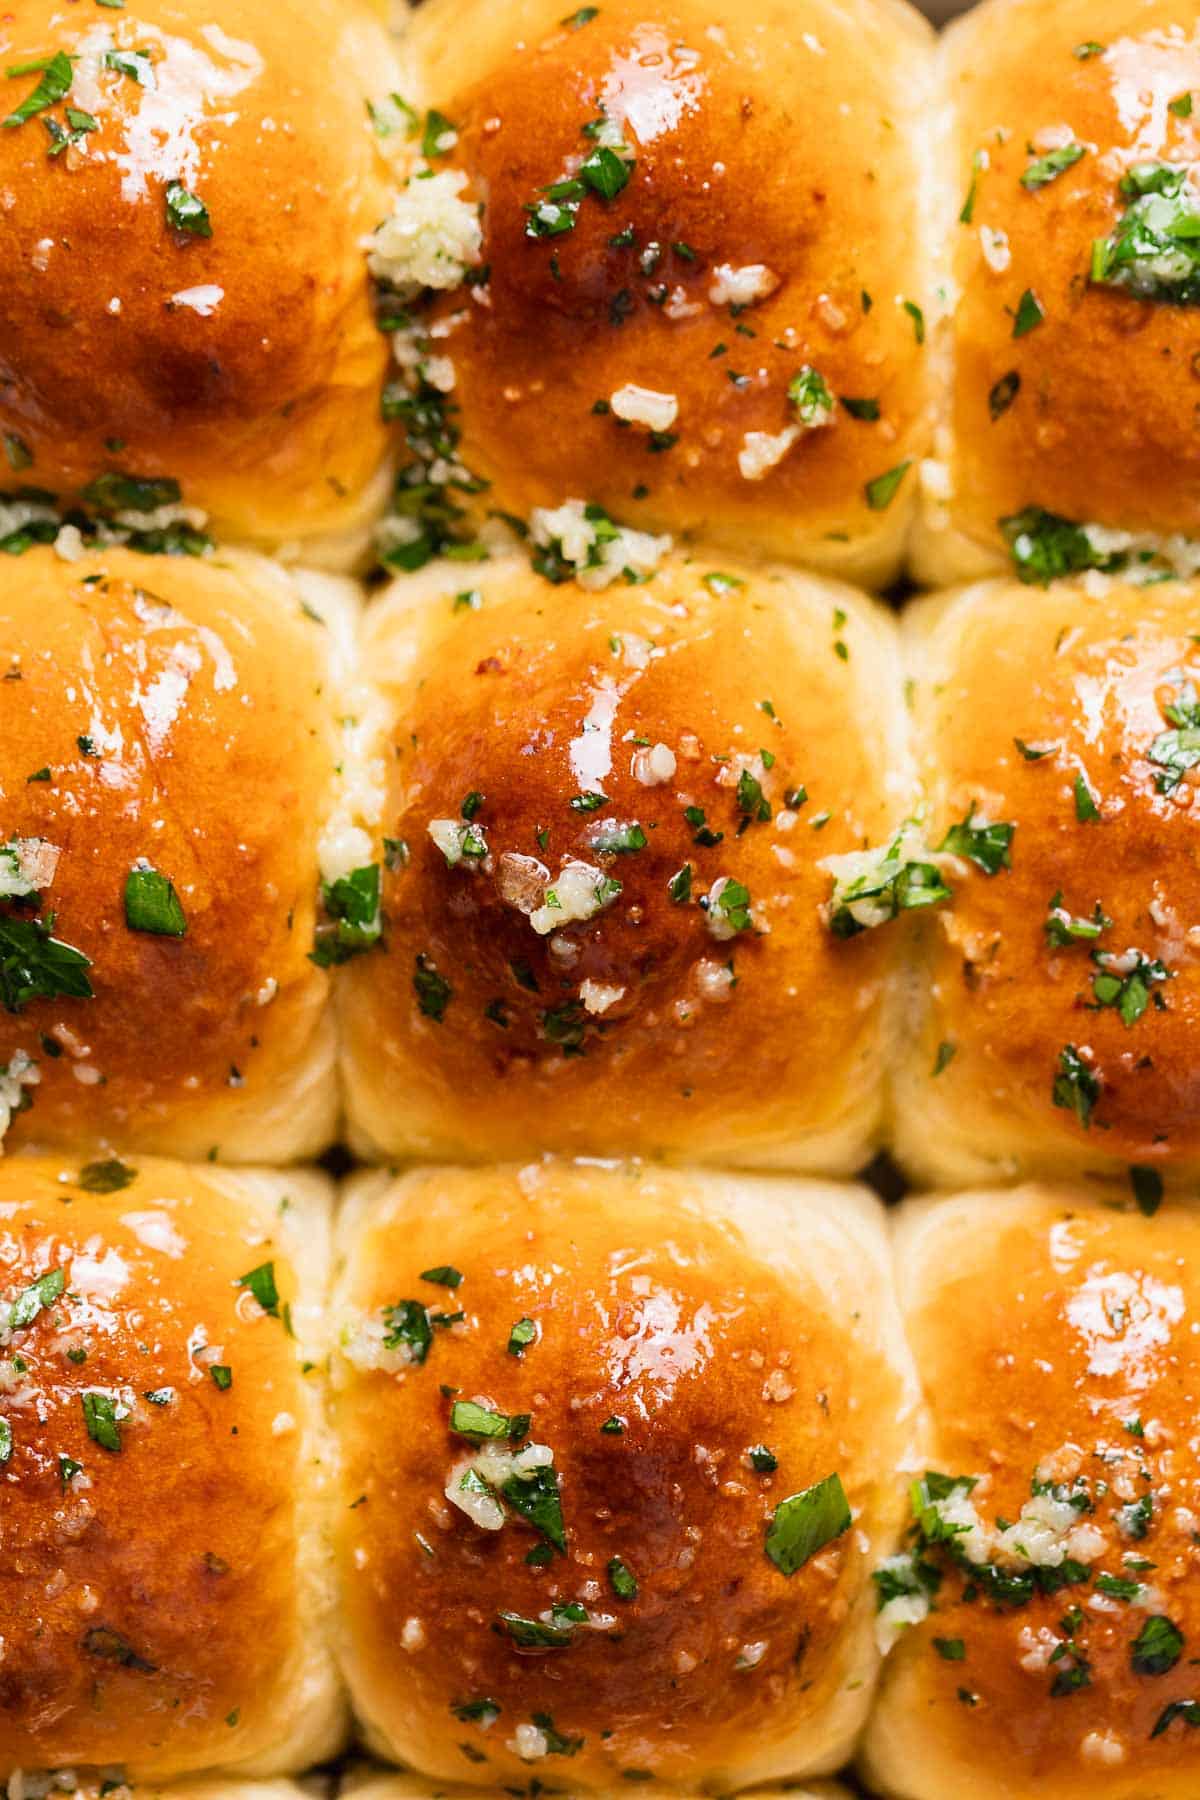
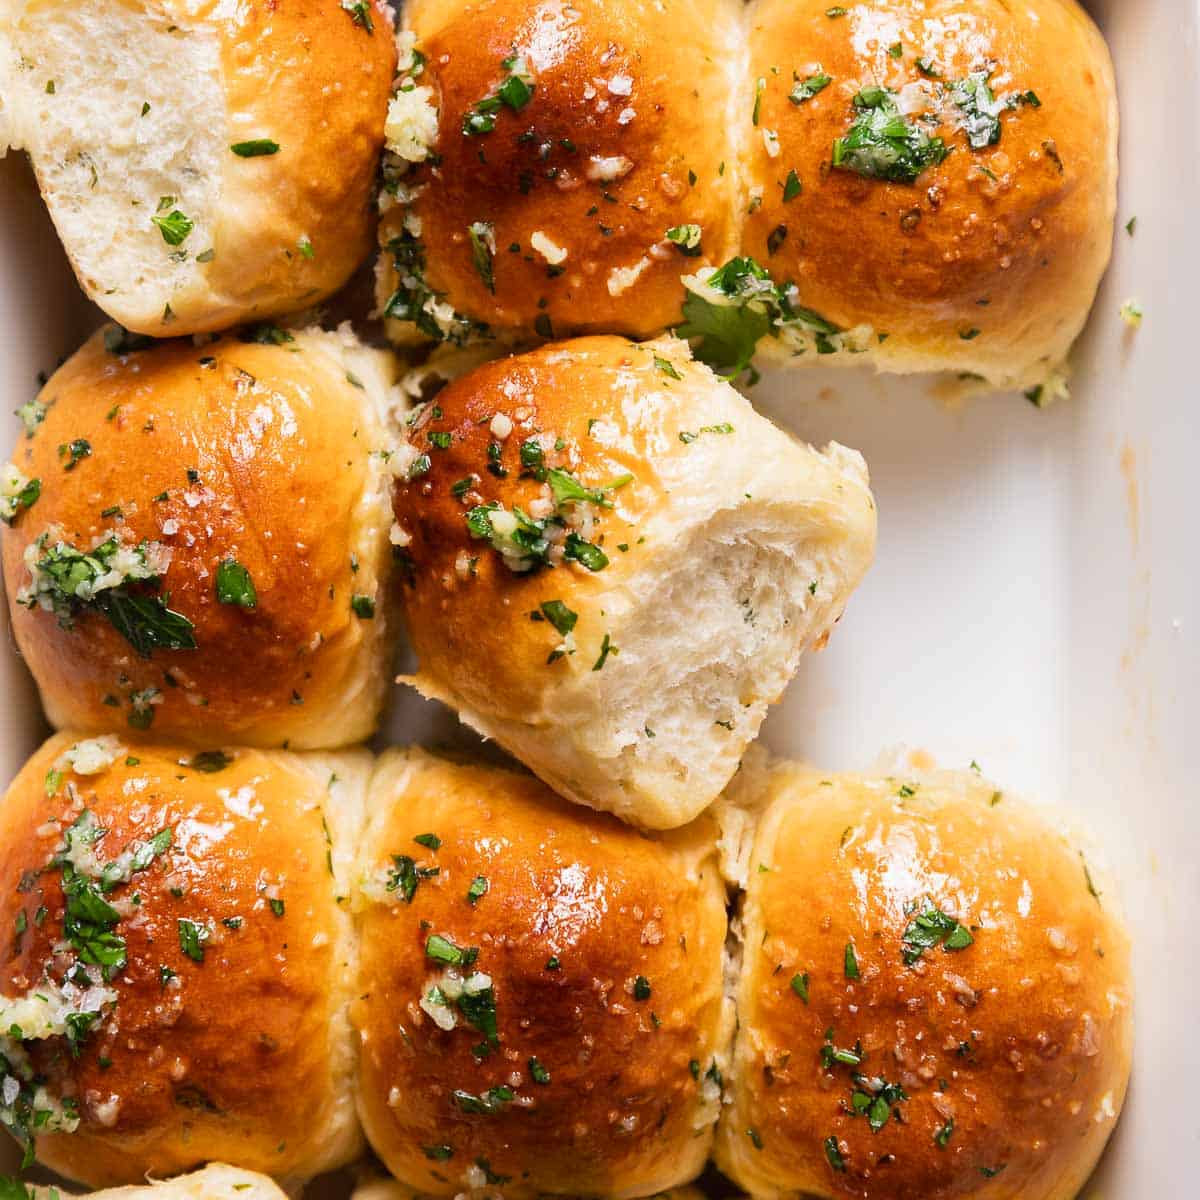
Step 6: Brush with garlic butter. Brush the garlic rolls with an egg wash, then bake until golden brown. Straight out of the oven, brush the tops of the baked rolls with more garlic herb butter before serving warm!
Storage, Freezing, Make Ahead, and Reheating
Storage: Dinner rolls are best served the day they are made, but can be stored for 2-3 days in an airtight container or ziplock bag at room temperature.
Freezer: After baking, remove the rolls from the pan and let them cool completely. Transfer them to an airtight container for one month.
Make ahead: Once the rolls are shaped and snuggled into their baking pan, cover the top tightly with plastic wrap and refrigerate overnight. The next day, let them double in size at room temperature before baking. This could take a few hours!
Reheating: These garlic bread rolls are best served warm! Before serving, cover the rolls with foil and bake them at 350°F until warmed through. You can also pop them in the microwave for 20-30 seconds until warm!
FAQs
Yes! Store them in an airtight container in the freezer for 2-3 months.
Yes. Just melt the butter by itself and leave the garlic out completely!
Definitely! Add up to 1/4 cup of shredded parmesan cheese to the bread dough and sprinkle more on top before baking.
No, you must use yeast for this recipe.
Using too much flour, expired yeast, not kneading the dough long enough, and not letting the dough rise until doubled in size can all result in dense bread rolls.
If you tried this or any other recipe on my website, please let me know how it went in the comments below. I love hearing from you! Also, please leave a star rating while you’re there! You can also tag me on Instagram or Facebook so I can check it out!
Garlic Bread Rolls
Equipment
Ingredients
- 4 1/2 tablespoons unsalted butter
- 2 tablespoons minced garlic
- 3 1/2 cups + 1 tablespoon all-purpose flour, *See notes below for measuring*
- 3 tablespoons chopped fresh parsley
- 1 tablespoon granulated sugar
- 2 1/4 teaspoons instant yeast
- 1 teaspoon fine sea salt
- 1 cup whole or 2% milk, warmed to 110°F
- 1 large egg, room temperature
- 1 beaten egg, for brushing the tops
For the Garlic Butter
- 2 tablespoons unsalted butter
- 1 tablespoon minced garlic
- 1 tablespoon chopped fresh parsley
- flaky sea salt, for finishing
Instructions
- Lightly butter the bottom and sides of a 9×13 pan and set it aside.
- In a small pot, melt the butter and add the minced garlic. Cook for 1-2 minutes or until the garlic is fragrant. Take off the heat and cool while you measure the other ingredients.4 1/2 tablespoons (60 g) unsalted butter, 2 tablespoons minced garlic
- In a stand mixing bowl, combine the flour, parsley, sugar, yeast, and salt. Then add the warmed milk, egg, and garlic butter from above. Knead on low speed with the dough hook until the dough looks smooth and feels soft and tacky, about 10-12 minutes. *If the dough is too sticky, add one tablespoon of flour at a time until you have a workable dough.3 1/2 cups + 1 tablespoon (434 g) all-purpose flour, 3 tablespoons chopped fresh parsley, 1 tablespoon (15 g) granulated sugar, 2 1/4 teaspoons instant yeast, 1 teaspoon fine sea salt, 1 cup (225 g) whole or 2% milk, 1 (55 g) large egg
- Cut the kneaded dough into 12 equal portions (use a scale for accuracy- 67 grams each). Shape each piece of dough into a smooth ball with your hand. Pinch the bottom of the roll where the seam comes together to keep it tight. Then place the shaped dough balls into the prepared baking pan. Cover the top with plastic wrap or a clean kitchen towel and set them in a warm place to rise until doubled in size, about 1-2 hours. *Watch the video below for visual aid!
- Preheat the oven to 350 F/180 C.
- Brush the tops of the rolls with the beaten egg wash. Then bake the dinner rolls for 20-30 minutes, or until the tops are golden brown.1 beaten egg, for brushing the tops
- While the rolls are baking, make the garlic butter. Melt the butter in a pot and add the minced garlic. Cook for 1-2 minutes until the garlic is fragrant. Then remove it from the heat and stir in the parsley. When the rolls come out of the oven, immediately brush them with the garlic butter. Sprinkle with flaky sea salt if desired, and serve warm!2 tablespoons (28 g) unsalted butter, 1 tablespoon minced garlic, 1 tablespoon chopped fresh parsley, flaky sea salt








Really nice quick rolls that are very pleasing to the eye. I didn’t have parsley so substituted fresh basil . I used salted butter instead – cooked nice and brown in 25 minutes. I thought they would be very garlic forward but surprisingly they weren’t. Made them for our fancy Valentines dinner at home!