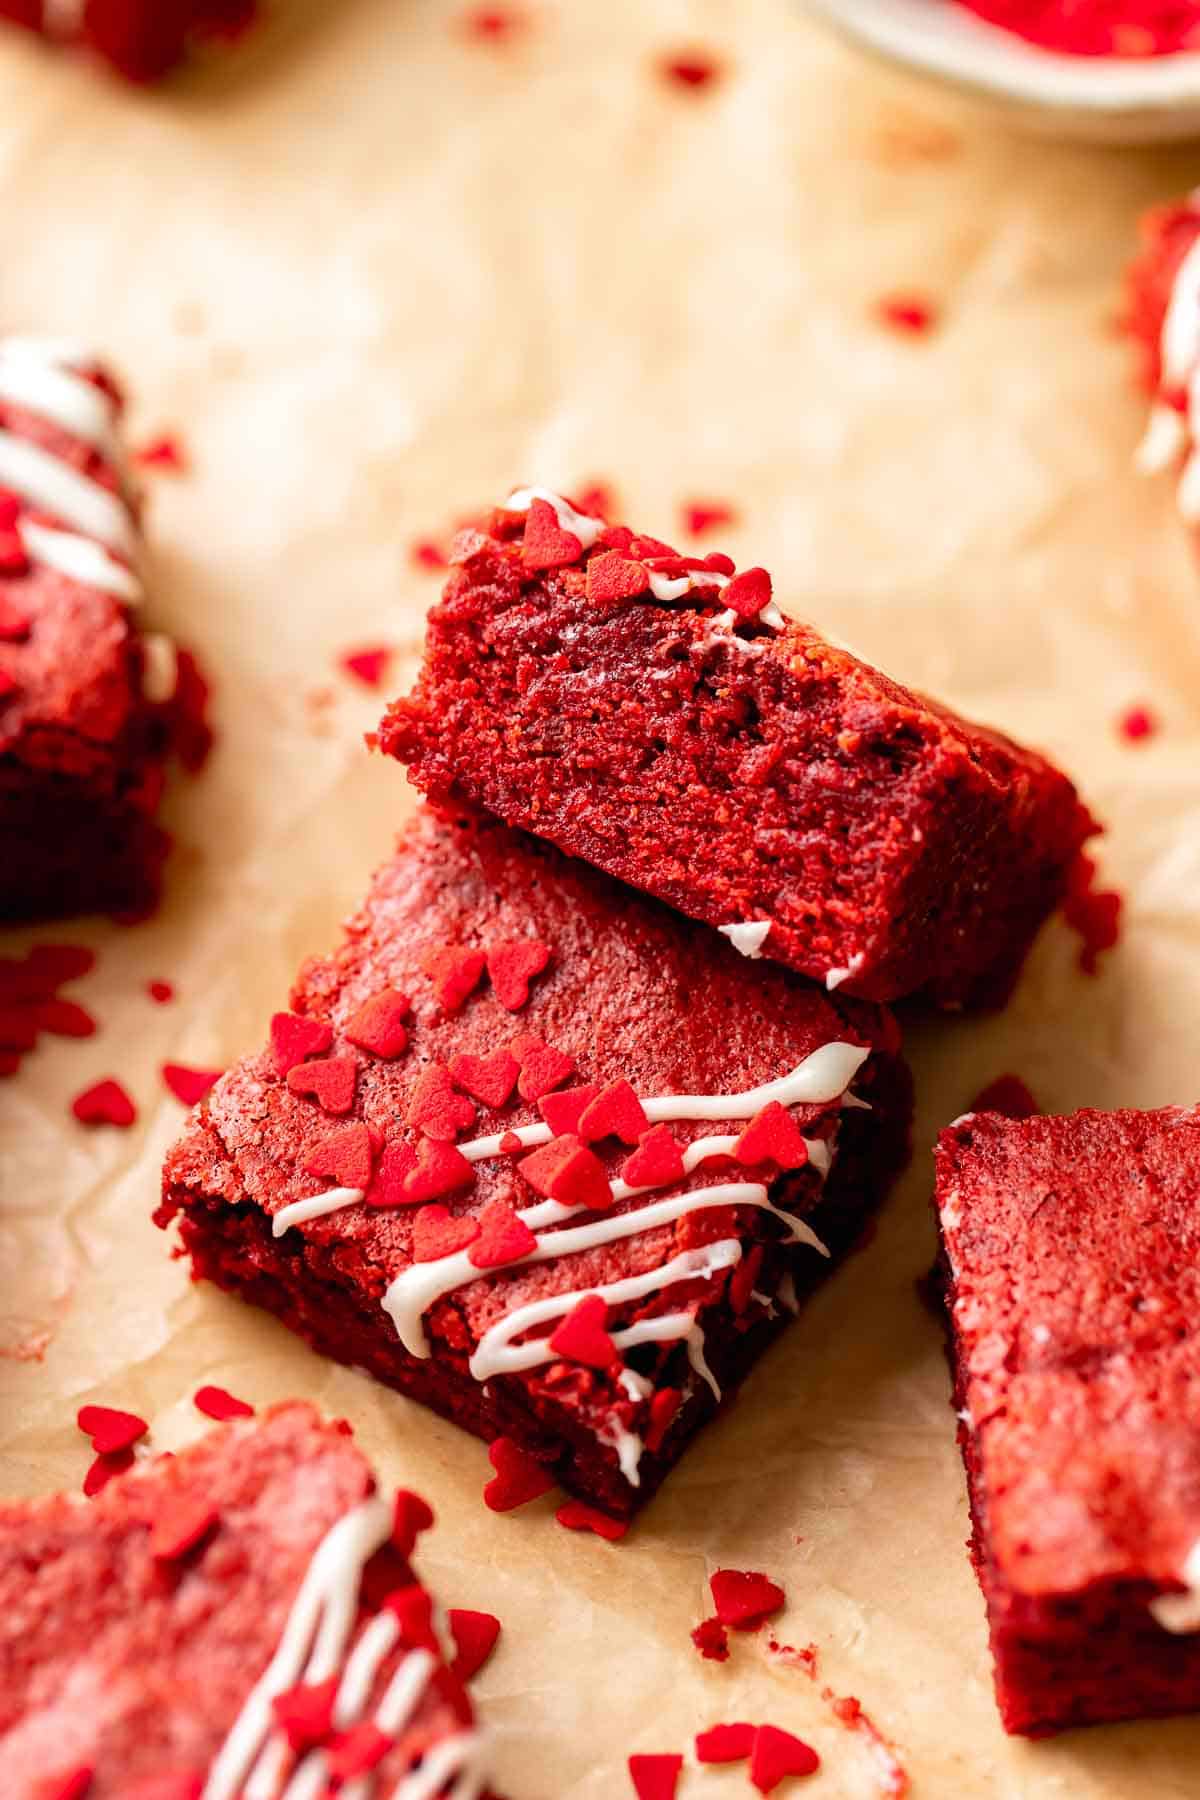
These red velvet brownies are a colorful twist on traditional fudgy chocolate brownies. Inspired by red velvet cake, they have a classic red velvet flavor and a tangy cream cheese drizzle. Decorate them for Valentine's Day and share them with someone you love!
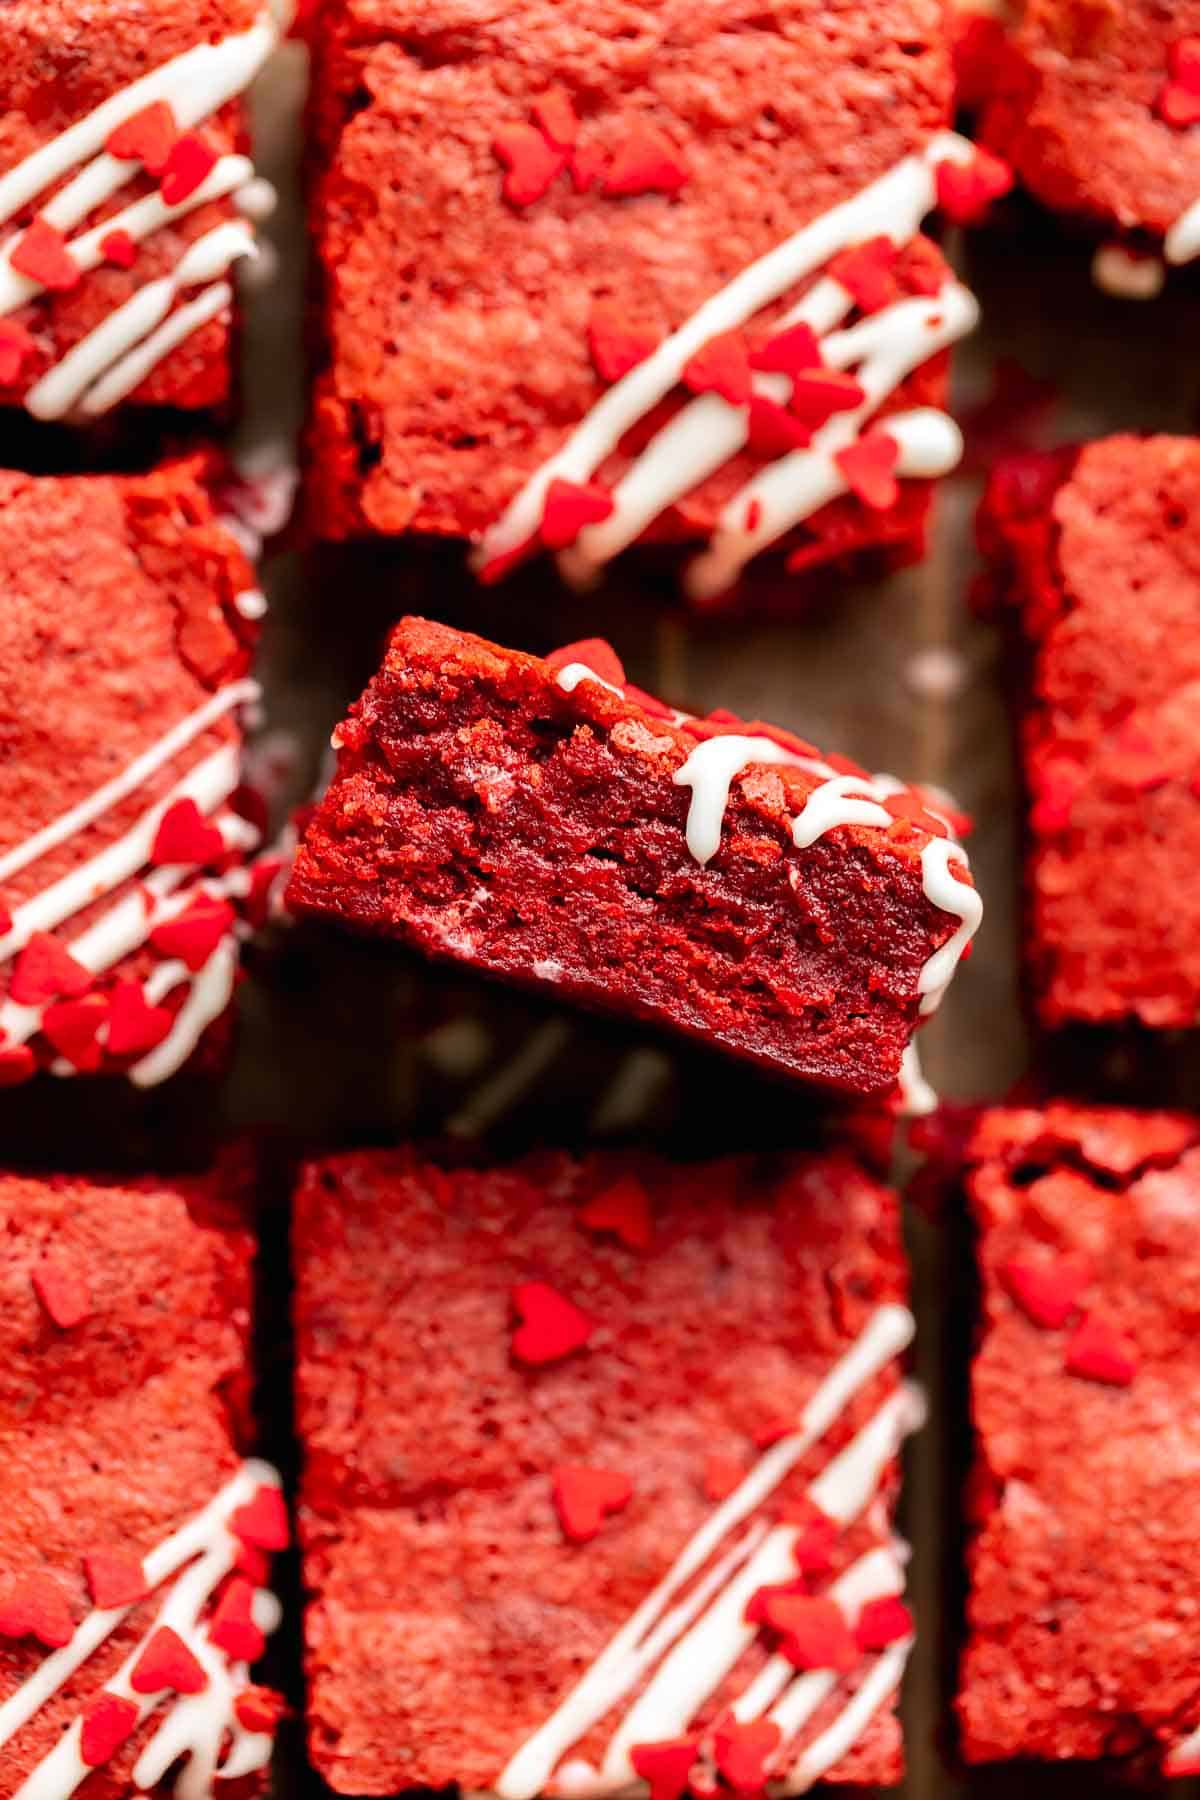
As a pastry chef, I thrive on challenging myself to reinvent the classics, and these red velvet brownies are exactly that!
Made with traditional homemade brownie batter tinted a deep red color, they have all the same flavors as a red velvet cake but with a chewy and fudgy brownie texture. Drizzle the tops with cream cheese frosting for the ultimate flavor combo!!
Jump to:
Why We Love This Recipe
- Homemade red velvet brownies made from scratch with simple ingredients and just one bowl, similar to my Oreo fudge brownies!
- They taste like a slice of red velvet cake thanks to red food coloring and a splash of vinegar.
- Perfect for Valentine's Day!
Ingredient Notes and Substitutions
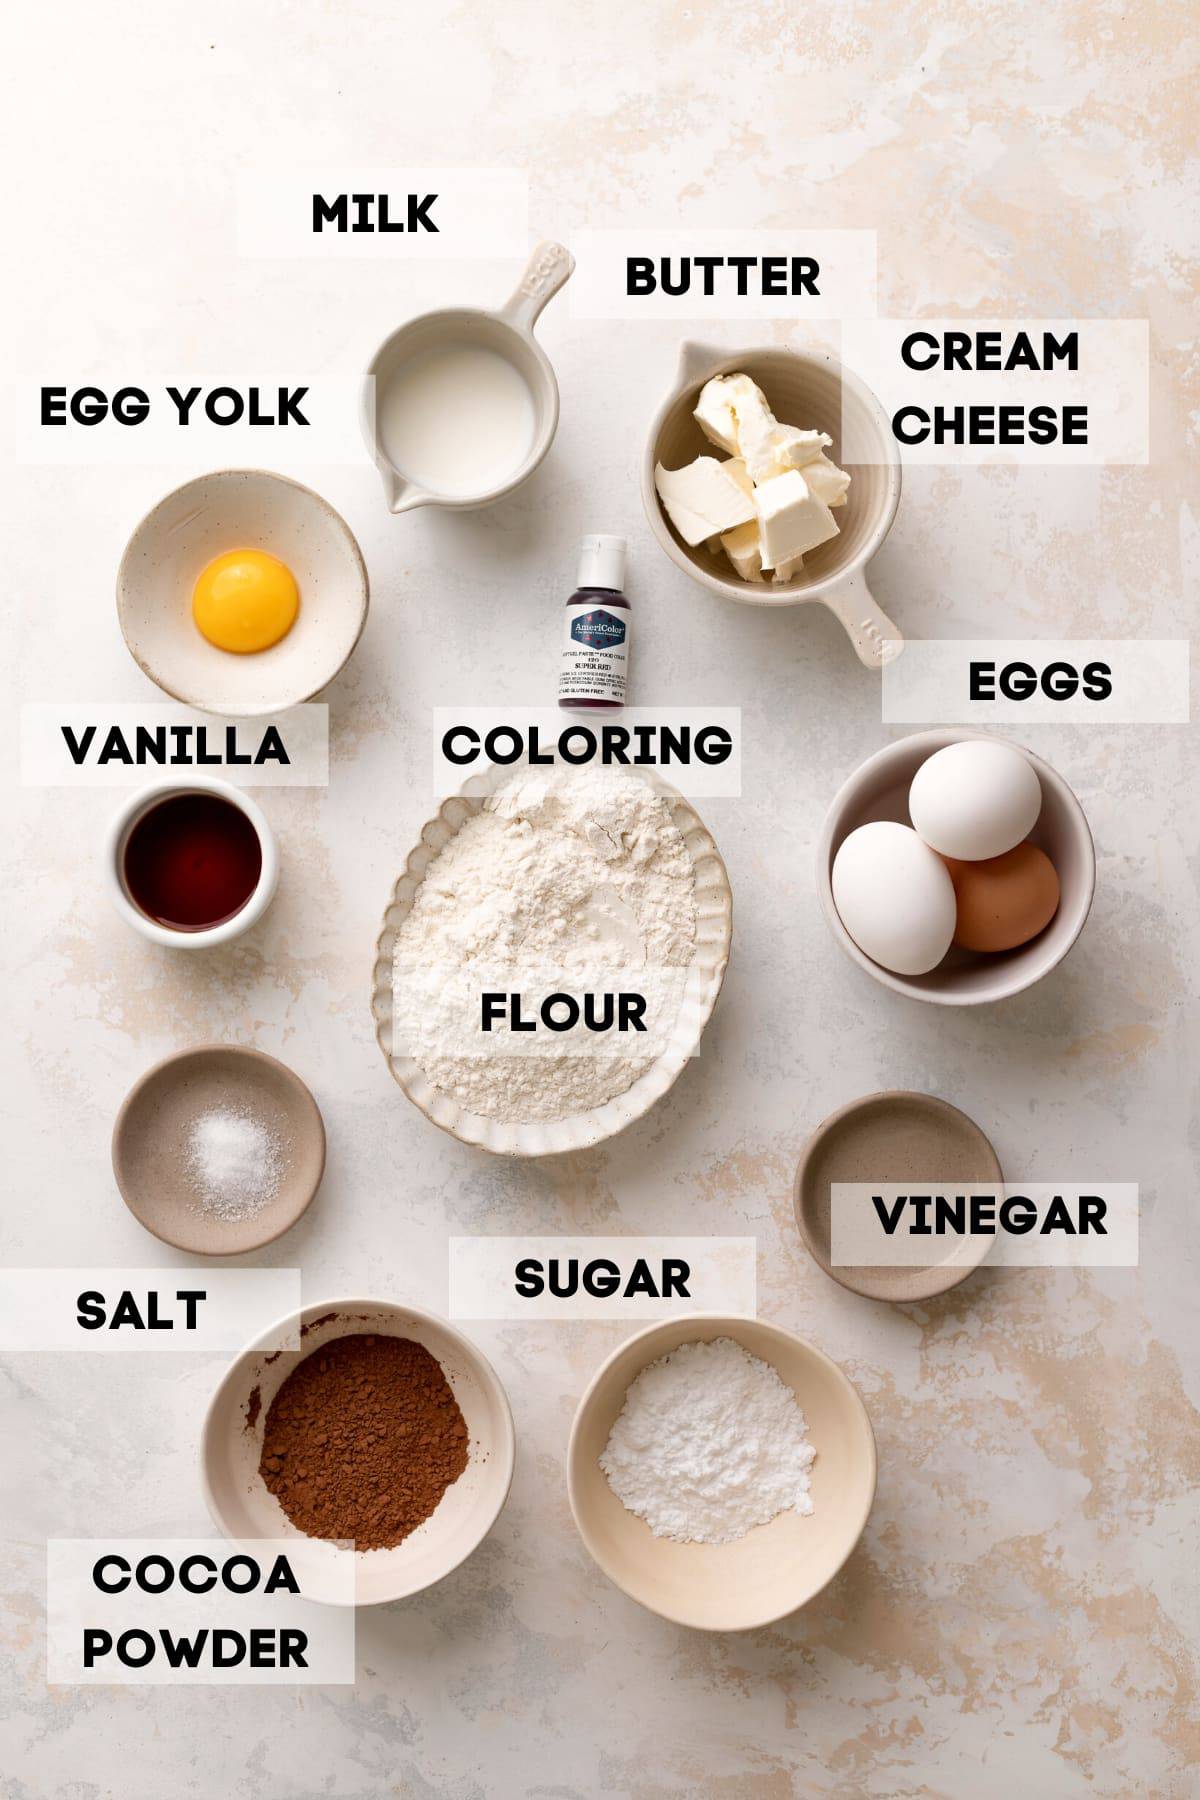
Cocoa powder: For a bright red color, use unsweetened cocoa powder. The natural red color of the cocoa powder is light enough to maintain the bright red color from the food coloring while still giving the brownies a mild chocolate flavor. Using dark cocoa powder will result in very dark and less red brownies.
Egg yolk: The extra fat in the yolk gives the brownies a super chewy and fudgy texture like in our M&M brownies.
Red food coloring: I highly recommend using gel food coloring, so you only have to use a few drops to get the bright red color. Liquid food coloring is not as concentrated and will require more to color the brownies red.
Vinegar: For the traditional red velvet flavor, a touch of white vinegar is added to the brownie batter. You should be able to get a similar flavor with rice wine vinegar as an alternative.
Cream cheese: The brownies are drizzled with a thick cream cheese icing to complete the red velvet flavor. Full-fat cream cheese is recommended for the best flavor and creamy texture.
Variations
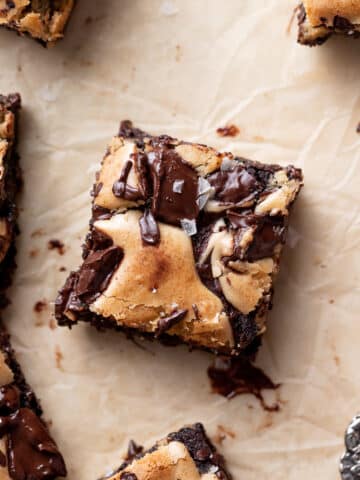
- Cream cheese icing: Instead of icing, frost the entire brownies with cream cheese frosting, or swirl the batter with cheesecake batter like in our marble brownies!
Recipe Instructions
Find the full ingredient measurements and instructions in the recipe card below!
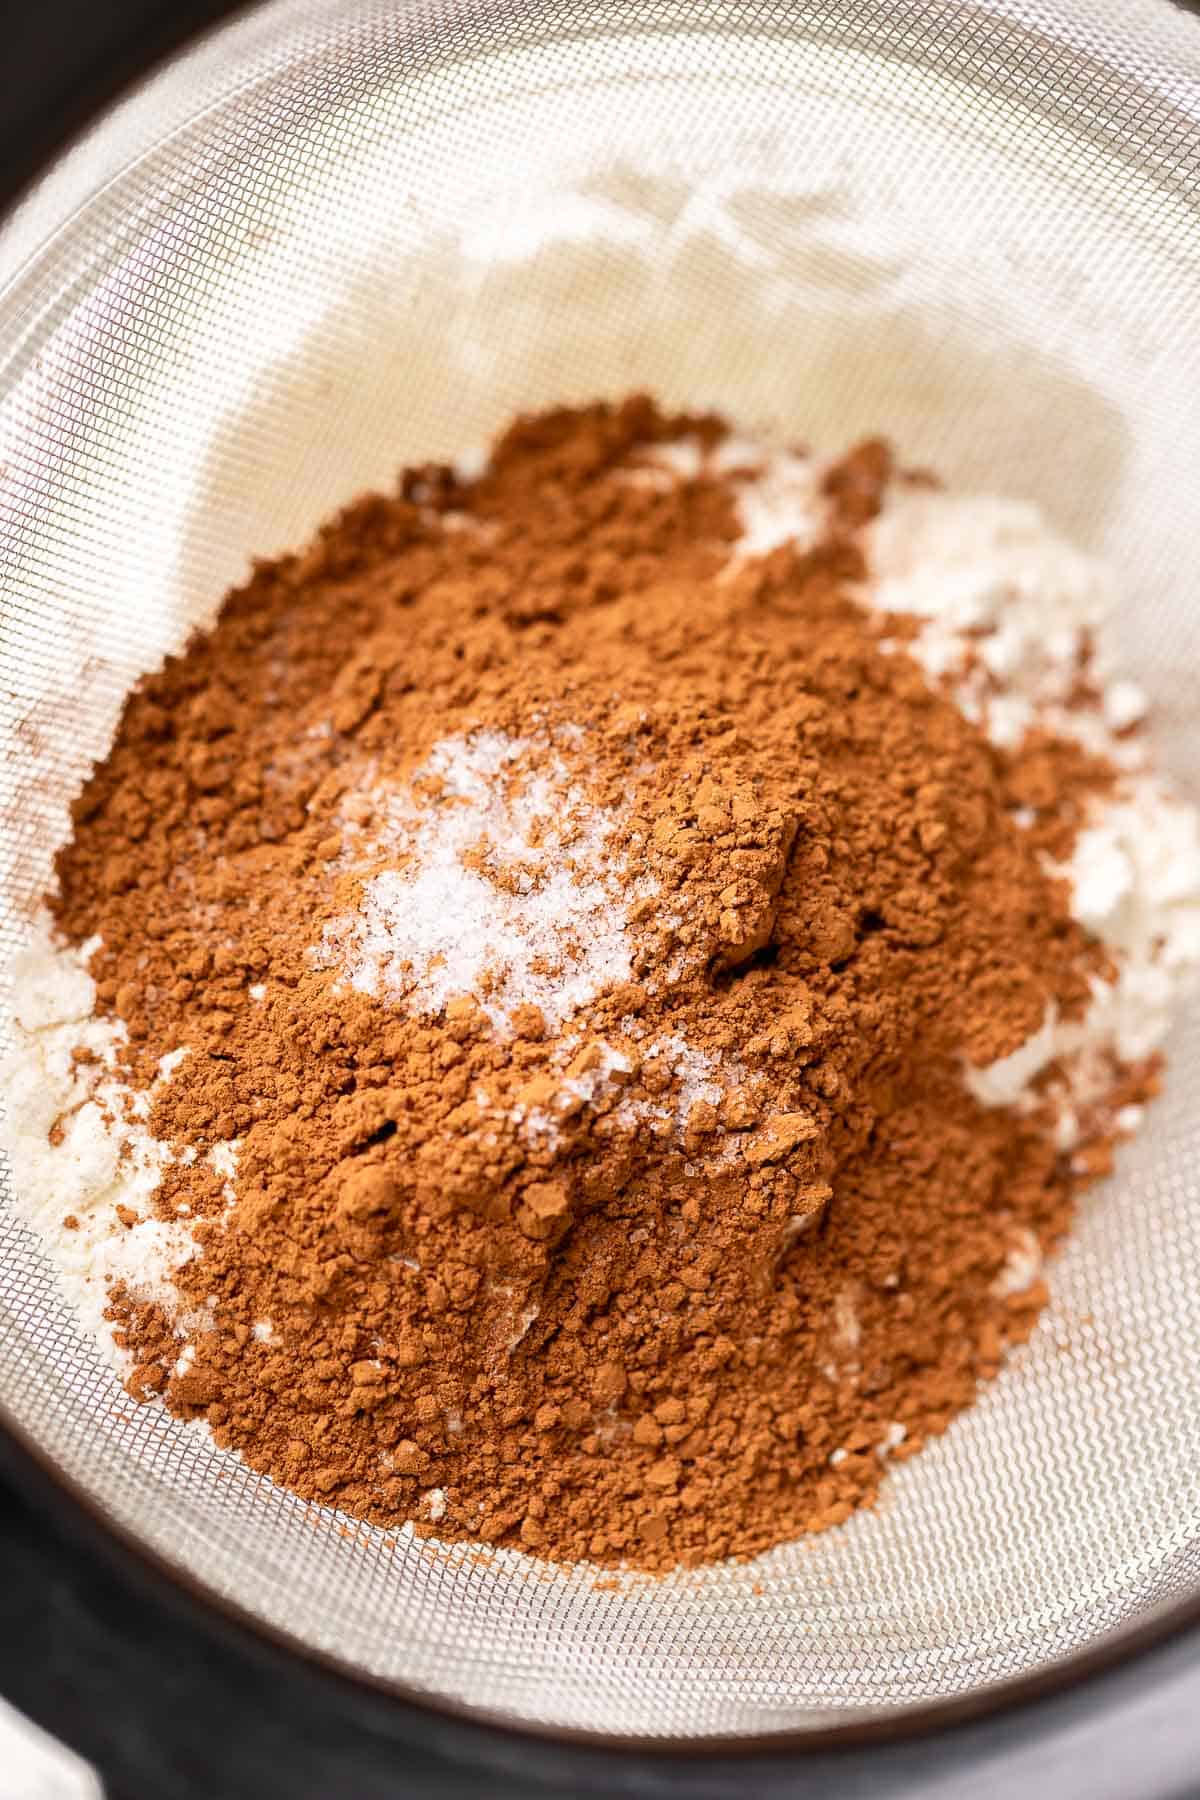
Step 1: Sift the dry ingredients. Sift the all-purpose flour, cocoa powder, and salt into a bowl and set aside.
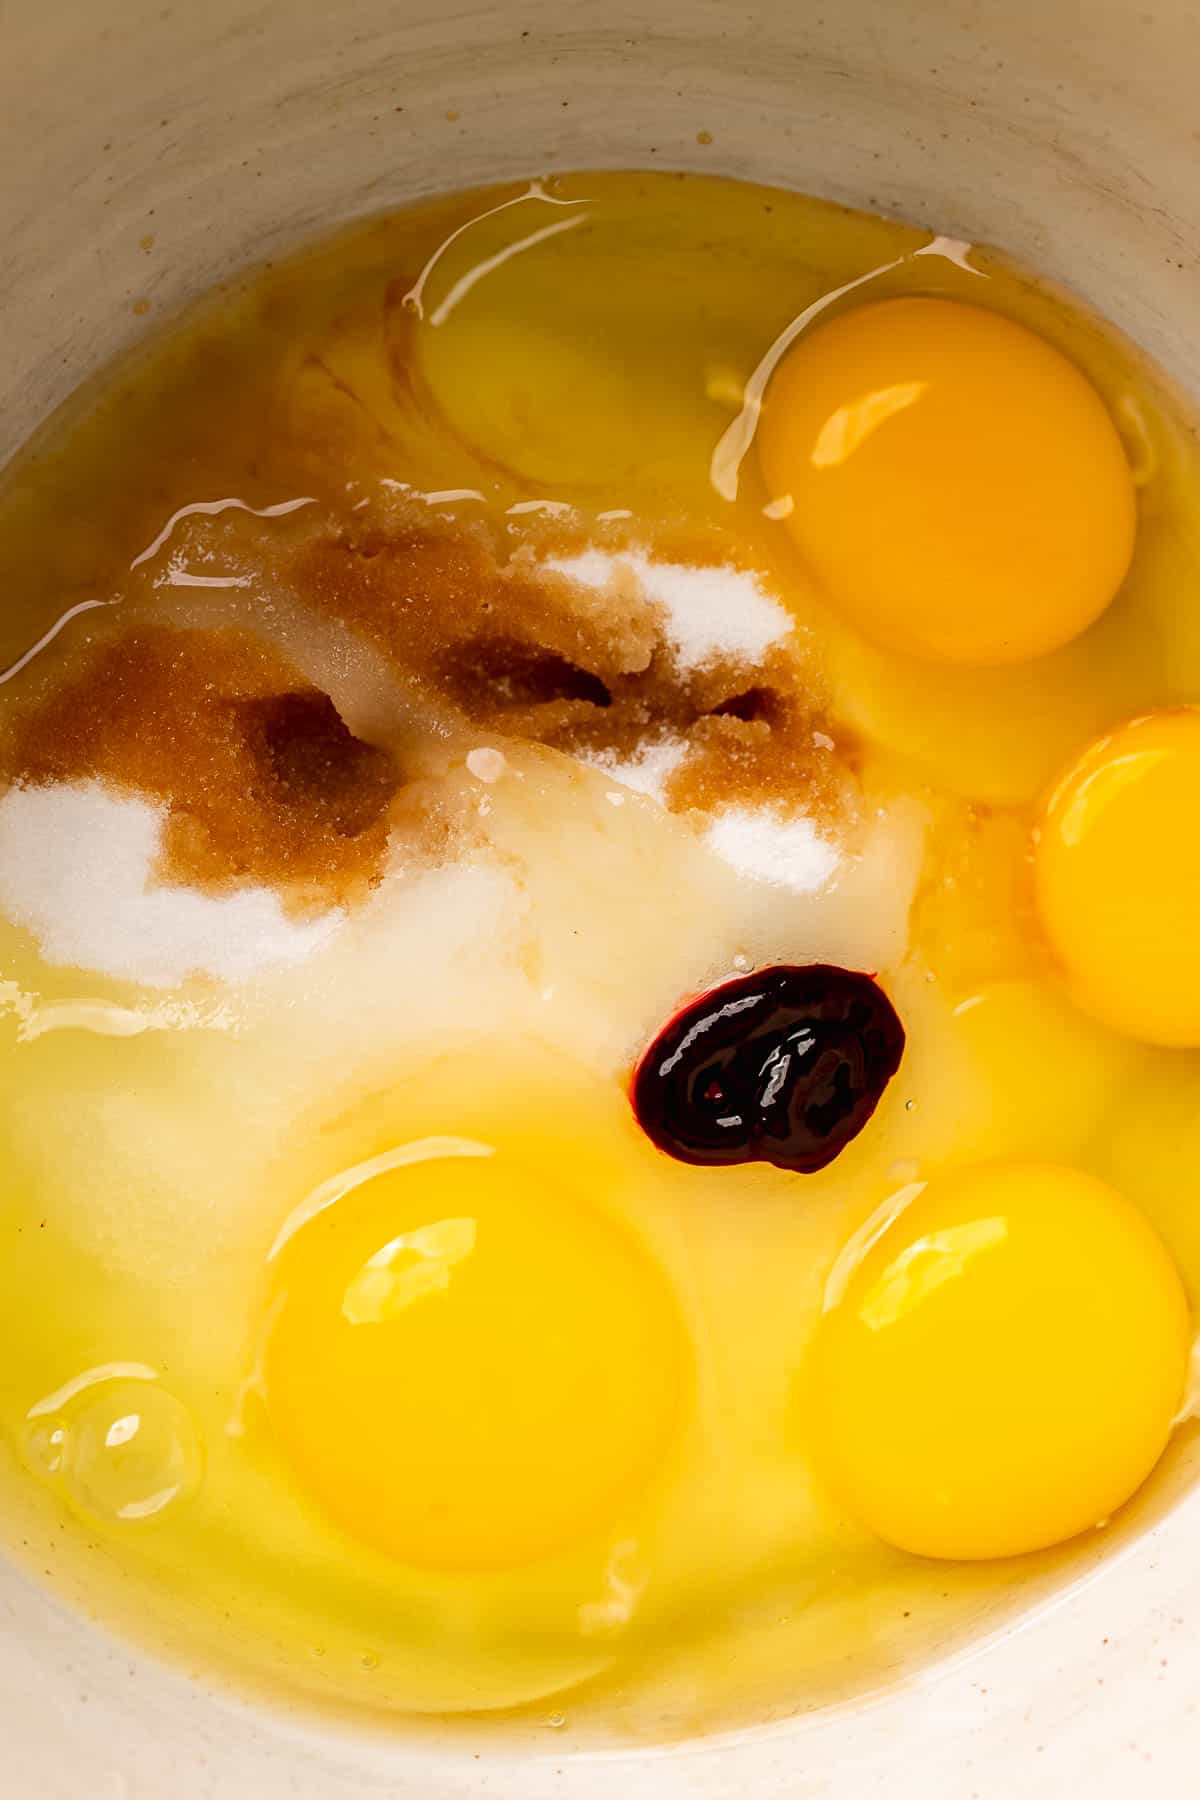
Step 2: Whisk the eggs and sugar. In a mixing bowl, whisk the granulated sugar, eggs, egg yolk, vanilla extract, and red food coloring until light and fluffy.
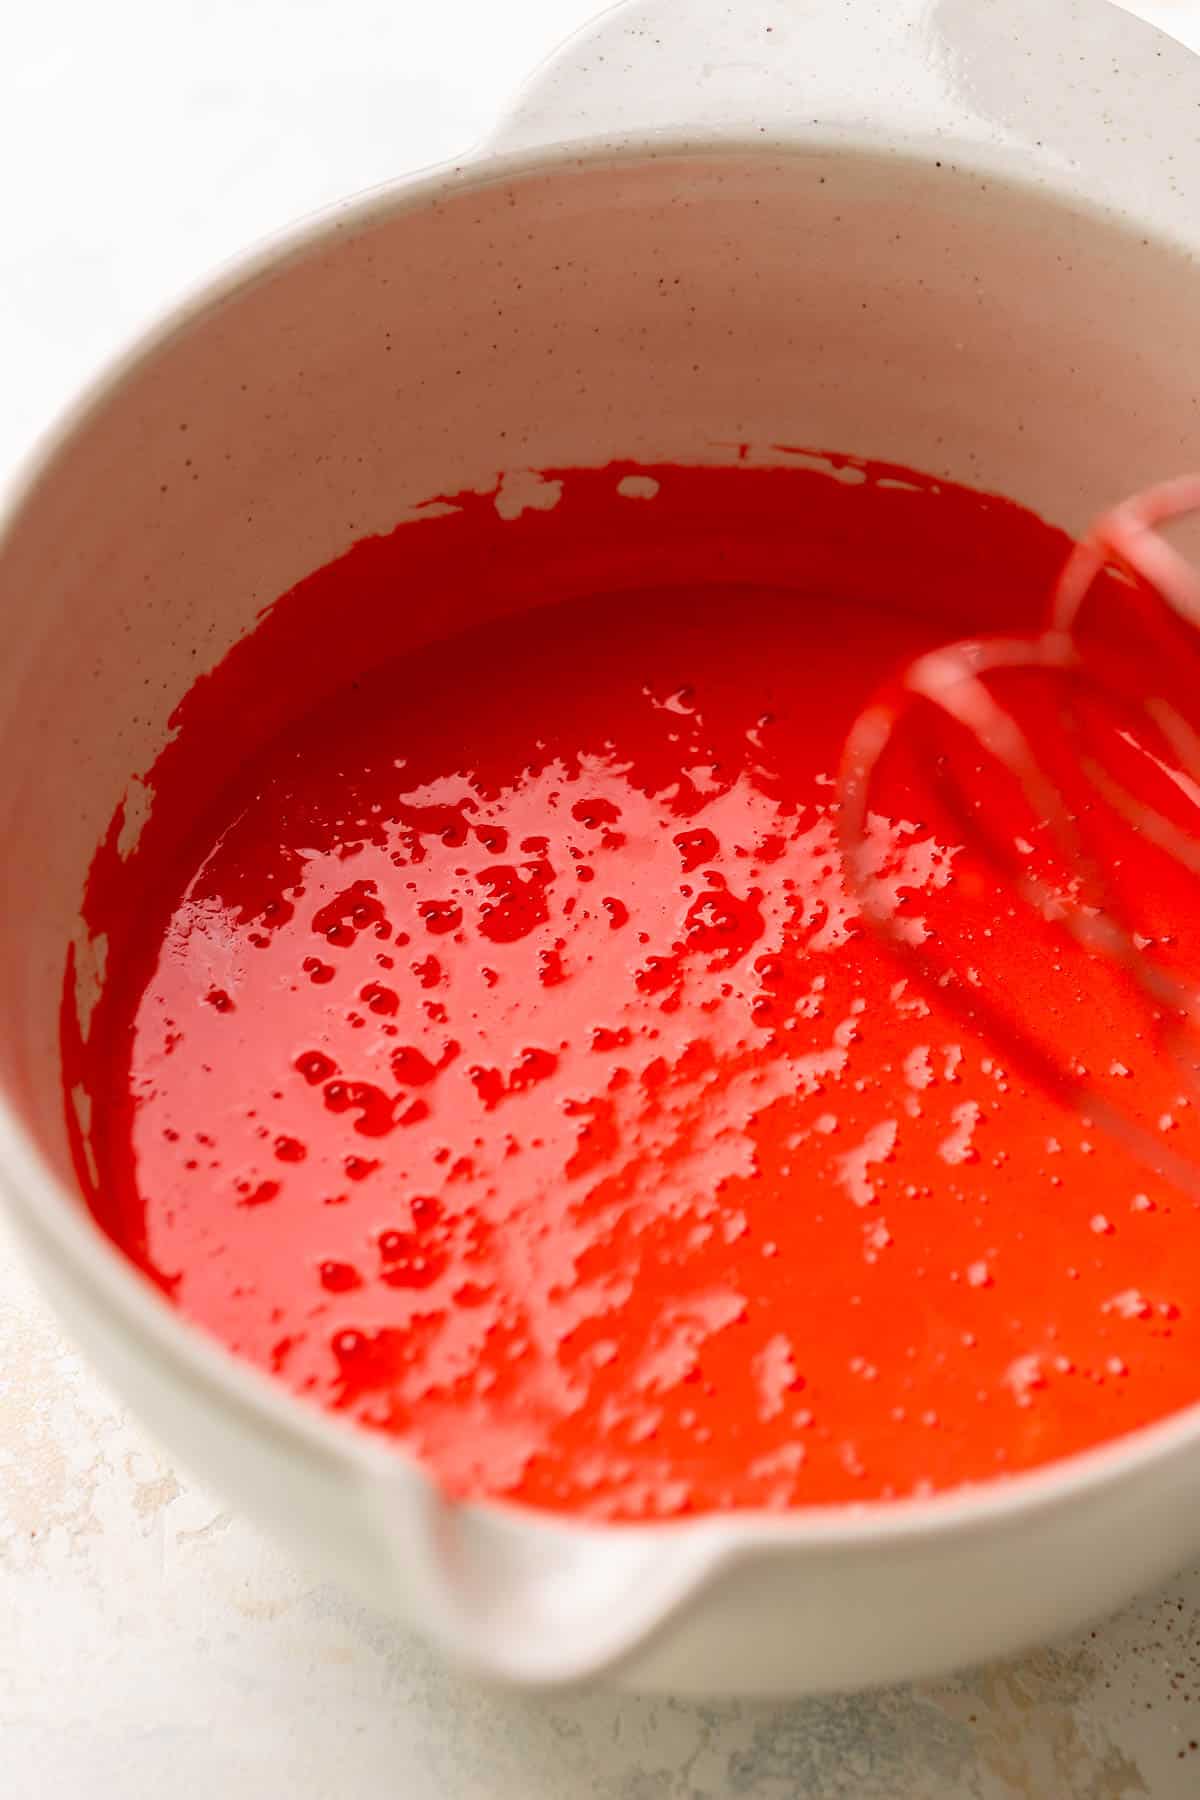
Step 3: Mix in the melted butter. Add the vinegar. Then stream the melted butter into the mixing bowl and mix until just combined.
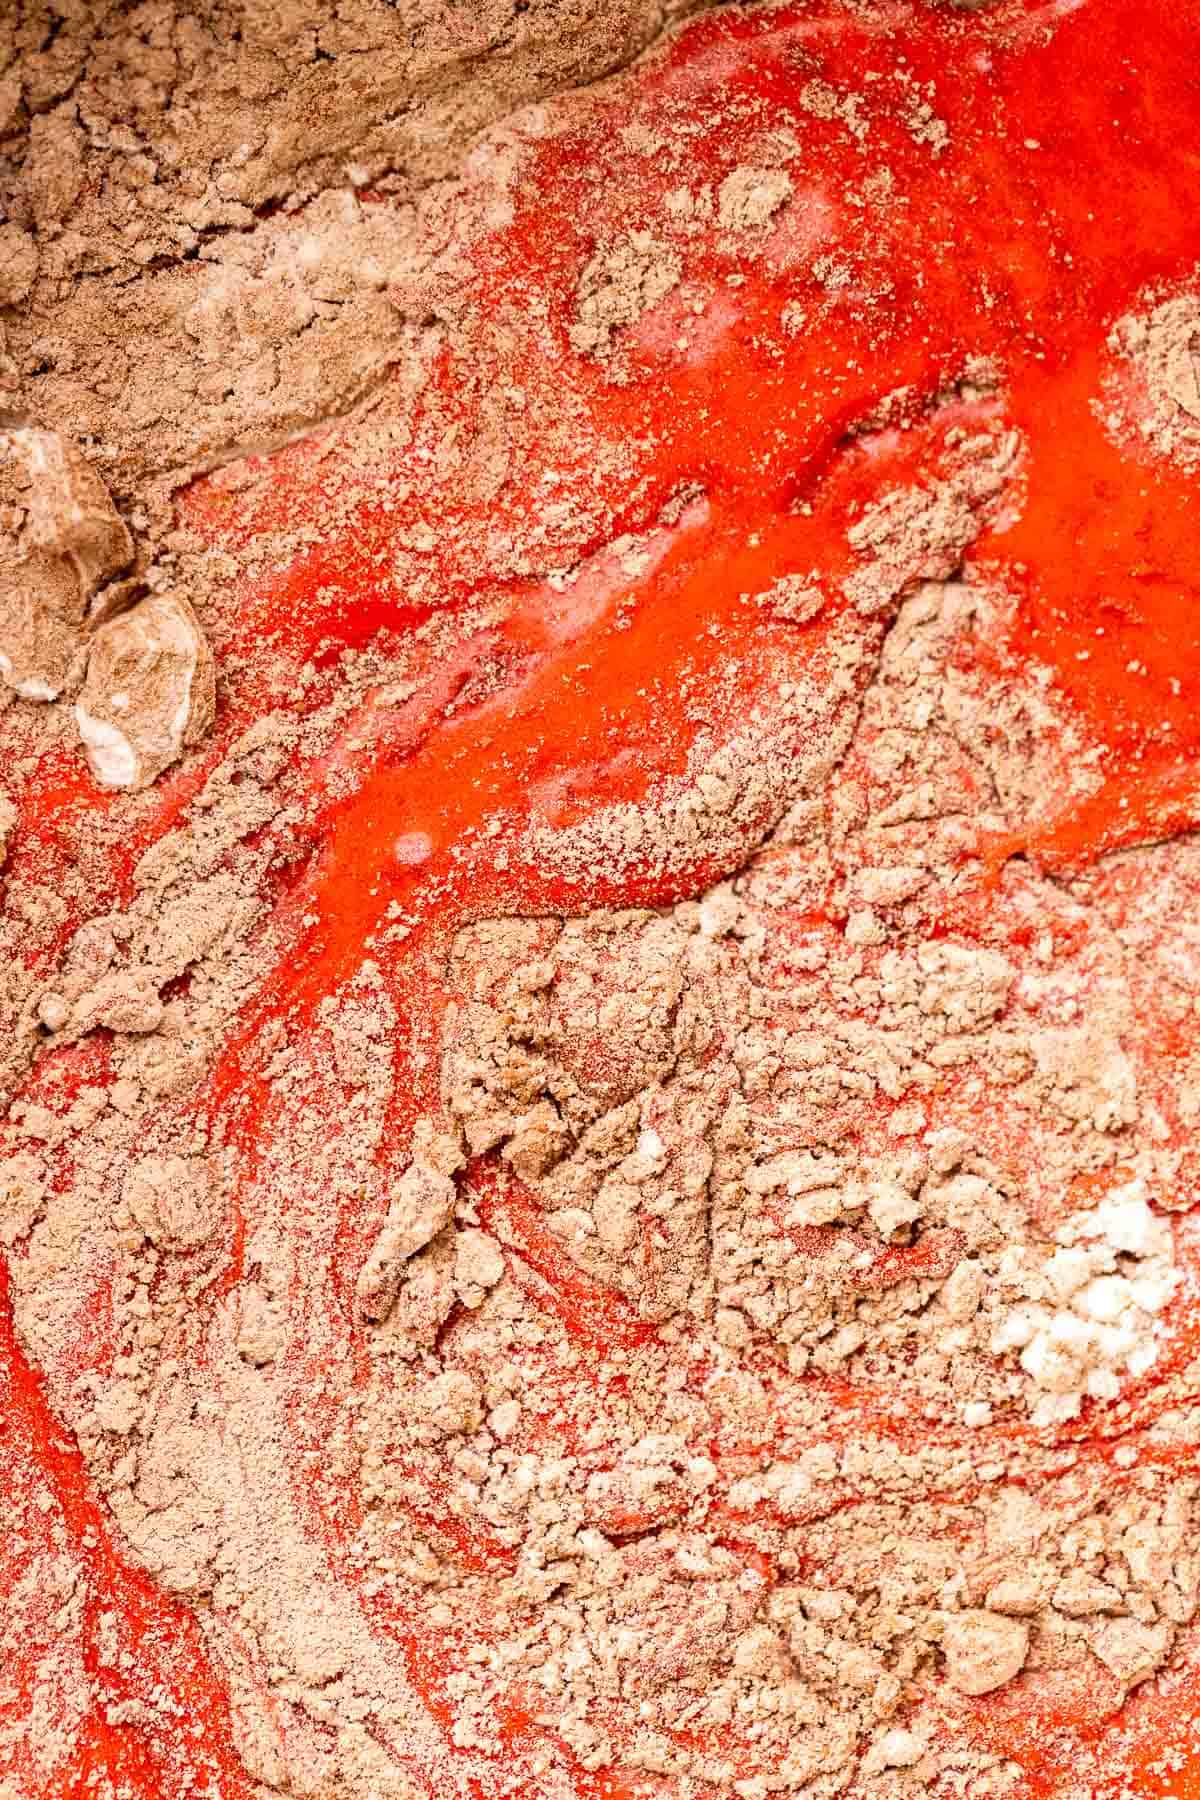
Step 4: Mix in the dry ingredients. Use a rubber spatula to fold in the sifted dry ingredients. Do not overmix!
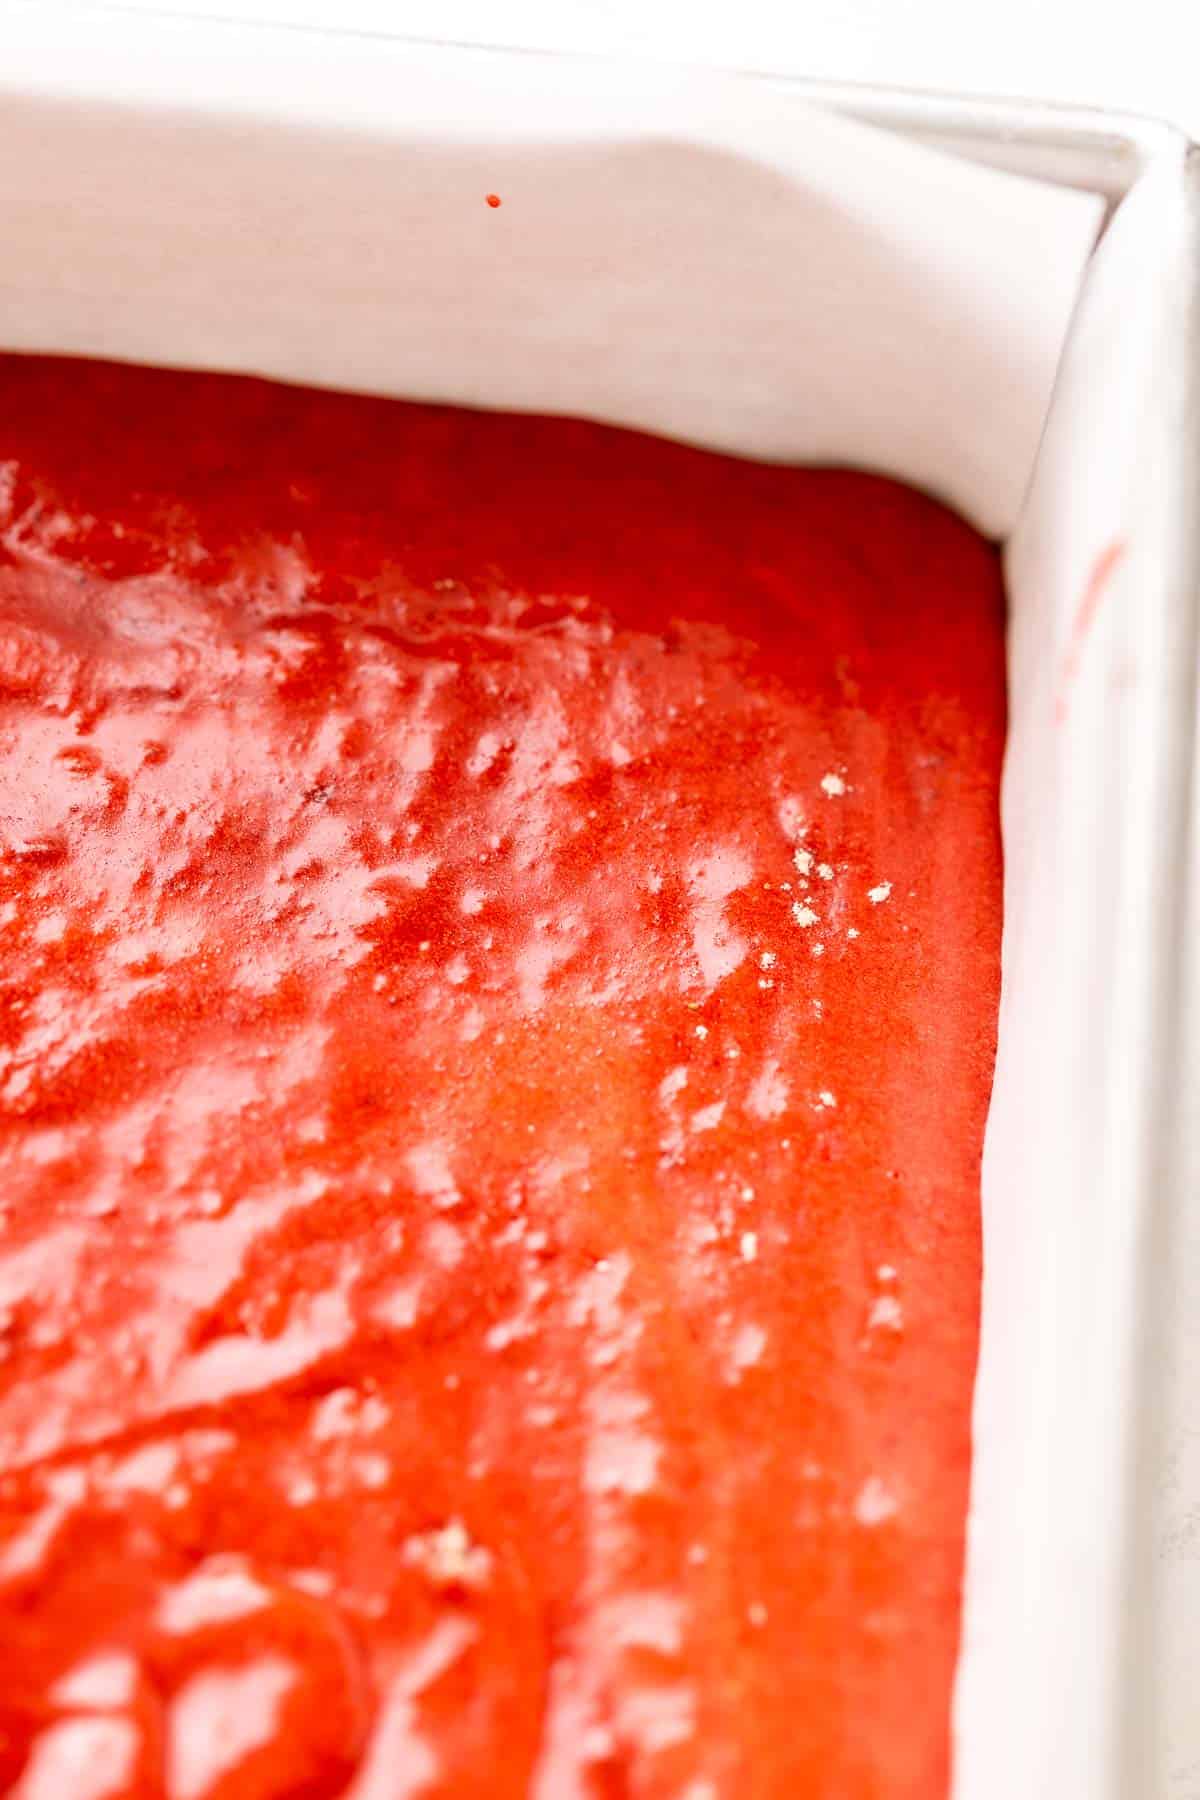
Step 5: Bake the brownies. Pour the red velvet brownie batter into the prepared baking pan.
Bake the brownies in the preheated oven until a toothpick inserted into the middle comes out covered in a few moist crumbs.
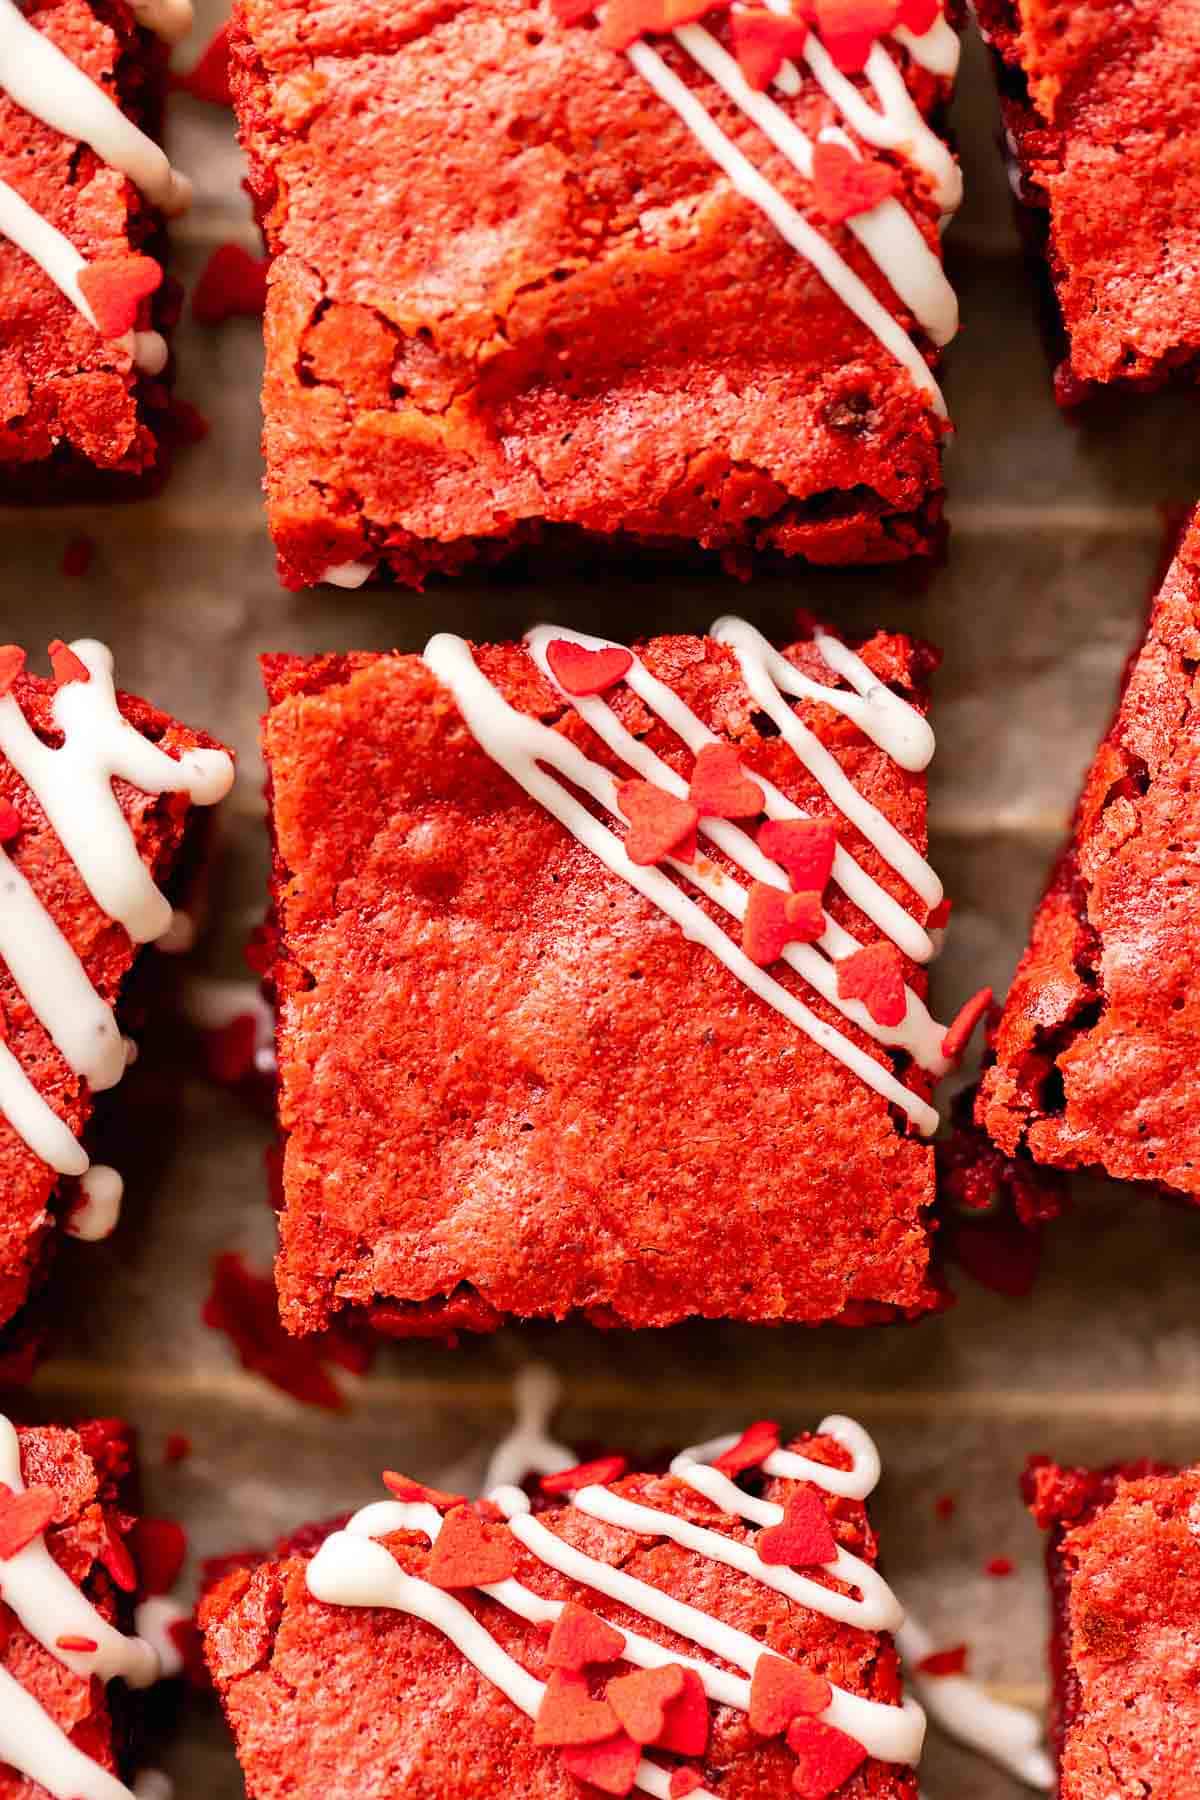
Step 6: Decorate with cream cheese. Cut the cooled brownies into 16 squares, then use a piping bag to pipe the cream cheese over the corner and cover with heart sprinkles.
Tips for Fudgy Brownies
- Use a kitchen scale. Baking with a scale is much more accurate than cup measurements. To convert this recipe, click the "metric" button next to the ingredients title on the recipe card. If you do not have a scale, use a spoon to fluff the flour first, then spoon it into your measuring cup.
- Don't over-mix the brownies or they will turn out dense.
- Don't overbake them! For fudgy brownies, underbaking them is key. You'll know they're ready when you insert a toothpick into the center and it comes out covered in a few moist crumbs. If the toothpick comes out clean, they are overbaked.
- Wait before decorating. Brownies can take at least 1-2 hours to cool completely after baking. This is required before cutting or decorating them. If they are still warm, the brownies will be messy and will melt the cream cheese icing!
Storage and Freezing
Storage: Store leftover red velvet brownies in an airtight container for 2-3 days at room temperature.
Freezer: Cut the brownies into servings then wrap each one individually in plastic wrap. Transfer them to a freezer bag or airtight container and store them for up to one month! They can be frozen with or without the icing.
FAQs
Red velvet is the fusion of vanilla, chocolate, and a small acidic flavor from white vinegar! It is traditionally eaten with cream cheese frosting, which provides another tangy flavor.
I have not tested this recipe with boxed brownie mix but I would love to hear how it turns out if you try it!
You can leave it out but the vinegar is necessary for achieving that classic red velvet flavor!
Definitely! You could leave the frosting off completely or drizzle them with melted white chocolate or regular chocolate.
I don't recommend using a chocolate bar or any kind of melted chocolate because it will be too dark for the red color.
The best way to cut brownies is to wait until they are completely cooled. Then use a very sharp knife to cut them. In between cuts, run the knife under hot water and wipe it clean.
More Fudgy Brownie Recipes
If you tried this or any other recipe on my website, please let me know how it went in the comments below, I love hearing from you! Also, please leave a star rating while you're there! You can also tag me on Instagram or Facebook so I can check it out!
Recipe 📖
Red Velvet Brownies
Equipment
Ingredients
Brownie Batter
- 1 cup + 1 tablespoon all-purpose flour *see measuring notes below*
- 3 tablespoon unsweetened cocoa powder
- ½ teaspoon fine sea salt
- 1 ¼ cups granulated sugar
- 3 large eggs
- 1 large egg yolk
- 2 teaspoon vanilla extract
- 1 teaspoon gel red food coloring
- 12 tablespoon unsalted butter melted
- 1 teaspoon white vinegar
Cream Cheese Glaze
- 1 ½ oz cream cheese softened
- 3 tablespoon powdered sugar
- ½ teaspoon clear vanilla extract
- 2-3 tablespoon whole milk
- red heart sprinkles for decorating
Instructions
- Line a square 8x8 baking pan with parchment paper. Then preheat the oven to 350 F/180 C.
- Sift the flour, cocoa powder, and salt into a medium bowl and set aside.1 cup + 1 tablespoon all-purpose flour, 3 tablespoon unsweetened cocoa powder, ½ teaspoon fine sea salt
- In a mixing bowl, whisk the sugar, eggs, egg yolk, vanilla extract, and red food coloring on medium speed for 2-3 minutes until fluffy and slightly thickened.1 ¼ cups granulated sugar, 3 large eggs, 1 large egg yolk, 2 teaspoon vanilla extract, 1 teaspoon gel red food coloring
- With the mixer running on low, add the vinegar and then stream the melted butter into the batter. Mix until just combined.12 tablespoon unsalted butter, 1 teaspoon white vinegar
- Gently fold in the sifted dry ingredients with a rubber spatula until just combined.
- Pour the brownie batter into the prepared baking pan. Bake for 25-30 minutes, or until a toothpick inserted into the center comes out covered in moist crumbs. (In my kitchen, 27-28 minutes is perfect!)
- Let the pan cool completely on a wire rack.
- While it's cooling, make the glaze.
- Combine the softened cream cheese and powdered sugar. Whisk until smooth and lump free.1 ½ oz cream cheese, 3 tablespoon powdered sugar
- Then whisk in the milk and vanilla until the glaze is thick enough to be piped and hold its shape.½ teaspoon clear vanilla extract, 2-3 tablespoon whole milk
- Cut the cooled brownies into 16 squares, then pipe the cream cheese glaze over one corner of the brownie.
- Finish with sprinkles if desired and enjoy!
Notes
The calorie information provided for the recipe is an estimate. The accuracy of the calories listed is not guaranteed.

Marilys says
They were delicious, thank you for your recipe and all the details on your webpage.
Cambrea Gordon says
Thanks for sharing it with me on Instagram Marilys!
Samantha says
I put these in my valentines treat boxes this year and they are a hit. The recipe is flawless and the brownies are delicious. Everyone loves them.
Cambrea Gordon says
That is so great to hear, thanks so much for the kind review Samantha 🙂
Erin R says
Did a test round before Valentines Day! So yummy! Great flavor and texture! Didn’t tackle the icing this time around but even the brownies themselves are PERFECT
Cambrea Gordon says
Yay! So happy to hear that 🙂 Thanks so much for leaving a review Erin!
Todd G says
Love these brownies!
Cambrea Gordon says
Thanks Todd! So glad to hear that!
Kessia Randolph says
So good and very moist!! Still soft a few days after too. I don't think i waited long enough for them to cool before decorating because they didn't look as pretty as yours LOL. But still delicious!!
Cambrea Gordon says
Yay! That is so wonderful to hear Kessia, thank you so much for coming back to leave a review!