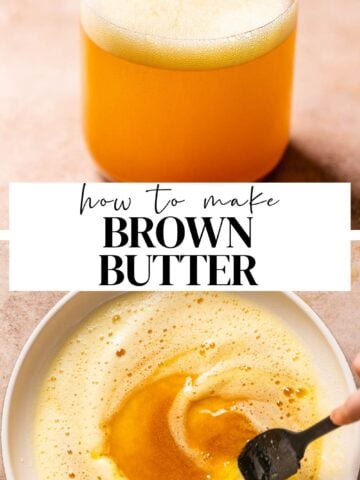
Learn how to make brown butter from a professional pastry chef! This easy-to-make liquid gold requires one ingredient and will completely elevate your baking.
In this comprehensive step-by-step guide, I’m sharing all of my fool-proof bakery secrets to browning butter.
While it seems like a difficult and intimidating task, the art of browning butter is one of the simplest kitchen skills that is easy to learn and quick to master!
Use this secret weapon in both sweet and savory recipes to make brown butter blondies, brown butter brownies, brown butter sage sauce, and more!
Table of Contents
What is Brown Butter?
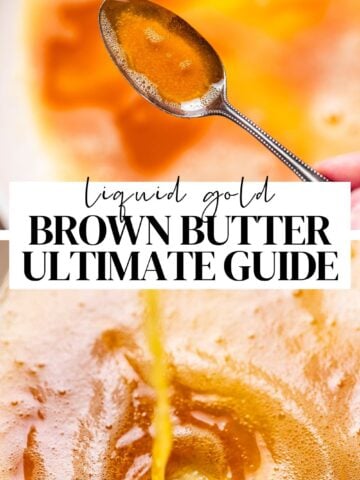
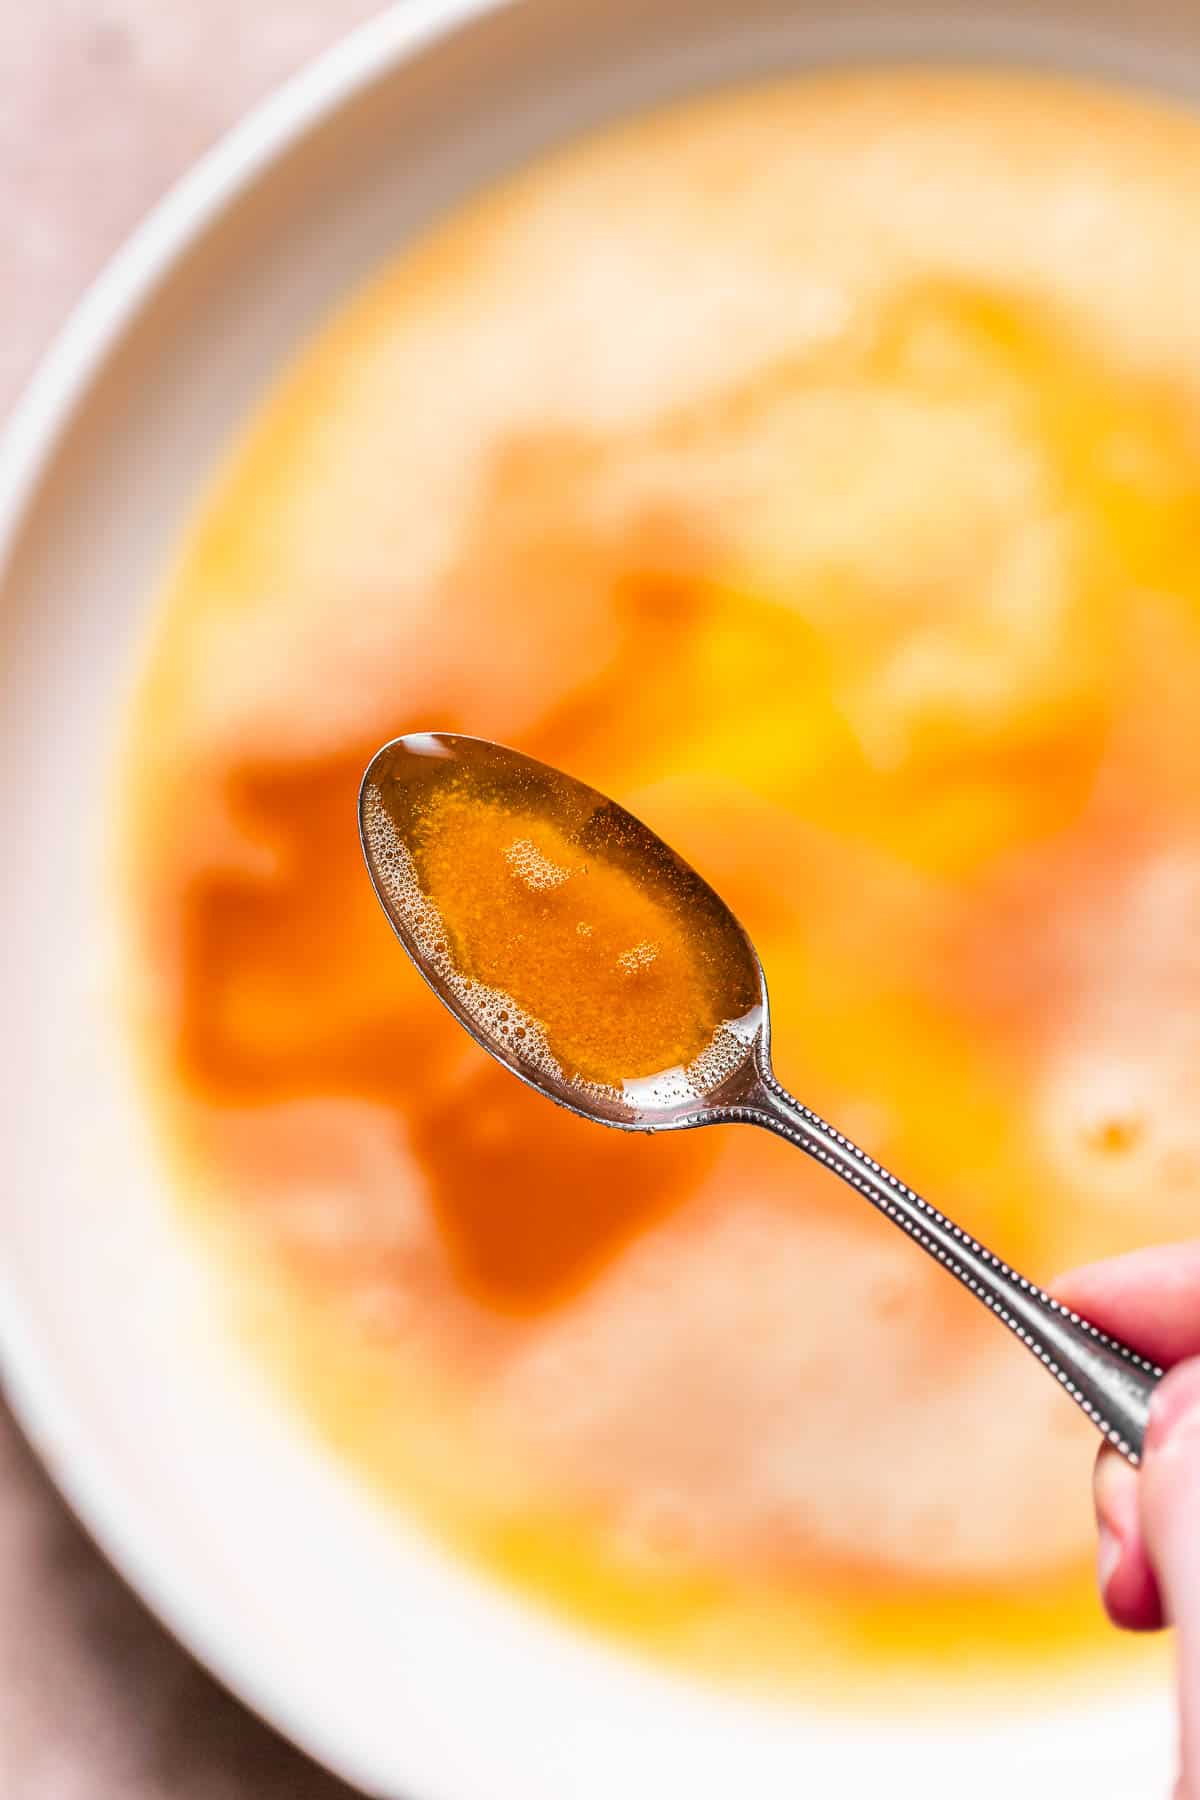
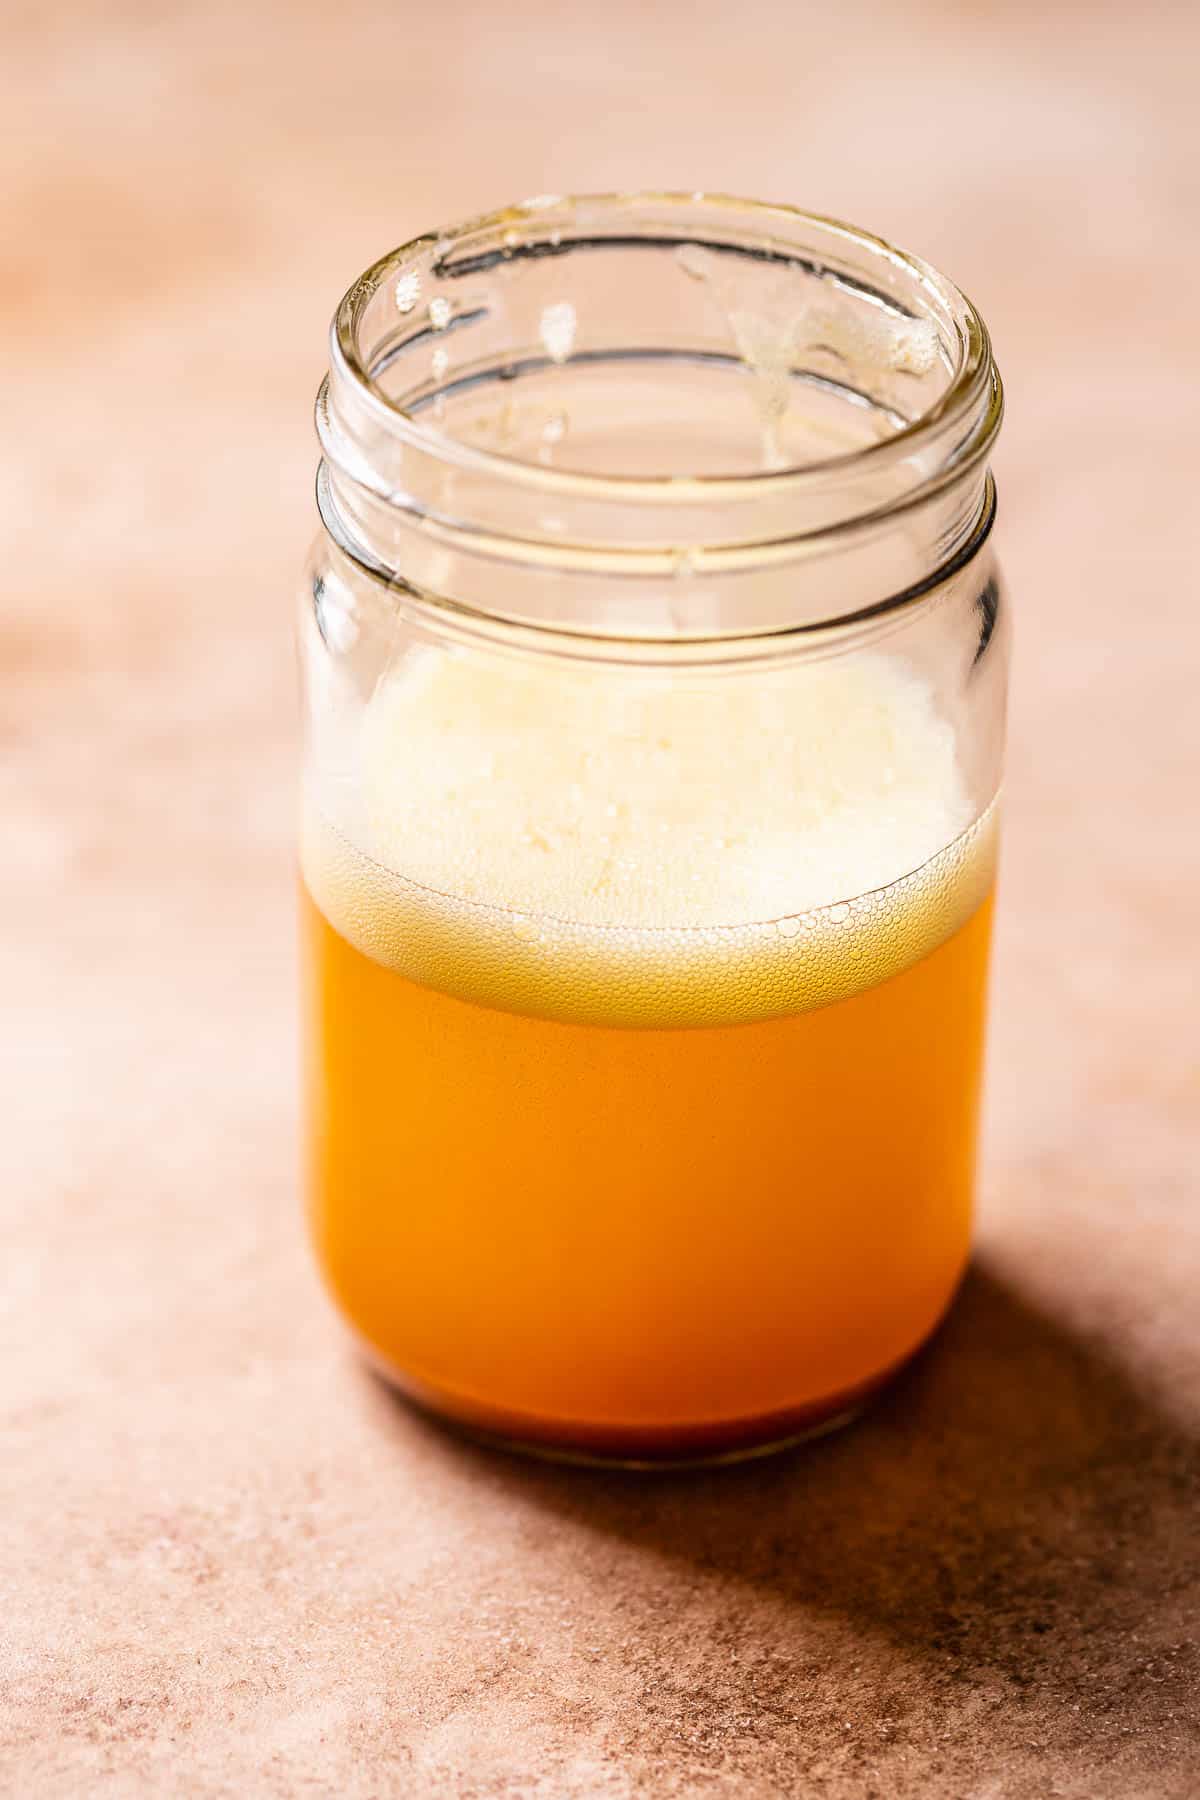
Brown butter (a French classic known as beurre noisette) is a rich and aromatic ingredient created by cooking butter until its milk solids caramelize, resulting in a nutty flavor and distinctive golden-brown color.
Browning butter includes two main processes:
- The melting stage. The butter begins to melt. As it heats and simmers, gentle bubbles form as the water evaporates.
- The browning transformation. Past the melting point, the butter starts the Maillard reaction, producing a nutty aroma. It then transforms into a golden-brown color. This stage packs a depth of flavor and complexity to the butter!
Choosing the Perfect Butter
High-quality butter yields high-quality results!
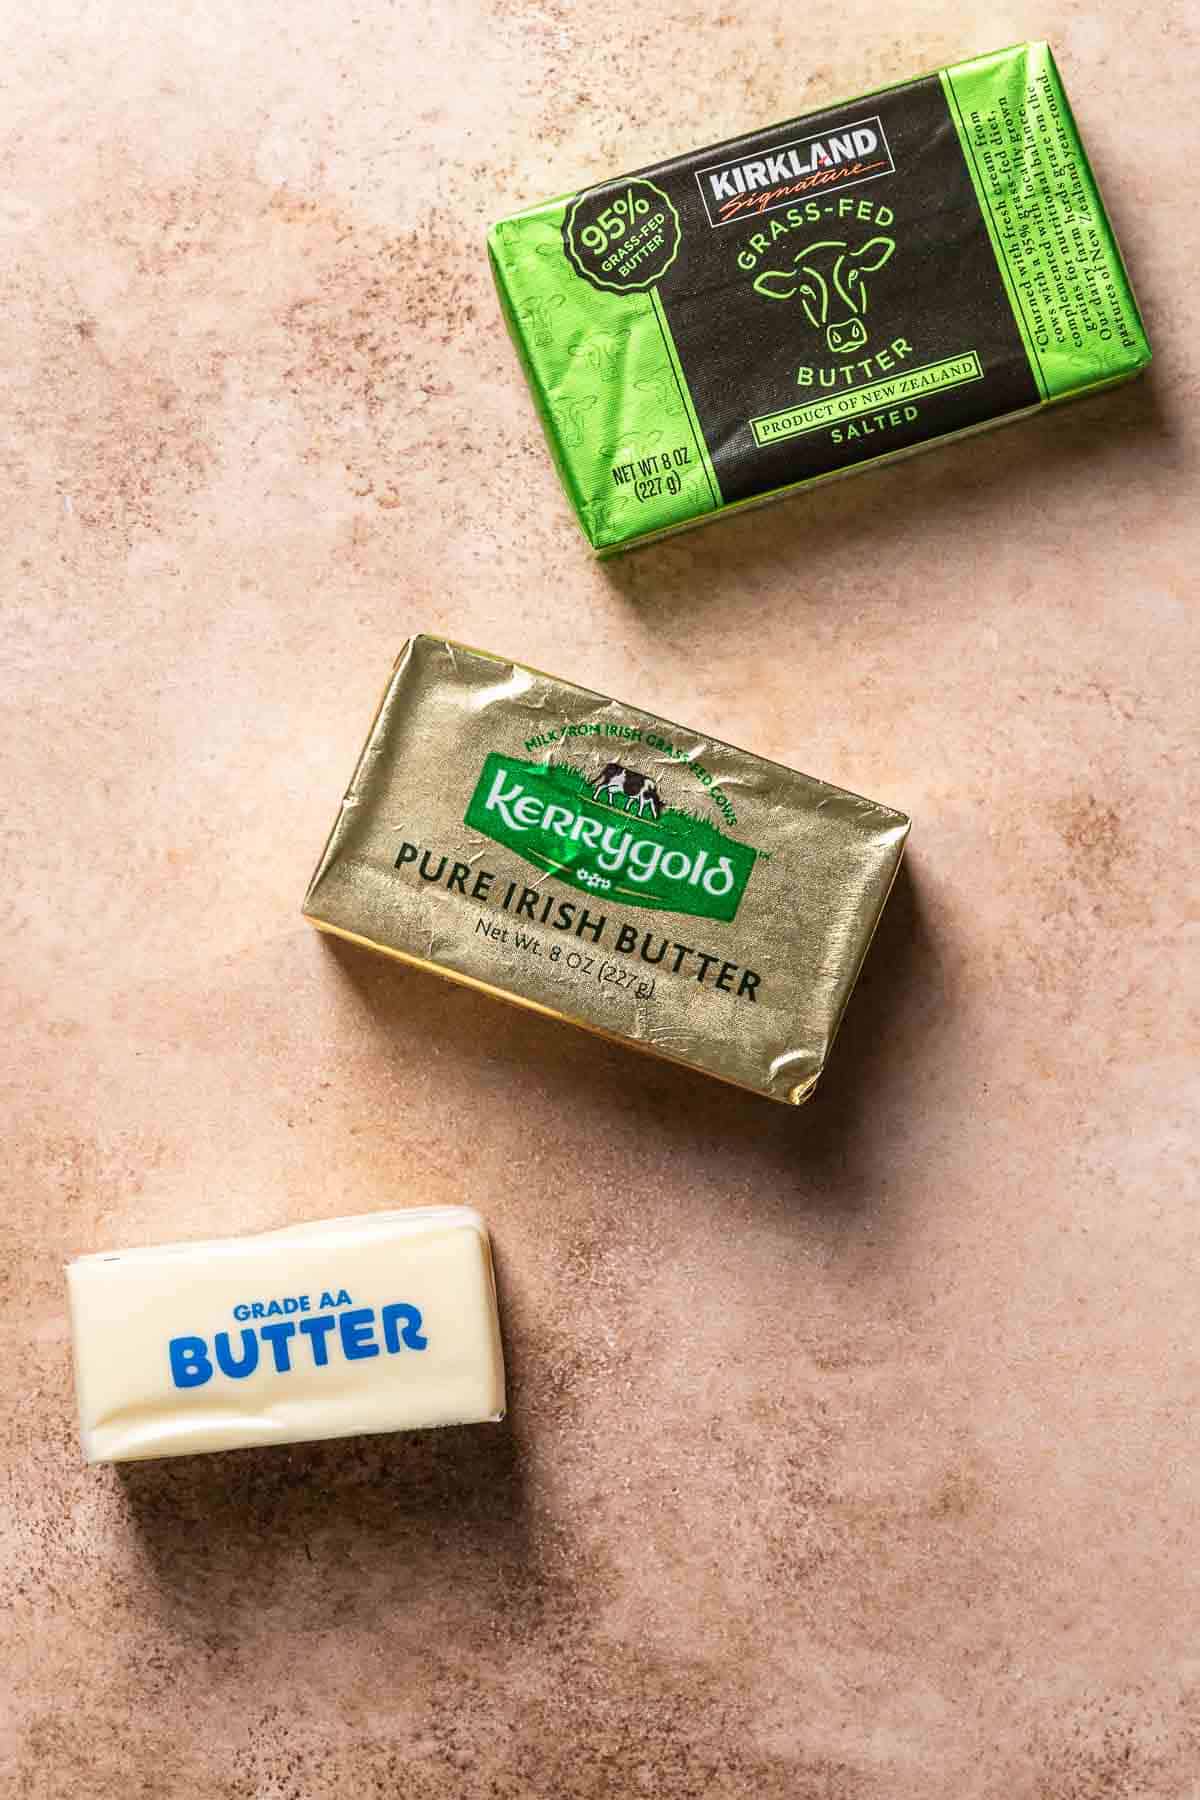
Salted vs. unsalted butter: Unsalted butter is recommended since salt content can vary across butter brands. However, either kind can be browned!
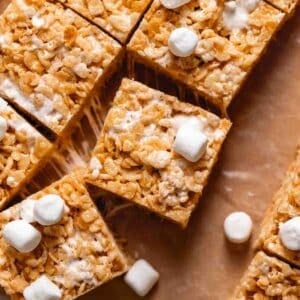
European butter: Like Kerry Gold or Plugra. They have a higher butter fat content and are a deep yellow color. They will result in a creamier and richer brown butter, as seen in our brown butter rice krispies.
American butter (regular butter): Has a more pronounced nutty and toasty flavor when browned.
How to Make Brown Butter
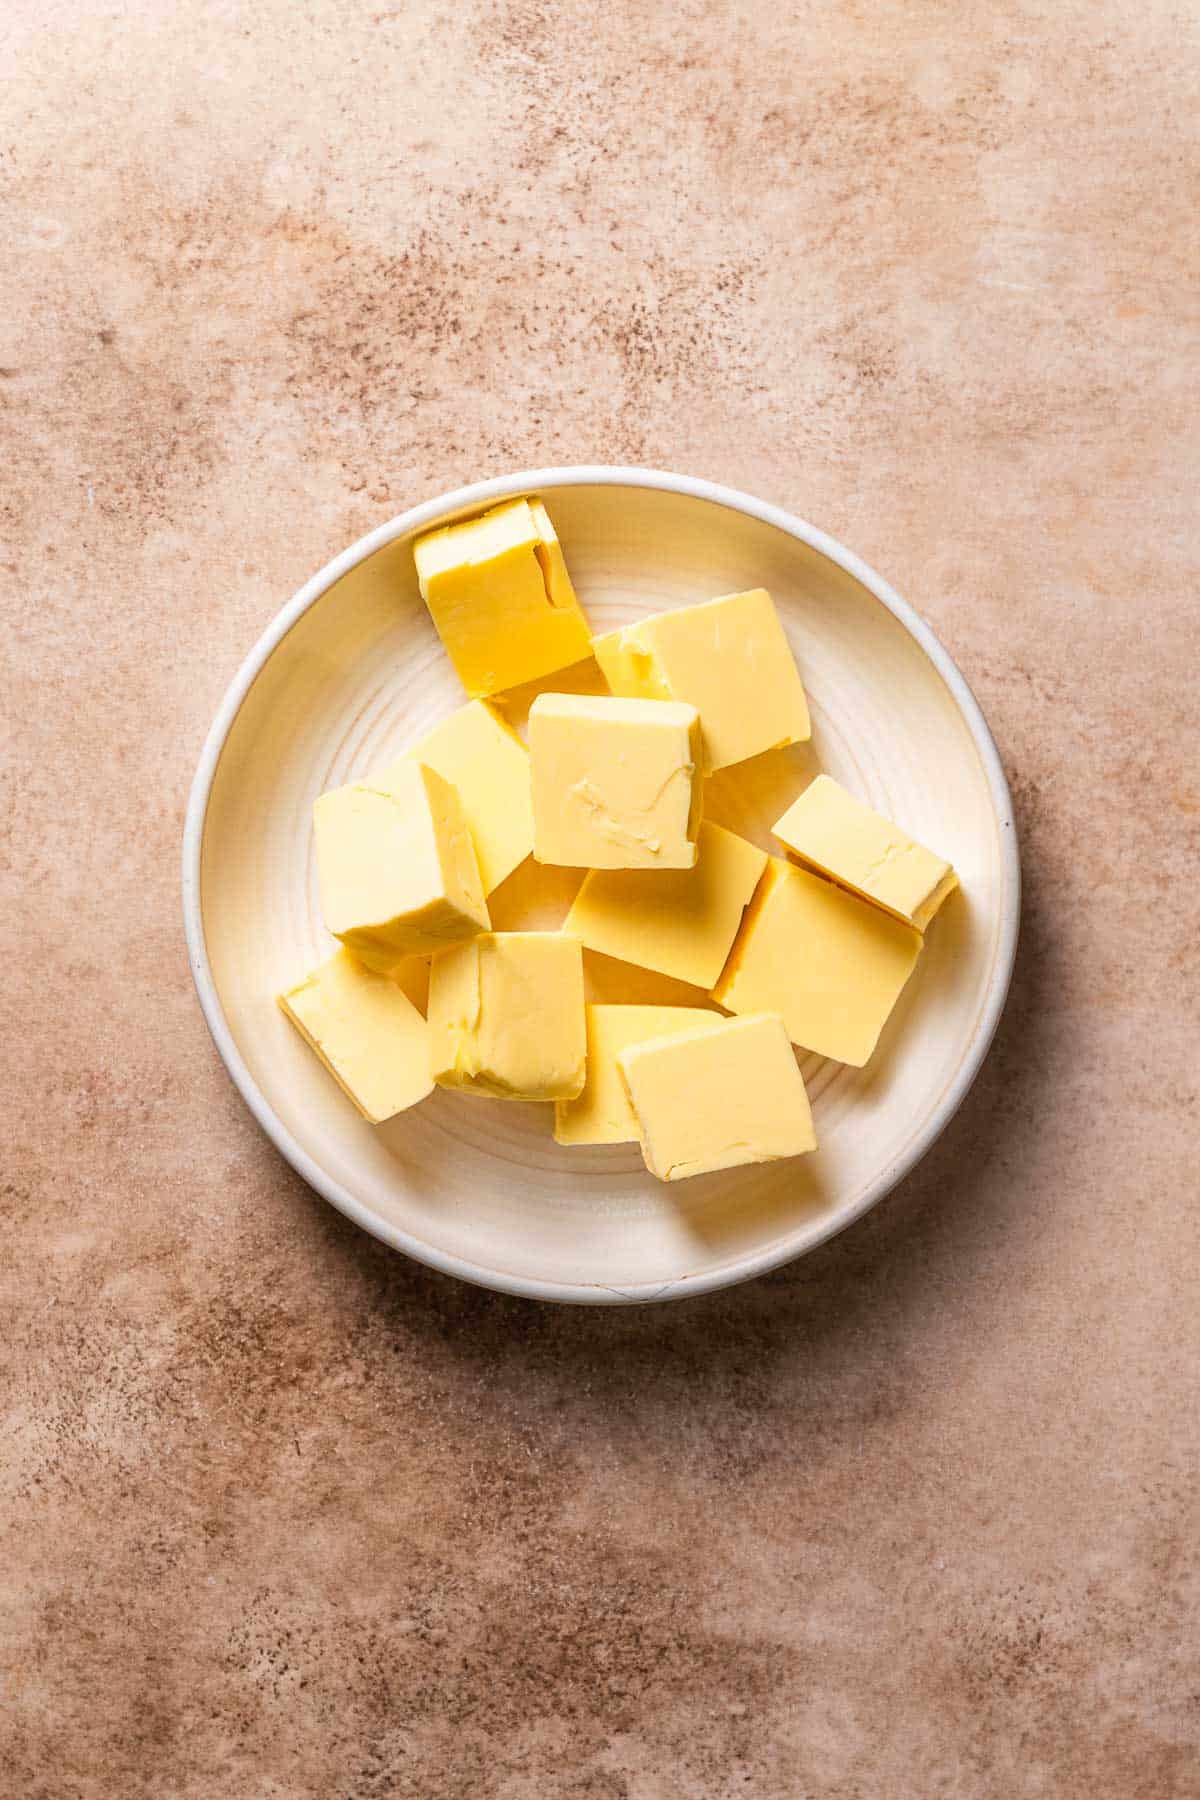
Step 1: Cut the butter into equal pieces. This allows the butter to melt evenly in the pan. You can use room temperature or cold butter!
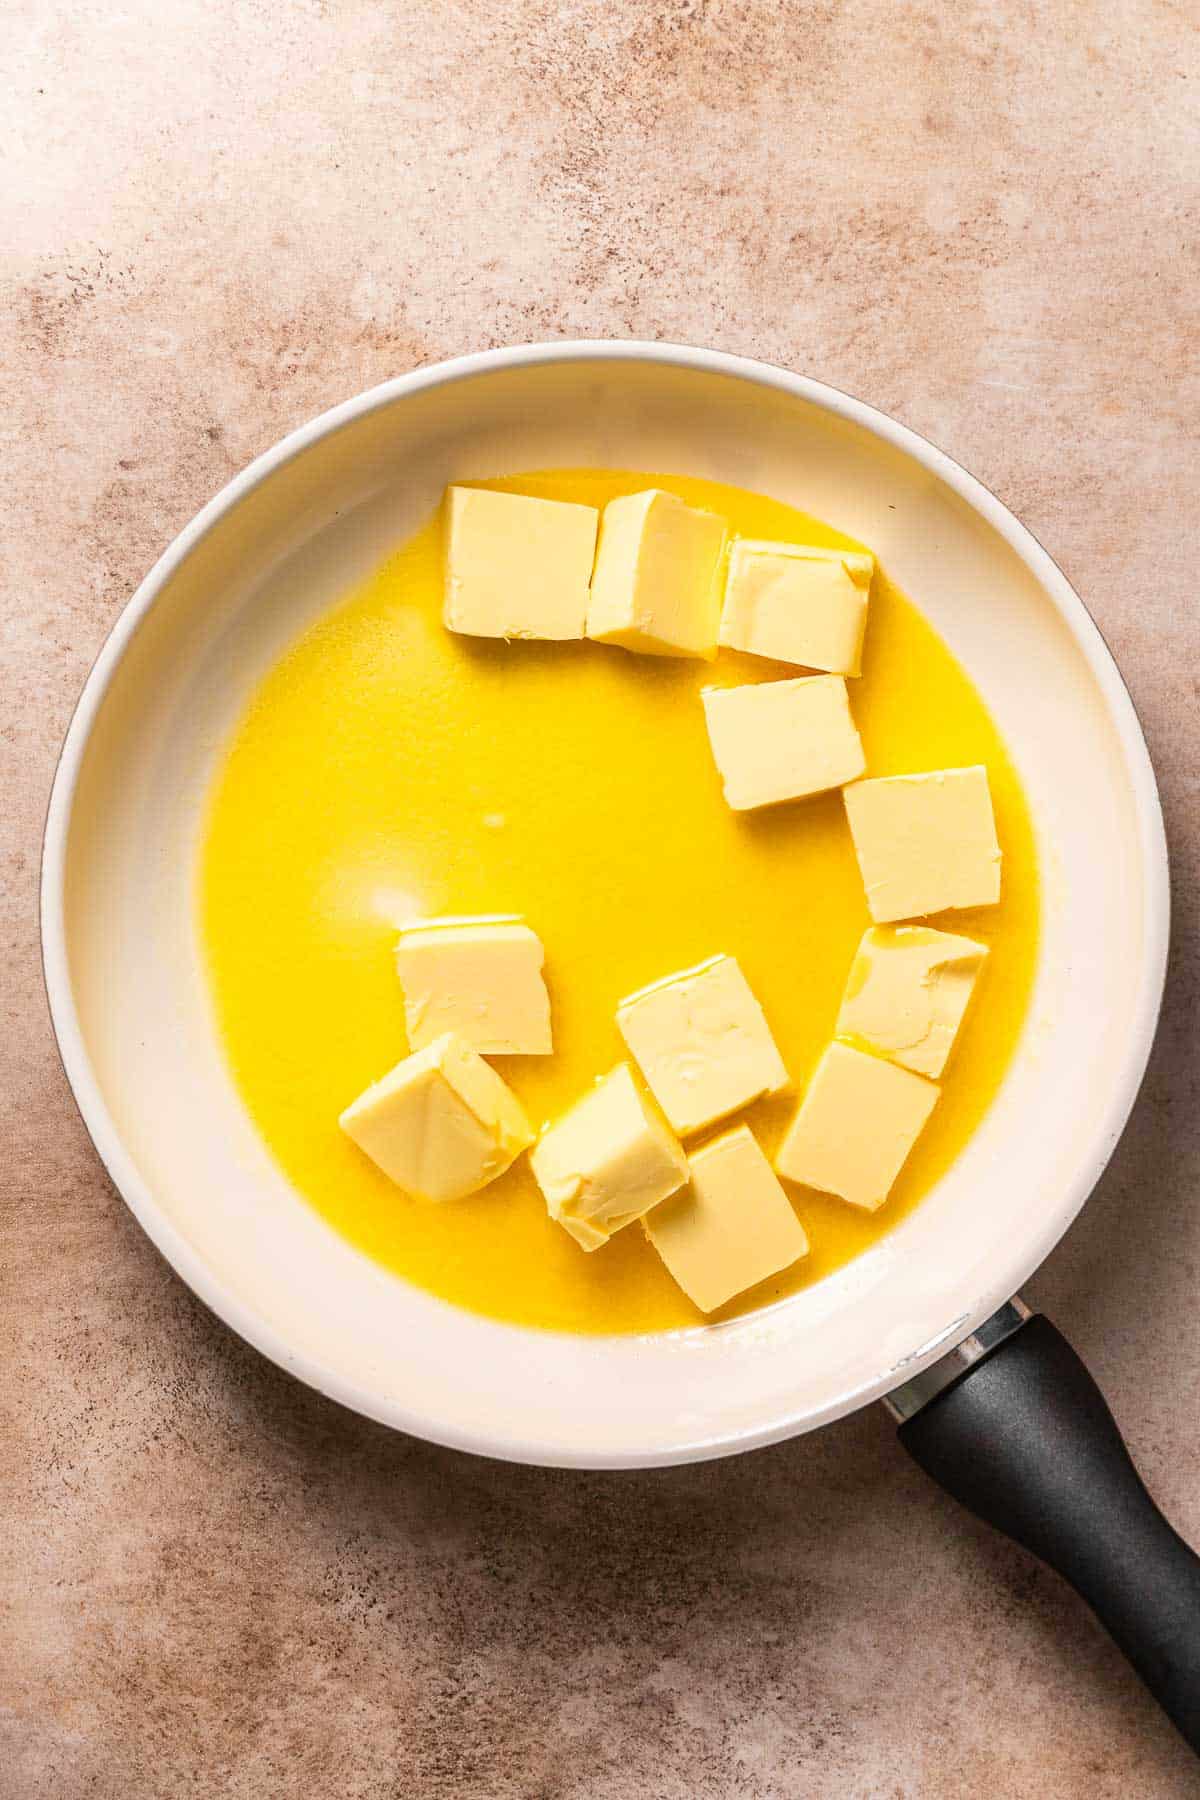
Step 2: Cook over medium heat. In the beginning stage, the butter will melt in the pan. Stir it occasionally so that it melts evenly.
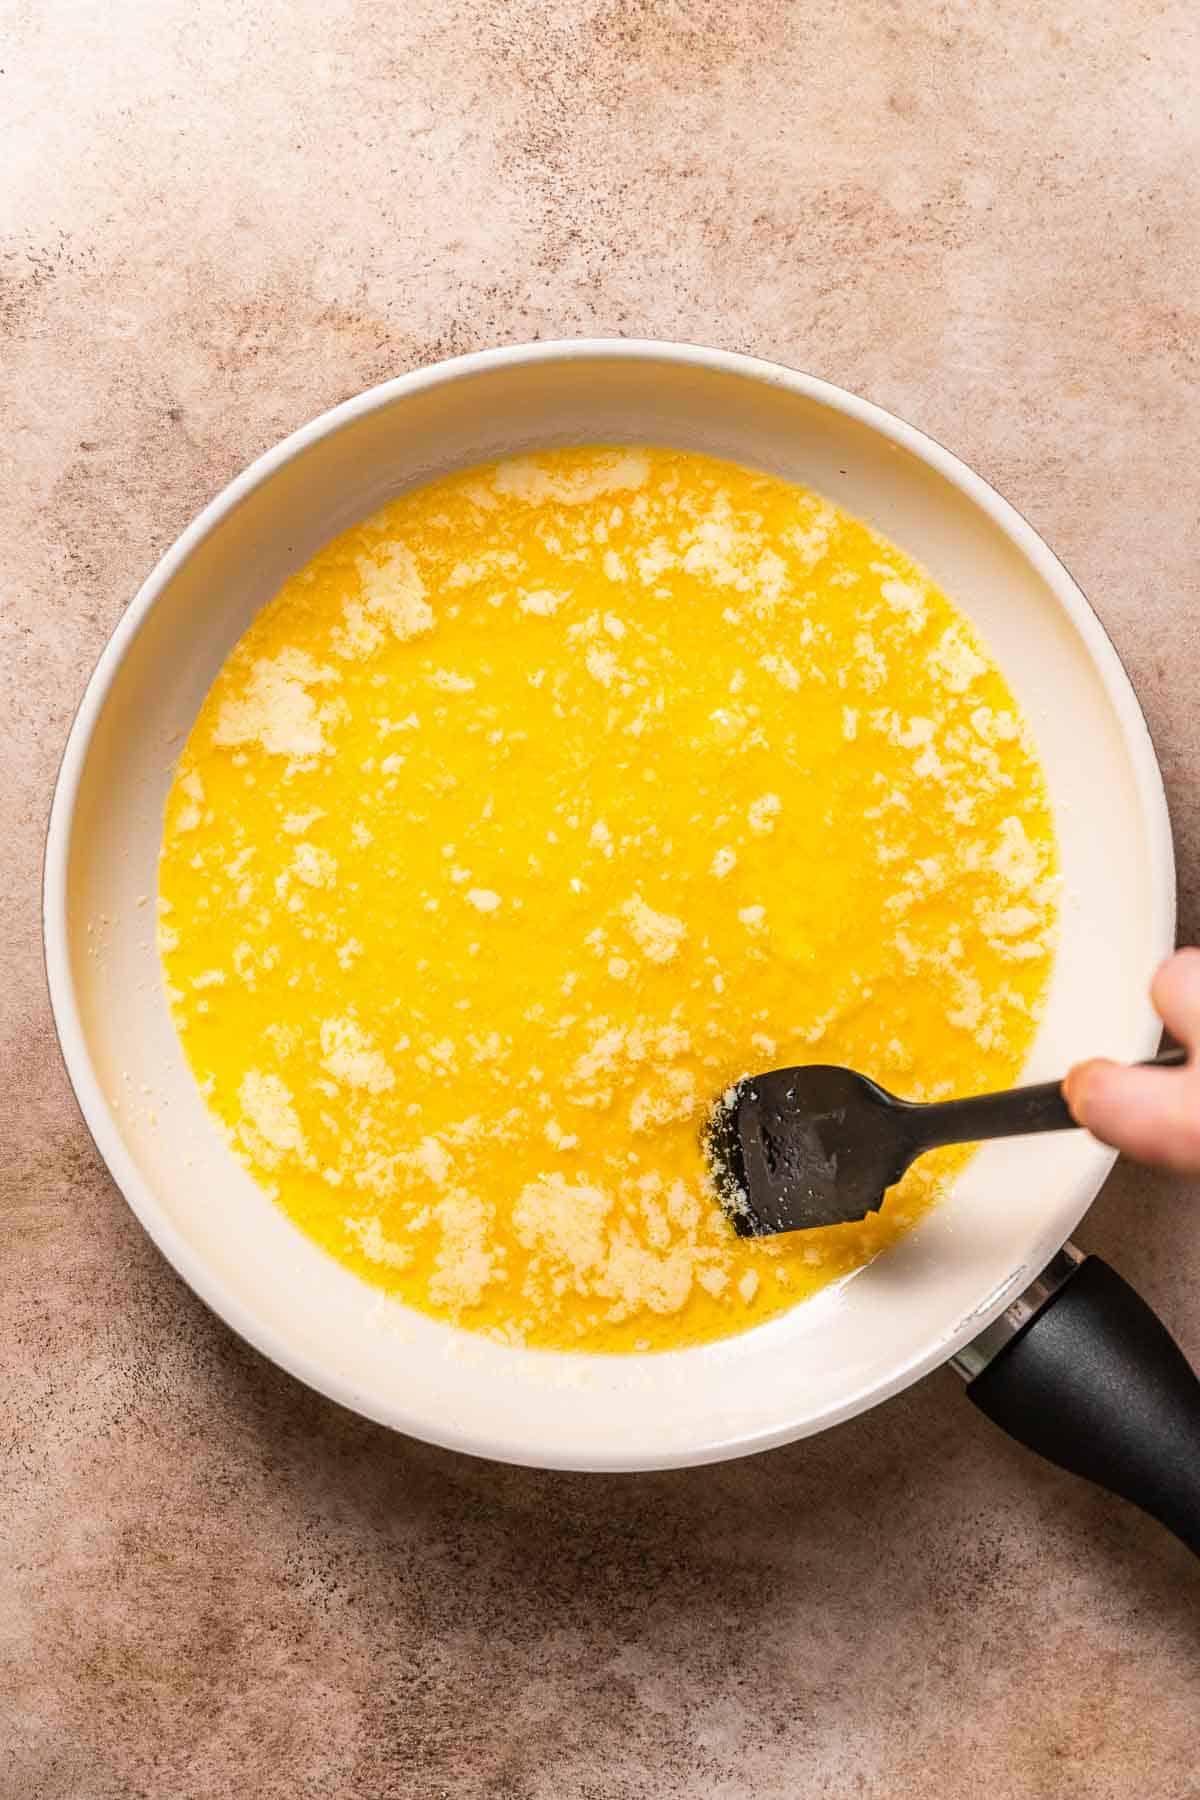
Step 3: Stir constantly. The butter will start to sizzle, pop, and bubble intensely. Stand nearby and stir it constantly so it doesn’t burn!
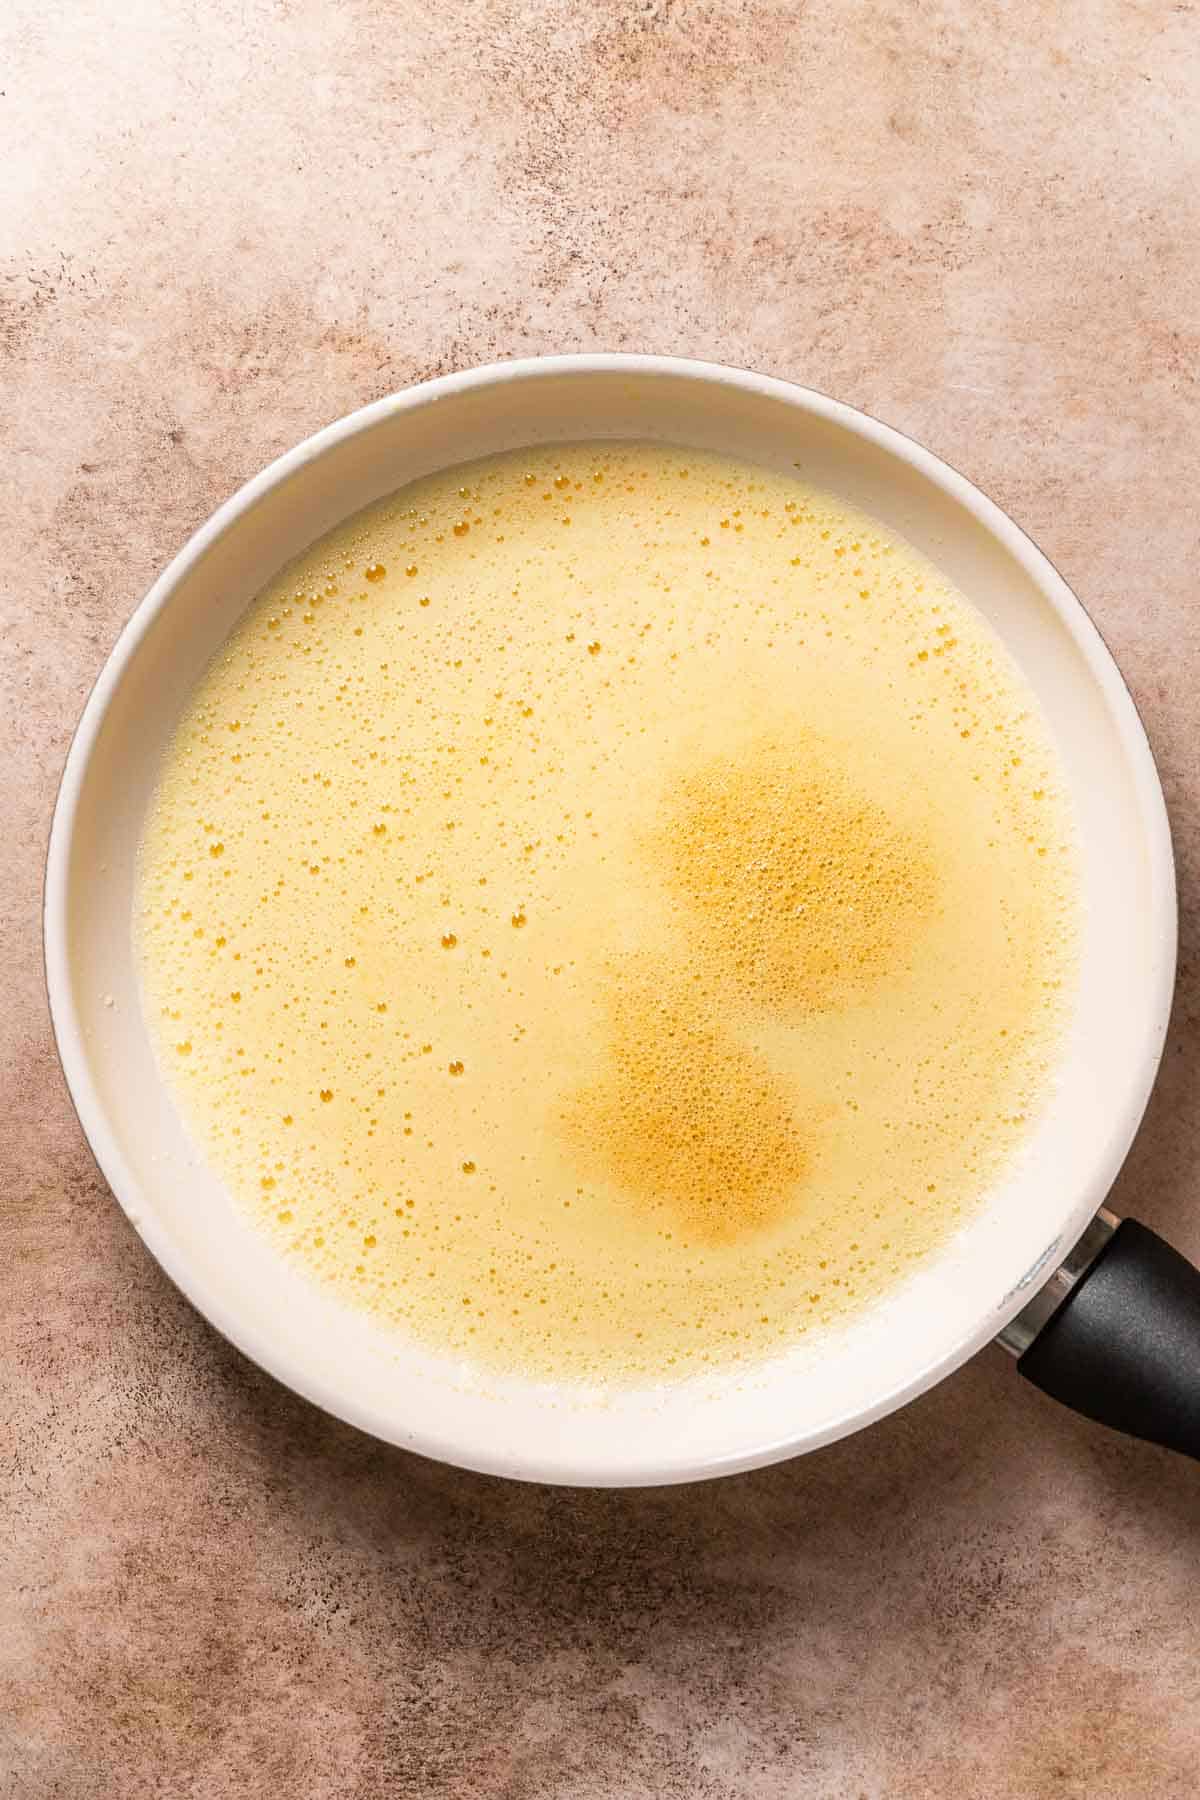
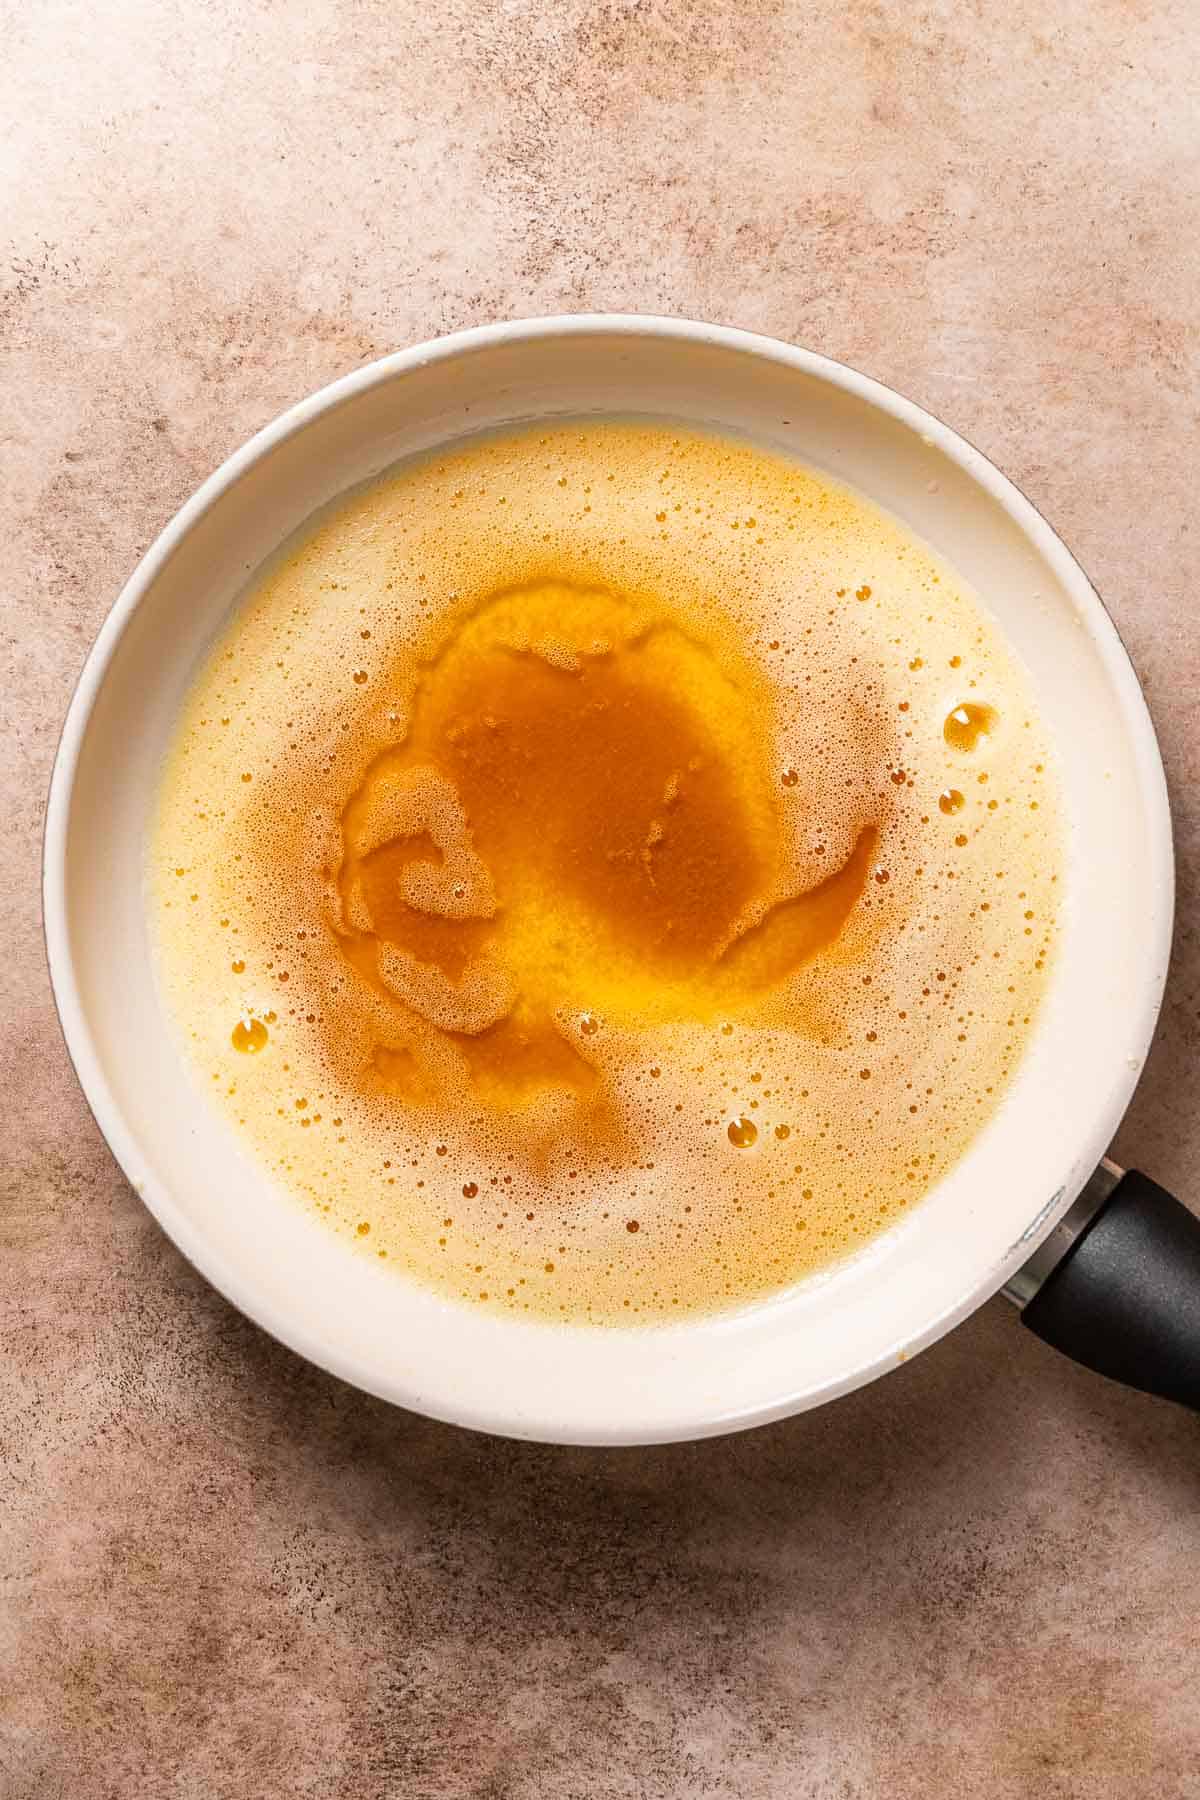
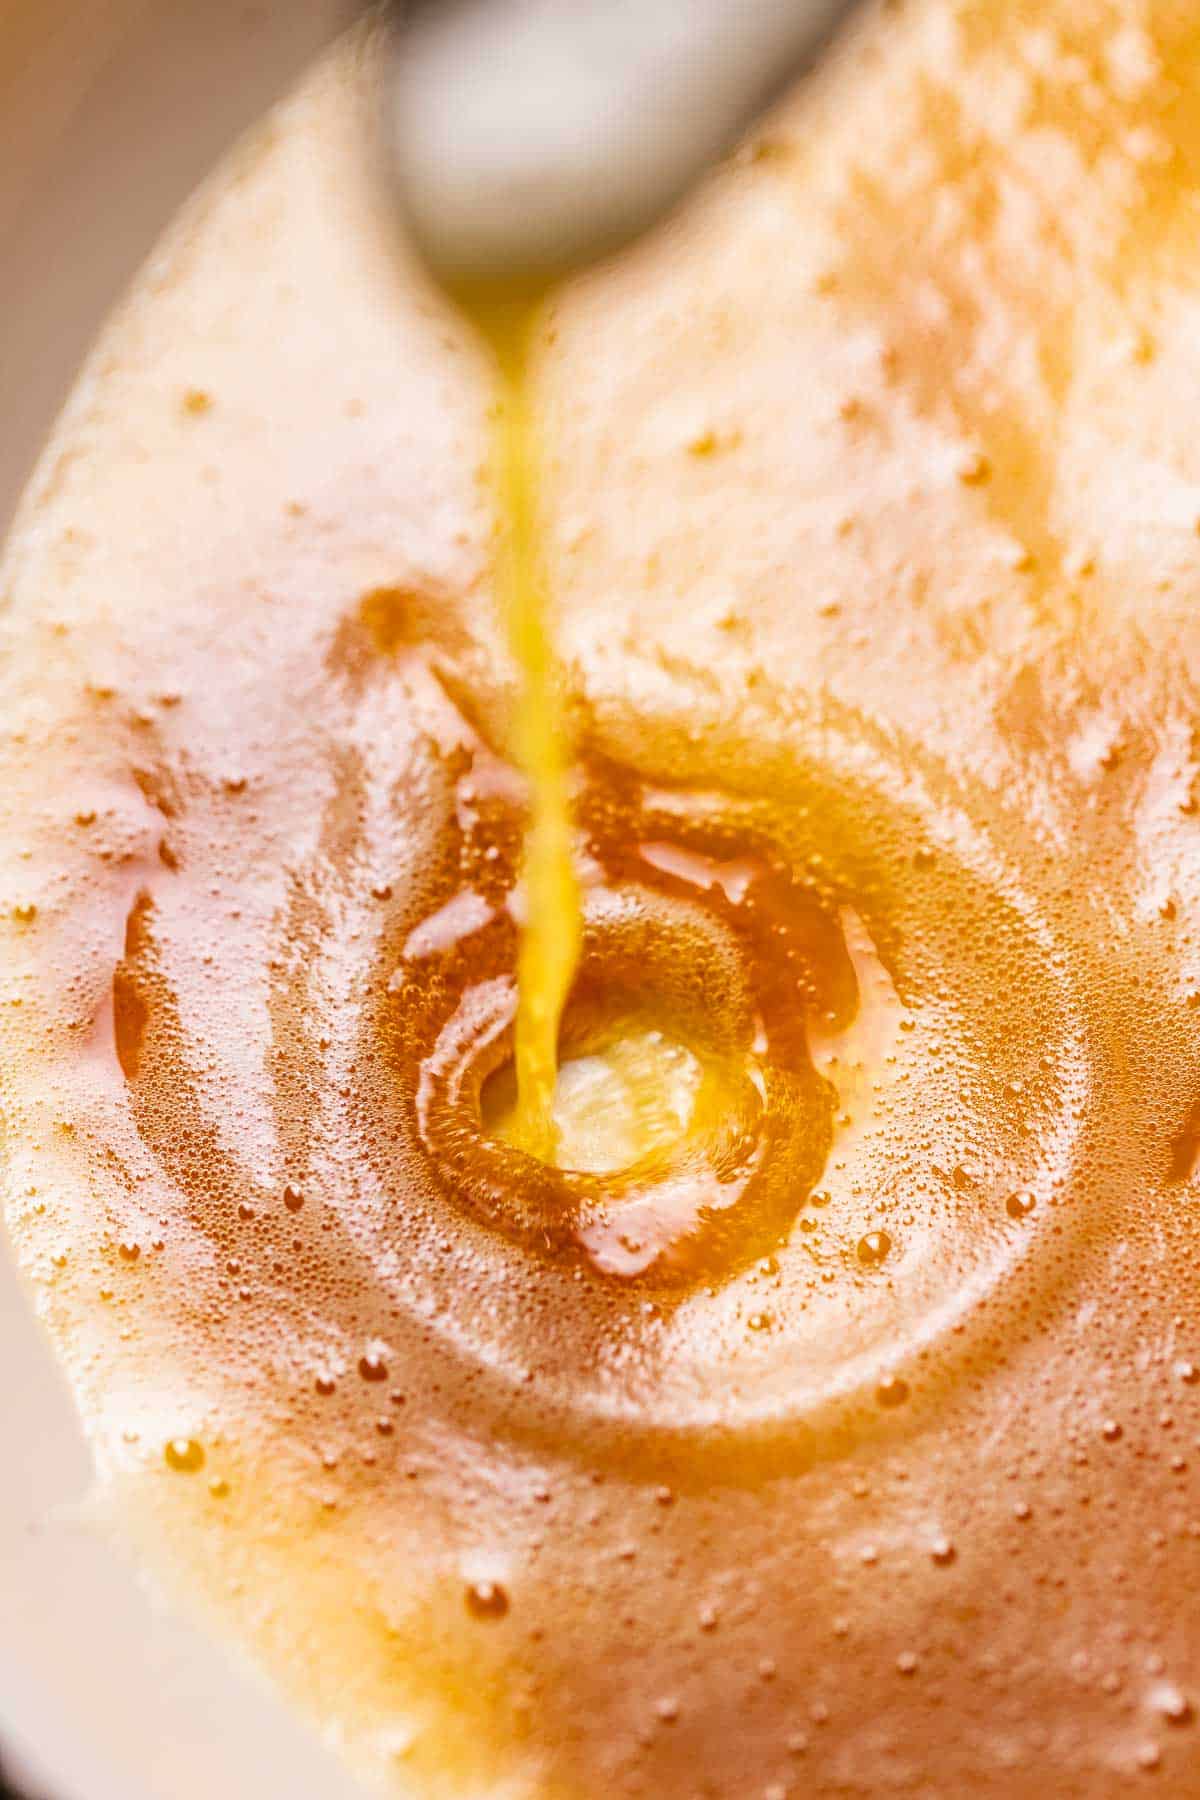
Step 4: Watch and listen. The noise will start to quiet because all of the water has evaporated, and the top will get super foamy.
Pro tip: Halfway through the process, start whisking the butter. It intensifies the caramelized flavor if you keep the milk solid particles suspended!
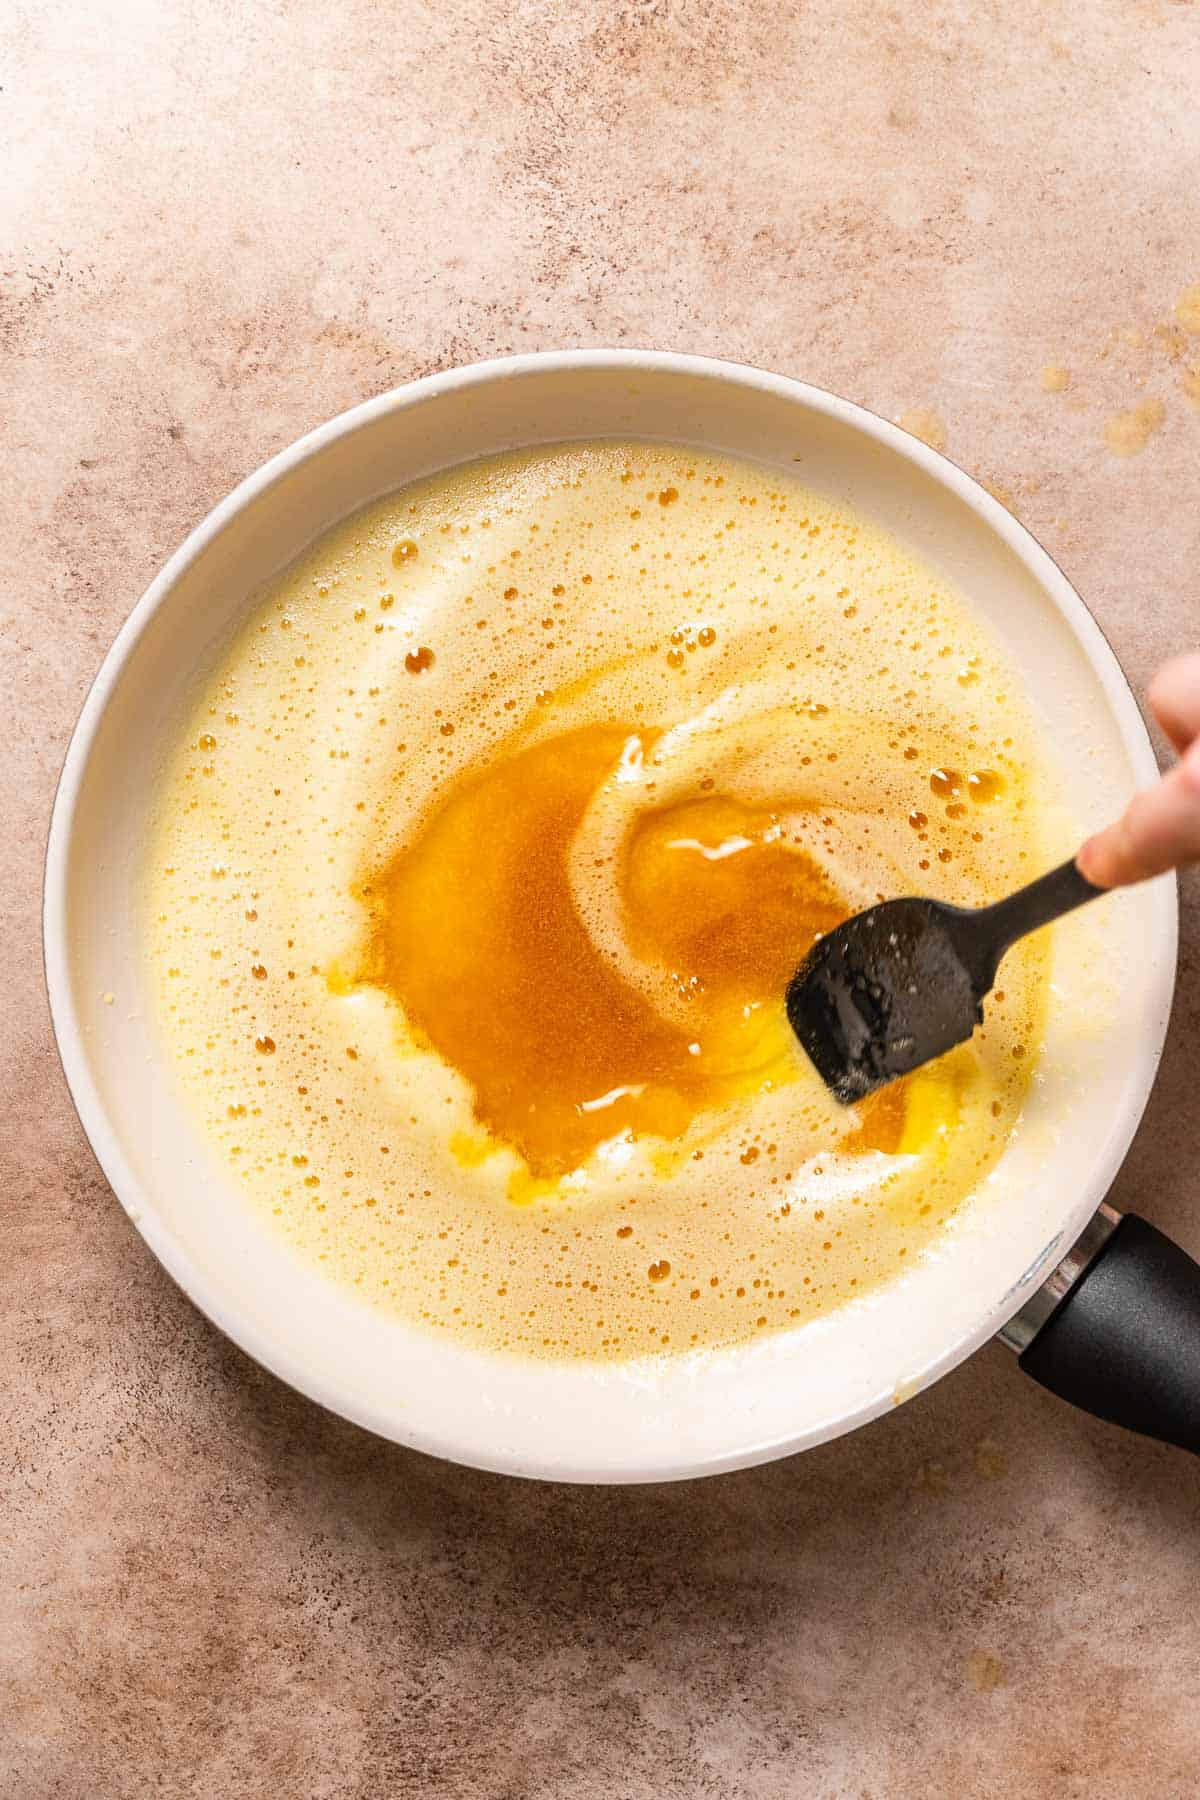
Step 5: Look for a golden color. As you stir, notice the milk solids at the bottom of the pan. The butter will start smelling nutty and will turn a golden yellow color.
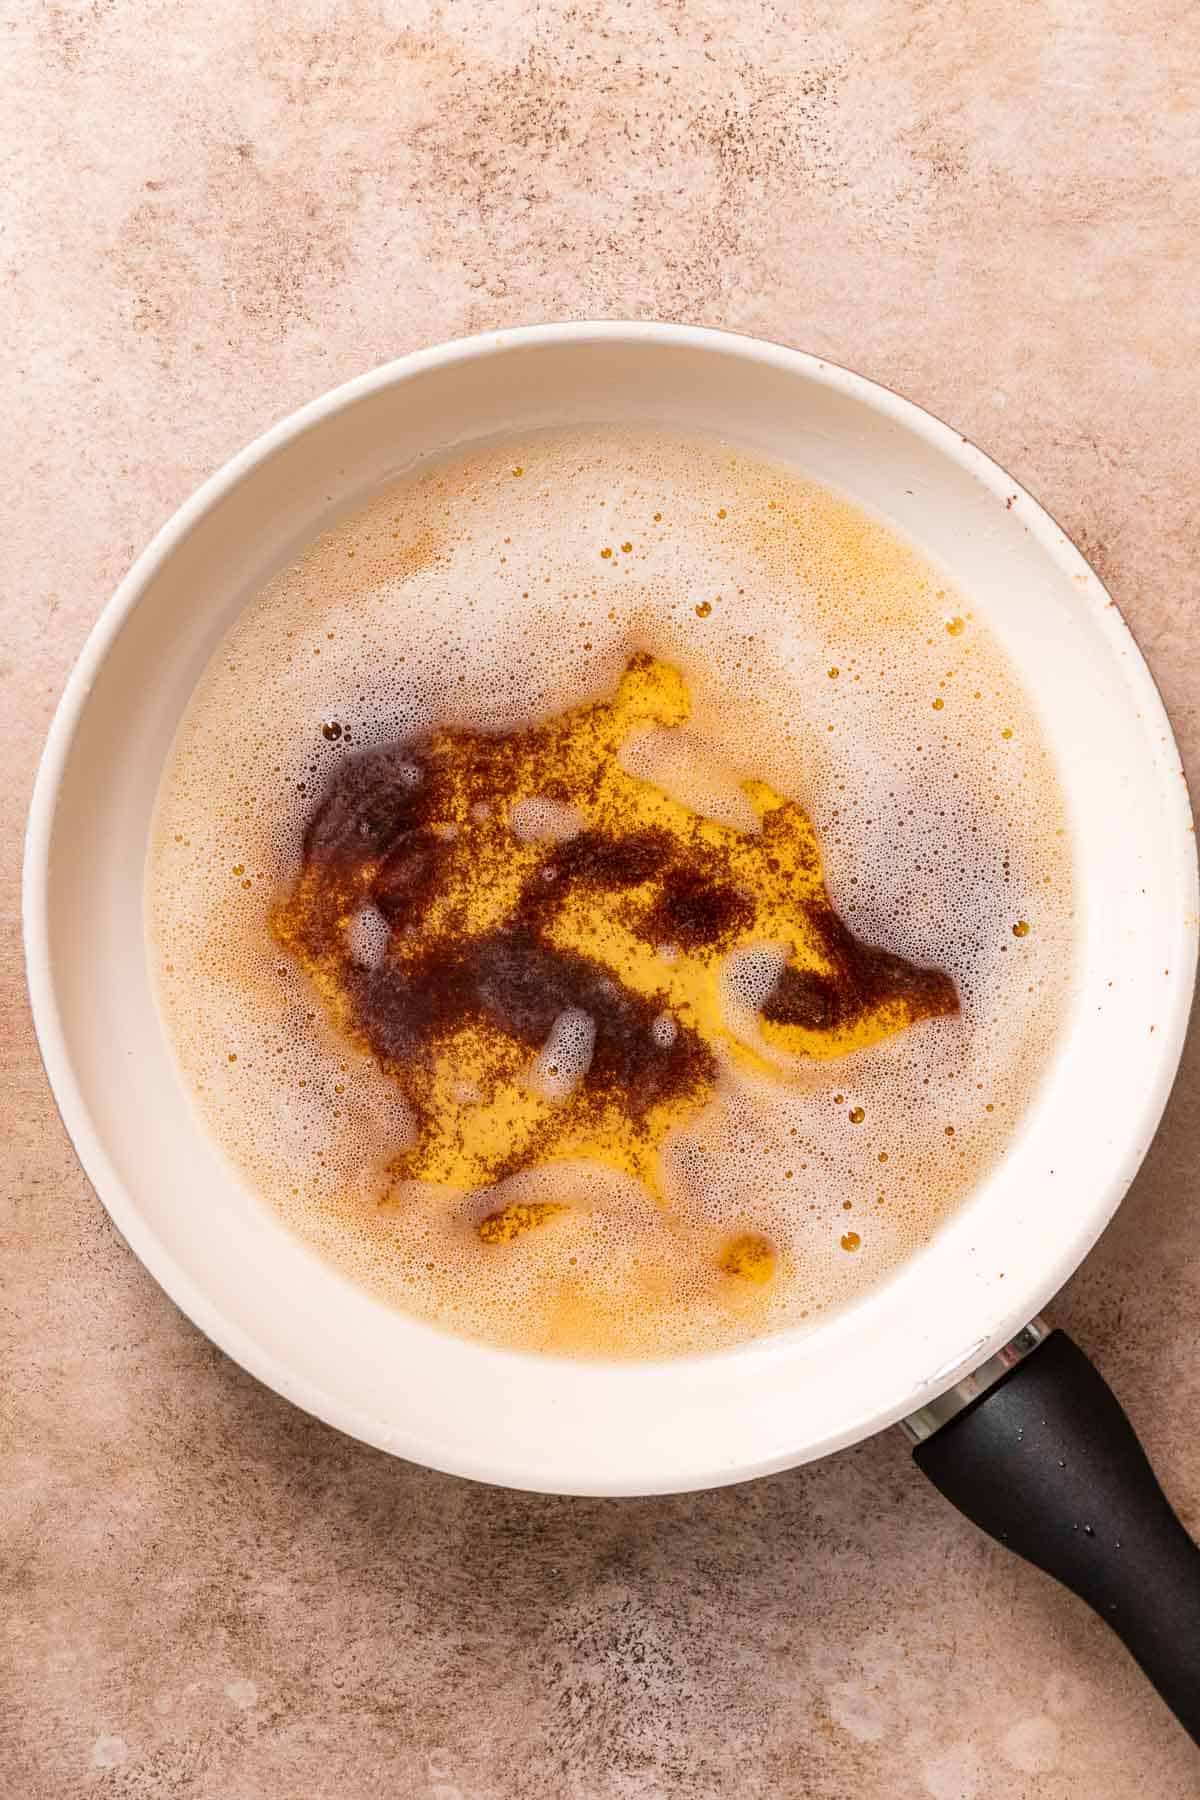
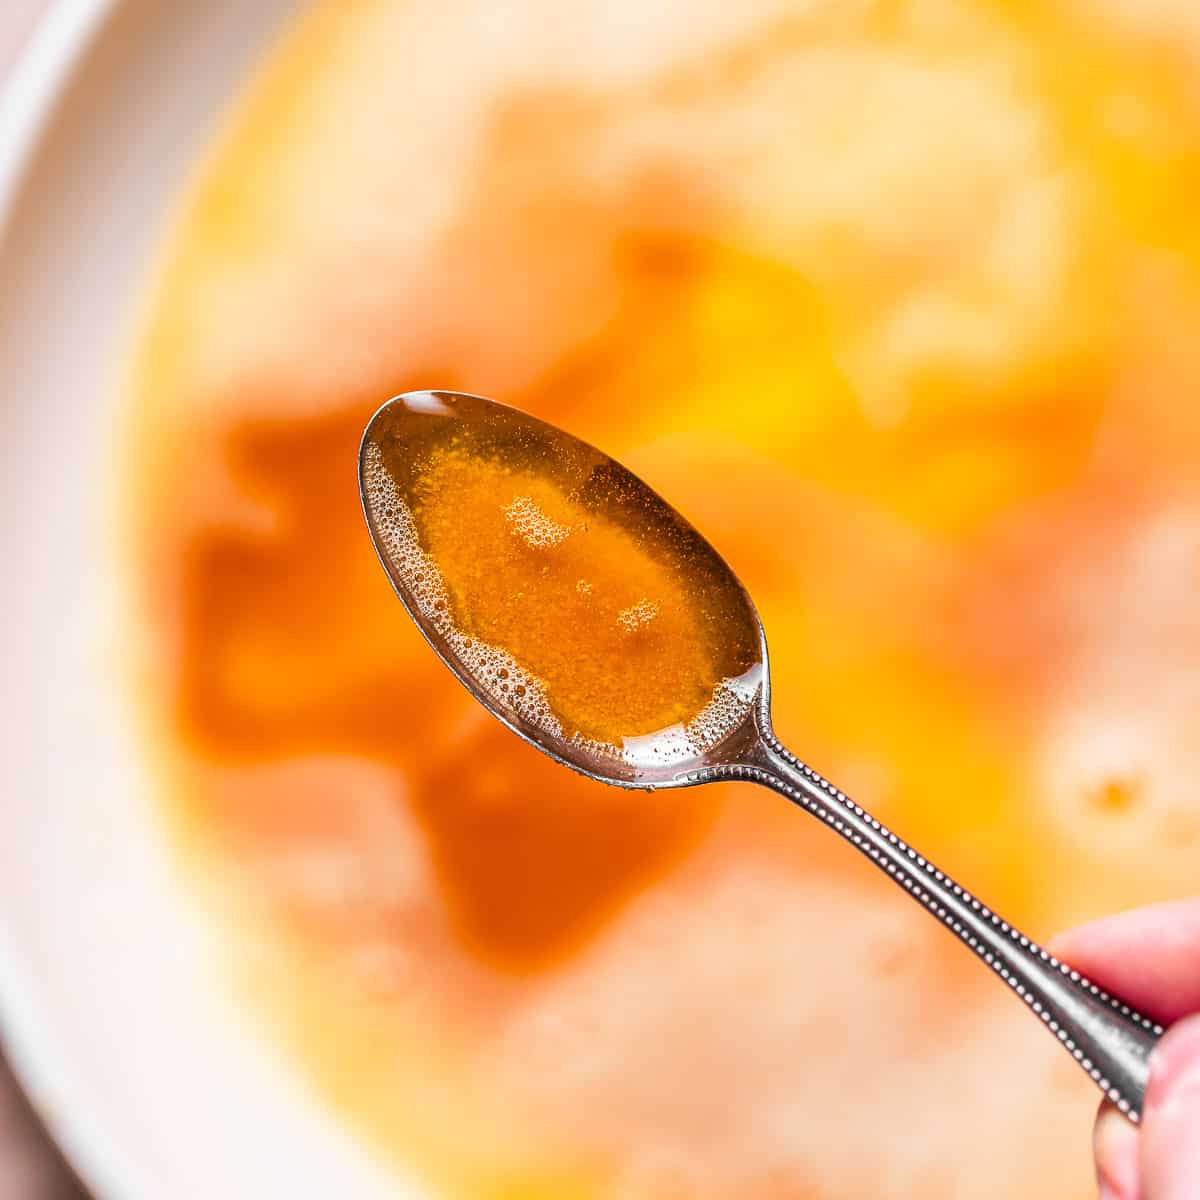
Step 6: Take it off the heat. As soon as the milk solids turn amber-brown, take the pan off the heat and scrape everything (don’t leave any browned bits behind) into a heatproof bowl. You have officially made brown butter!
Substituting Browned Butter in Recipes
You can use brown butter in almost any recipe that calls for melted butter. See Moisture Loss below. You can also use it for:
Softened butter: If your recipe calls for softened butter (like in brown butter cinnamon rolls, let it cool and solidify first.
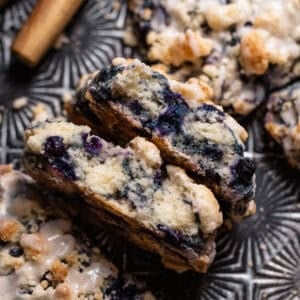
Whipped brown butter: Let it solidify at room temperature, then whisk it in a mixing bowl until light and fluffy (similar to whipped cream). Spread it onto a warm slice of sourdough or brown butter banana bread!
Moisture Loss
Some of the liquid will evaporate during the cooking process, which is why I recommend always measuring or weighing the butter after it’s cooked. This is especially important because butter brands contain different levels of water content, as seen below.
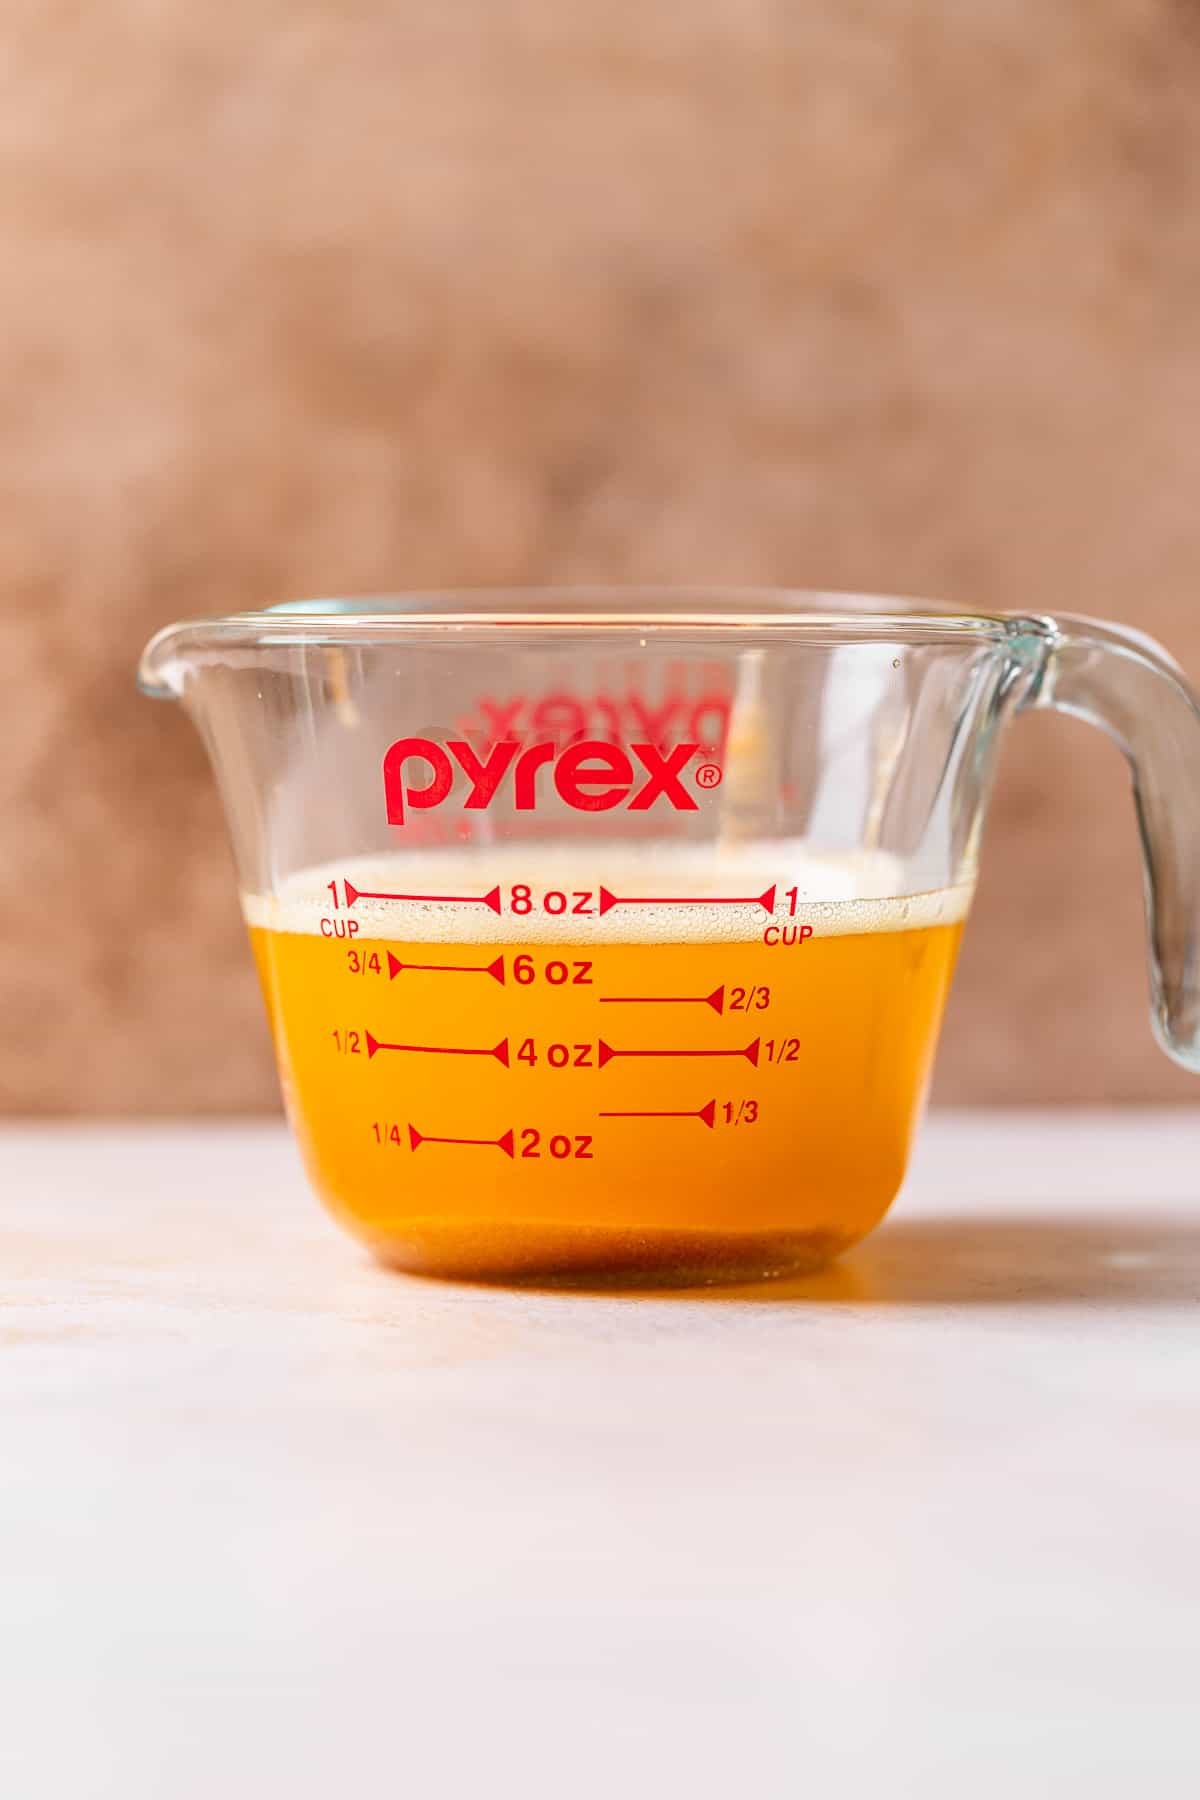
Kerrygold butter: After browning, one pound of butter, we had about 3/4 cup.
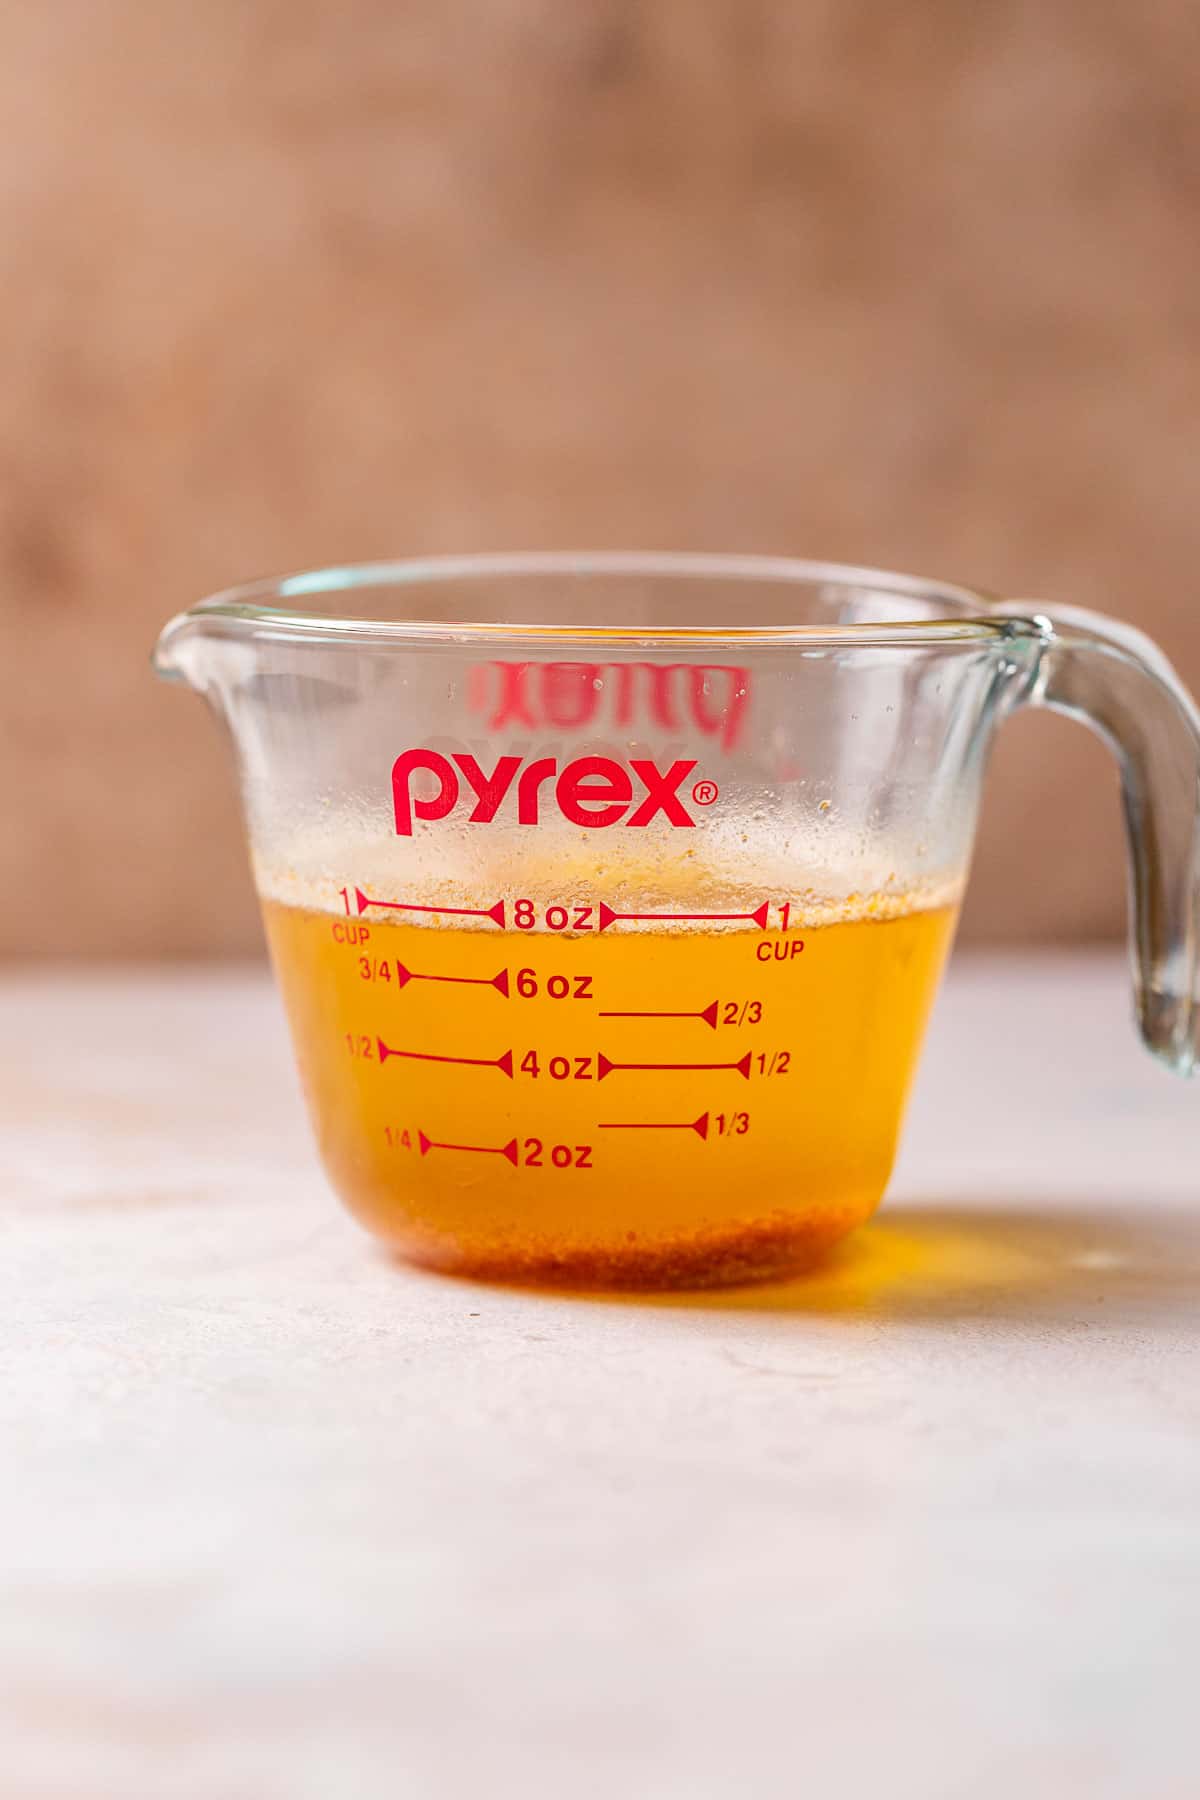
Kirkland butter: After browning one pound of butter, we had just slightly less than one cup.
Brown vs. Burnt Butter
Butter can be cooked too long and will burn as a result. This is why I can’t stress enough how important it is to stir constantly and watch it while it cooks!
Brown butter: Properly browned butter will have toasted milk solids at the bottom of the pan.
Burnt butter: If cooked too long, the milk solids will turn black and will smell burnt. If used, it will have a burnt and bitter flavor!
Flavor Pairing Guide
Get ready to mix and match flavors with browned butter!
- Chocolate: They both have inherently rich and indulgent qualities that create bakery-worthy treats like Nutella bars.
- Sea salt or Miso: Elevates the overall flavor profile with a touch of saltiness like in miso chocolate chip cookies.
- Nuts (especially pecans): Enhances the nutty flavor.
- Coffee or Espresso: Infuses a deep and robust flavor that enhances the browned butter, like in espresso chocolate chip cookies.
- Pumpkin: The combination of pumpkin and nutty brown butter creates a cozy fall flavor like in chocolate chip pumpkin cake, chocolate chip pumpkin cookies, and pumpkin spice cookies.
Storing, Freezing, and Reheating
- Reheating: You can brown it ahead of time, re-melt it, and use it in your favorite recipe!
- Storage: Browned butter can be stored for up to 5 days in the fridge in an airtight container. You can use the cold re-solidified brown butter to make a brown butter pie crust for strawberry peach pie!
- Freezing: Store any brown butter in an airtight container with a layer of foil in between the lid for up to 3 months.
5 Top Tips for Succes
- Cut it into pieces. This will allow it to melt and brown evenly.
- Stir it constantly. Keep a close eye on the changing color and aroma. Stirring will prevent burning and achieve even browning.
- Choose the right pan. Use a light-colored pan for better visibility and to avoid overcooking.
- Patience is key! Allow the butter to melt and simmer gradually over medium heat to ensure it browns evenly.
- Don’t rely on the clock. Cooking times will vary, so rely on your senses instead! The nutty aroma and golden-brown color signal that the brown butter is ready.
FAQs
Brown butter has a rich, nutty, and toasted flavor.
It is a very quick process, roughly 8-12 minutes depending on the size of the pan and the amount of butter.
It is possible, but not recommended. The process is more challenging to control because of the uneven distribution of heat which can lead to overcooking and burning.
Because margarine and other non-dairy substitutes do not have milk solids, they cannot brown and won’t provide the same bold flavor.
The foam is created by water that is evaporating from the butter. As the butter melts and heats up, the water content turns into steam, resulting in bubbles and foam on the surface.
They are the milk solids in the butter that have undergone caramelization during the browning process. These browned milk solids are responsible for the rich, nutty flavor and golden-brown color of brown butter!
Delicious Brown Butter Recipes
How to Brown Butter
Equipment
- light-colored pan
Ingredients
- 1/2 cup unsalted butter, cut into 1 tablespoon pieces
Instructions
- Before you start. Grab a light-colored pan or skillet, a rubber spatula or whisk, and a heatproof bowl.
- Place the butter in a light-colored pan over medium heat. Cooking the butter low and slow is key to success, don't be tempted to increase the heat!1/2 cup (113 grams) unsalted butter
- Stirring constantly, allow the butter to melt in the pan. As it gets heated past its melting point the butter will sizzle, pop, and bubble vigorously. Stand by and keep stirring it so that it cooks evenly. After a few minutes, it will start to turn golden brown and the top will get very foamy. When the noise starts to quiet, the milk solids at the bottom of the pan will turn golden brown and it will smell intensely nutty and buttery.
- Immediately take it off the heat and pour it into the heatproof bowl to stop it from cooking. Use as desired!