



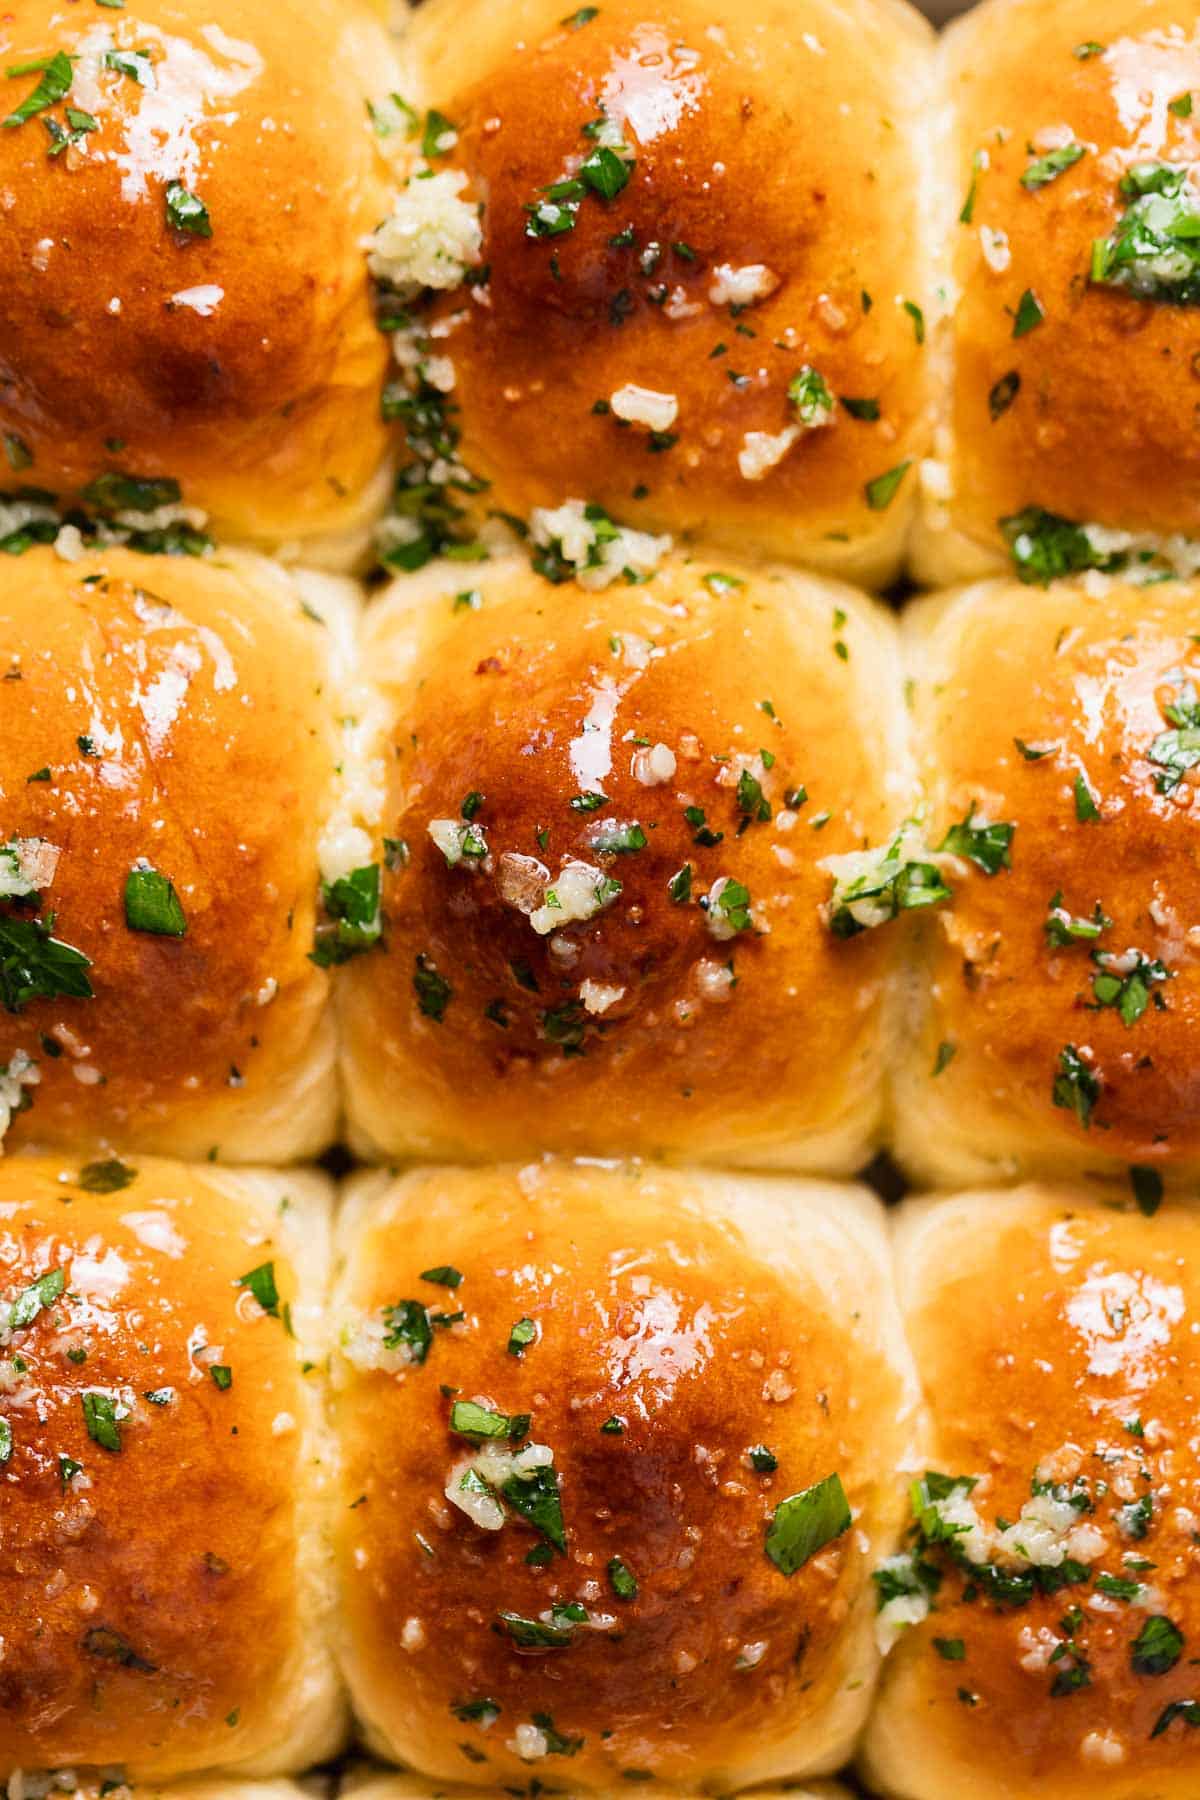
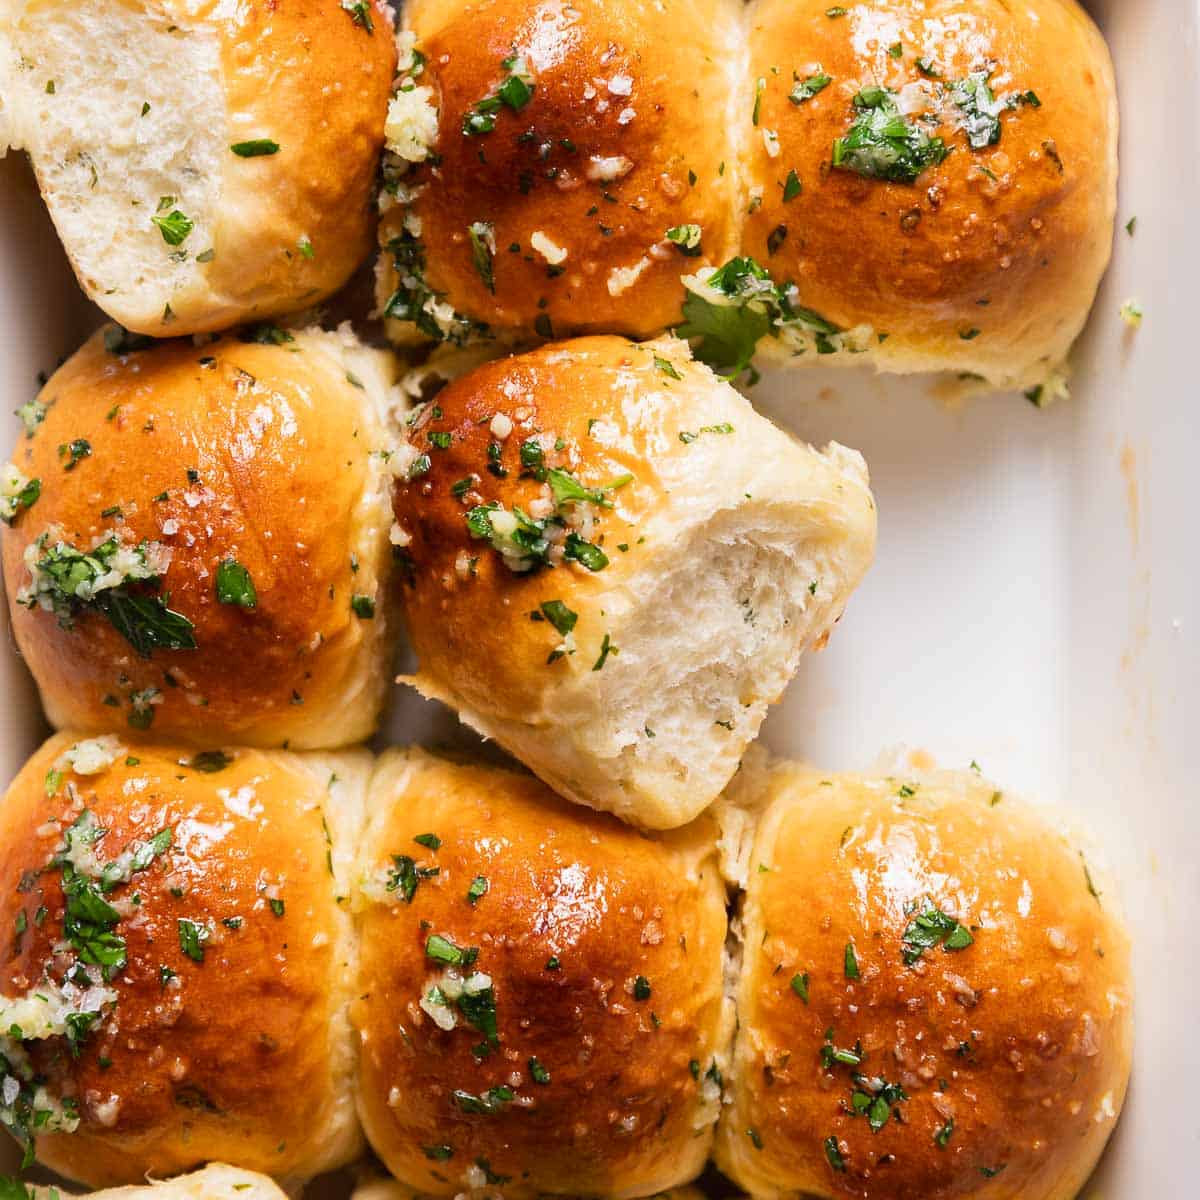
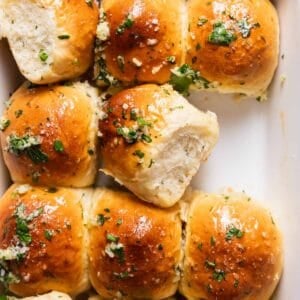
Garlic bread rolls are soft and fluffy dinner rolls packed with garlic flavor. These are a quick, savory variation of my homemade dinner rolls, made with lots of fresh garlic in the dough and brushed with even more garlic-herb butter after baking!
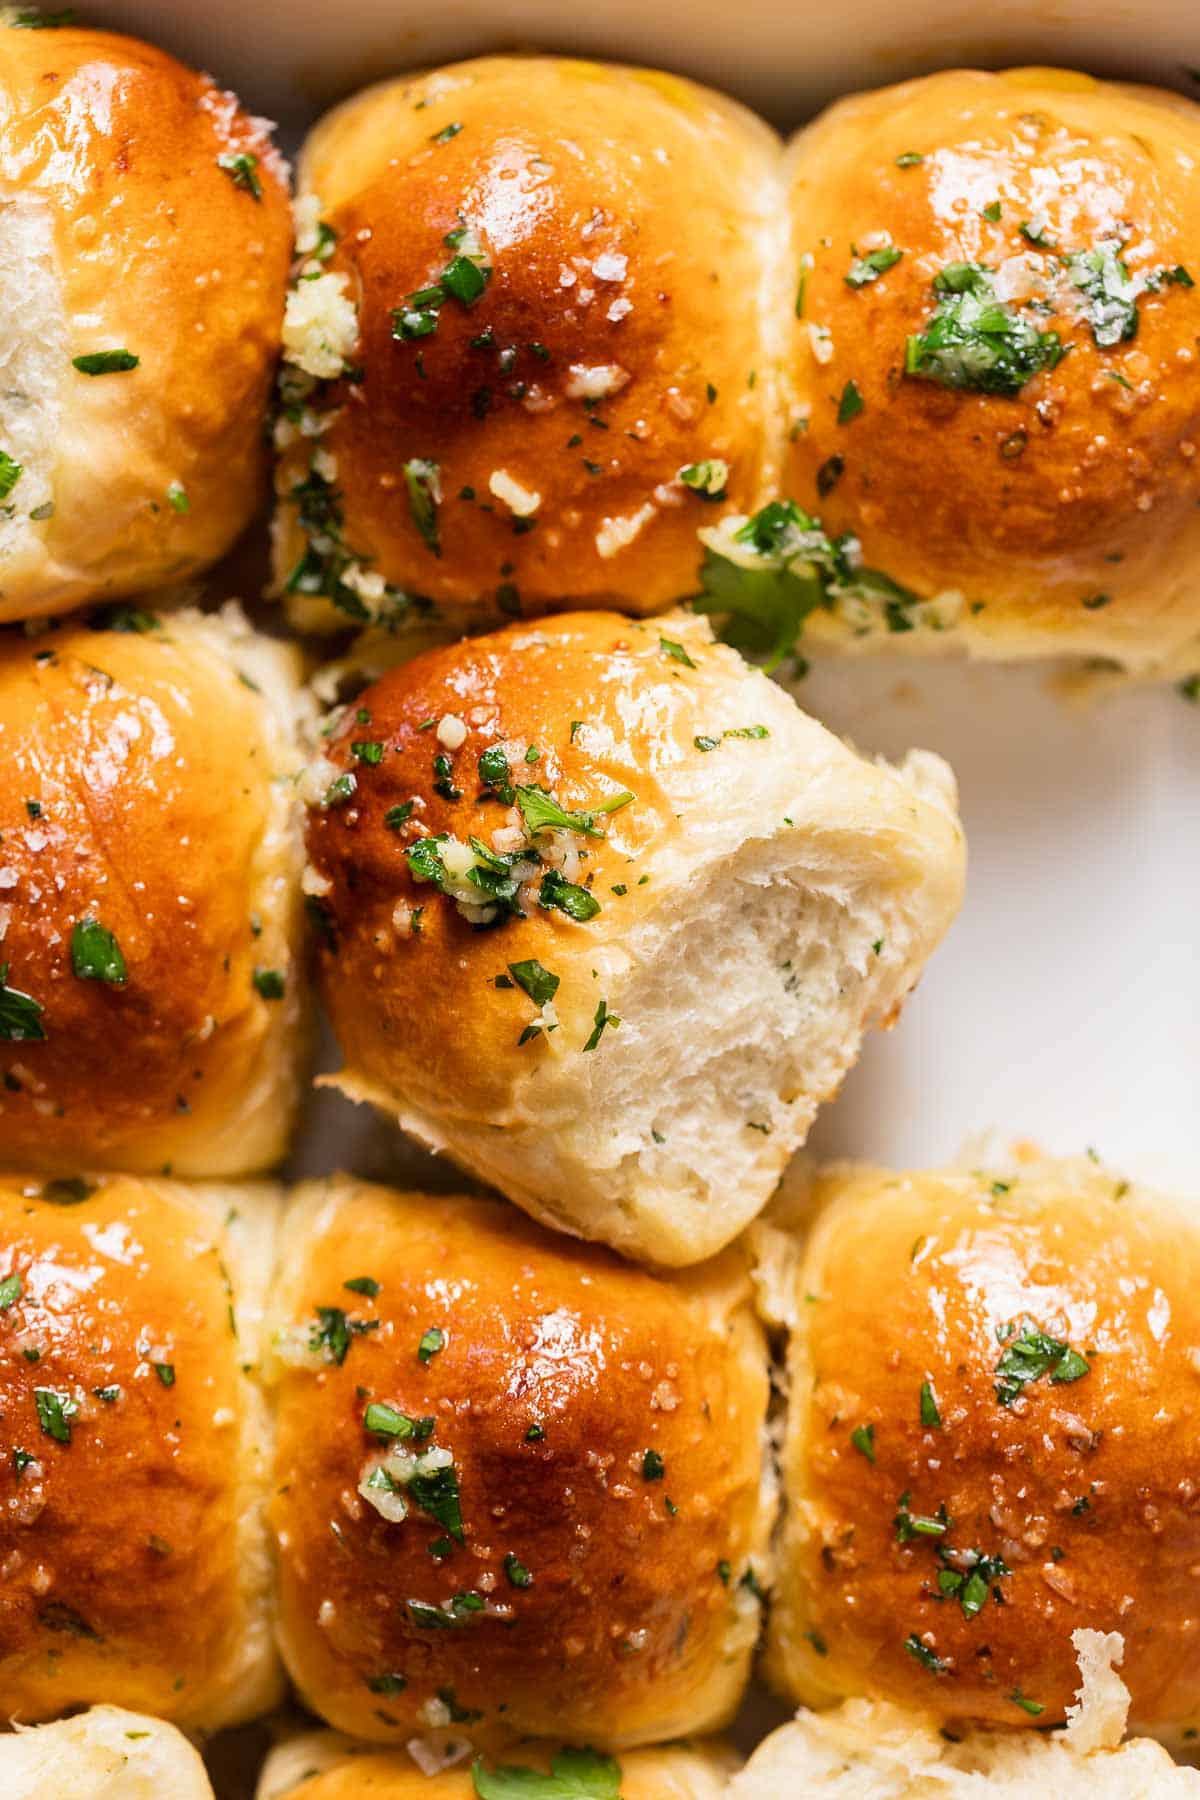
These garlic rolls get their flavor from the inside out: garlic is cooked in butter and added right to the dough, then the warm rolls are brushed with even more garlic-herb butter so they taste just like garlic bread.
They’re incredibly soft and buttery, with fresh garlic and herbs in every bite, and have earned a permanent spot on my holiday table for Thanksgiving, Christmas, and Easter, along with other favorites like my savory bread pudding.
Table of Contents
Tips for Making Dinner Rolls
The dough is ready when it looks smooth and elastic and feels tacky but manageable, and the shaped rolls are finished proofing when they look noticeably puffy and feel soft to the touch.
Your kitchen temperature will affect the timing, so go by appearance rather than the clock. I briefly cook the garlic in butter first to mellow its sharp raw flavor, then portion the dough into ~67-gram balls so every roll proofs and bakes evenly.
Ingredient Notes and Substitutions
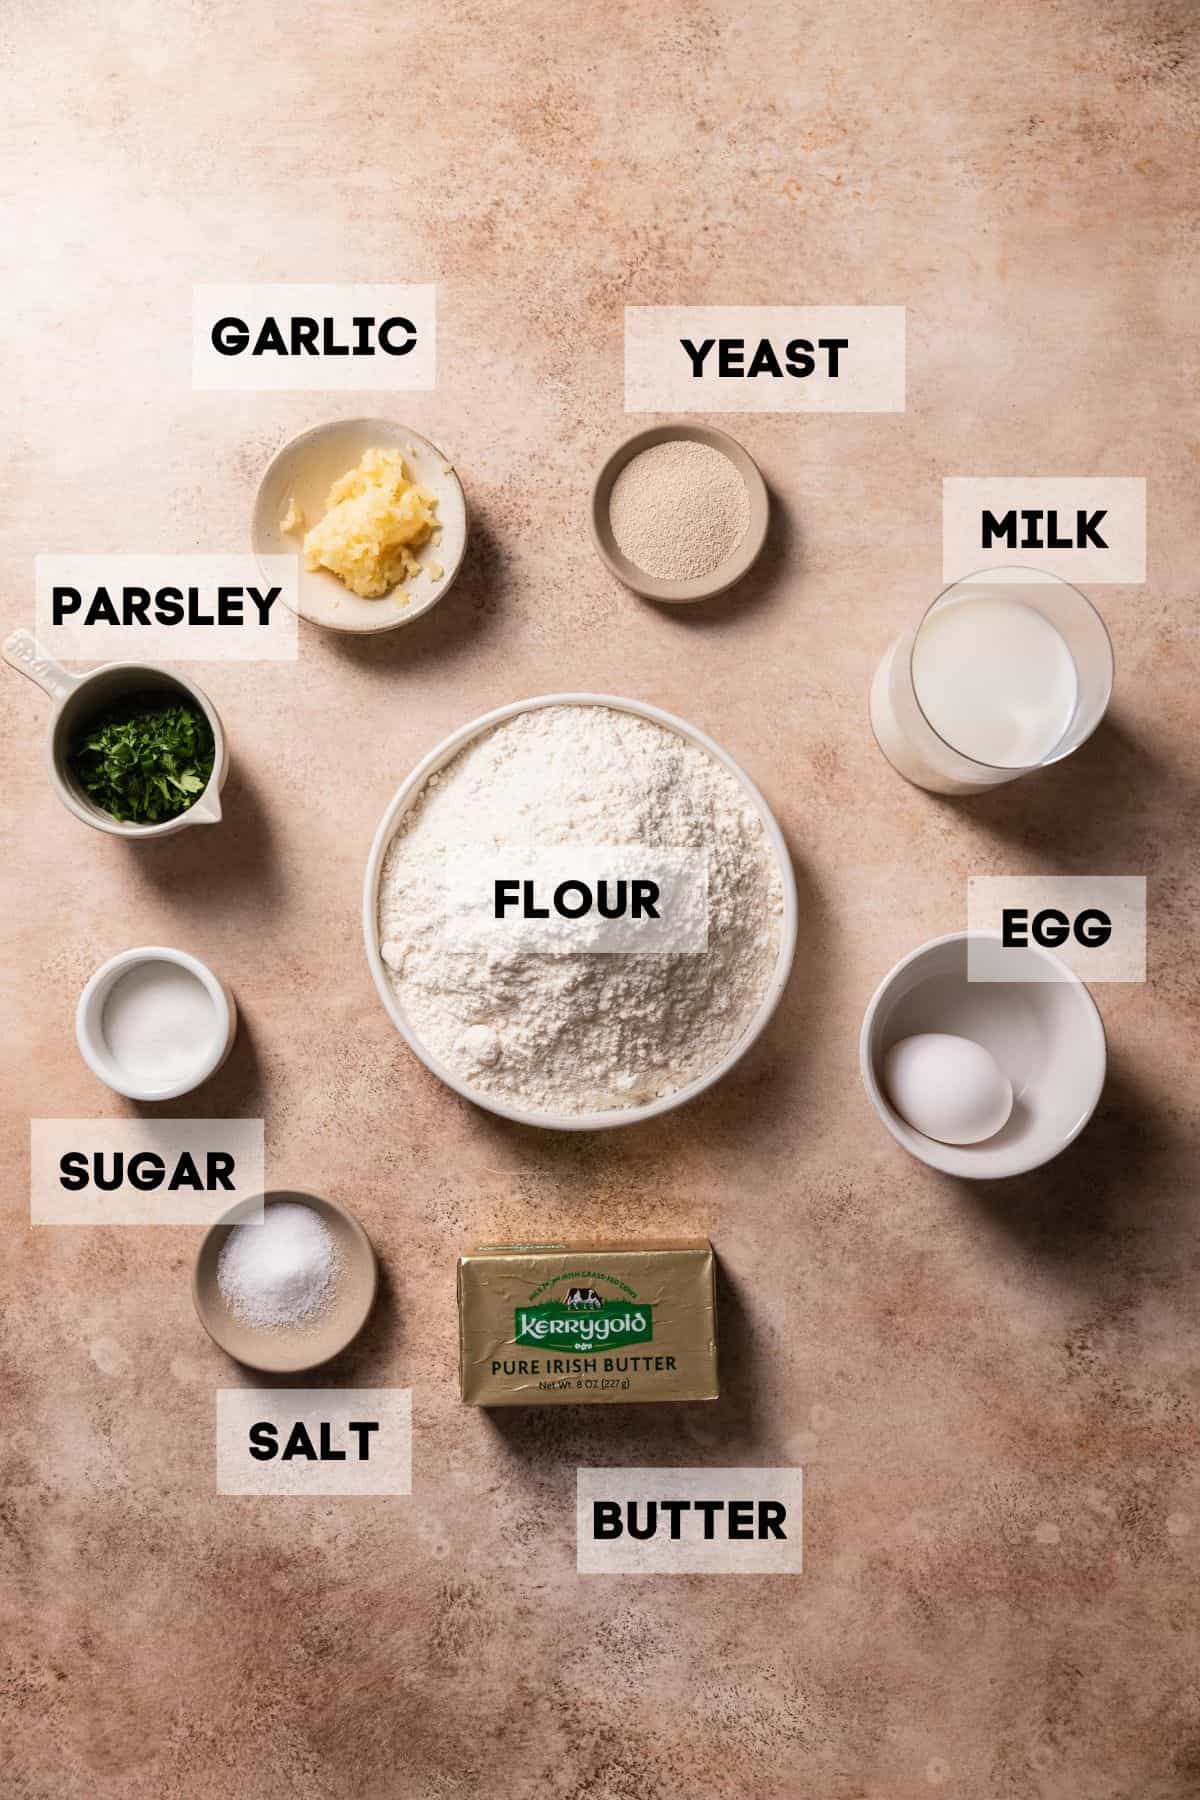
Instant yeast: No activation is needed; add it directly to the dough. Active dry yeast also works, but dissolve it in the warm milk first and let it sit until foamy. See my baking with yeast guide for more help.
Garlic: Fresh garlic gives the best flavor. Briefly cooking it in butter before adding it to the dough mellows the sharp raw garlic flavor while still keeping the rolls plenty garlicky.
Recipe Instructions
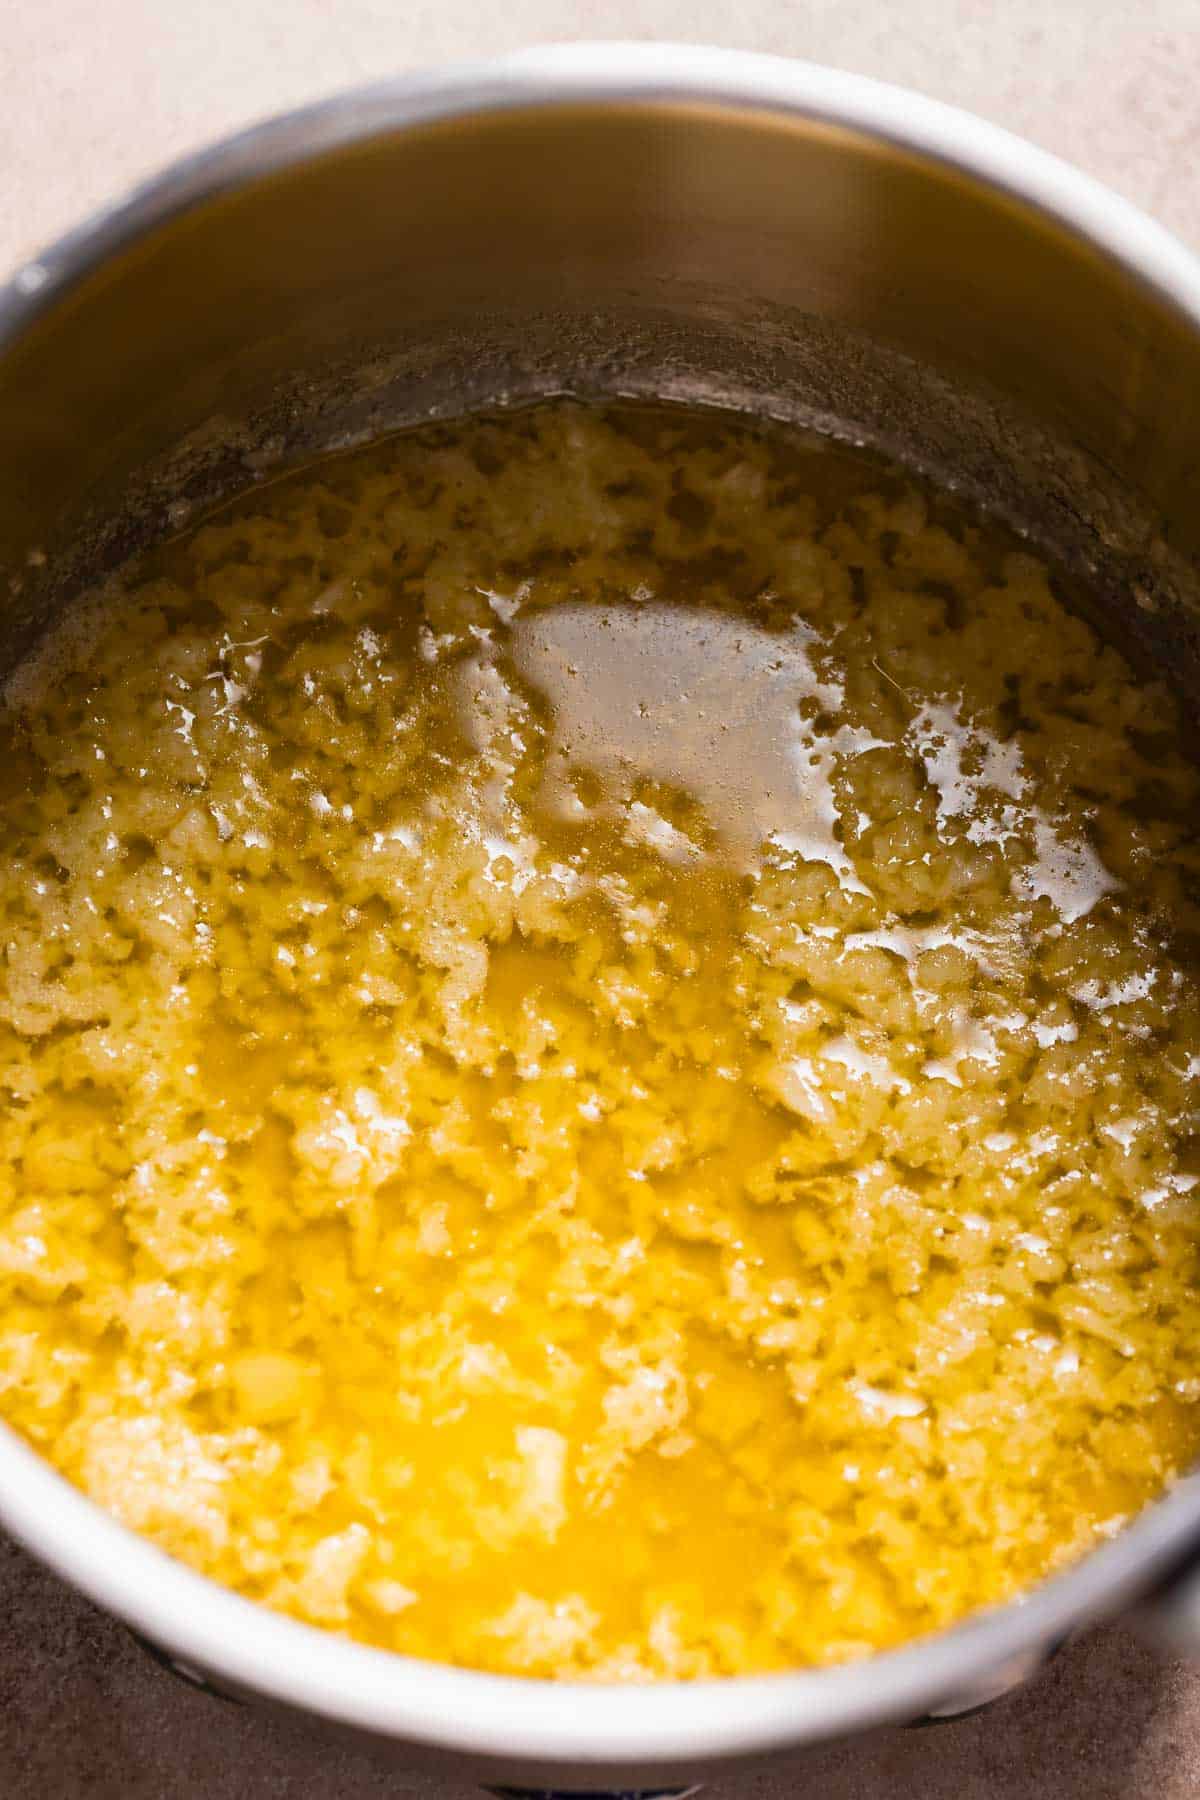
Step 1: Make the garlic butter. In a small saucepan, cook the butter and garlic until the garlic is sizzling and fragrant. Set it aside to cool briefly.
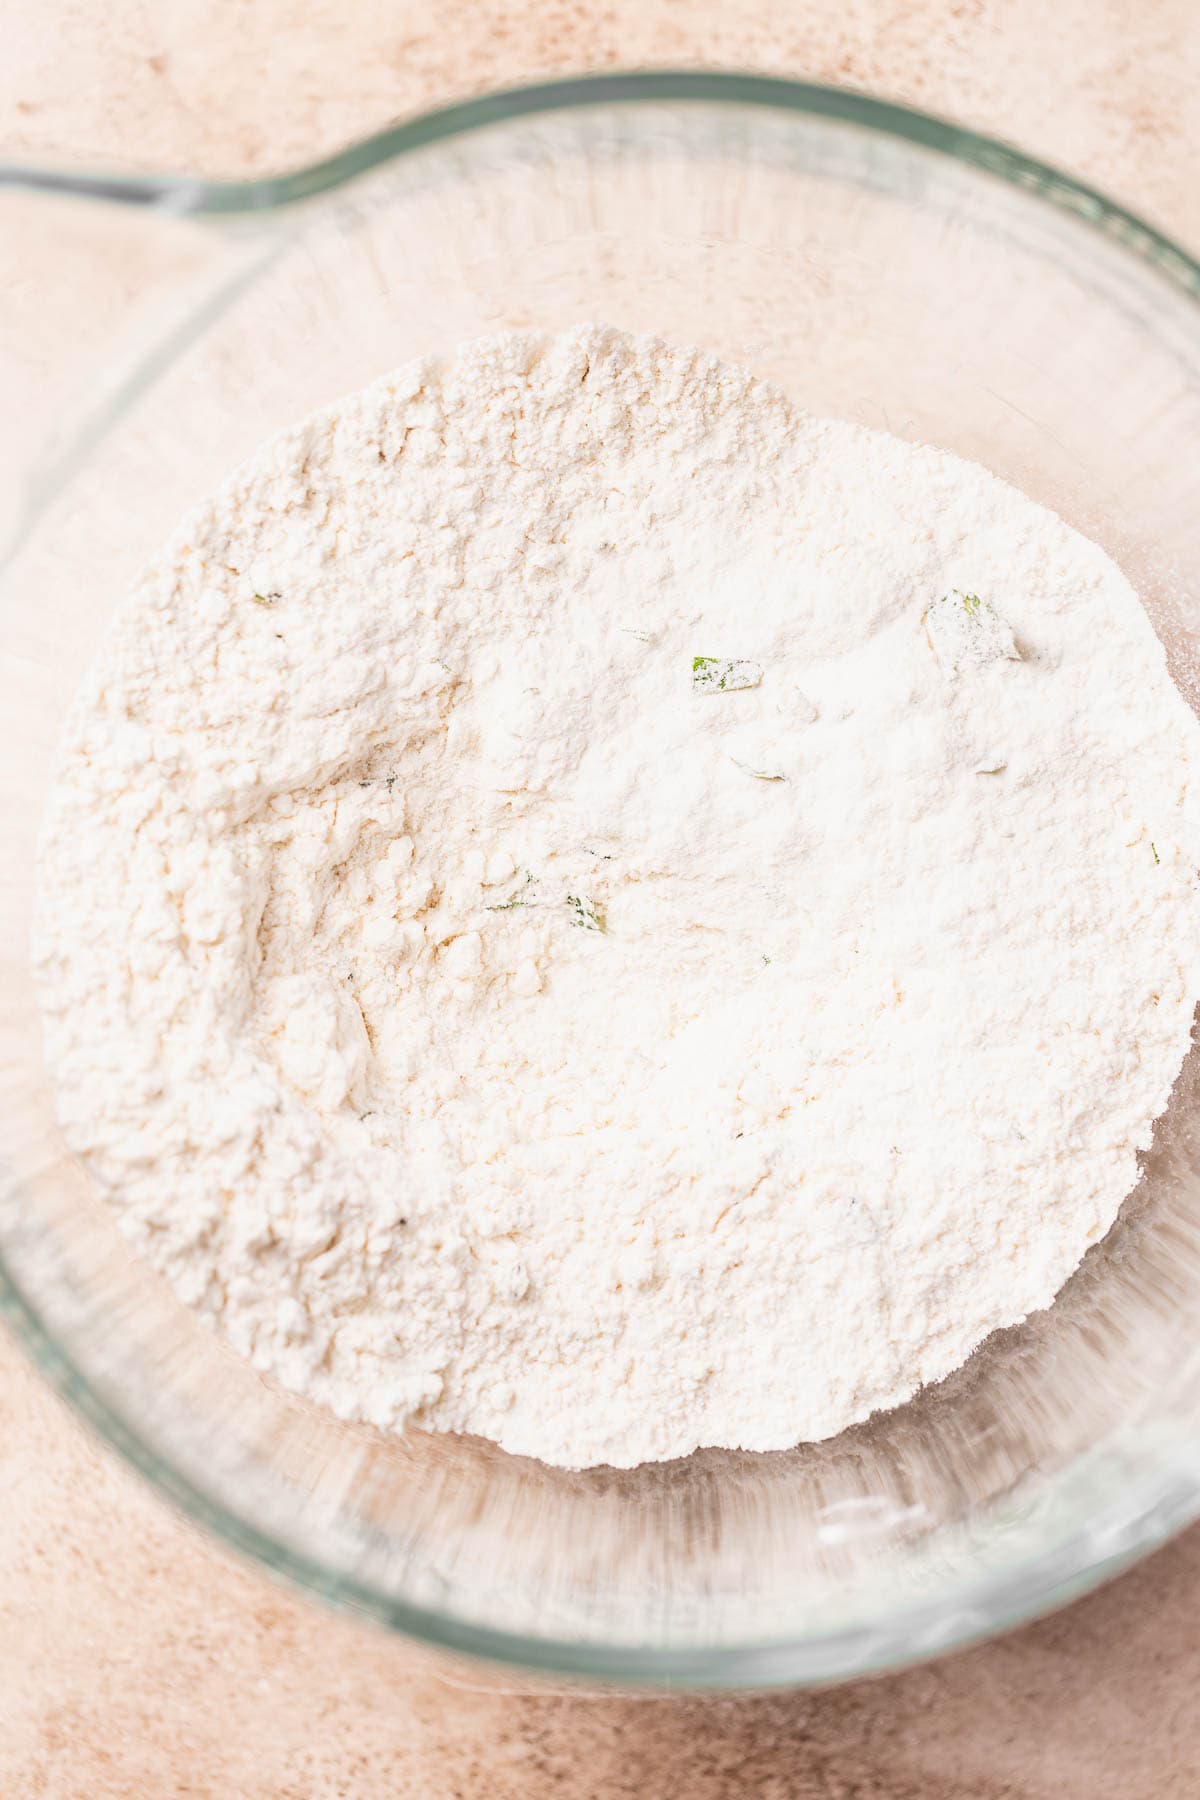
Step 2: Combine the dry ingredients. In a stand mixer bowl, combine the all-purpose flour, sugar, yeast, salt, and parsley. Then add the warm milk, melted garlic butter, and egg.
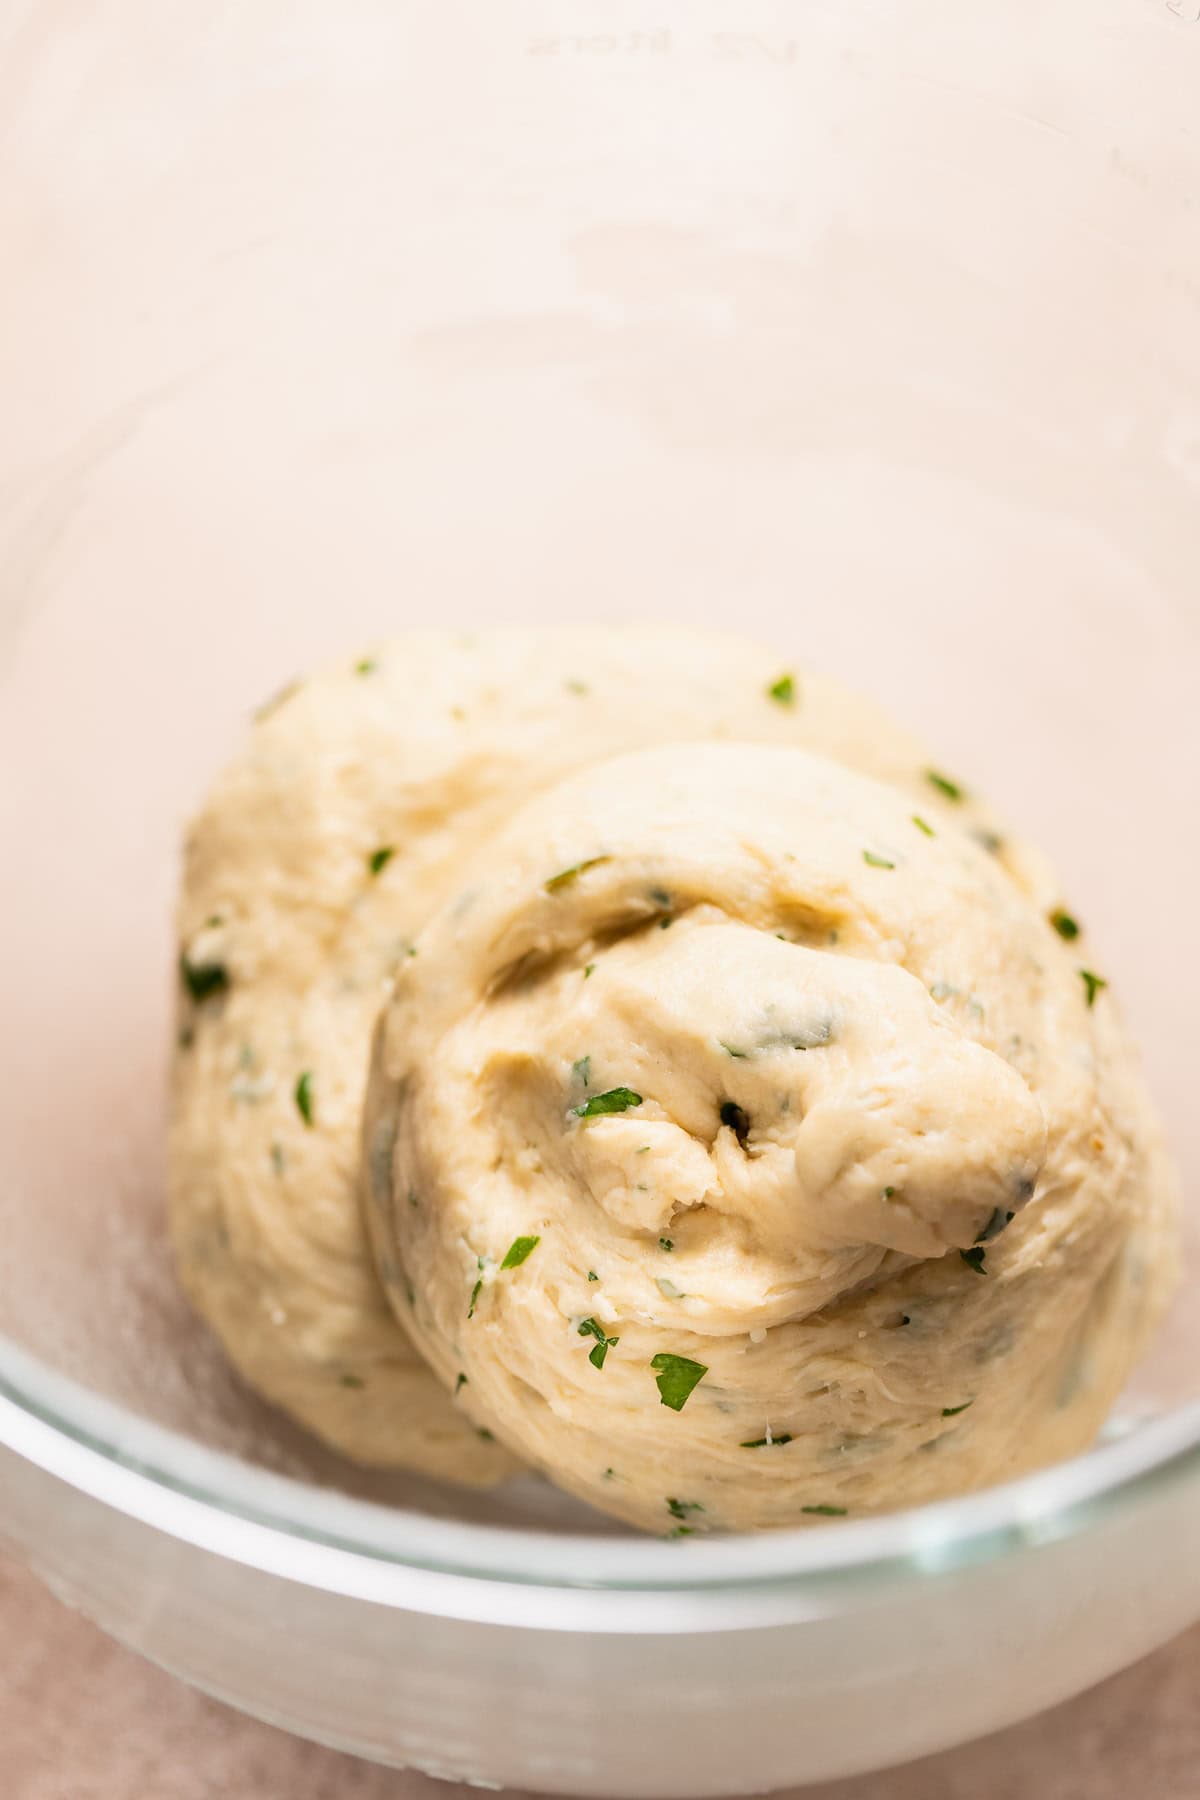
Step 3: Knead the bread dough. On low speed, knead the dough with the dough hook attachment until it comes together into a ball. It should look smooth and feel soft and tacky.
You can also add up to 1/4 cup shredded parmesan cheese to the bread dough and sprinkle more on top before baking.
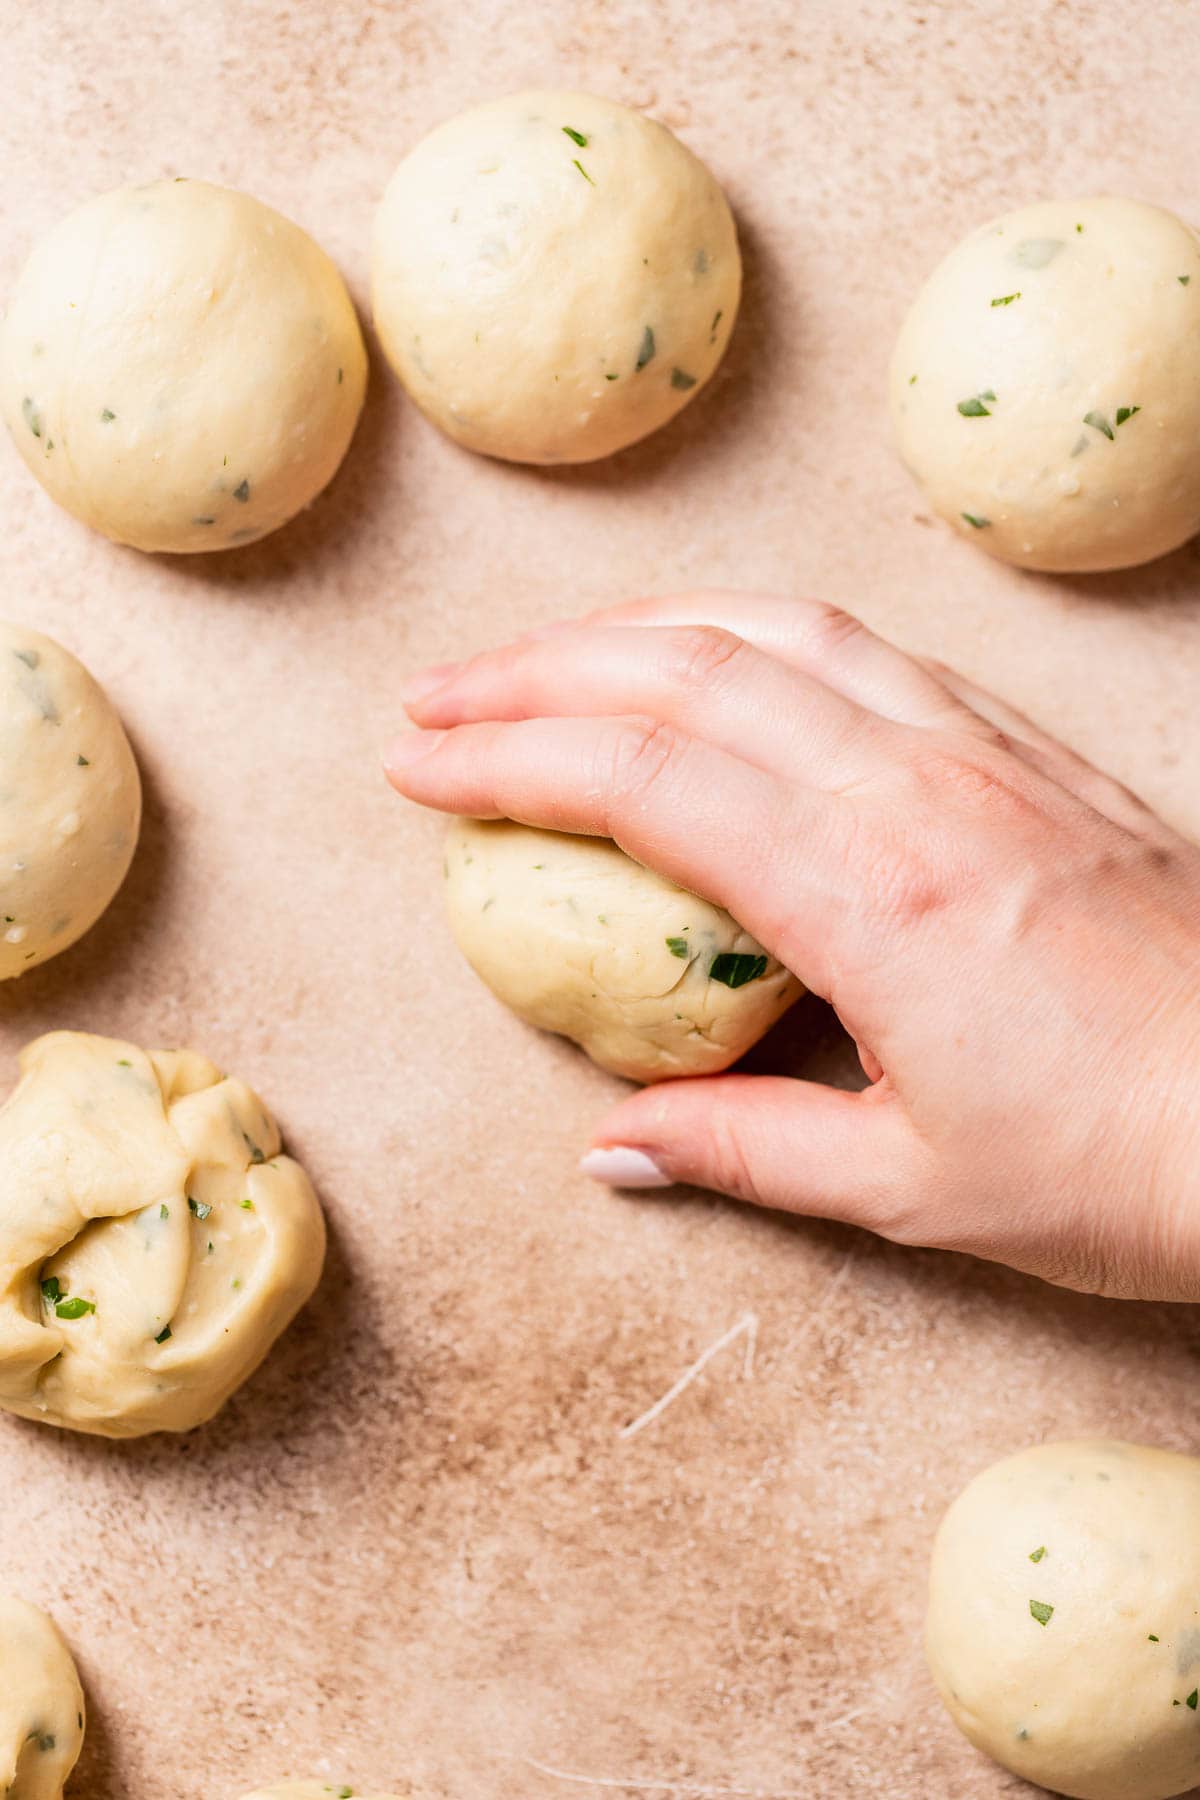
Step 4: Shape into individual rolls. Cut the dough into 12 equal portions. Use a scale for accuracy!
Then cup your hand around each portion, moving in a clockwise direction and applying some pressure, until the dough forms a perfect round ball. See the video in the recipe card for help.
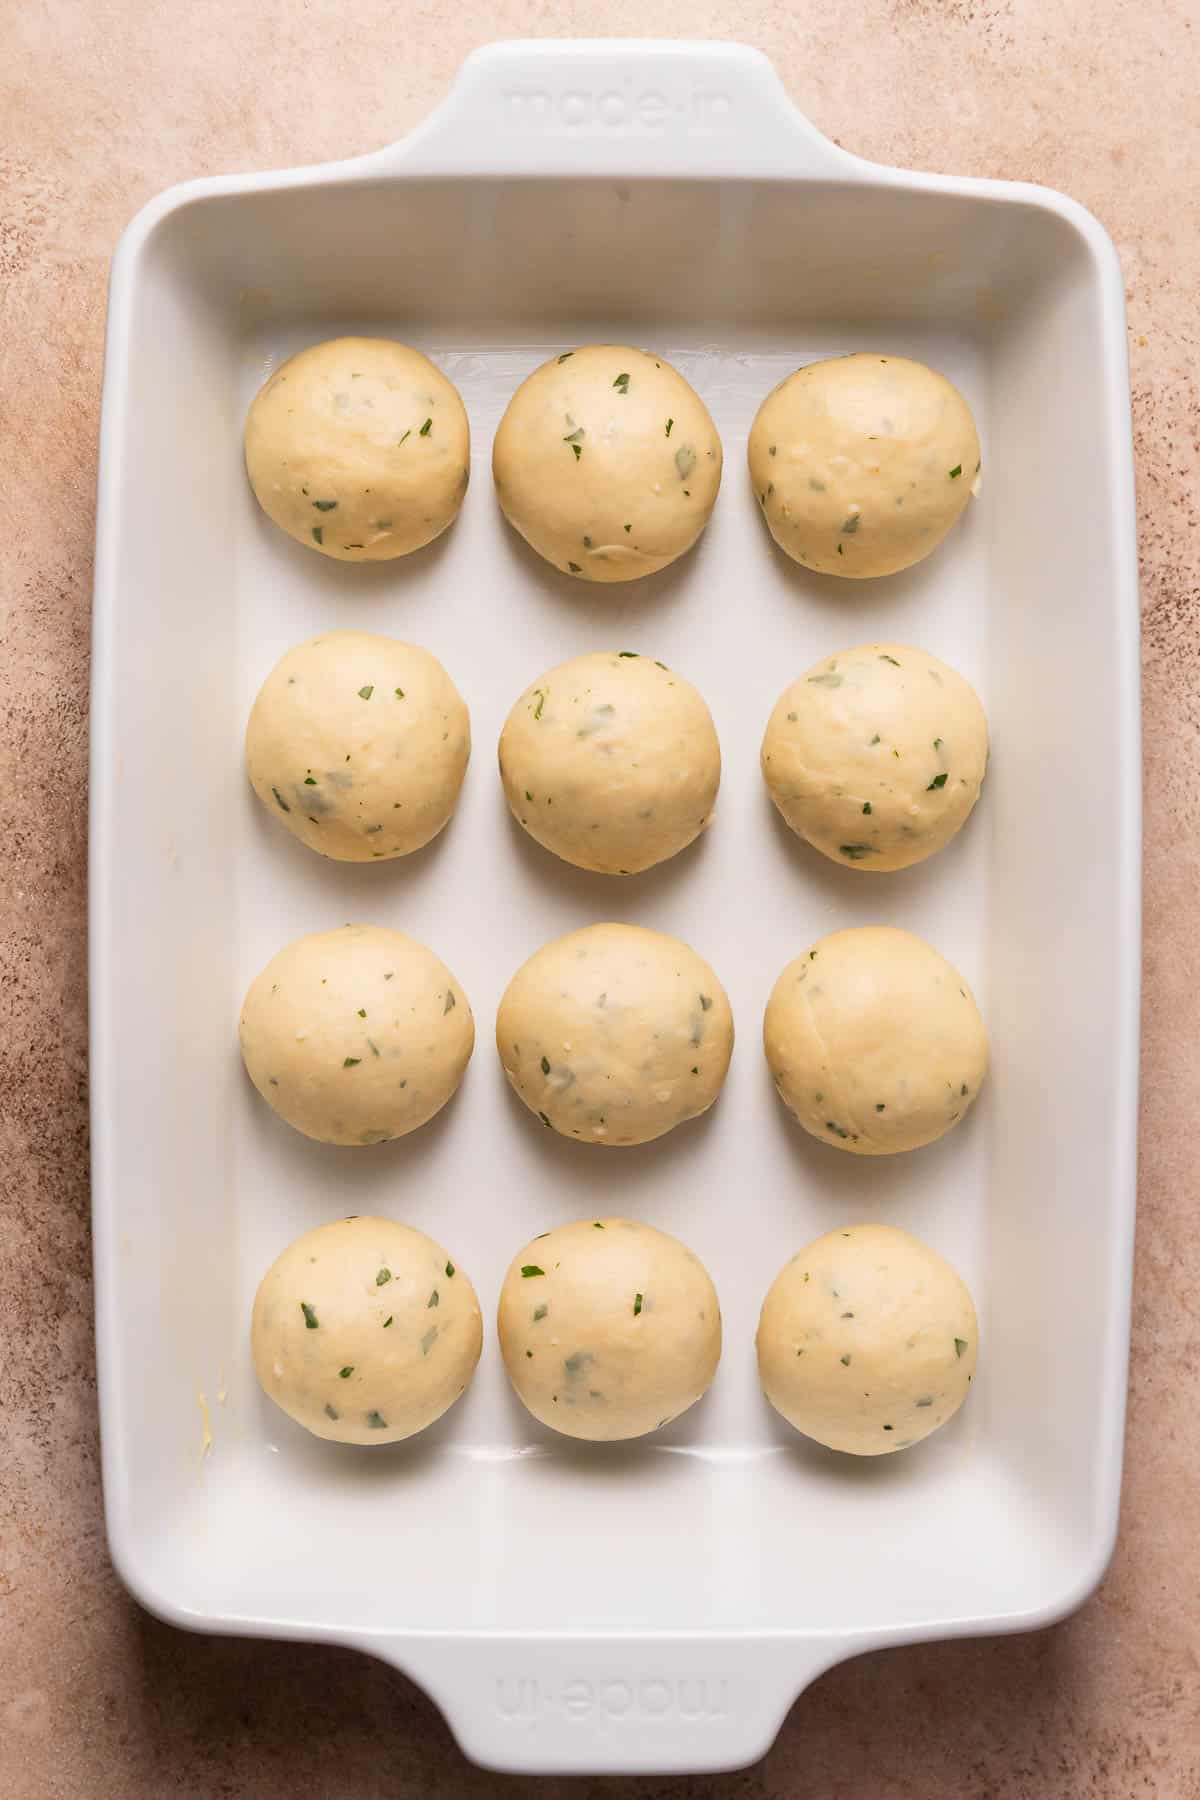
Step 5: Let the dough rise. Place the shaped rolls in a buttered baking dish and cover the top with plastic wrap. Set in a warm place to rise until doubled in size, about 1-2 hours.
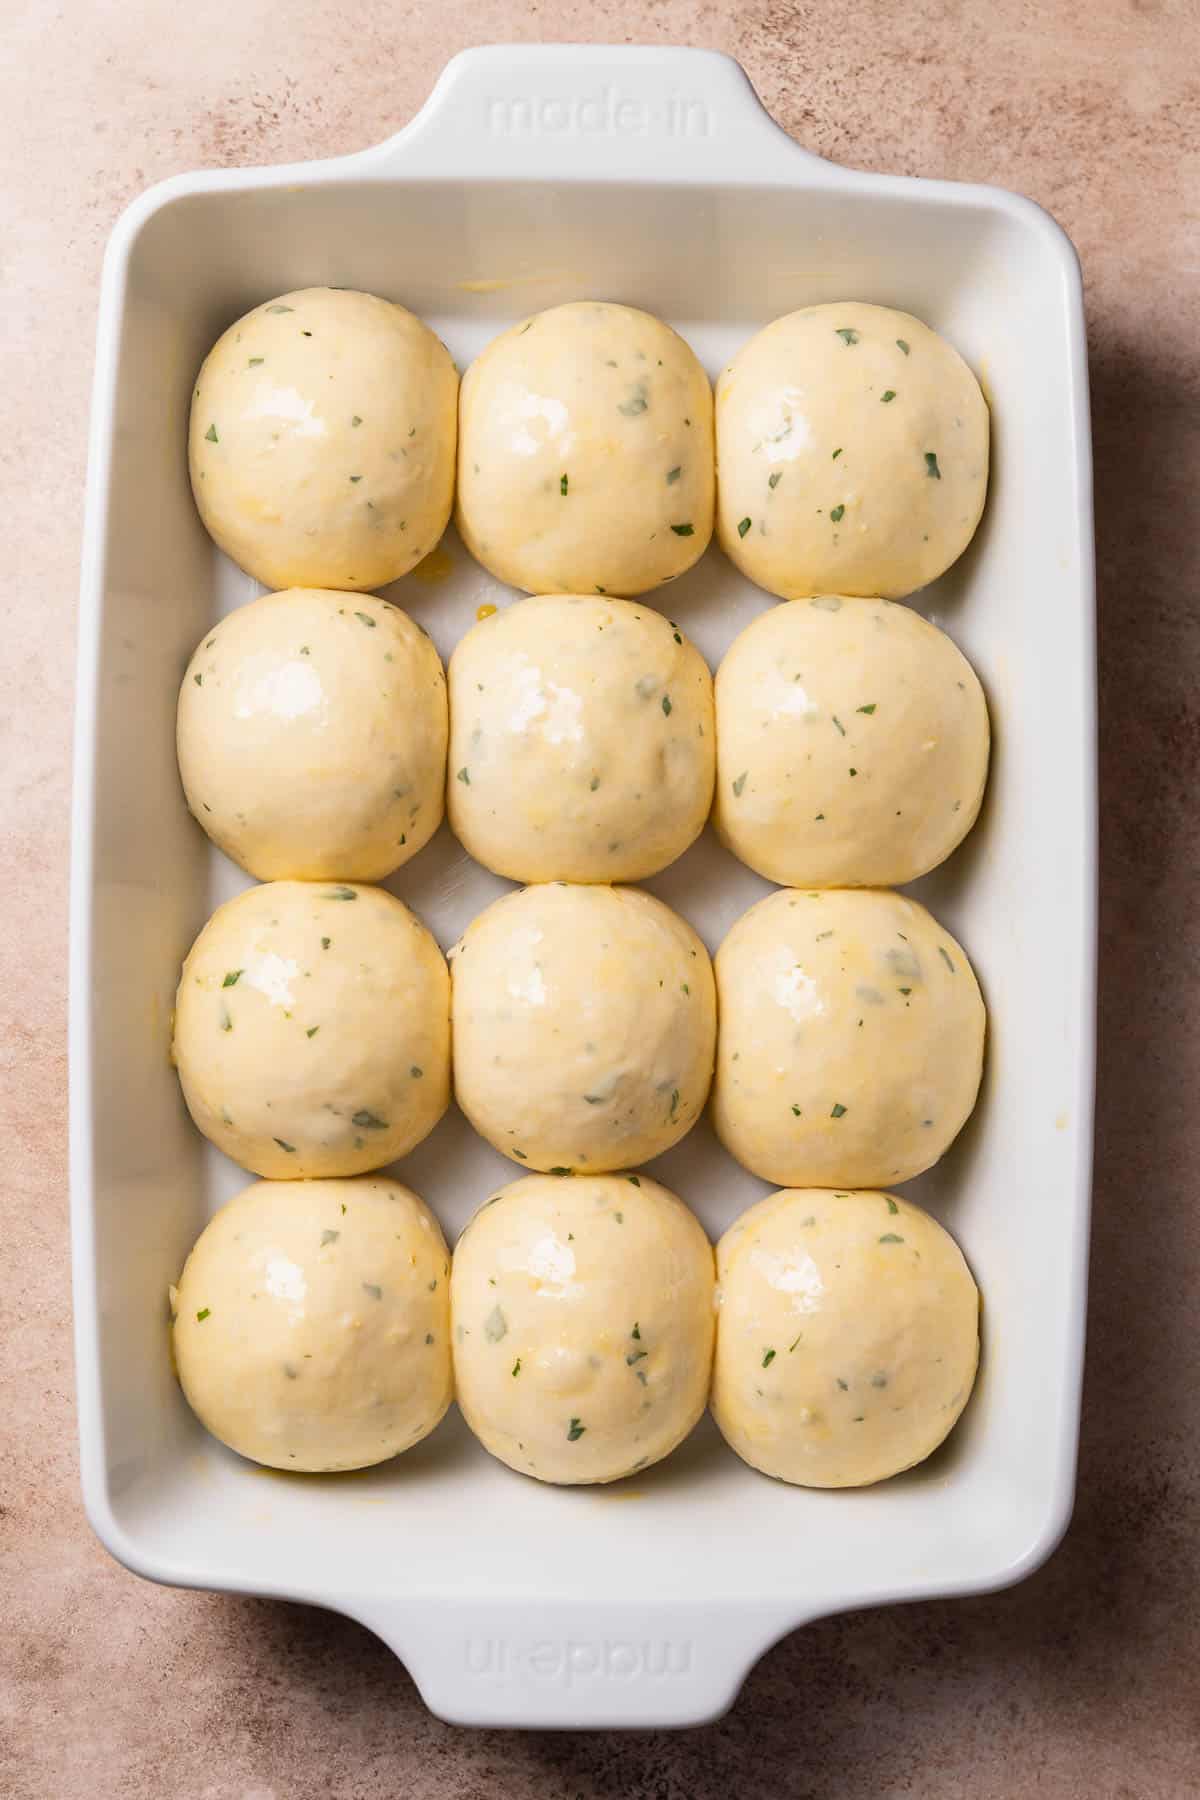
Step 6: Brush with garlic butter. Brush the garlic rolls with an egg wash, then bake until golden brown. Straight out of the oven, brush the tops of the baked rolls with more garlic herb butter before serving warm.
Storage, Freezing, Make Ahead, and Reheating
Storage: Dinner rolls are best served the day they are made, but can be stored for 2-3 days in an airtight container or Ziploc bag at room temperature.
Freezer: After baking, remove the rolls from the pan and let them cool completely. Transfer them to an airtight container for one month.
Make ahead: Once the rolls are shaped and snuggled into their baking pan, cover the top tightly with plastic wrap and refrigerate overnight. The next day, let them double in size at room temperature before baking. This could take a few hours!
Reheating: These garlic bread rolls are best served warm. Before serving, cover the rolls with foil and bake them at 350°F until warmed through. You can also pop them in the microwave for 20-30 seconds.
If you tried this or any other recipe on my website, please let me know how it went in the comments; I love hearing from you! Also, please leave a star rating while you’re there! You can also tag me on Instagram or Facebook so I can check it out!
Garlic Bread Rolls
Equipment
Ingredients
- 4 1/2 tablespoons unsalted butter
- 2 tablespoons minced garlic
- 3 1/2 cups + 1 tablespoon all-purpose flour, *See notes below for measuring*
- 3 tablespoons chopped fresh parsley
- 1 tablespoon granulated sugar
- 2 1/4 teaspoons instant yeast
- 1 teaspoon fine sea salt
- 1 cup whole or 2% milk, warmed to 110°F
- 1 large egg, room temperature
- 1 beaten egg, for brushing the tops
For the Garlic Butter
- 2 tablespoons unsalted butter
- 1 tablespoon minced garlic
- 1 tablespoon chopped fresh parsley
- flaky sea salt, for finishing
Instructions
- Lightly butter the bottom and sides of a 9×13 pan and set it aside.
- In a small pot, melt the butter and add the minced garlic. Cook for 1-2 minutes or until the garlic is fragrant. Take off the heat and cool while you measure the other ingredients.4 1/2 tablespoons (60 g) unsalted butter, 2 tablespoons minced garlic
- In a stand mixing bowl, combine the flour, parsley, sugar, yeast, and salt. Then add the warmed milk, egg, and garlic butter from above. Knead on low speed with the dough hook until the dough looks smooth and feels soft and tacky, about 10-12 minutes. *If the dough is too sticky, add one tablespoon of flour at a time until you have a workable dough.3 1/2 cups + 1 tablespoon (434 g) all-purpose flour, 3 tablespoons chopped fresh parsley, 1 tablespoon (15 g) granulated sugar, 2 1/4 teaspoons instant yeast, 1 teaspoon fine sea salt, 1 cup (225 g) whole or 2% milk, 1 (55 g) large egg
- Cut the kneaded dough into 12 equal portions (use a scale for accuracy- 67 grams each). Shape each piece of dough into a smooth ball with your hand. Pinch the bottom of the roll where the seam comes together to keep it tight. Then place the shaped dough balls into the prepared baking pan. Cover the top with plastic wrap or a clean kitchen towel and set them in a warm place to rise until doubled in size, about 1-2 hours. *Watch the video below for visual aid!
- Preheat the oven to 350 F/180 C.
- Brush the tops of the rolls with the beaten egg wash. Then bake the dinner rolls for 20-30 minutes, or until the tops are golden brown.1 beaten egg, for brushing the tops
- While the rolls are baking, make the garlic butter. Melt the butter in a pot and add the minced garlic. Cook for 1-2 minutes until the garlic is fragrant. Then remove it from the heat and stir in the parsley. When the rolls come out of the oven, immediately brush them with the garlic butter. Sprinkle with flaky sea salt if desired, and serve warm!2 tablespoons (28 g) unsalted butter, 1 tablespoon minced garlic, 1 tablespoon chopped fresh parsley, flaky sea salt









I didn’t have an egg, so used a simple 1T flaxmeal+3T water ratio as a replacement (I’ve used the replacement in various other rolls due egg allergies in the family. It adds more color than texture, however the dough won’t be quite as soft because you’ll be losing some fat from the yolk) It didn’t brown as prettily as it would have with an egg wash, but they still looked nice enough.
I also grated the garlic instead of mincing for the melted butter actually going into the dough because i find that to be quicker for me, as well as having a nice even distribution without any accidental chunks I missed.
I will definitely be trying this recipe again, probably with a couple of tweaks for personal taste (more herbs, etc)
Would I be able to use 1% milk instead of 2%?
That should work!
These were delicious!
Amazing! SO happy to hear that, Laura!
Thank you so much for this recipe. I do have recipe for garlic rolls but the tips here i discovered will add value to mine.
You’re so welcome! I’m glad the tips were helpful.
Hi! Followed the recipe except for letting it rise for longer than 2 hours (only by I was doing other things and not be it didn’t rise), and then when it was time to bake it, thy didn’t puff up into round rolls just on the top! Is there such a thing as letting it rise too long? Either way the taste was great so just curious about what could have caused that. Thanks!
Hi Erica! Great question, yes, dough can definitely overproof if it rises too long. When that happens, the yeast can exhaust itself, which means the rolls won’t puff up as much in the oven. I hope that helps for next time!
I followed the recipe exactly and mine turned out grainy and when I baked it it didn’t brown and it wasn’t fluffy like the picture at all
I’m so sorry to hear they didn’t turn out as expected. A grainy texture and lack of browning could be from under-kneading the dough or using a lower-protein flour, and if they didn’t rise much, it might’ve been an issue with the yeast. Happy to help troubleshoot if you ever want to give it another go!
This was your first recipe I have tried, and my family loved the garlic rolls. They were easy and delicious. I will be definitely be back to try more recipes.
So glad they were a hit, Katie! The garlic rolls are such a cozy favorite, and I’m thrilled your family loved them. Can’t wait for you to try more!
I just wanted to check, there’s only one rise on this? Usually with most recipes I see, you have one rise, then you shape the dough and then you let it rise again.
Yes one rise is correct. We’re using instant yeast, which eliminates the need for a second rise. If you were using active dry yeast, that is when you would need to let the dough rise twice!
Hi, can the AP flour be swapped with whole wheat AP flour?
Hi Jia! I haven’t personally tried it but it should work just fine. If the dough seems more dry, you may need to add more liquid to it!
Hi, I forgot the sugar. What should I do or will the rolls still be tasty?
Oh no! The rolls will take longer to rise without the sugar, because the yeast needs sugar to eat in order to produce the gases the make the bread rise. They also may lack a bit in flavor but should turn out okay!
Trying this now. smells delicious. Recipe starts with preheat your oven, but then you have to let your dough rise for one to two hours. I’m assuming you really preheat your oven later. 😬
Thanks for pointing that out Chris, I’ll update the recipe!
Delicious!
Love to hear it Raquel!
These are wonderful, making them again tonight for dinner.
Cambrea, I just wanted to let you know I have made soooo many of your recipes and everyone of them was FABULOUS! Thank you so much the site and for sharing, I look forward to any new recipes you want to share with us 🙂
Aw Theresa your comment made my whole day! Thank you for leaving such a kind review! 🙂
I have always been on the look out for a good garlic bread recipe and this is by far the best I had found. While others said to use garlic powder, the bread didn’t have much a garlicky taste, which I desired. I am truly grateful for your recipe and thank you so much. It was wonderfully garlicky and soft. I will definitely keep using your recipe.
My family loved these rolls so much I may be stuck making them for all future occasions… This was my addition to our Christmas lunch table and it definitely impressed! The instructions are clear and they came out looking professional <3
Hi, am I able to substitute the AP flour for Bread flour?
Yes! If the dough seems dry, you may need to add a touch more milk to it!