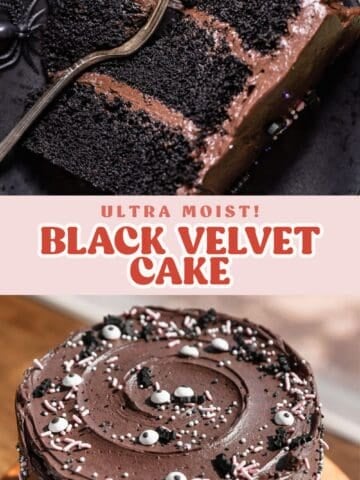
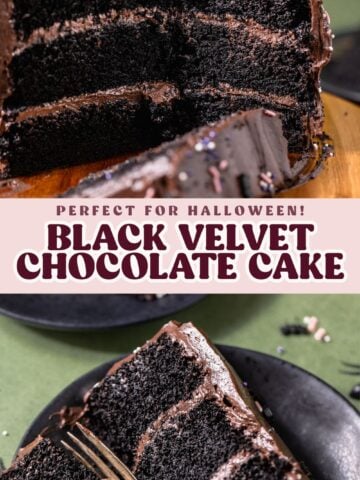
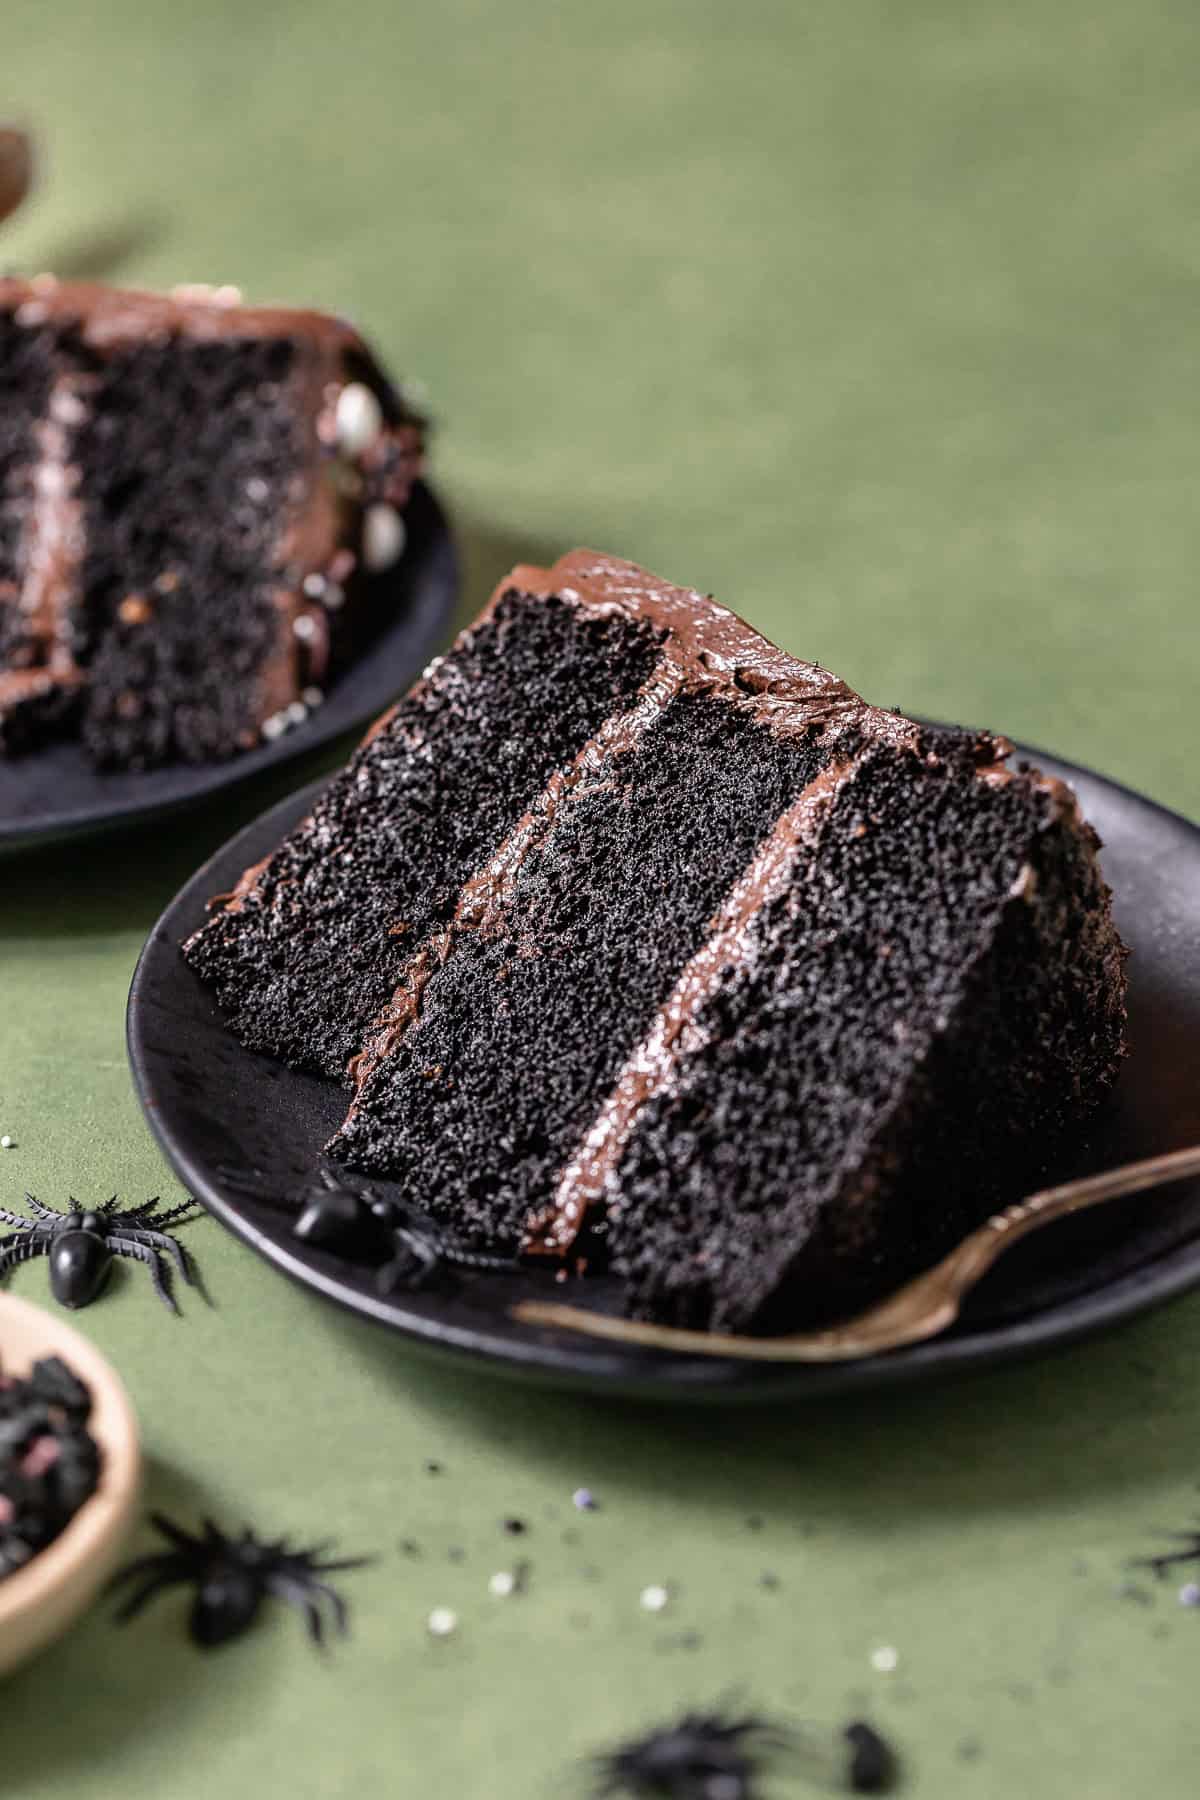
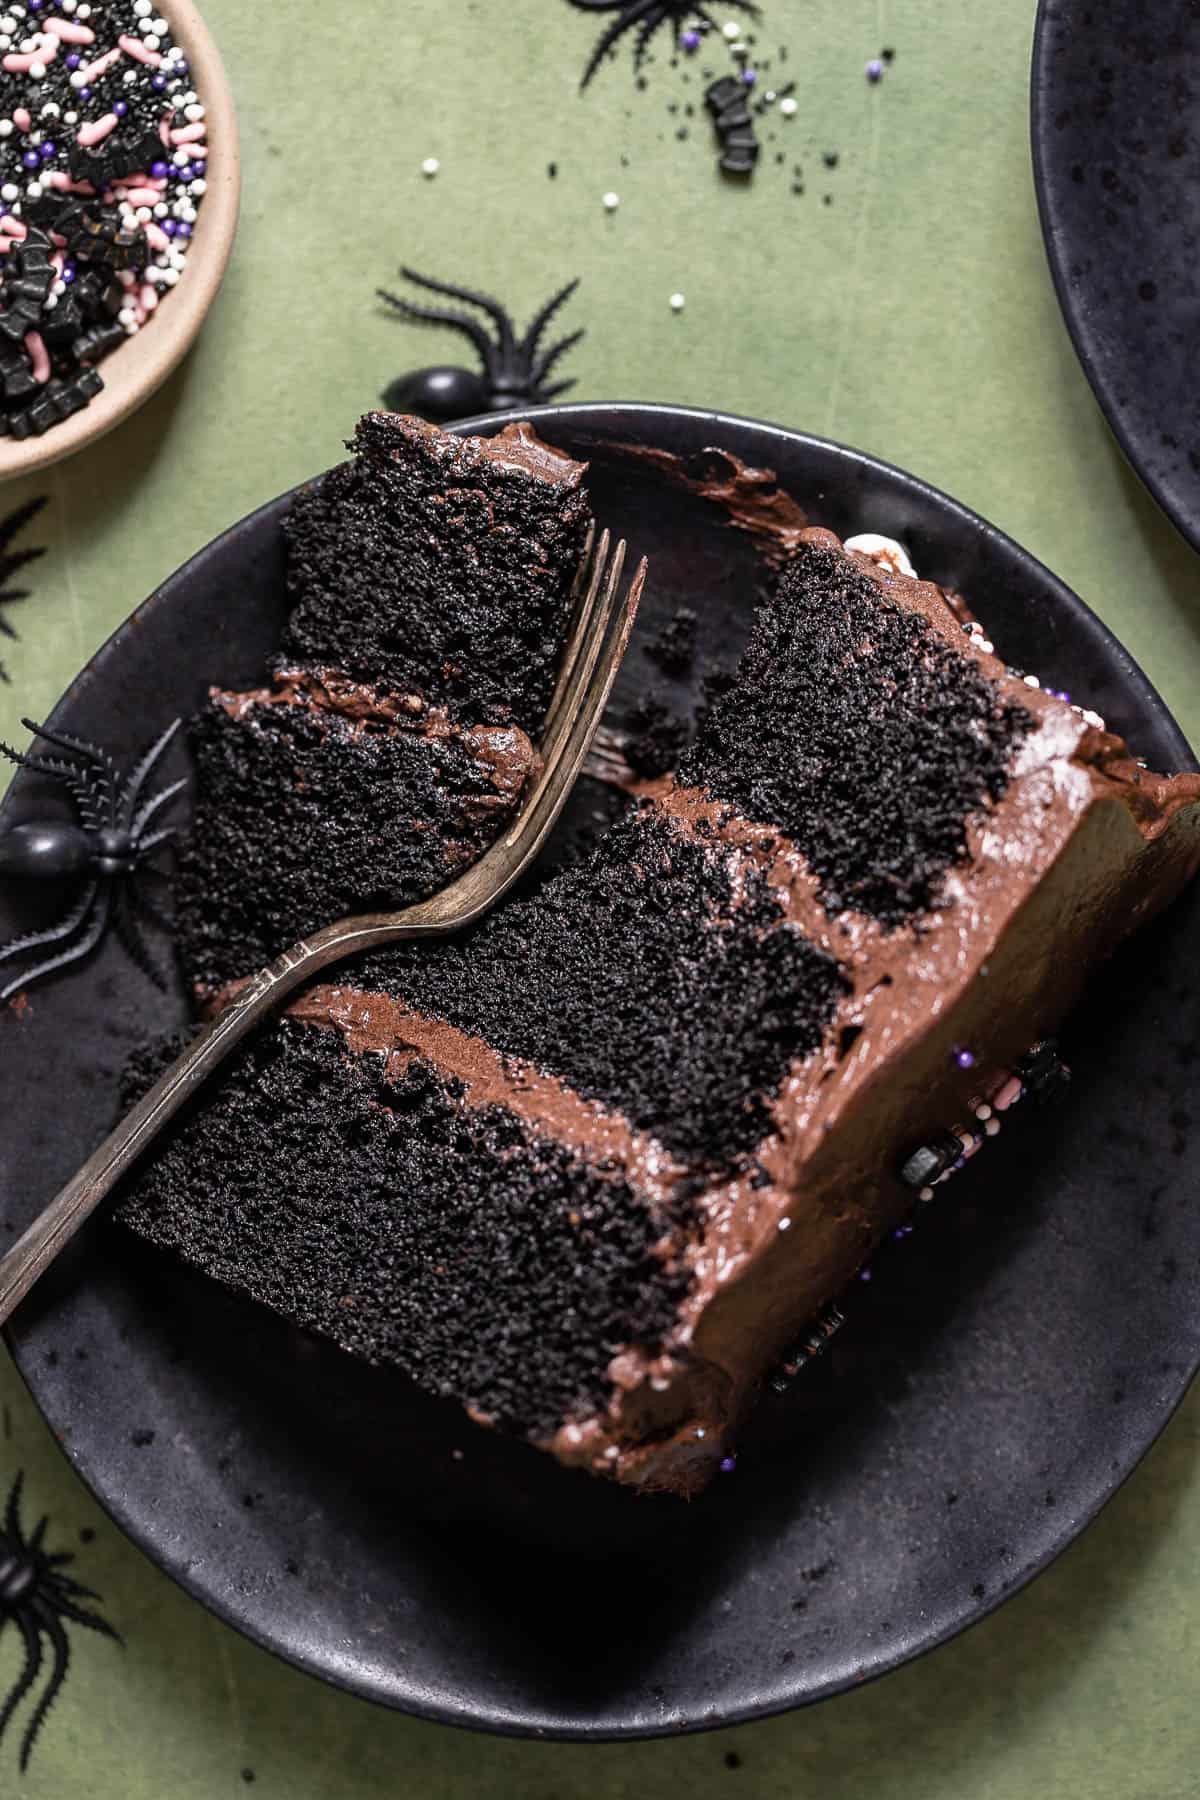
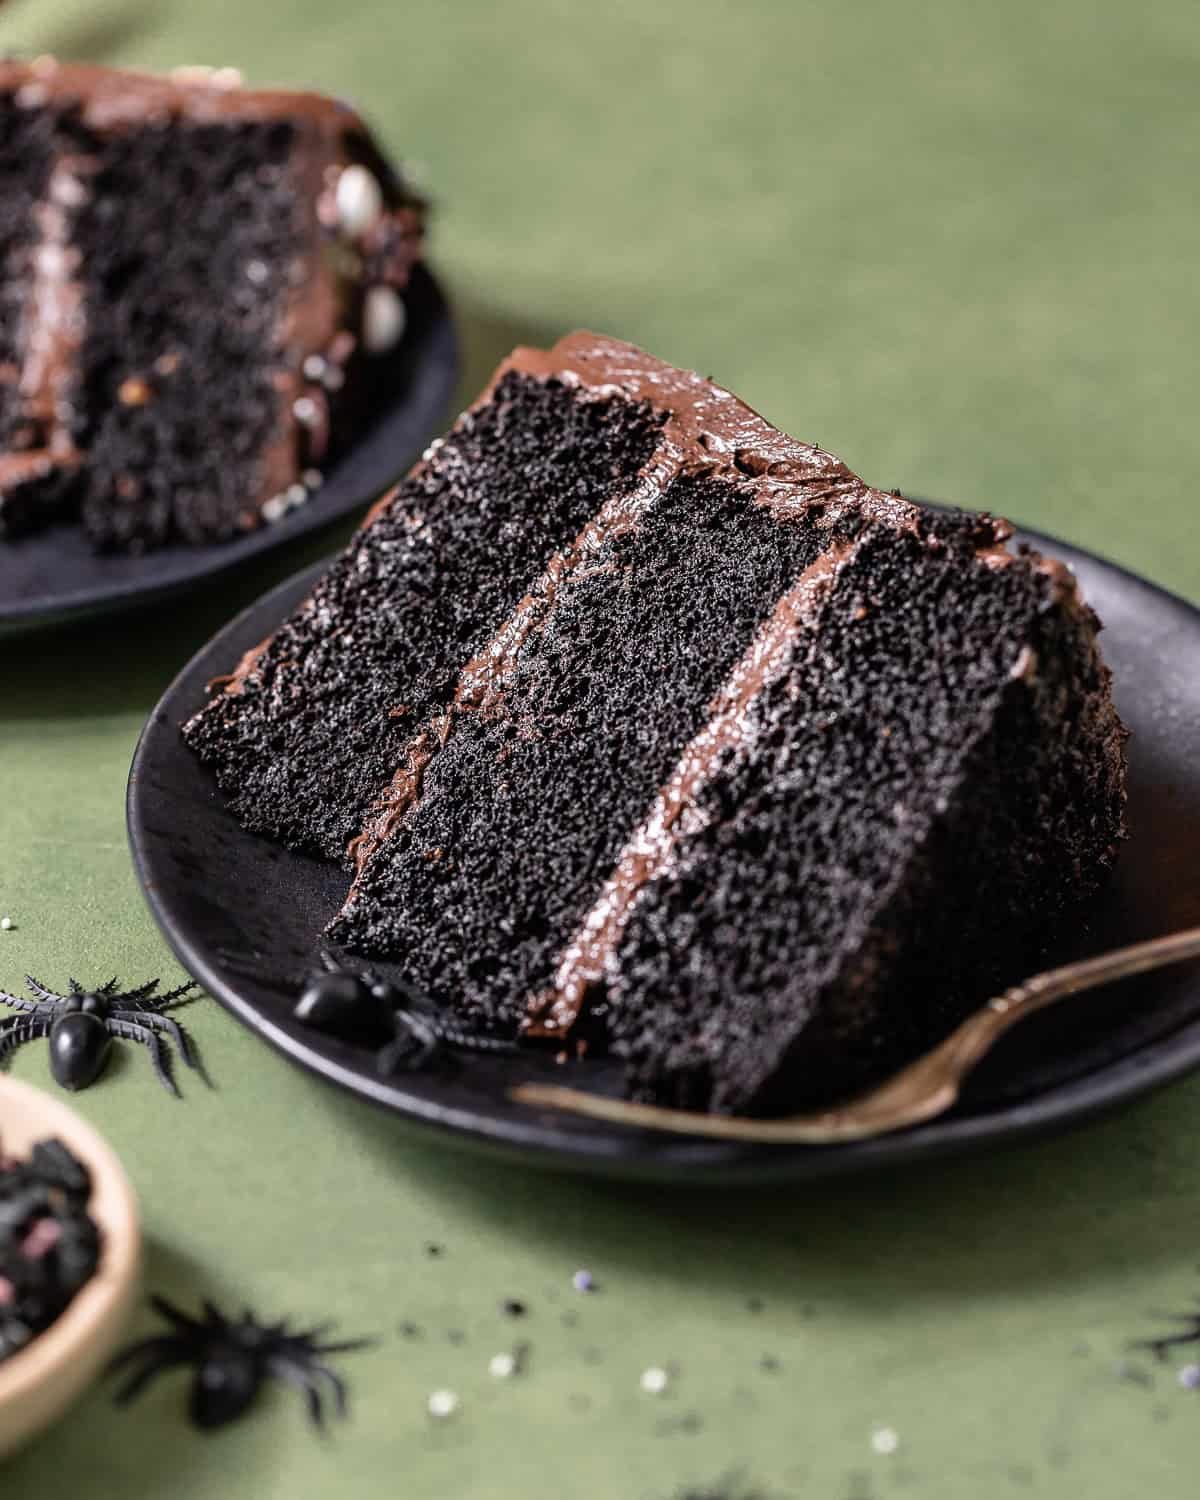
This black velvet cake is Halloween dessert goals: pitch-black, ultra moist, and full of rich, chocolatey flavor. Made with black cocoa powder (no food dye needed!), it tastes just like an Oreo cookie in cake form.
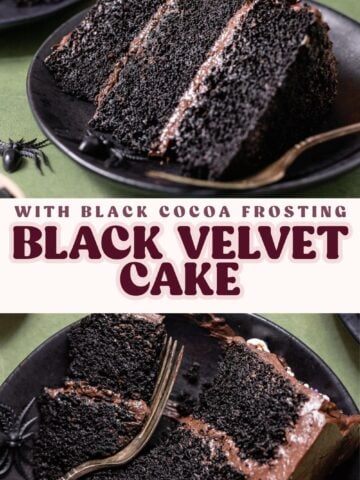
Adapted from my naturally dyed black velvet cupcakes, the chocolate cake layers bake up soft and tender, then get covered in my favorite silky black cocoa buttercream. It’s a guaranteed bakery-style show stopper perfect for your Halloween dessert table!
Bake Along Instructions (with photos)
1
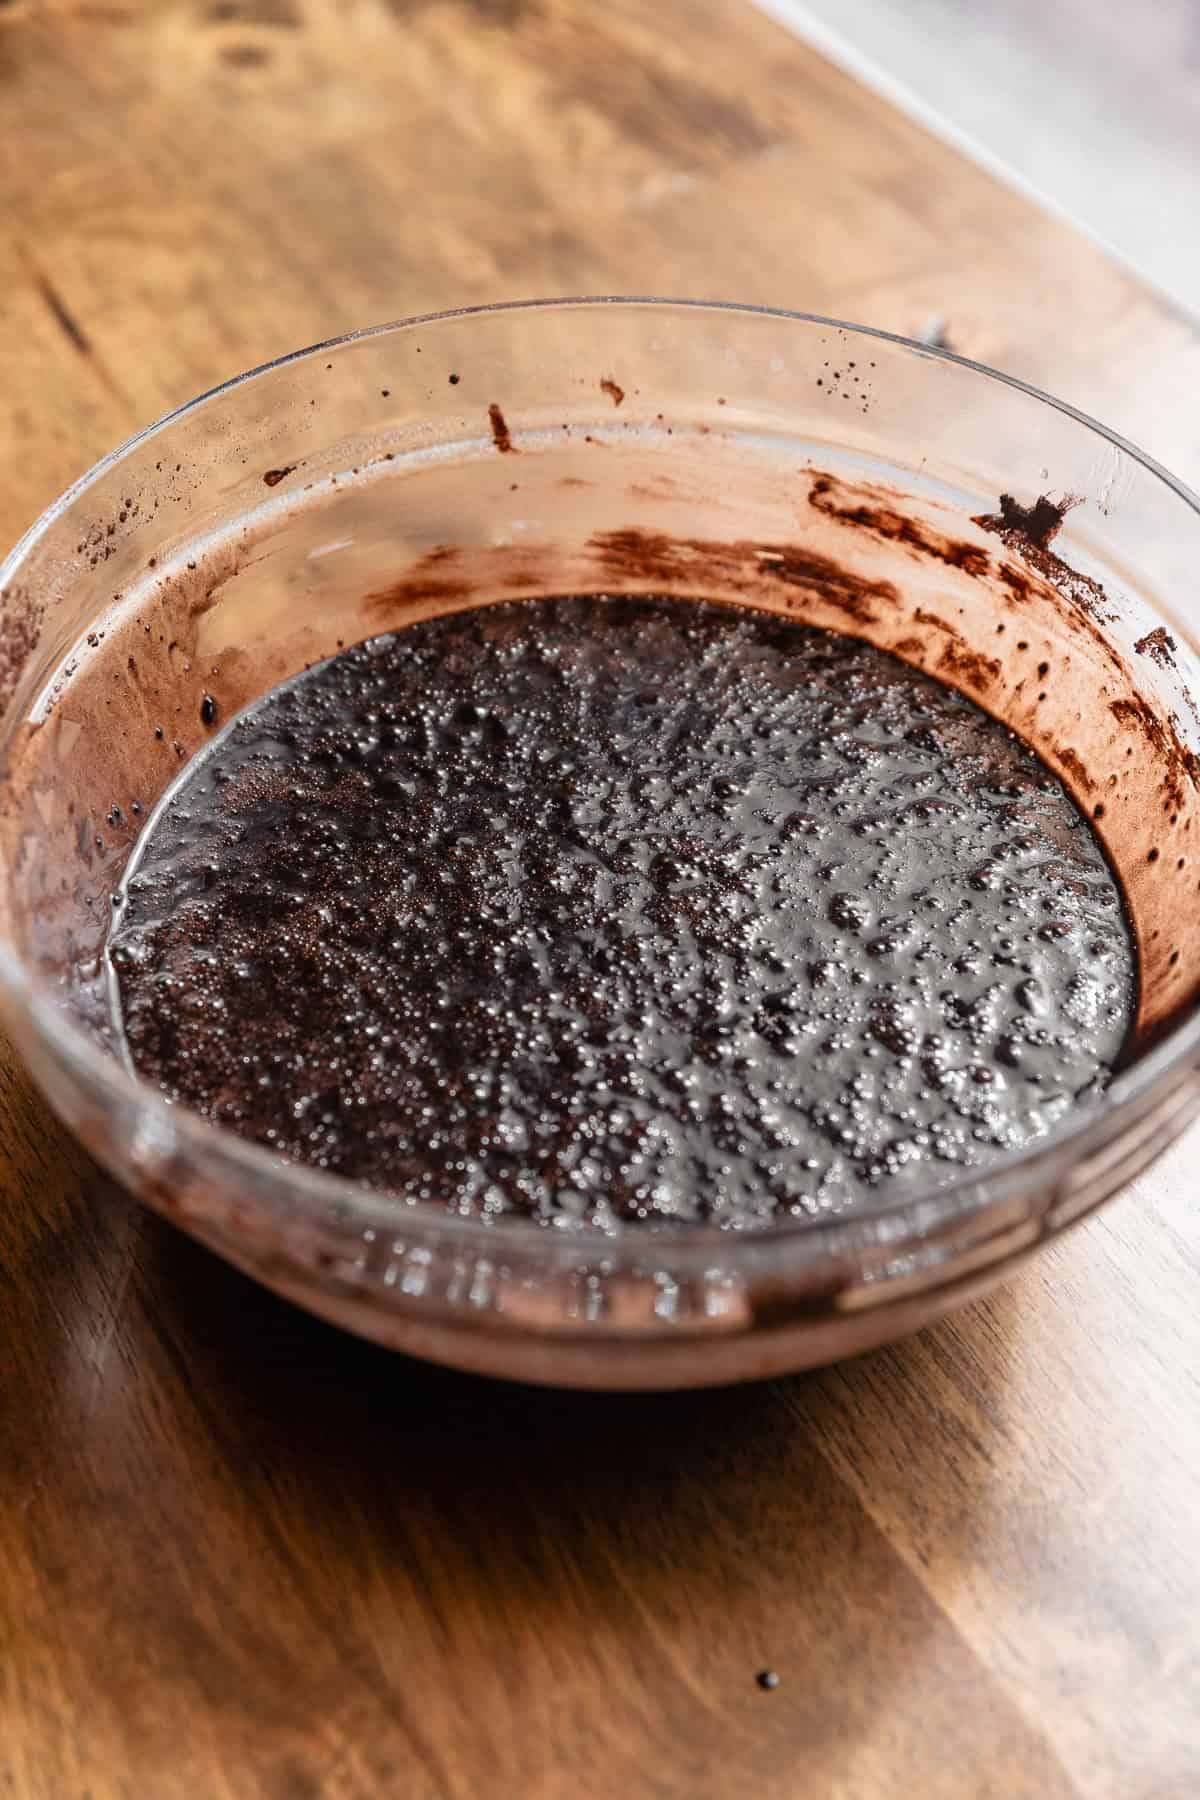
Make the black cocoa cake batter. Once the batter is mixed, you’ll see a rich black color and a glossy texture, all thanks to the black cocoa powder.
It’s the same ingredient that gives my chocolate Oreo cake with layers of cookies-and-cream frosting its signature dark chocolate flavor!
2
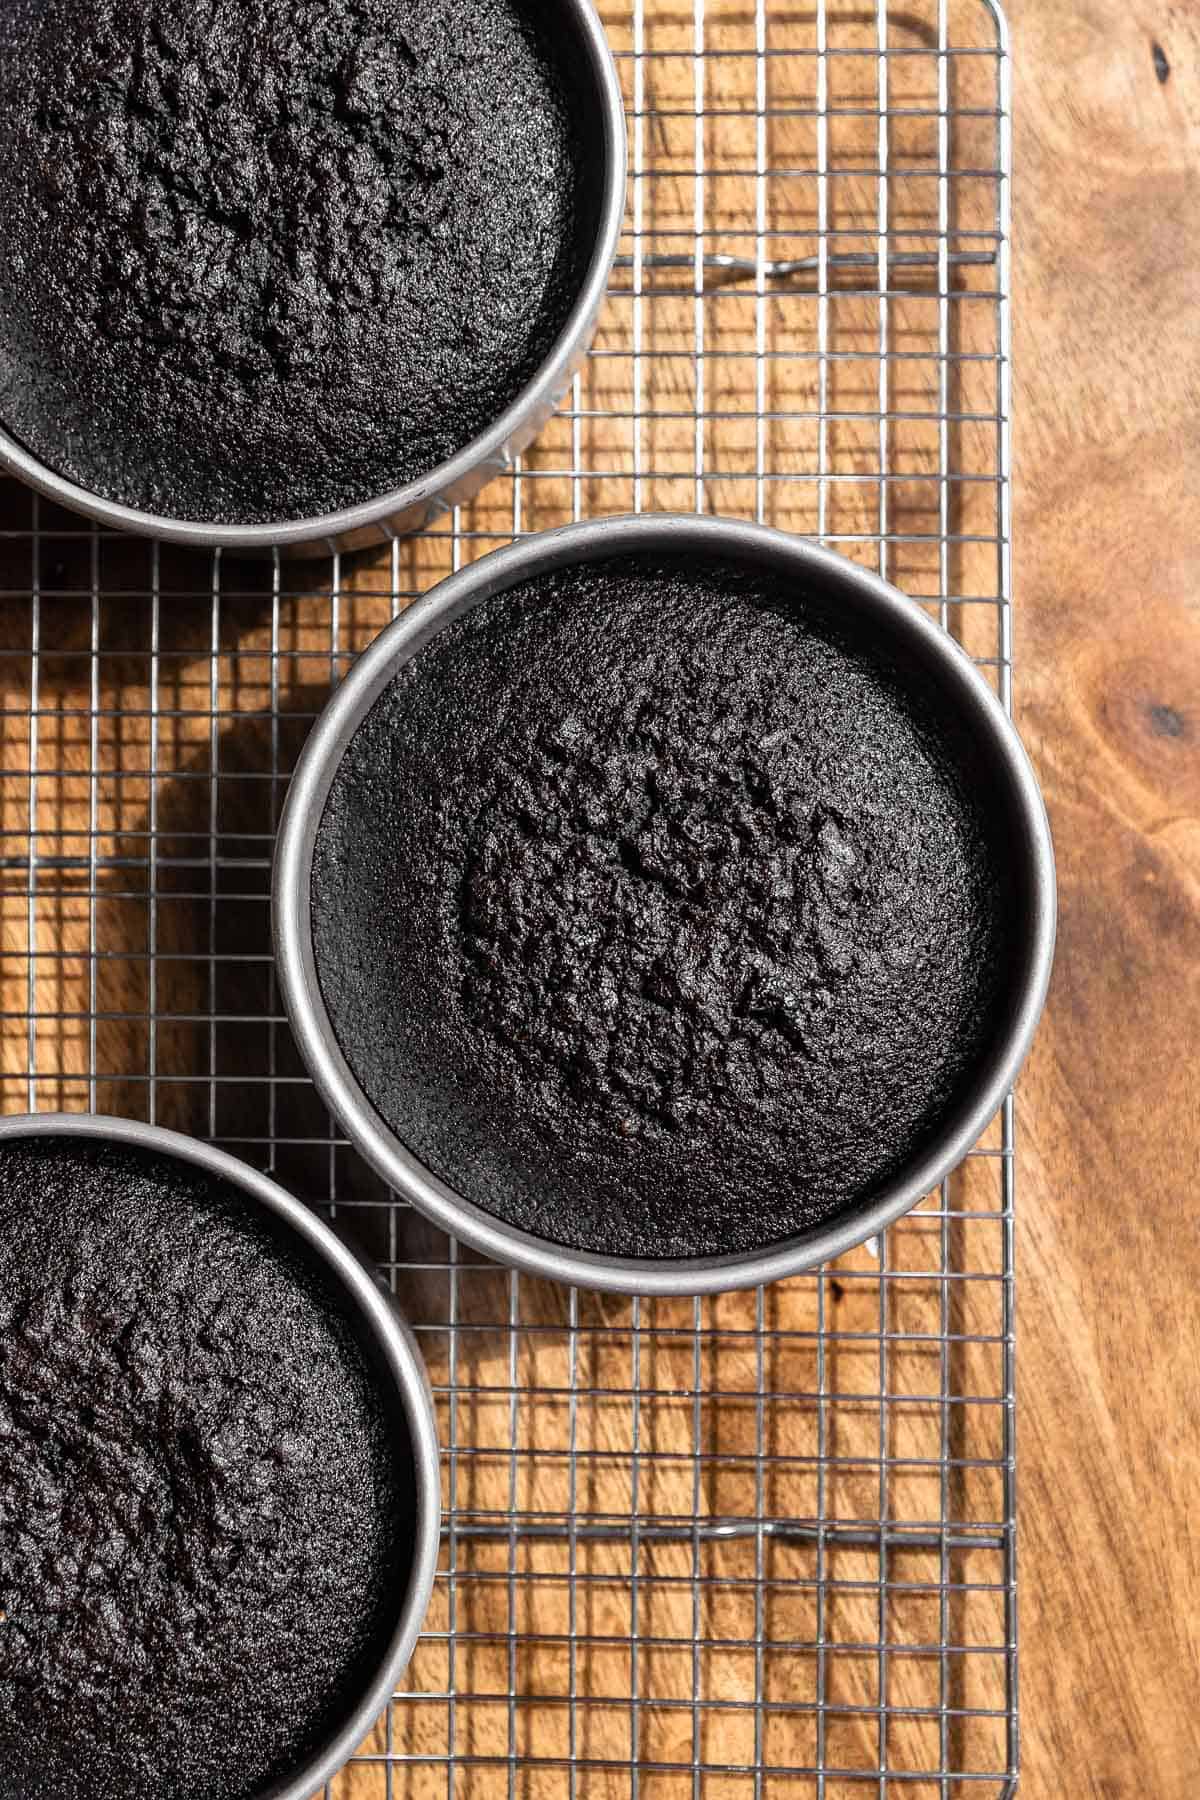
Let the cake layers cool on a wire rack. Meanwhile, you can make the frosting. You want to wait until the cake layers are completely cooled before assembling, or the cake will melt the frosting!
3
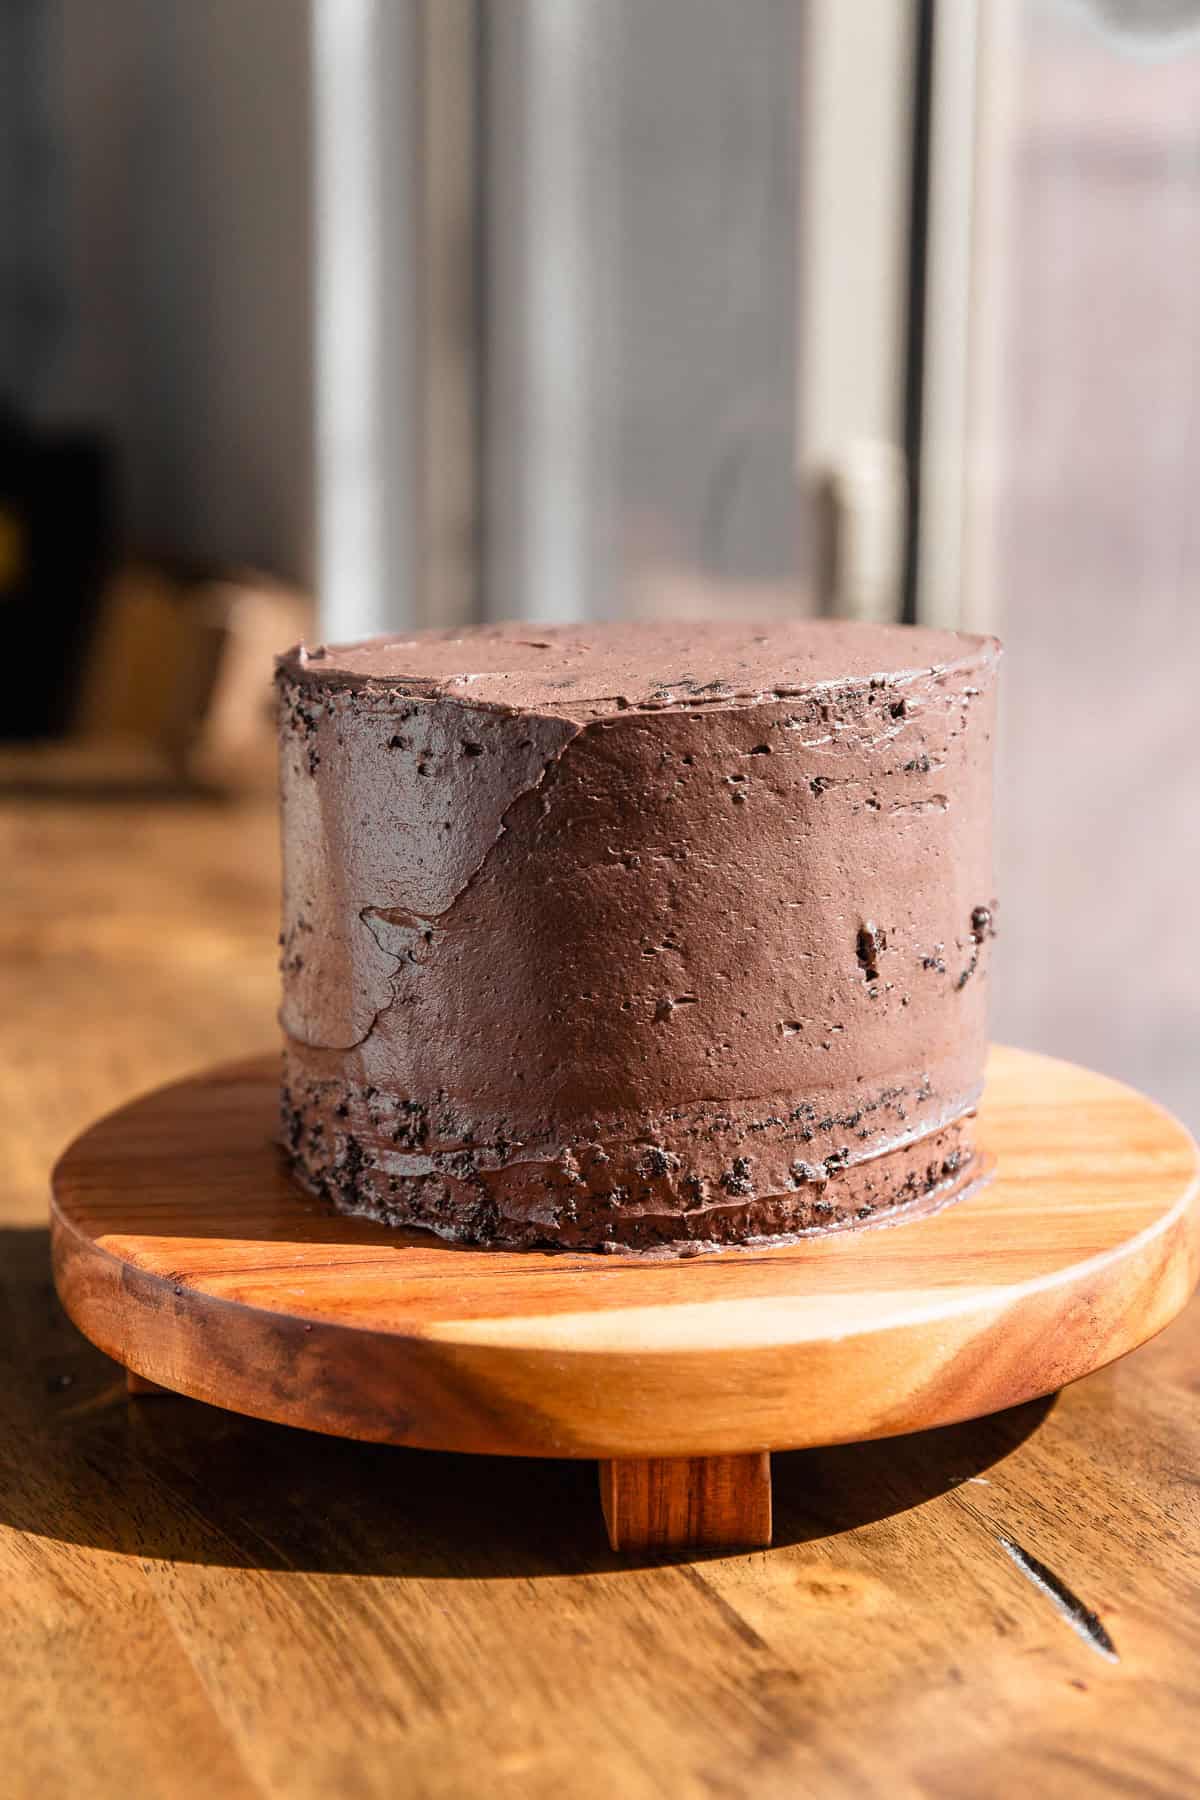
Layer the cake layers with the black cocoa buttercream frosting. Once assembled, cover the cake in a thin layer of frosting (crumb coat). Then, chill in the fridge until set.
This keeps the layers firm and prevents them from sliding around while you decorate the cake.

4
Cover the entire cake with the remaining frosting, then decorate with sprinkles. I always make this cake for Halloween, so I use a mix of fun sprinkles like eyeballs and black bats!
Once you’ve had a slice of this cake, you’ll get why I love black cocoa. It’s the same ingredient that makes my dark black cocoa miso brownies with an umami twist so intensely rich and bakery-style decadent!
Skip the bakery run for your Halloween spread because I’ve got you covered with a lineup of treats! My monster cookie bars loaded with peanut butter and M&Ms are perfect for a crowd, while my black cocoa Oreo cupcakes dipped in ganache have the same moody, Oreo-rich flavors and can easily be dressed up for the holiday!
If you tried this or any other recipe on my website, please let me know how it went in the comments; I love hearing from you! Also, please leave a star rating while you’re there! You can also tag me on Instagram or Facebook so I can check it out!
Black Velvet Cake
Equipment
- three 6 inch cake pans
Ingredients
Black Cocoa Cake Batter
- 1 2/3 cup all-purpose flour, *See notes below for measuring*
- 3/4 cup black cocoa powder
- 1 teaspoon baking soda
- 1 teaspoon fine sea salt
- 2 cups granulated sugar
- 1/2 cup neutral oil, like canola, vegetable, or avocado
- 1 cup buttermilk, room temperature
- 2 large eggs, room temperature
- 1 teaspoon vanilla extract
- 2/3 cup hot coffee, substitute hot water
Black Cocoa Frosting
- 2 cups unsalted butter, room temperature
- 2 cups powdered sugar
- 1/2 cup black cocoa powder
- 3 tablespoons heavy cream
- 1 teaspoon vanilla bean paste or extract
- Pinch of fine sea salt
- Sprinkles for decorating
Instructions
Make the Cake Batter
- Line three 6-inch cake pans with a round of parchment paper on the bottoms. Preheat the oven to 350 F/180 C.
- Whisk together the flour, black cocoa powder, baking soda, and salt until combined. Set aside.1 2/3 cup (210 g) all-purpose flour, 1 teaspoon baking soda, 1 teaspoon fine sea salt, 3/4 cup (75 g) black cocoa powder
- In a large bowl, whisk together the oil and sugar. Whisk in the buttermilk, eggs, and vanilla extract. Then whisk in the dry ingredients until smooth.2 cups (400 g) granulated sugar, 1/2 cup (100 g) neutral oil, 1 cup (227 g) buttermilk, 2 (110 g) large eggs, 1 teaspoon vanilla extract
- Then, whisk the hot coffee into the cake batter until just combined.2/3 cup (145 g) hot coffee
- Evenly distribute the cake batter into the prepared cake pans. This is best done with a food scale for accuracy; each pan should hold roughly 400 grams.
- Bake for 25-35 minutes, or until a toothpick inserted into the center comes out covered in a few moist crumbs. Let the pans cool on a wire rack, then run an offset spatula around the edges and flip them out onto the rack.
Make the Black Cocoa Buttercream
- Cream the butter in a stand mixer bowl until smooth. Then, mix in the powdered sugar. Beat on medium-low speed until the frosting is light and airy. Then, mix in the black cocoa powder, heavy cream, vanilla, and salt until combined.2 cups (452 g) unsalted butter, 2 cups (300 g) powdered sugar, 1/2 cup (50 g) black cocoa powder, 3 tablespoons (36 g) heavy cream, 1 teaspoon vanilla bean paste or extract, Pinch of fine sea salt
Assembly
- Place the first cake layer on your serving board. Pipe an even layer of the black frosting on the top. Continue alternating the cake layers and frosting, placing the last layer upside down. Then, cover the cake with a thin layer of frosting to crumb coat. Chill the cake in the fridge for 15-20 minutes, or until the frosting is firm.
- Use the remaining frosting to cover the top and sides of the cake. Decorate as desired and enjoy!Sprinkles for decorating


I’ve made this cake scaled up to be an 8″ layer cake twice now with chocolate pudding between the layers and a cream cheese frosting. 1) the cake itself is divine so moist and dark and flavorful you could bake it by itself and eat it and love it no exaggeration and b) your website and recipes are so thoughtful and careful. I love all the added details and notes and you can tell that they were well thought out because they change and adjust so easily. Thank you for putting both grams and cups in both settings and how you write the recipes out it’s very helpful.
I made this for my wife’s birthday yesterday. I scaled up the recipe to accommodate three 8” cake pans and opted for a whipped black cocoa ganache for between the layers and a black cocoa Swiss meringue buttercream on the outside (American buttercream is way to sweet for us). I have to say that it was one of the best cakes I’ve ever made. Thanks for the recipe! Everyone loved it. 👍🏼👍🏼
That is so wonderful to hear James! I love the idea of whipped ganache and Swiss meringue buttercream, that combo sounds heavenly (I almost wish I would have thought of that myself! 😂) Thank you so much for your kind words and leaving a review, I truly appreciate it.
Hi! I made this cake last year for my fiancé’s mother’s birthday and everybody absolutely loved it! Throughout the year, they haven’t stopped raving about it! I’ve decided to make it her annual birthday cake.
Looking at the recipe this year, it appears there have been some changes. I wanted to ask what result has come from the changes before I decide whether to make it based on my screenshots last year or with the updated recipe instead?
I’m so happy to hear that everyone loved the cake, that makes my day! 🖤 You’re right, I recently refreshed the recipe a bit. The cake itself is the same, but I swapped the frosting for a lighter black cocoa buttercream. The original had a richer, fudgier ganache-style frosting that took a little longer to prepare, while the new version comes together in just a few minutes. It’s still deeply chocolatey, just a bit lighter! If you would like the original version, it’s my chocolate fudge frosting recipe with 1 cup dutch processed cocoa and 3/4 cup black cocoa!
Thank you so much for your response, info, and for sharing the original fudge frosting recipe 🥰. Her birthday is tomorrow, so I’m excited to make it again! I’ll be using the original recipe just for consistency/safety for her since she’s very particular and this cake made such an impact on her, but I look forward to trying your updated buttercream recipe some time soon as well. I’ve shared your Black Velvet Cake recipe with several family members who have made it (several times, mind you!) and loved it as well. Thank you again! 🙂
Hi, Can this recipe be used in a bundt pan?
Hi Teresa, I have not tested this cake batter in a bundt pan so I can’t say for sure it will work. I’d love to hear how it turns out if you try it!
Hi,
I do not possess three 6 inch round baking pans. Can I use two 9 inch round cake pans that are about 2 inches deep instead?
Hi Patty! That should be just fine!