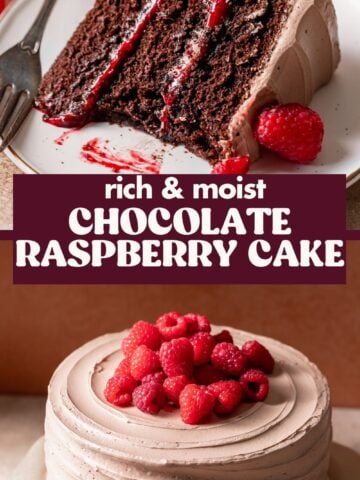
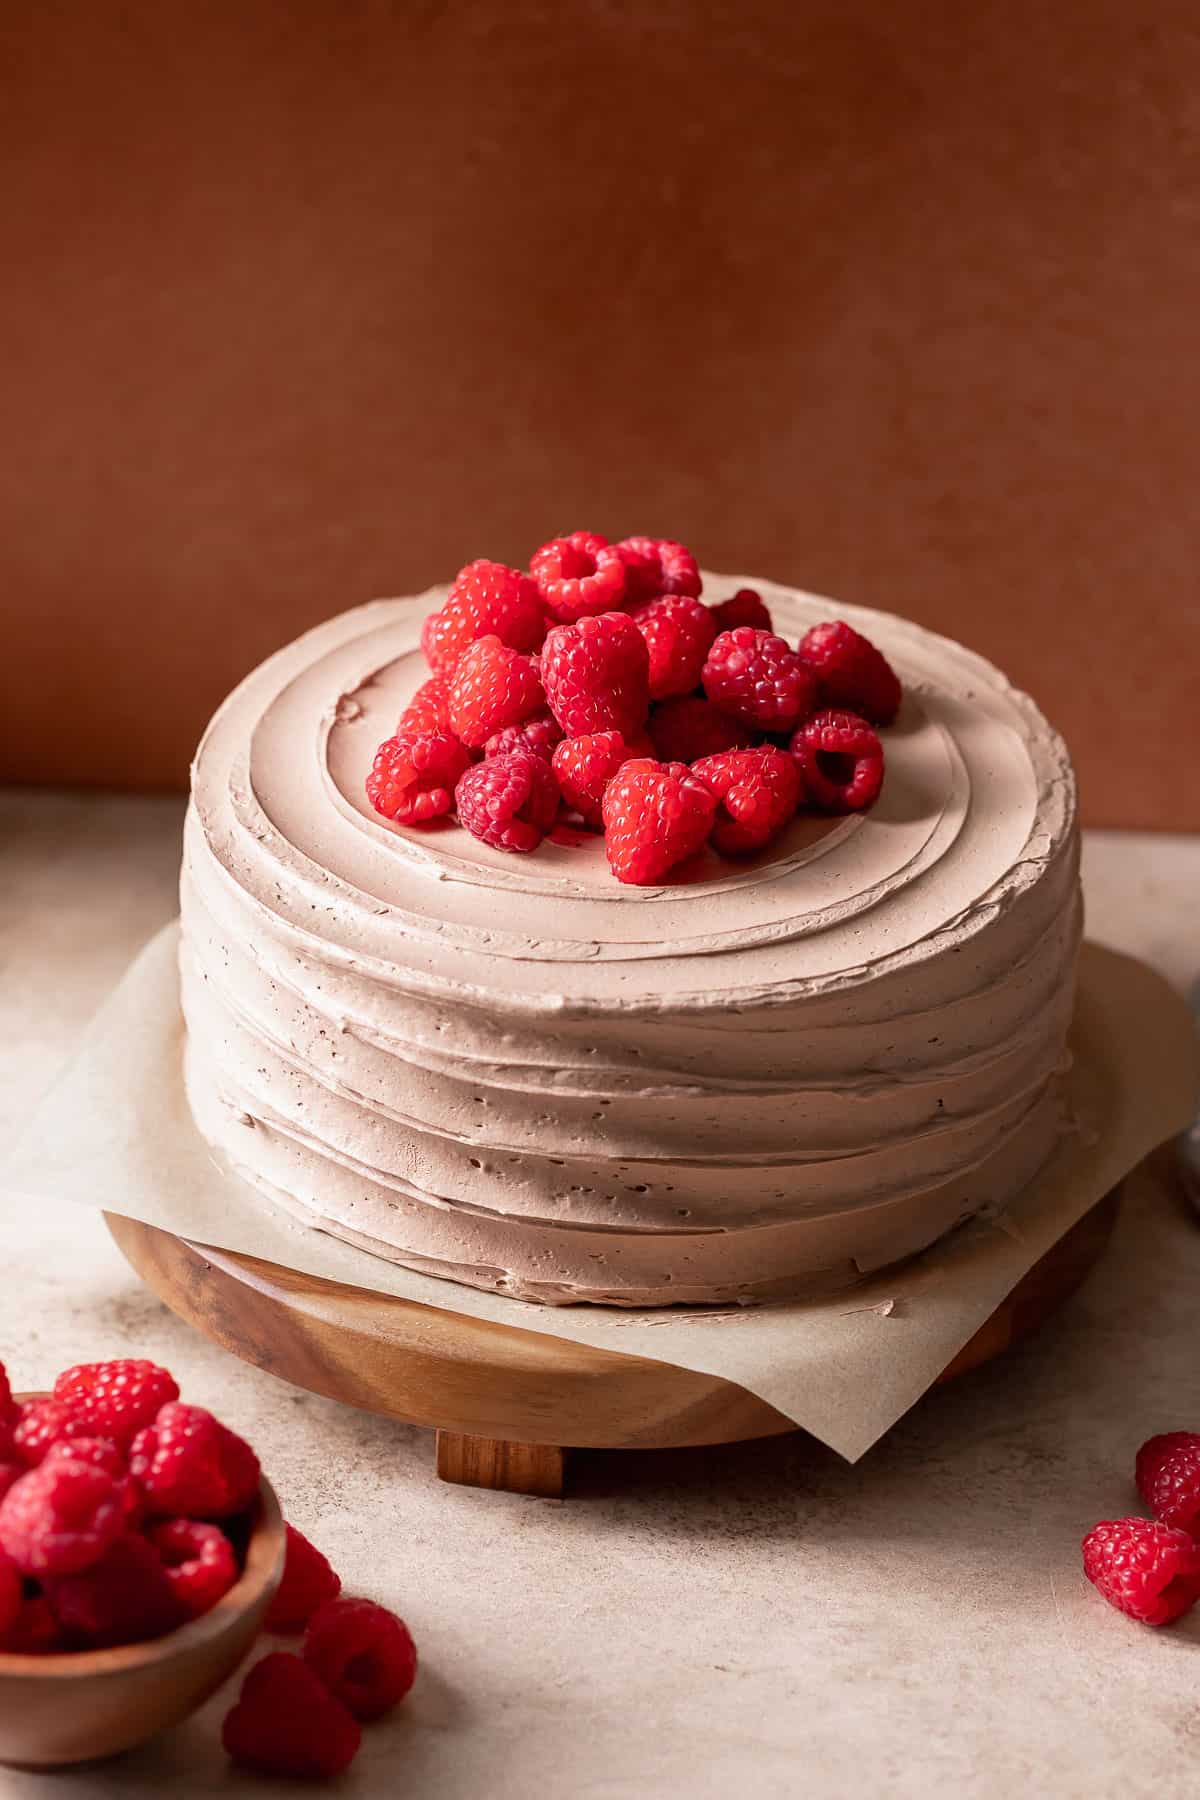
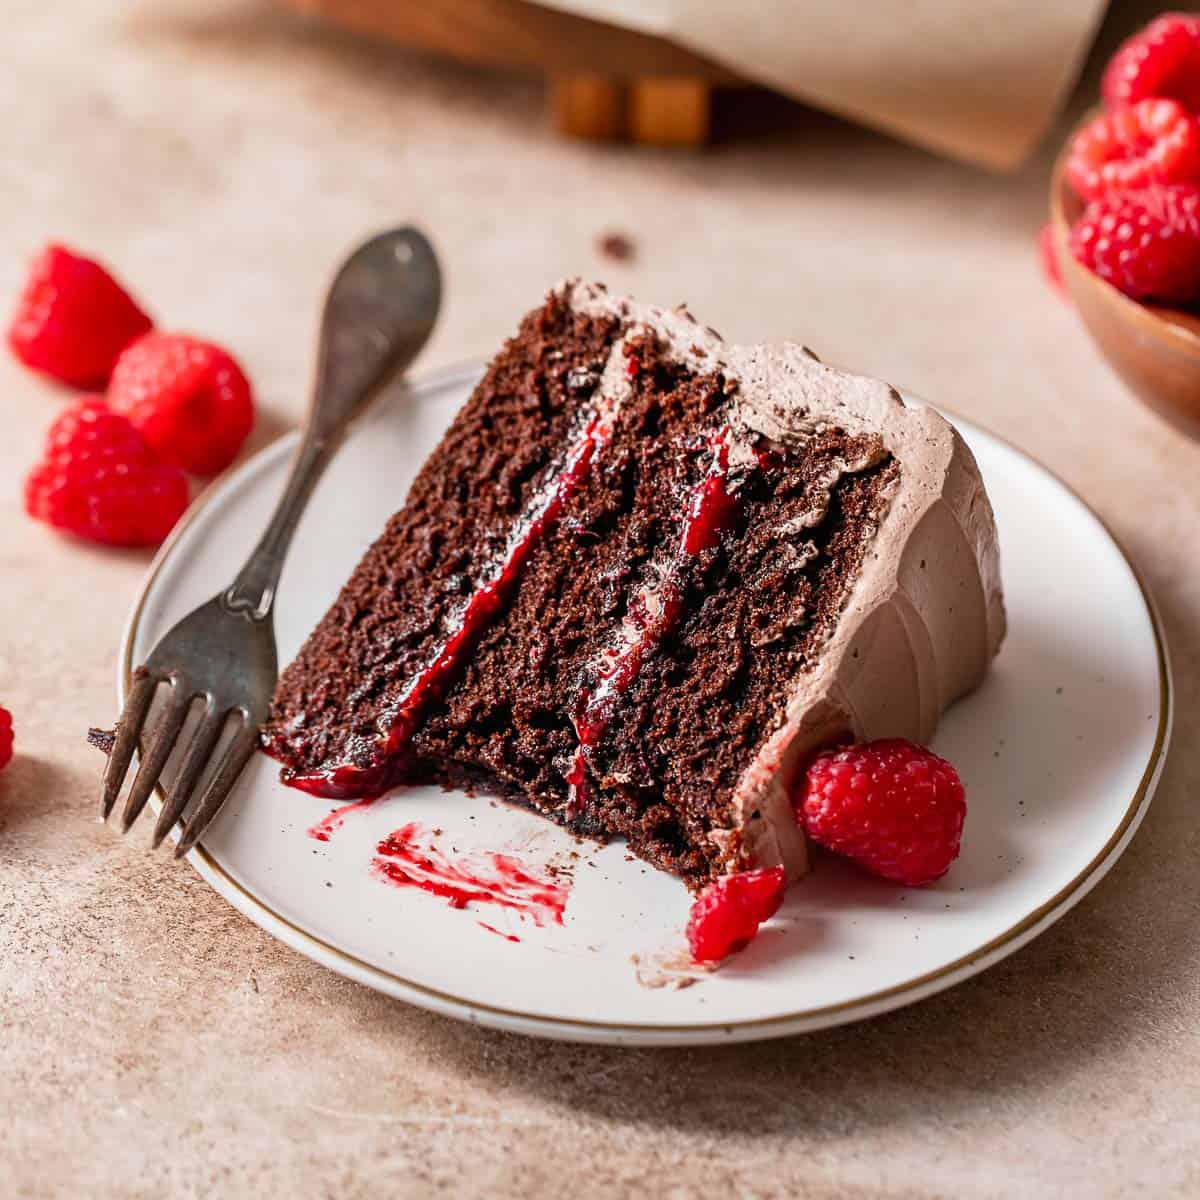
This chocolate raspberry cake is a lusciously moist and rich chocolate cake filled with homemade raspberry jam. This impressive but simple dessert is perfect for celebrating any occasion!
Working as a pastry chef, I learned quickly that adding a fresh fruit filling to any cake elevates it to a bakery-quality dessert!
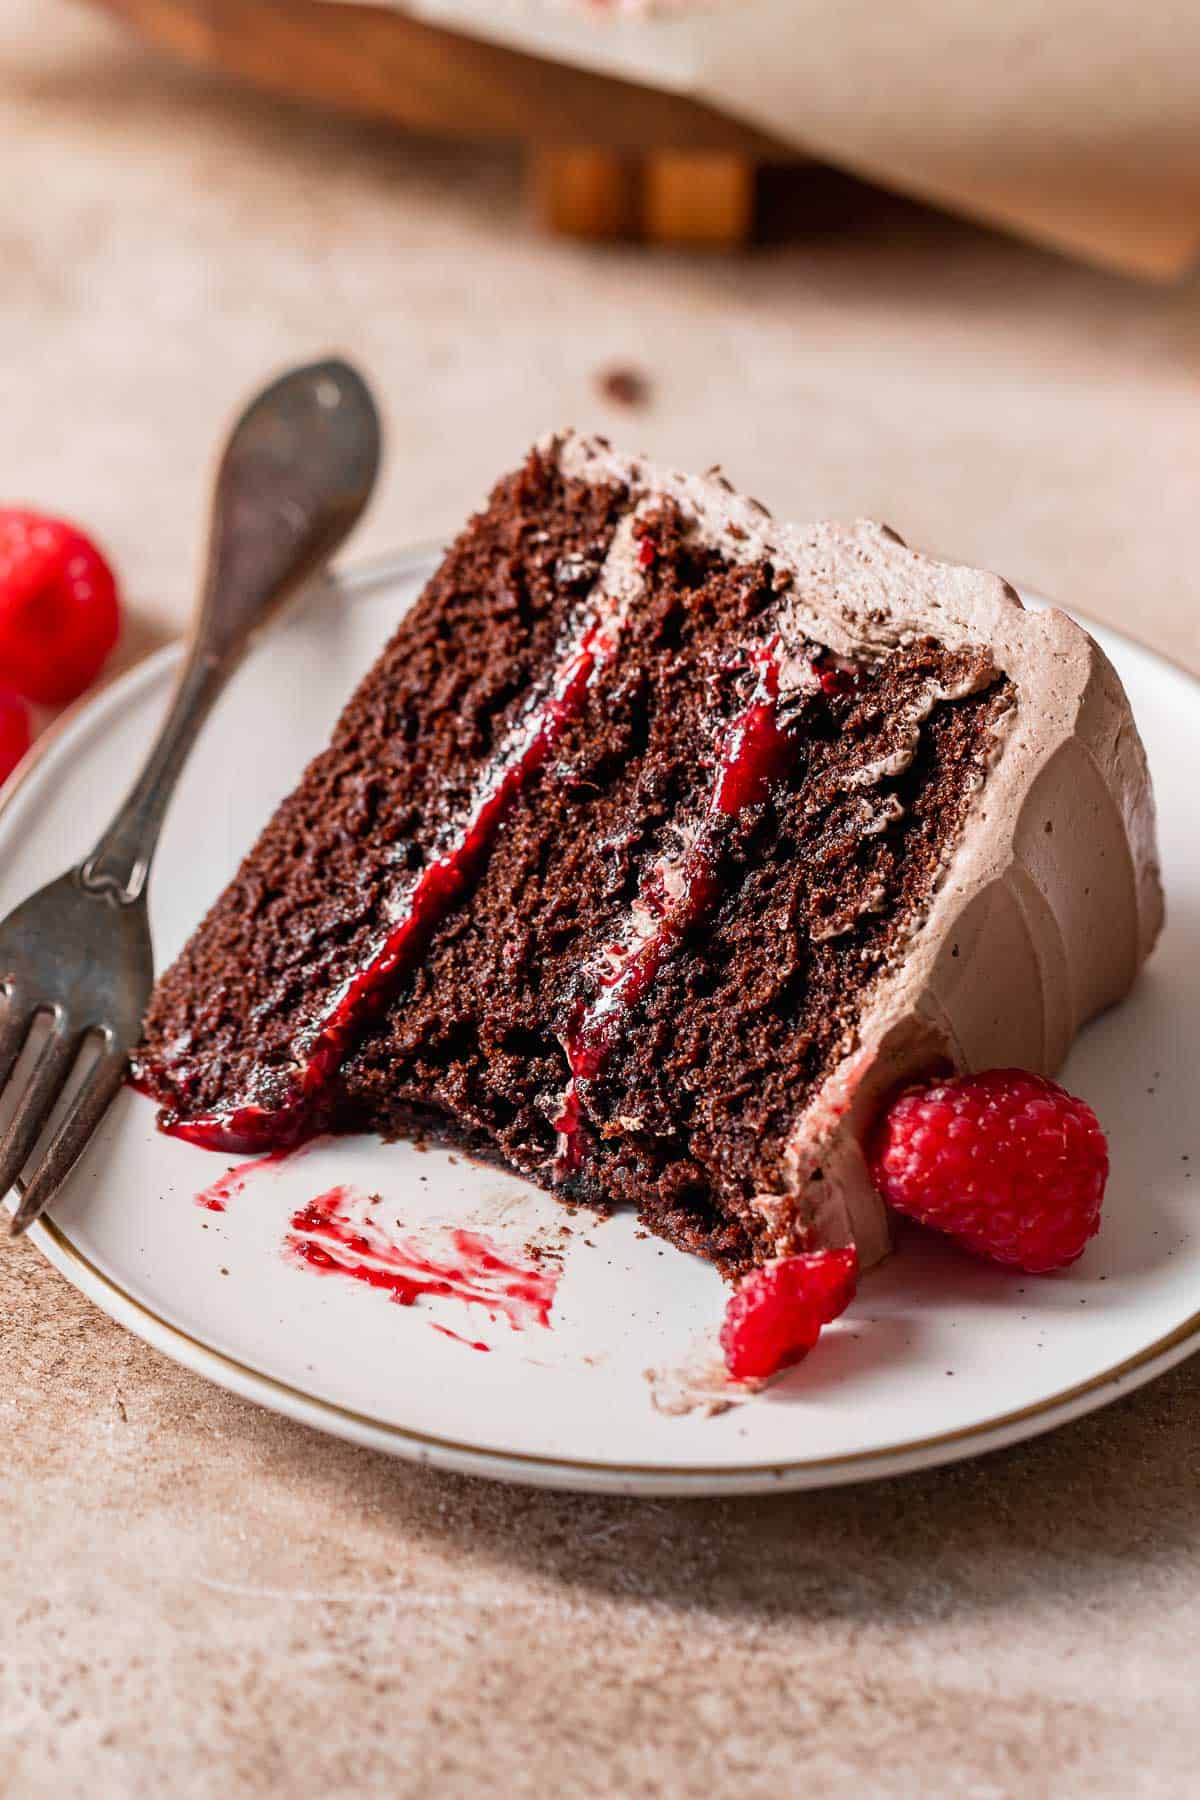
Similar to my chocolate strawberry cake, this chocolate raspberry cake features three layers of my favorite dark chocolate cake, raspberry filling, and chocolate buttercream. It’s the perfect layer cake to serve for birthday parties, holidays, or year-round for a weeknight dessert!
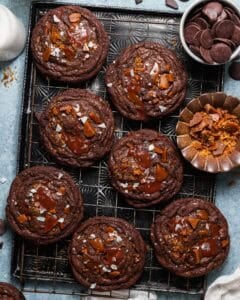
Try my raspberry chocolate chip cookies next if you love this flavor combo!
Table of Contents
Ingredient Notes and Substitutions
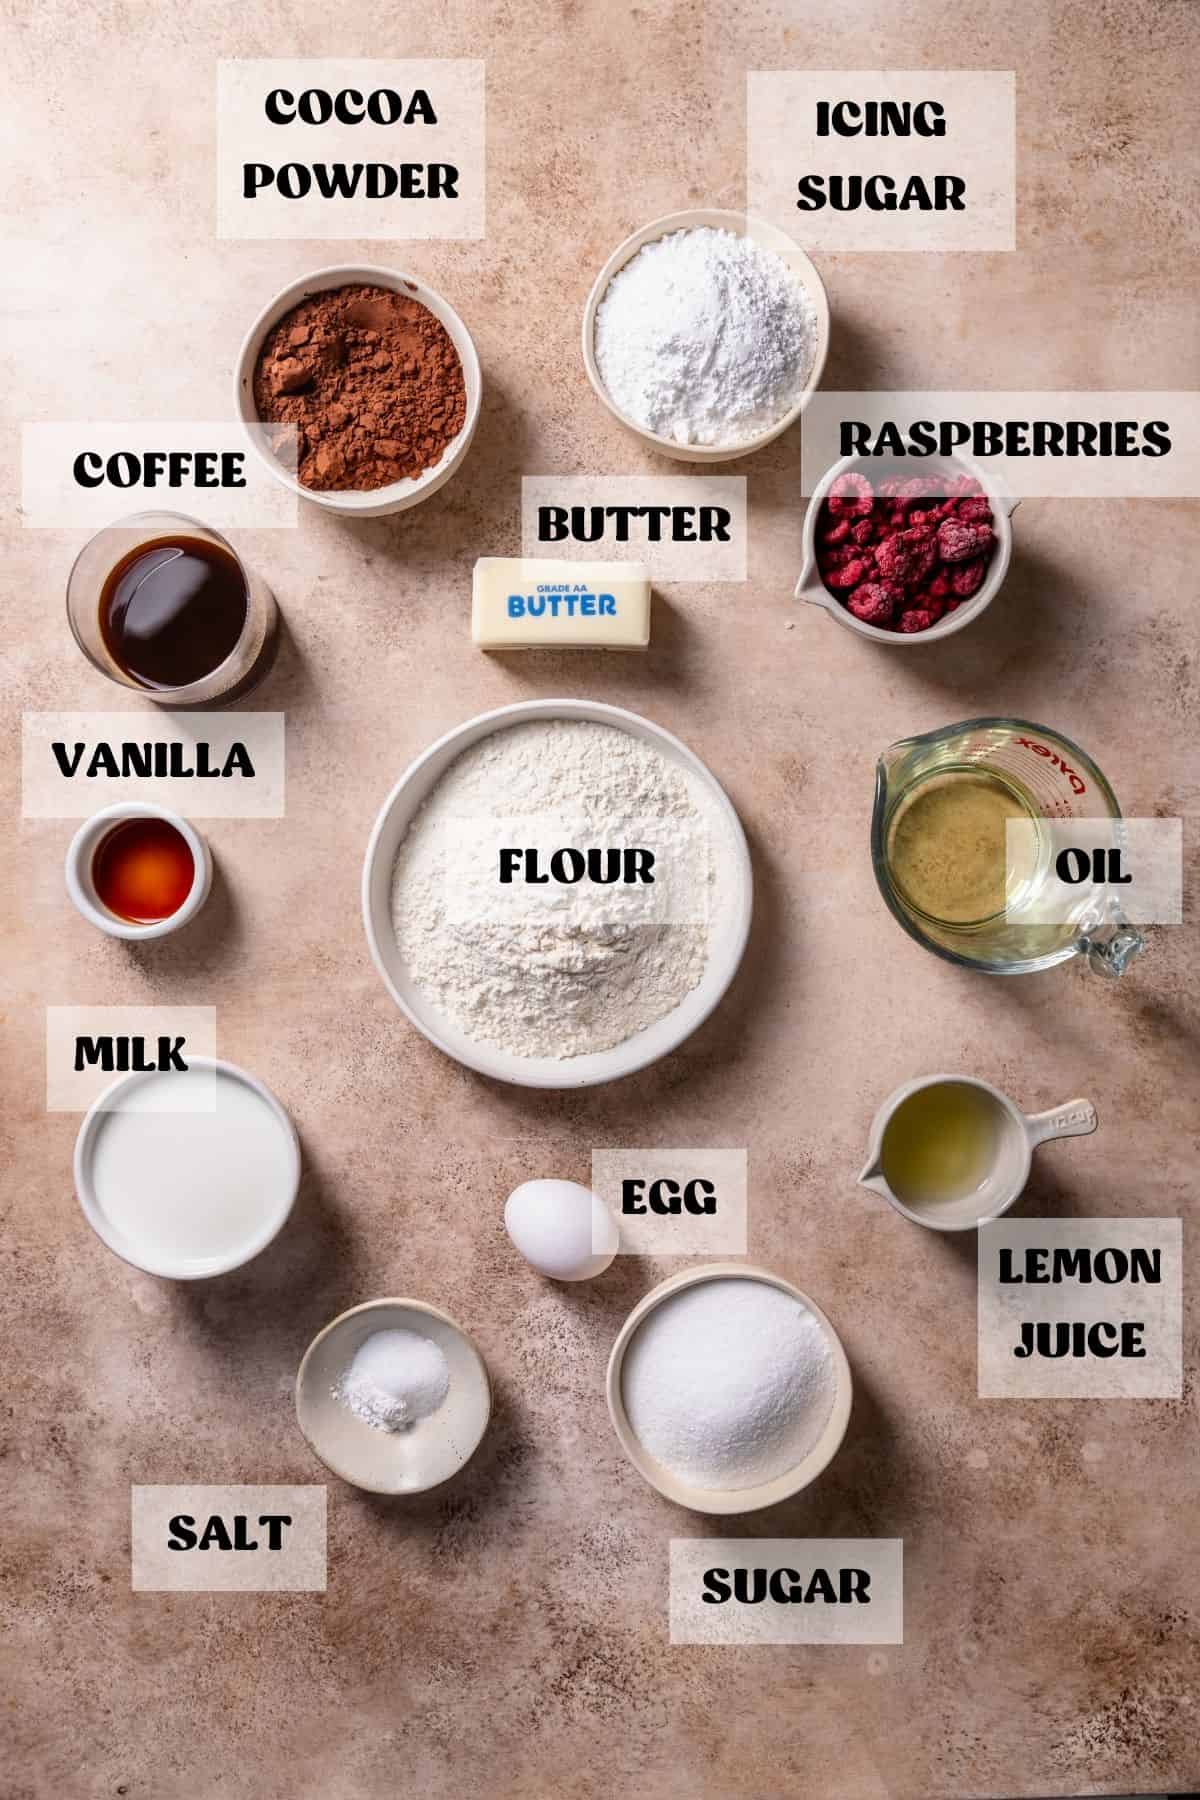
Raspberries: I tested this cake with both frozen raspberries and fresh raspberries for the jam, and both will work. Use any leftover berries to make a batch of fresh raspberry scones!
Cocoa powder: Any unsweetened cocoa powder will work for this recipe. I love using Ghiradelli, but Hershey’s ultra-dark cocoa is a great alternative.
Milk: Whole or 2% milk is best to keep the cake super moist.
Coffee: You will not taste the coffee! Its job is to bring out the richness of the cocoa for a deep chocolate flavor. I use coffee in my mint ice cream cake, too!
Full ingredient measurements and instructions can be found in the recipe card below!
Recipe Instructions
Step 1: Whisk the wet ingredients together. Combine the oil and sugar, then whisk in the eggs and vanilla extract until smooth.
Step 2: Whisk in the milk. Whisk the milk into the batter until completely combined.
Step 3: Whisk in the dry ingredients. Whisk in the dry ingredients, then whisk in the hot coffee or hot water. Don’t overmix! Pour the chocolate cake batter into three 8-inch cake pans. Once baked, allow them to cool on a wire cooling rack.
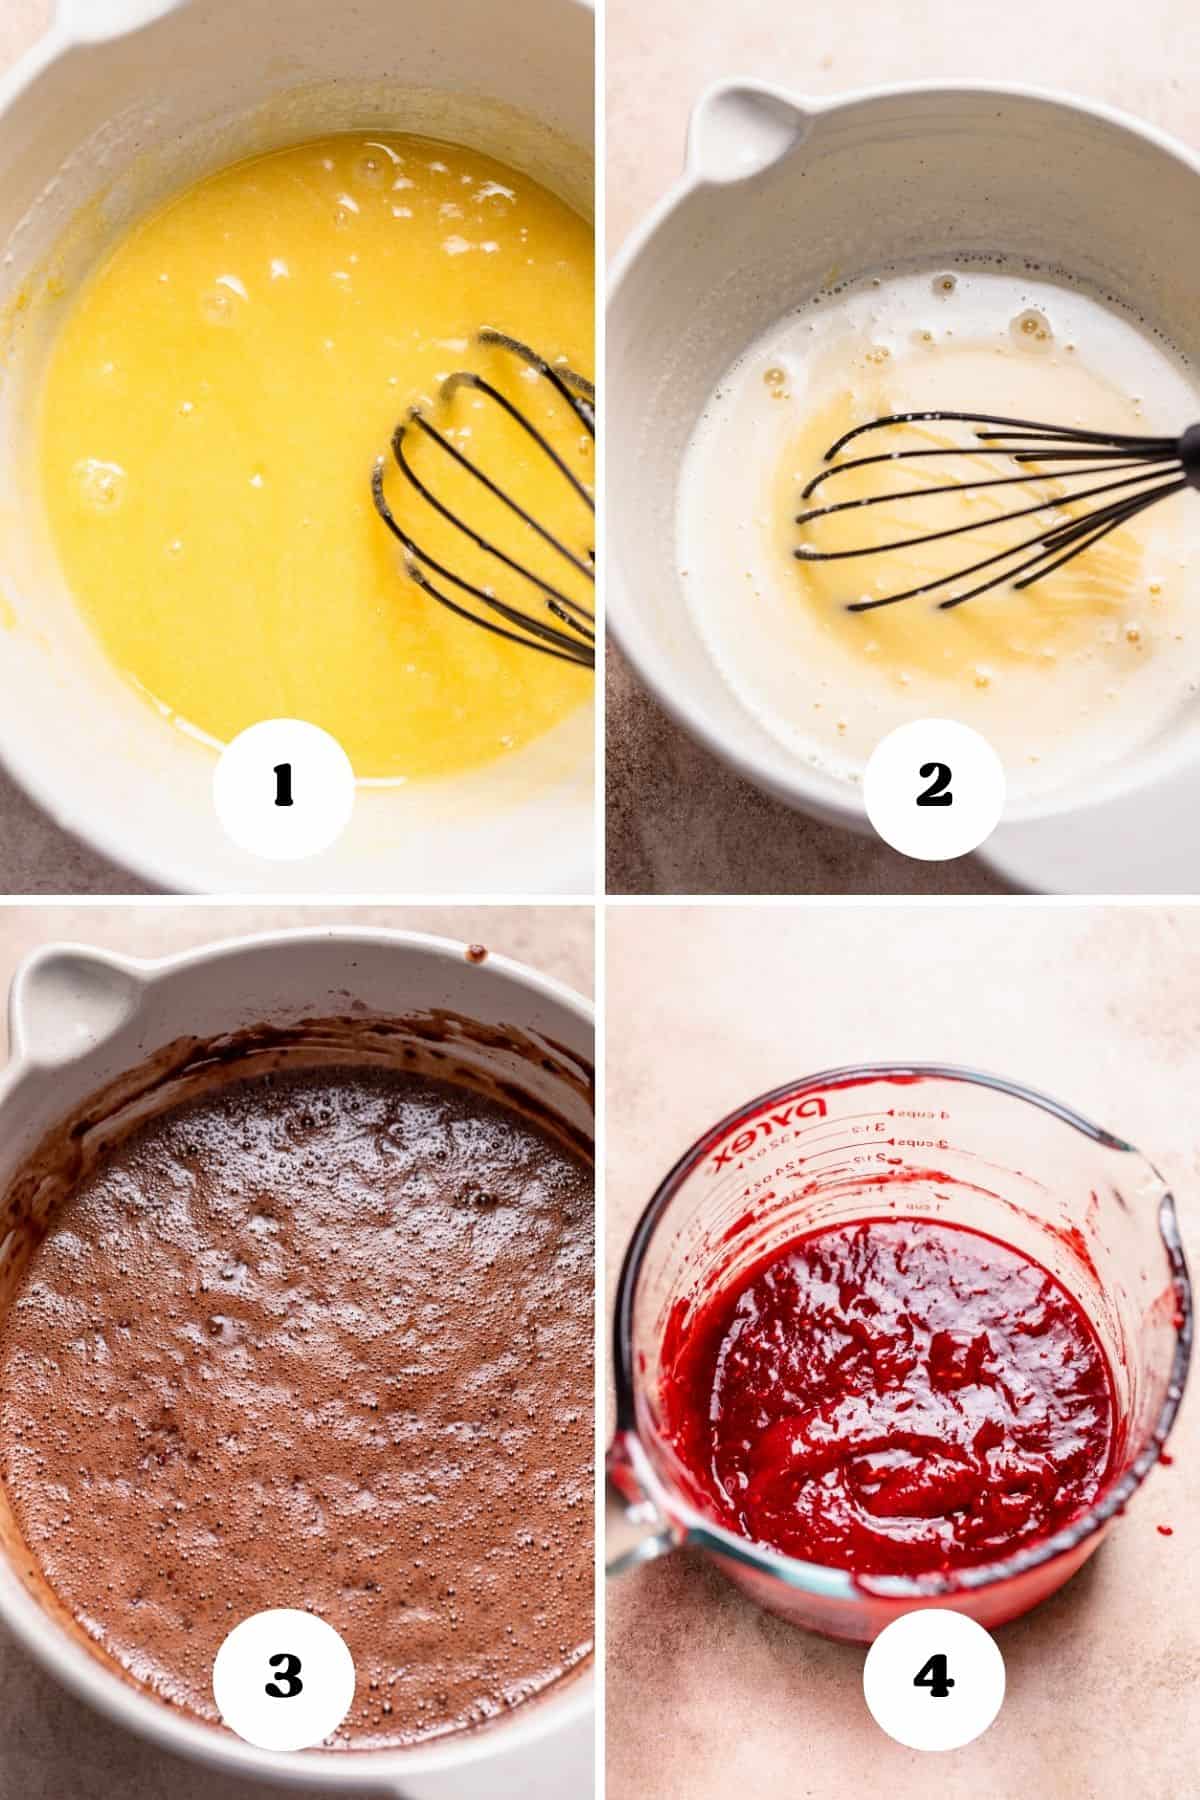
Step 4: Make the raspberry jam. Combine the frozen raspberries, lemon juice, and sugar. Cook until boiling, then use a spoon to mash the berries. Once thickened, push it through a fine mesh strainer to remove the seeds and set aside. (image 1 below).
Step 5: Make the chocolate buttercream frosting. In a stand mixer, cream the butter, powdered sugar, and cocoa powder. Add the cream and vanilla, then beat for 4-5 minutes to incorporate air, making the frosting light and fluffy and tripling its volume. (image 5 below).
Step 6: Fill with raspberry jam. Spread a thin layer of chocolate frosting on the first cake layer, then pipe a buttercream border around the edge. Spread half of the raspberry jam in the center, keeping it within the border. Repeat for the next layer. (image 6 below).
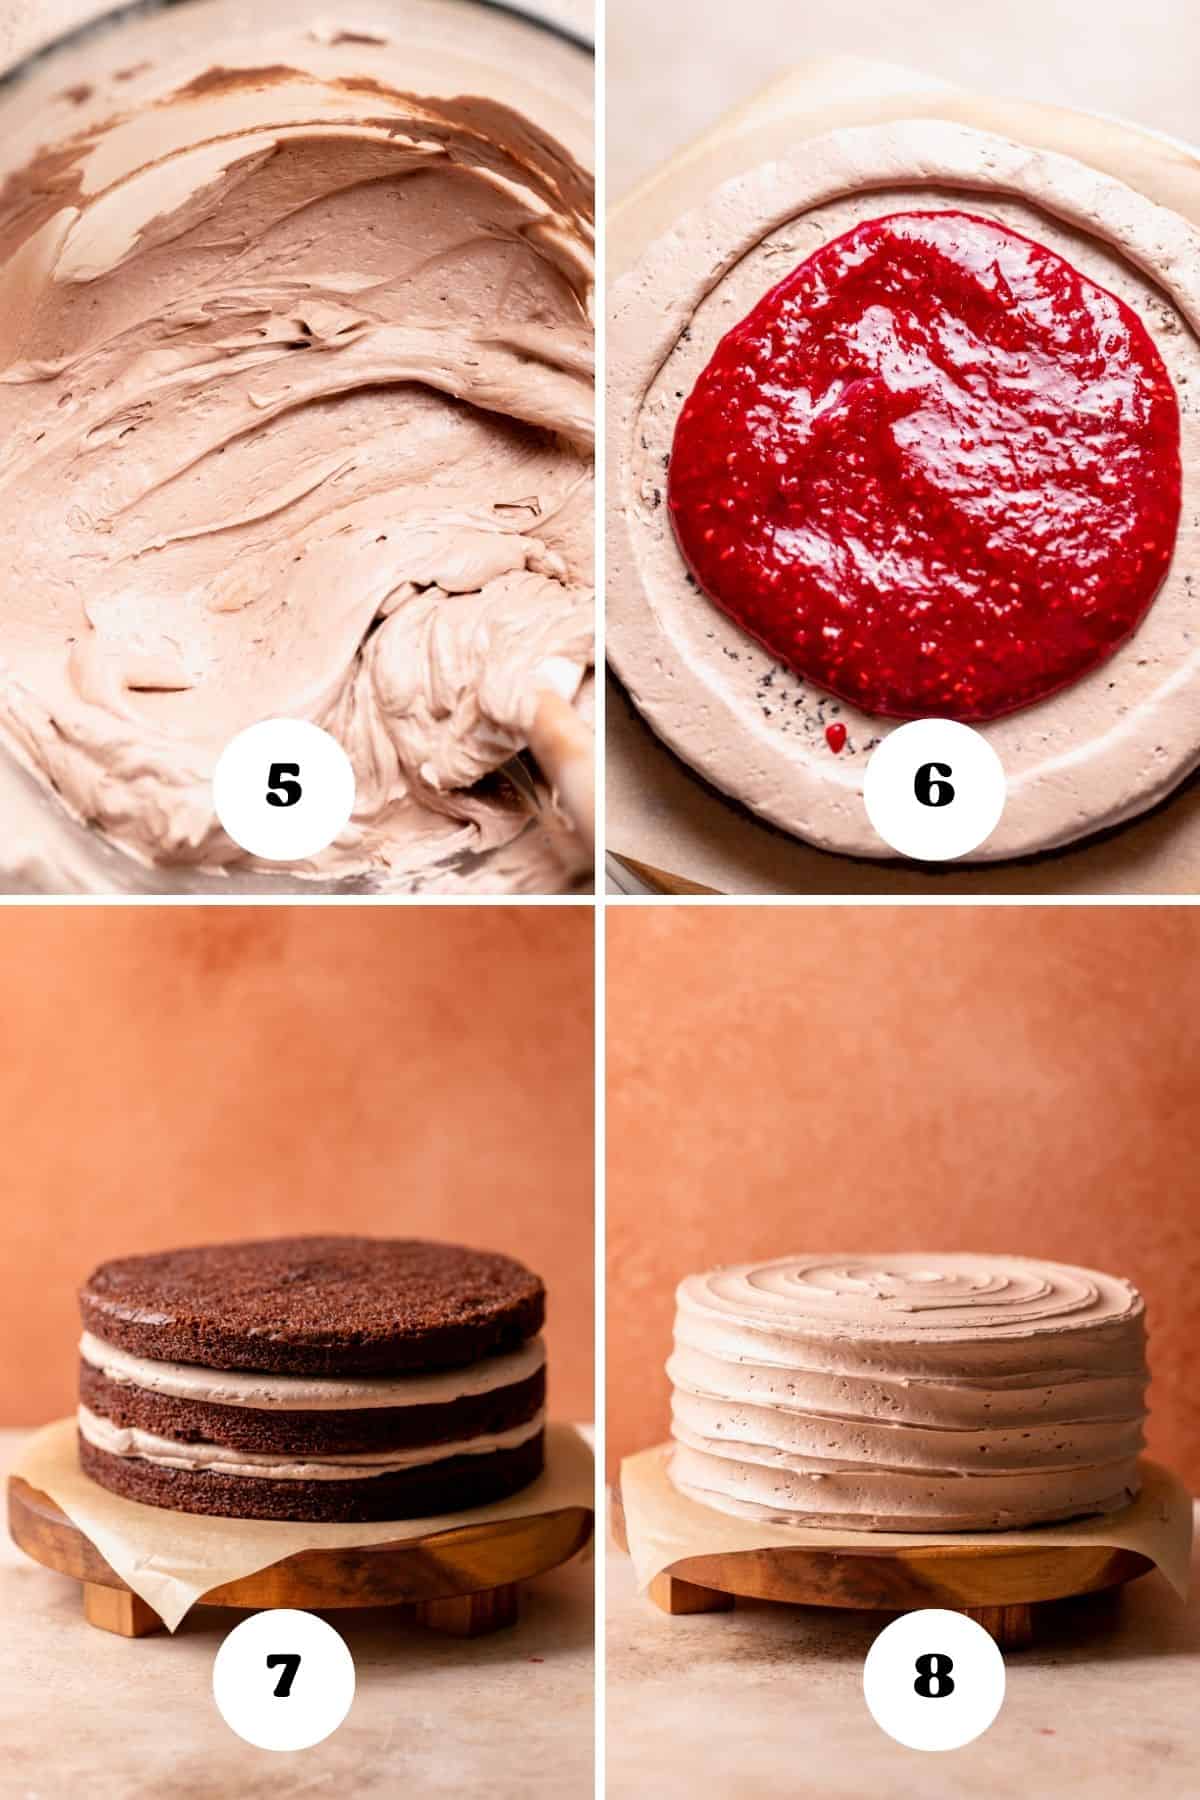
Step 7: Assemble the cake. Place the last layer upside down so that the top of it is perfectly flat. Chill for 20-30 minutes before frosting. (image 7 above).
Step 8: Frost and decorate the cake. Use the rest of the buttercream to cover the entire cake. Use a small offset spatula to create a swirl on the top and sides, then garnish with fresh raspberries. (image 8 above).
Tips for Filling the Cake
Cook the filling until thick. Ensure your raspberry filling is thick enough to stay in place but not so thick that it doesn’t spread easily. If it’s too runny, consider cooking it down a bit more or adding more cornstarch.
Cool the cake layers. Make sure your cake layers are completely cooled before filling. Warm cake can cause the filling to melt and become messy.
Create a dam. Pipe a ring of frosting around the edge of each cake layer before adding the filling. This “dam” keeps the raspberry filling from seeping out when the layers are stacked.
Don’t overfill! Make sure not to fill higher than your buttercream border, or the filling will start to seep out the sides!
Chill the layers. After filling and stacking the layers, refrigerate the cake for at least 20 minutes. This helps set the filling and makes the cake easier to frost!
Refrigerate before serving. Once the cake is filled and frosted, refrigerate it for at least an hour before serving. This helps the filling firm up and makes slicing cleaner and easier.
Storage, Freezing, and Make Ahead
Storage: The chocolate raspberry cake can be stored in the fridge for up to 5 days. You can wrap individual slices or the whole cake in plastic wrap. Let it come to room temperature before serving!
Freezing: Store it whole and uncut in a cake carrier for up to one month. You can also cut it into slices, wrap them in plastic wrap, and store them in a freezer bag or airtight container for up to one month!
Make ahead: The filling and frosting can be made one week in advance and kept in the fridge. The chocolate cake layers can be made and kept in the freeze until ready to assemble!
FAQs
Yes, but I found that store-bought jams are much sweeter than homemade jams and can make the cake too sweet.
Yes! See my lemon raspberry cupcakes for guidance.
Yes! Pour the batter into two 9-inch pans. Check on them occasionally, as they will have a longer bake time, closer to 25-30 minutes.
After applying the final layer of frosting, you can decorate with fresh raspberries, chocolate shavings, or a drizzle of chocolate ganache. Piping frosting around the top and bottom edges also adds a bakery-style finish!
If your filling is too runny, cook it down a bit more or add more cornstarch.
Using too much flour is likely the cause! I highly recommend using a kitchen scale to measure your ingredients for the best results.
More Chocolate Cake Recipes
- Chocolate cake with coffee frosting
- Reese’s cake
- Dark chocolate ganache cake
- Black velvet chocolate cake
- Mint chip ice cream cake
If you tried this or any other recipe on my website, please let me know how it went in the comments below. I love hearing from you! Also, please leave a star rating while you’re there! You can also tag me on Instagram or Facebook so I can check it out!
Chocolate Raspberry Cake
Equipment
Ingredients
Chocolate Cake Batter
- 1 3/4 cups all-purpose flour, *See notes below for measuring*
- 3/4 cups unsweetened cocoa powder
- 1 1/2 teaspoons baking powder
- 1/2 teaspoon baking soda
- 1 teaspoon fine sea salt
- 2 cups granulated sugar
- 1/2 cup vegetable oil
- 2 large whole eggs , room temperature
- 1 teaspoon vanilla extract
- 1 cup whole or 2% milk , room temperature
- 2/3 cup hot coffee or water, I recommend coffee for an even richer flavor. You won't taste it in the cake at all!
Raspberry Jam Filling
- 3 cups frozen raspberries, can substitute fresh berries
- 1/3 cup granulated sugar
- 2 tablespoons lemon juice
- 2 tablespoons corn starch
- 2 tablespoons water
Chocolate Buttercream
- 1 1/2 cup unsalted butter, room temperature
- 2 cups powdered sugar
- 2 tablespoons unsweetened dark cocoa powder
- 2 tablespoons heavy cream or milk
- 2 teaspoons vanilla extract
- fresh raspberries, for decorating
Instructions
Raspberry Filling
- Cook the raspberries, sugar, and lemon juice over medium heat for 10-12 minutes until boiling, mashing frequently. Whisk together the cornstarch and water and stir it into the jam. Cook 1-2 minutes longer until thickened. Push the filling through a fine mesh strainer to remove the seeds, then set aside to cool.3 cups (335 g) frozen raspberries, 1/3 cup (67 g) granulated sugar, 2 tablespoons lemon juice, 2 tablespoons corn starch, 2 tablespoons water
Chocolate Cake Batter
- Grease the sides of three 8-inch cake pans and line the bottoms with parchment paper. Preheat the oven to 325F/165C.
- Whisk together the flour, cocoa powder, baking soda, baking powder, and salt. Set aside.1 3/4 cups (225 g) all-purpose flour, 3/4 cups (65 g) unsweetened cocoa powder, 1/2 teaspoon baking soda, 1 1/2 teaspoons baking powder, 1 teaspoon fine sea salt
- Whisk together the oil and sugar until combined. Then, whisk in the vanilla and eggs one at a time until combined. Finally, whisk in the milk.2 cups (400 g) granulated sugar, 1/2 cup (113 g) vegetable oil, 2 large (110 g) whole eggs , 1 cup (216 g) whole or 2% milk , 1 teaspoon vanilla extract
- Whisk in the dry ingredients until just combined. Then, whisk in the hot coffee. Evenly distribute the cake batter between the prepared pans. (Roughly 420 grams in each).2/3 cup (150 g) hot coffee or water
- Bake the cakes on the middle rack for 18-20 minutes or until a toothpick inserted into the center comes out covered in a few moist crumbs. Let the pans cool on a wire rack for 15 minutes, then release the layers from the pan and let them finish cooling completely on the rack.
Chocolate Frosting
- In a stand mixing bowl, cream the butter until smooth. Then, mix in the powdered sugar and cocoa powder. Once combined, mix in the cream and vanilla. Beat the frosting on medium speed for 4-5 minutes until the frosting is light and fluffy and tripled in volume.1 1/2 cup (340 g) unsalted butter, 2 cups (240 g) powdered sugar, 2 tablespoons (16 g) unsweetened dark cocoa powder, 2 tablespoons (20 g) heavy cream or milk, 2 teaspoons vanilla extract
Assembling
- Spread a thin layer of frosting on top of the first cake layer, then pipe a border around the edge. Fill the center with half of the raspberry filling, making sure not to fill it higher than the border! Continue with the next layer.
- Place the last cake layer upside down so that the top is completely flat. Chill the cake in the fridge for 20-30 minutes.
- Once chilled, spread the rest of the frosting to cover the top and sides of the cake. Use a small offset spatula to create a swirl texture on the top and sides, then garnish with fresh raspberries. Chill for one hour, then serve and enjoy!fresh raspberries, for decorating


This cake is so moist and delicious! I’ve made it several times, even though the first time was a huge fail. I didn’t let it cool, and the top layer kept sliding off. It was a lopsided mess- the ugliest cake ever- but everyone loved it because it was SOOO GOOD! The second time around, I made it in a 9×13 pan and it turned out fine. The third time, I tried the round version again- letting it cool- and it turned out well- especially the frosting and fresh berries on top. (I was so impressed with myself! 😉 It’s been a while, but I’m making it again today for my 19 year old who requested it saying, “It’s ok if it falls apart; it just tastes so good!”
Made this for a friends birthday cake. It was an absolute winner! In fact was told this was the best tasting cake they had ever tasted. Thank you!
Will this recipe translate over to a full pan sheet cake? And if so, 4x the amount?
By full pan sheet cake, I’m assuming you mean a 9×13 pan? If so, 1x recipe is plenty!
No like 16×24
2x recipe should be enough!