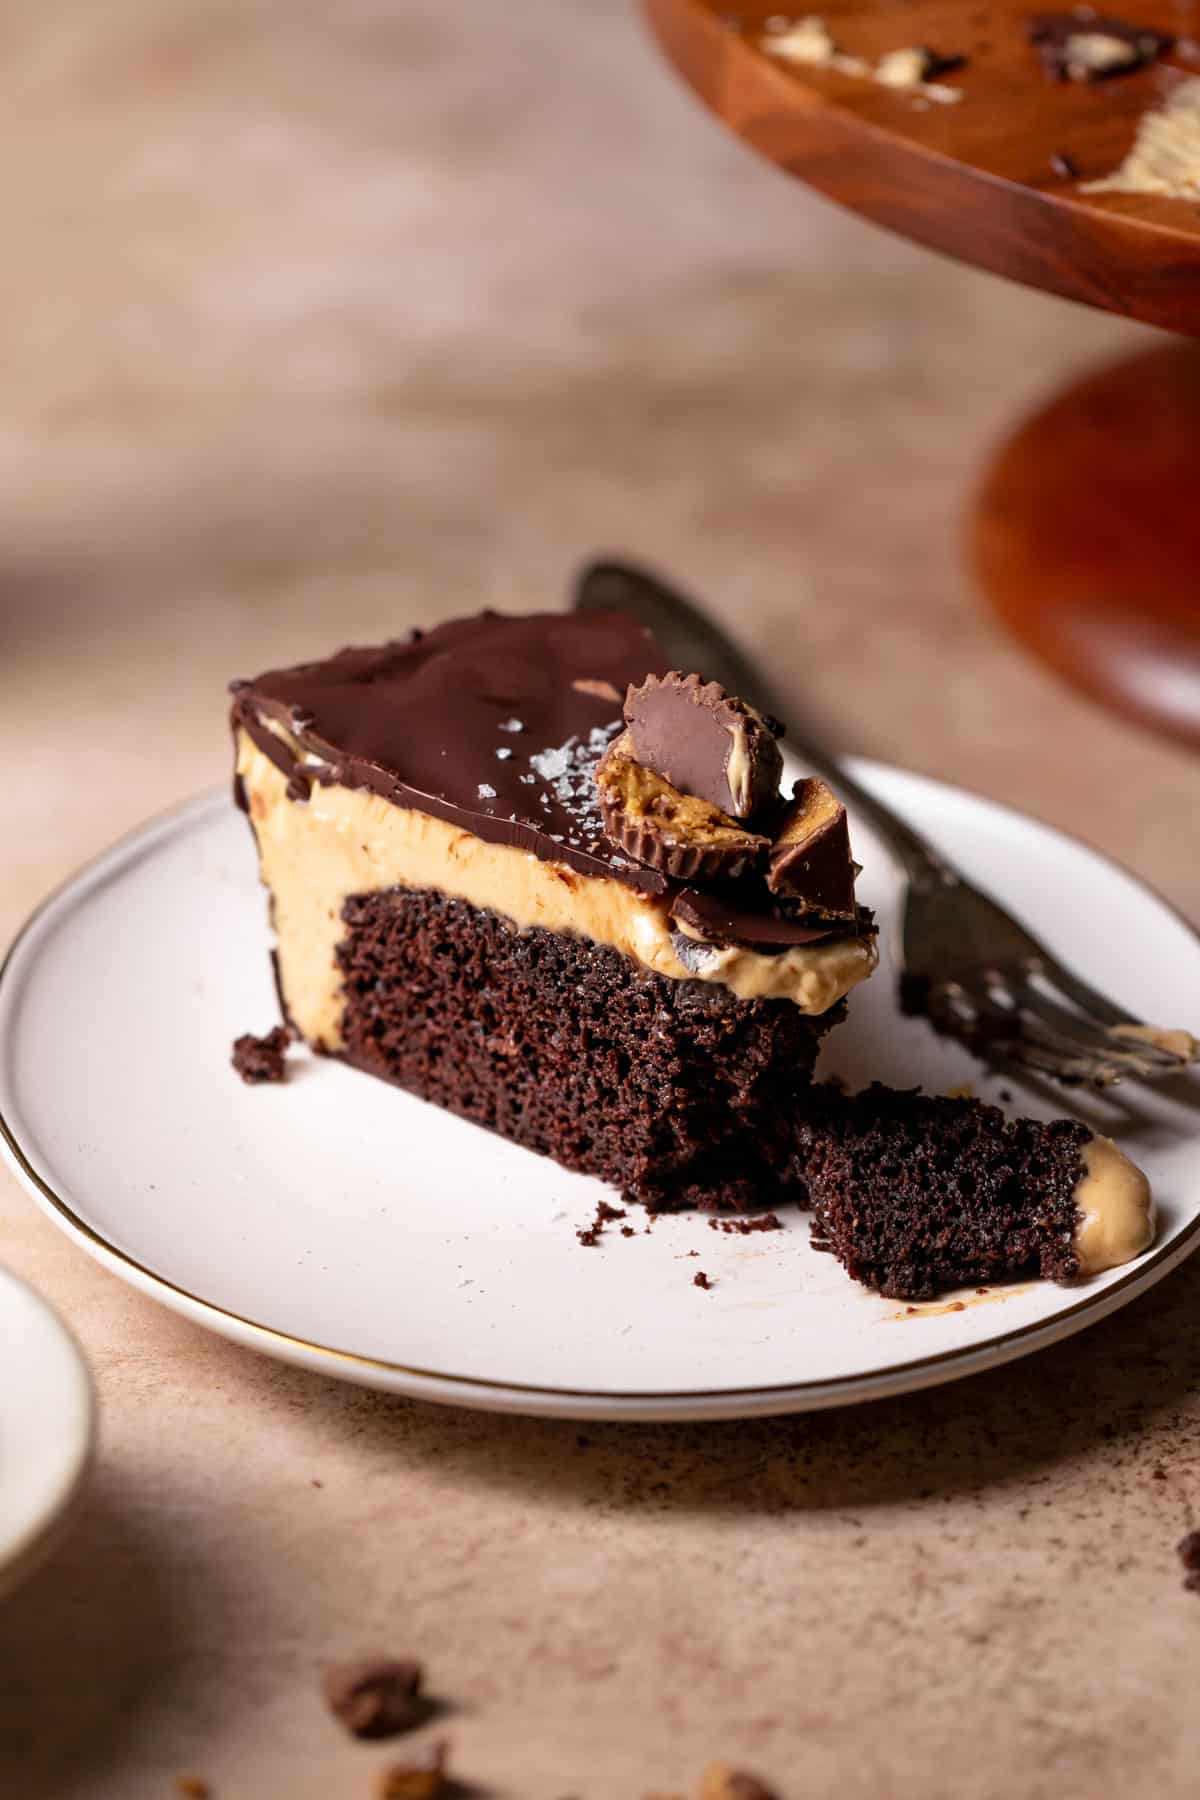
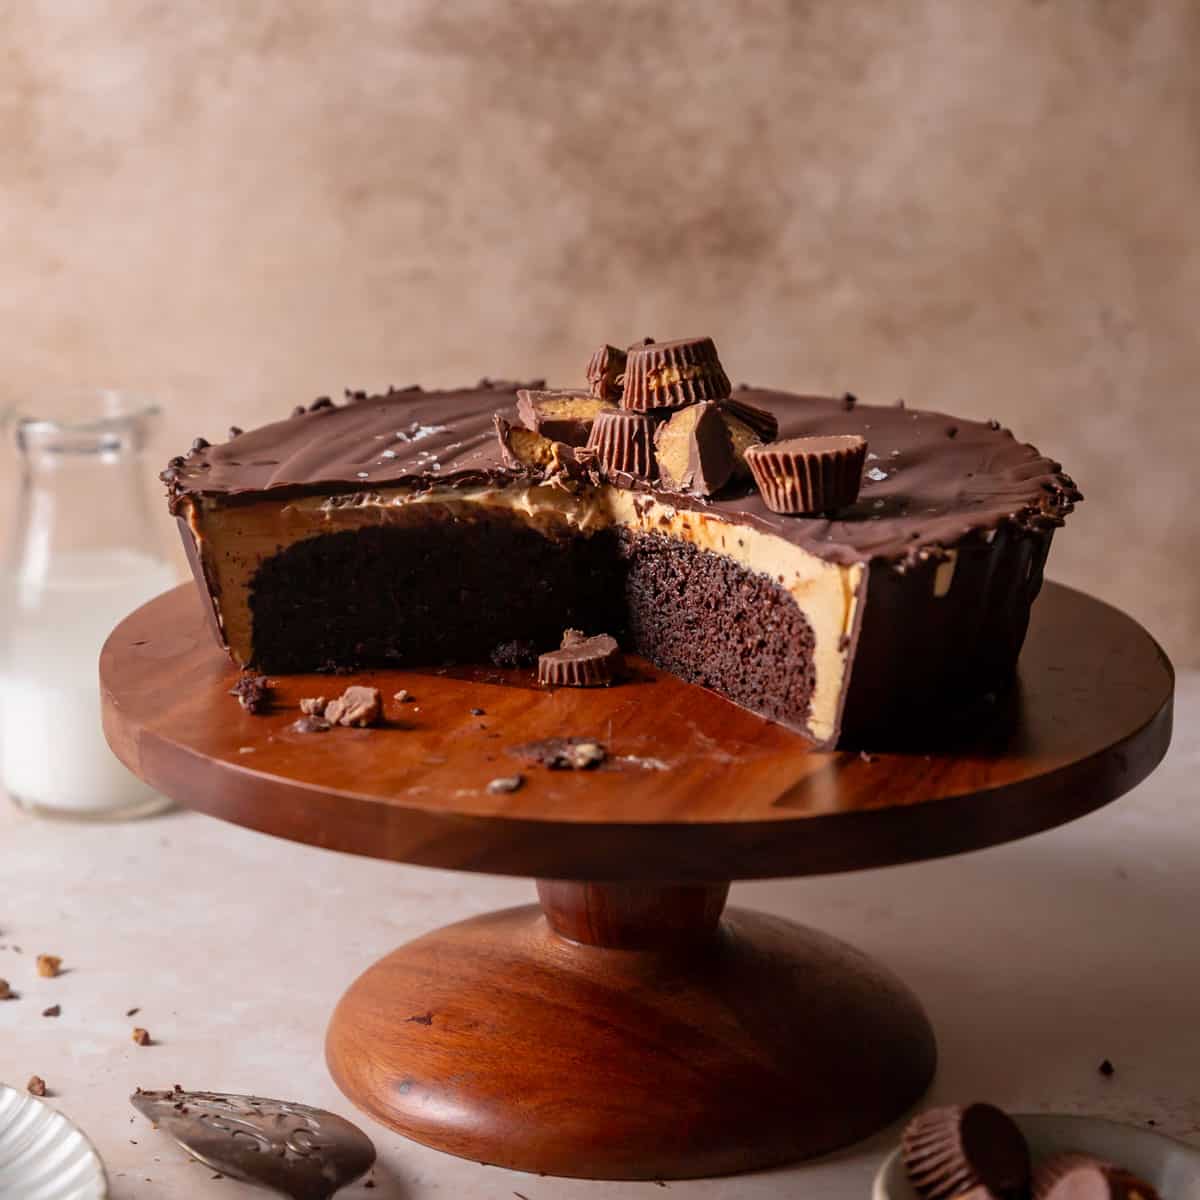
Moist chocolate cake, ultra-creamy peanut butter filling, and a crunchy chocolate ganache shell—this Reese’s cake is the perfect treat for peanut butter lovers!
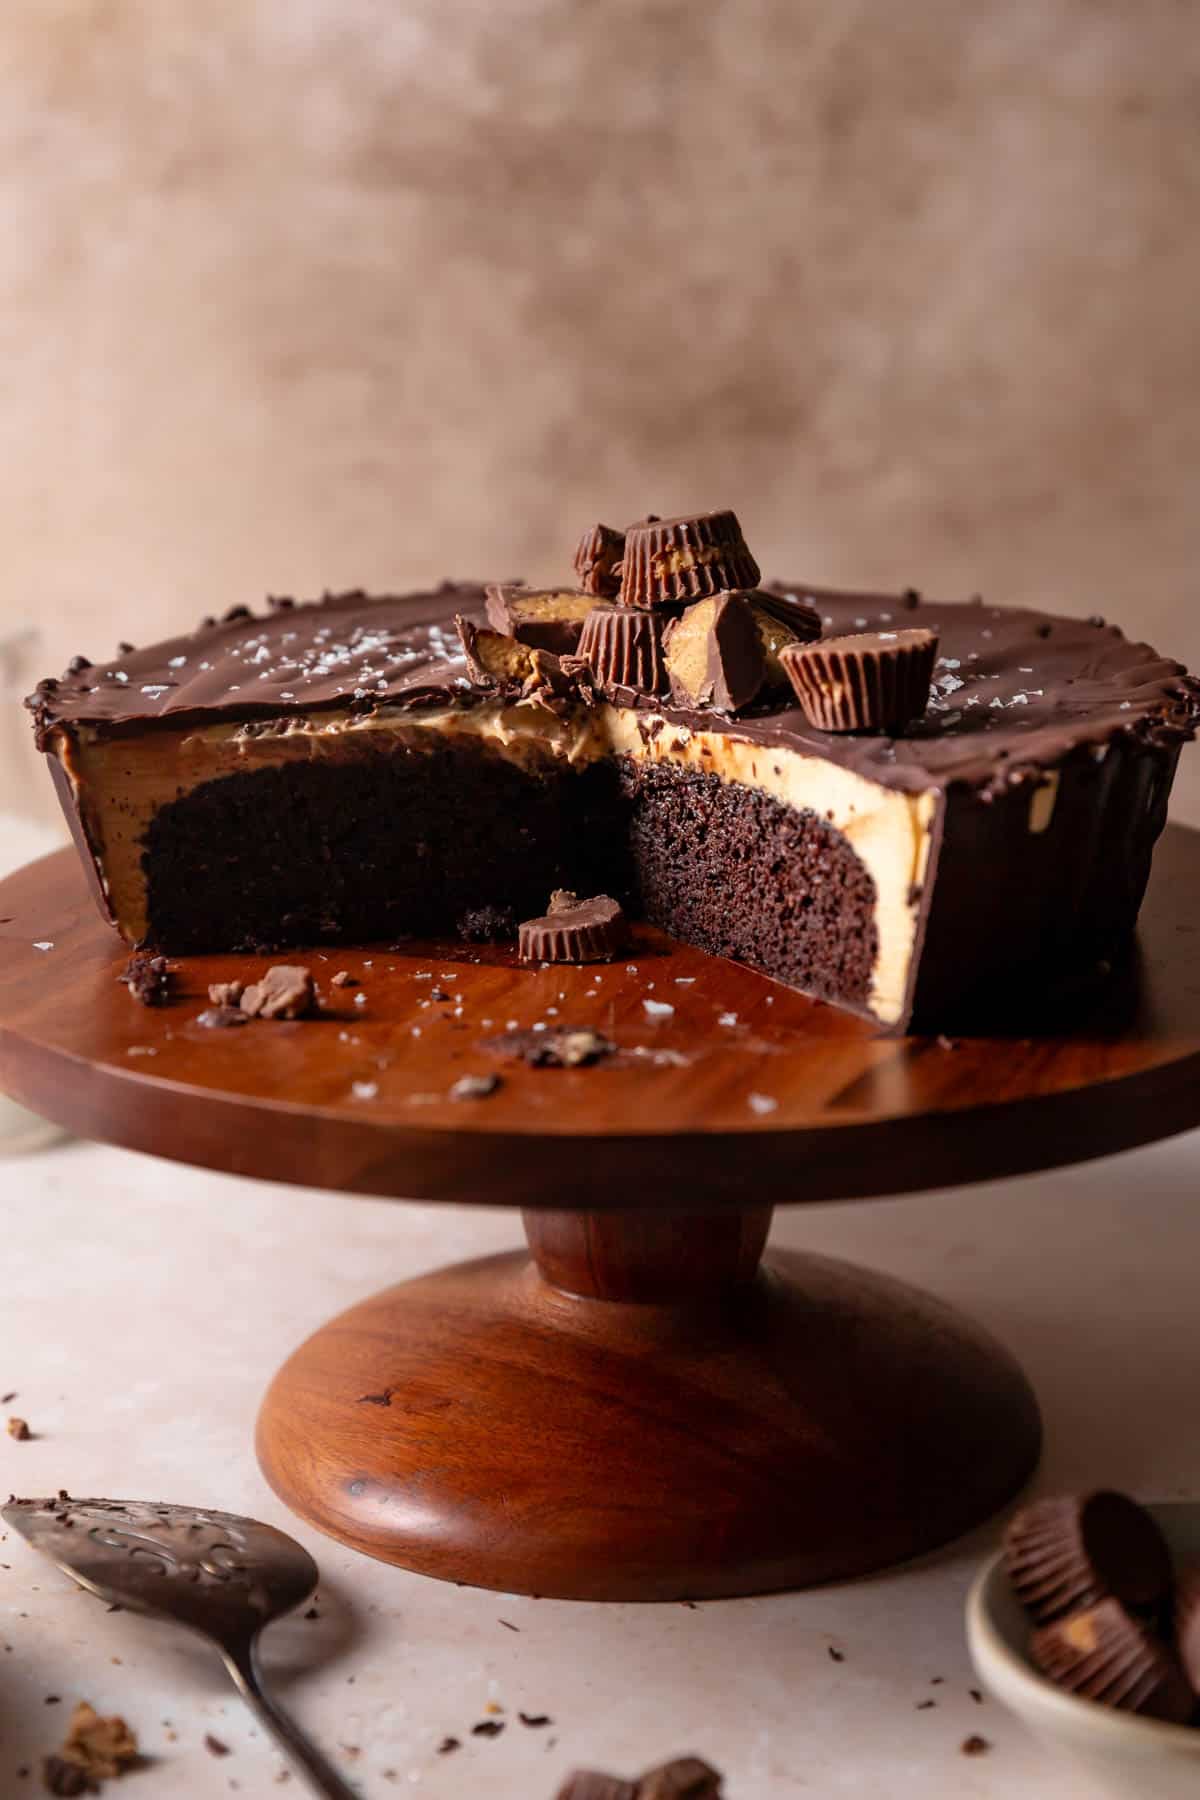
As a former pastry chef, I know a standout dessert when I taste one, and this Reese’s peanut butter cake is truly unforgettable. Inspired by Reese’s cups, it perfectly balances sweet, salty, rich, and creamy flavors with the same chocolate cake base as my dark chocolate raspberry cake and chocolate cake with strawberries.
This bakery-worthy cake is super fun to make and serve and is perfect for birthdays, holidays (especially Halloween), and beyond!
Table of Contents
Create the Reese’s Shape
To achieve that iconic Reese’s cup look, use a deep-dish tart pan with fluted edges, mimicking the design of the original candy.
If you don’t have a tart pan, don’t worry! A regular round springform pan works, too. No matter the shape, this cake will taste just like your favorite treat!
Key Ingredients and Substitutions
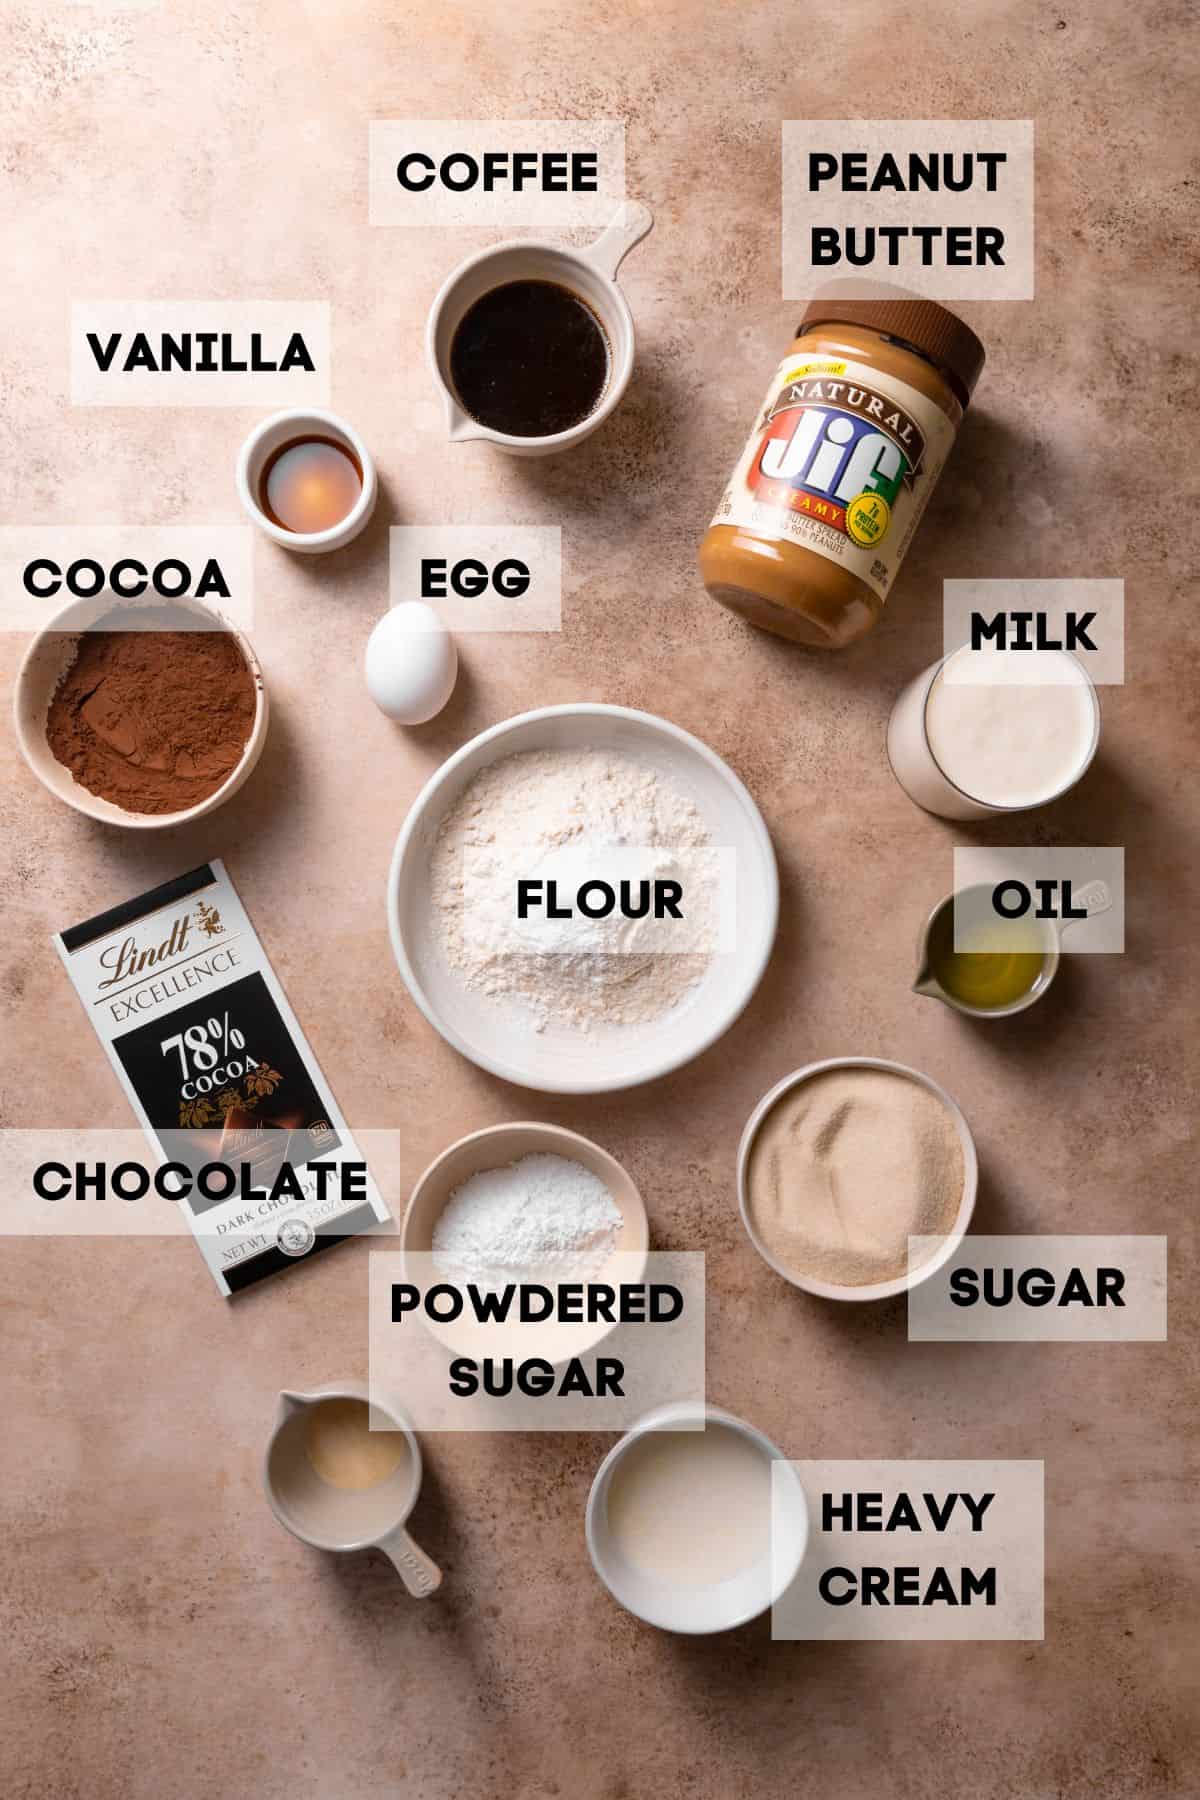
Cocoa powder: Dutch-processed cocoa powder is essential for a super-rich chocolate cake. Regular cocoa powder doesn’t achieve the same deep richness, which is crucial for Reese’s flavor.
Coffee: This ingredient boosts the chocolate flavor and is a secret ingredient in my chocolate cakes, like in my ganache cake! You can substitute it with equal parts hot water.
Chocolate: Use chopped bittersweet or semi-sweet chocolate bars for the magic chocolate shell, as chocolate chips have a coating that doesn’t melt well. This ensures a crunchy Reese’s candy shell on the cake!
Peanut butter: For the best texture, opt for a natural, creamy peanut butter like Jiffy. Other varieties can be too firm or oily.
Heavy cream: This is the base of the peanut butter filling. Keep the cream in the fridge until ready to use it—warm cream won’t whip properly!
Recipe Instructions
Find the full ingredient measurements and instructions in the recipe card below!
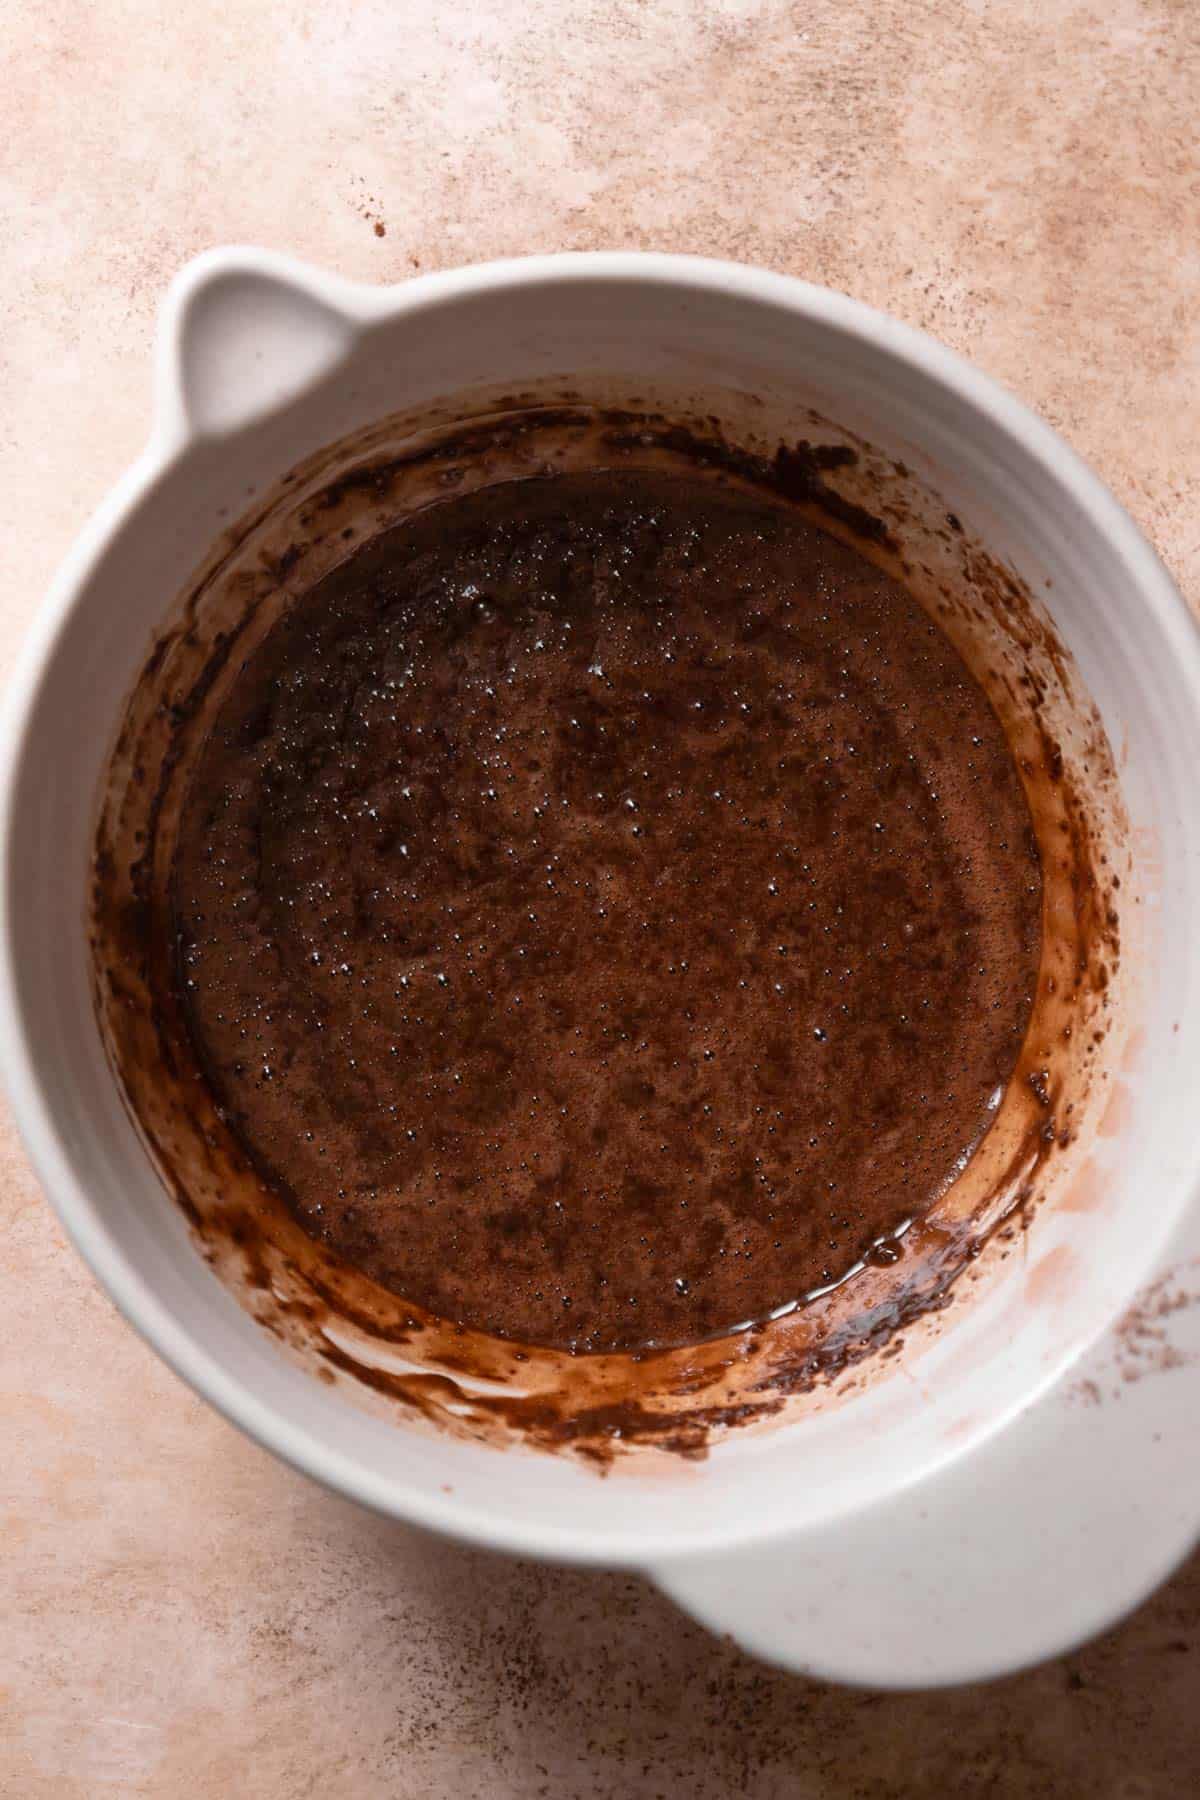
Step 1: Make the chocolate cake batter and bake. It will be thin—that’s normal!
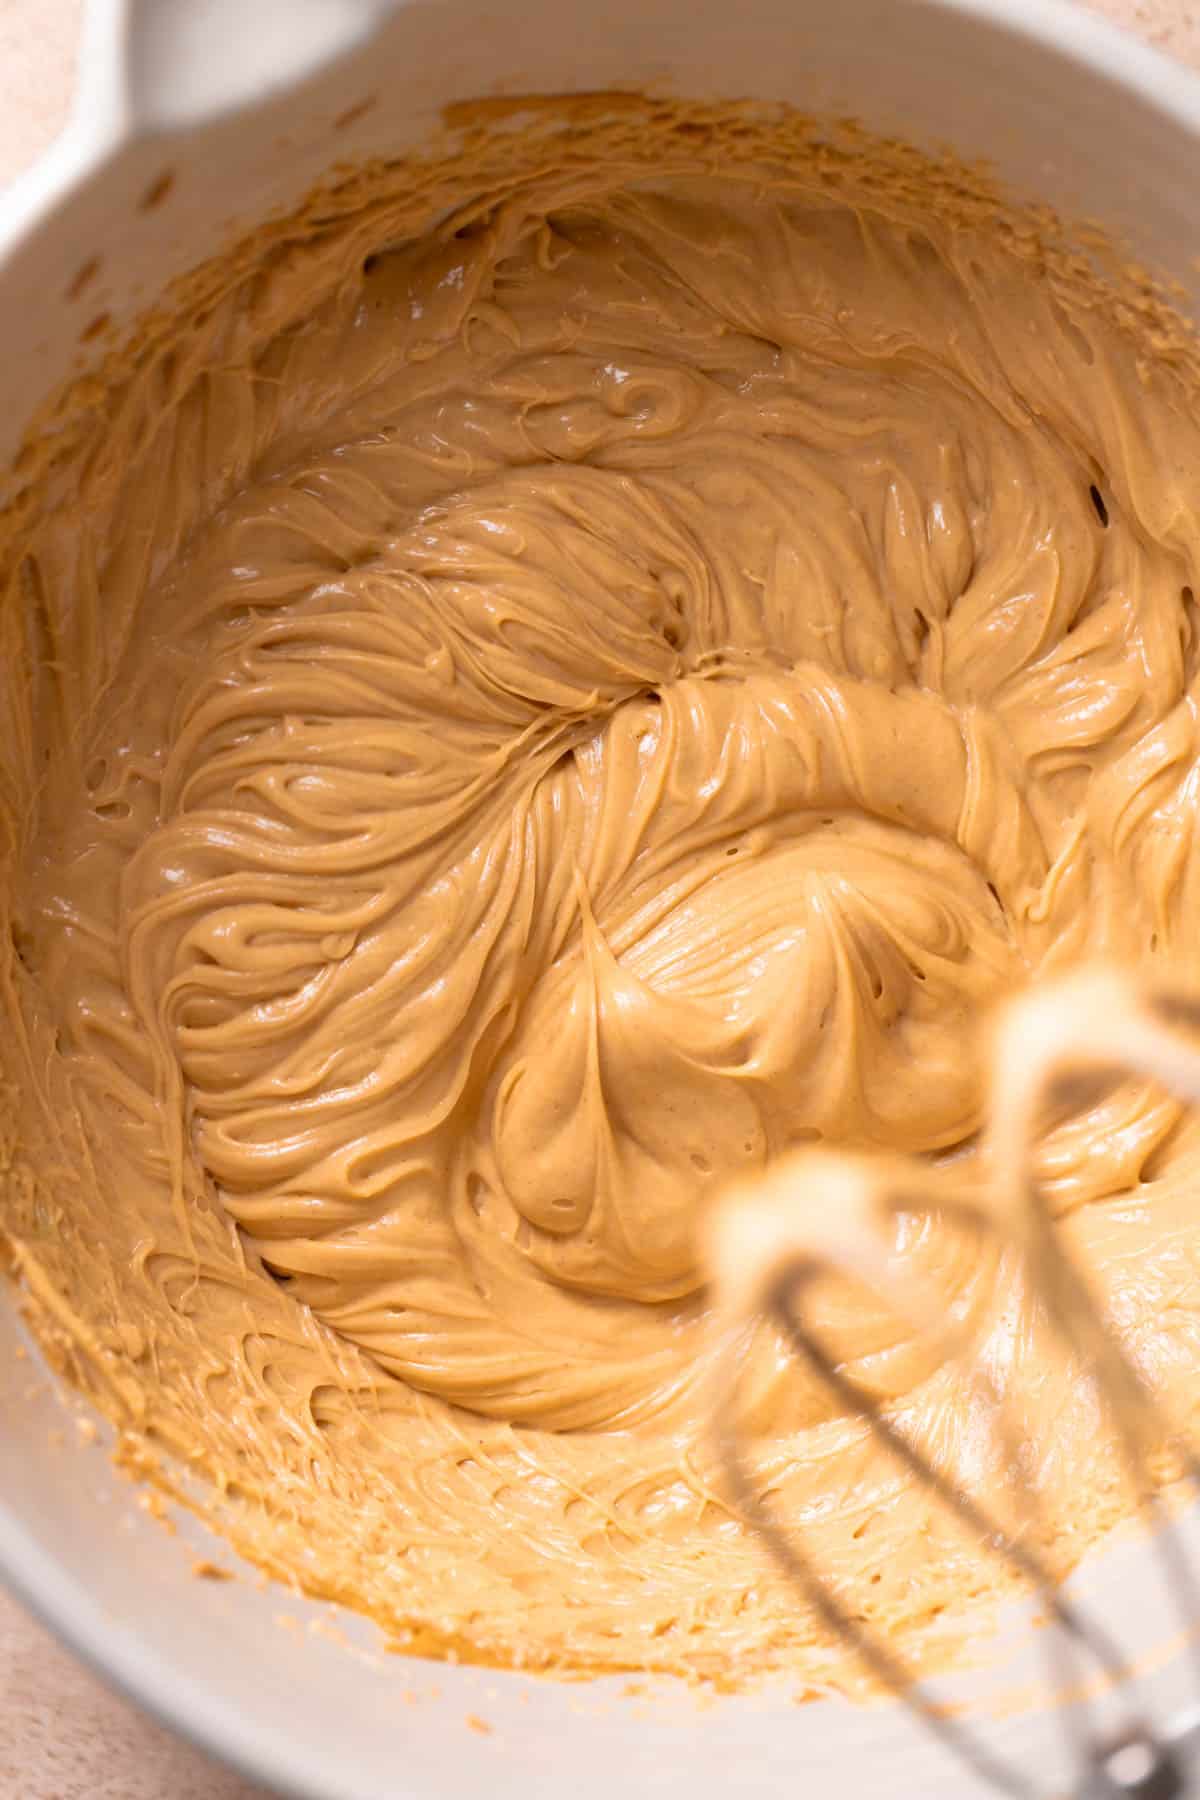
Step 2: Make the creamy peanut butter filling. It’s important to beat it until it’s thick and fluffy. If it’s too thin, it won’t set properly in the fridge.
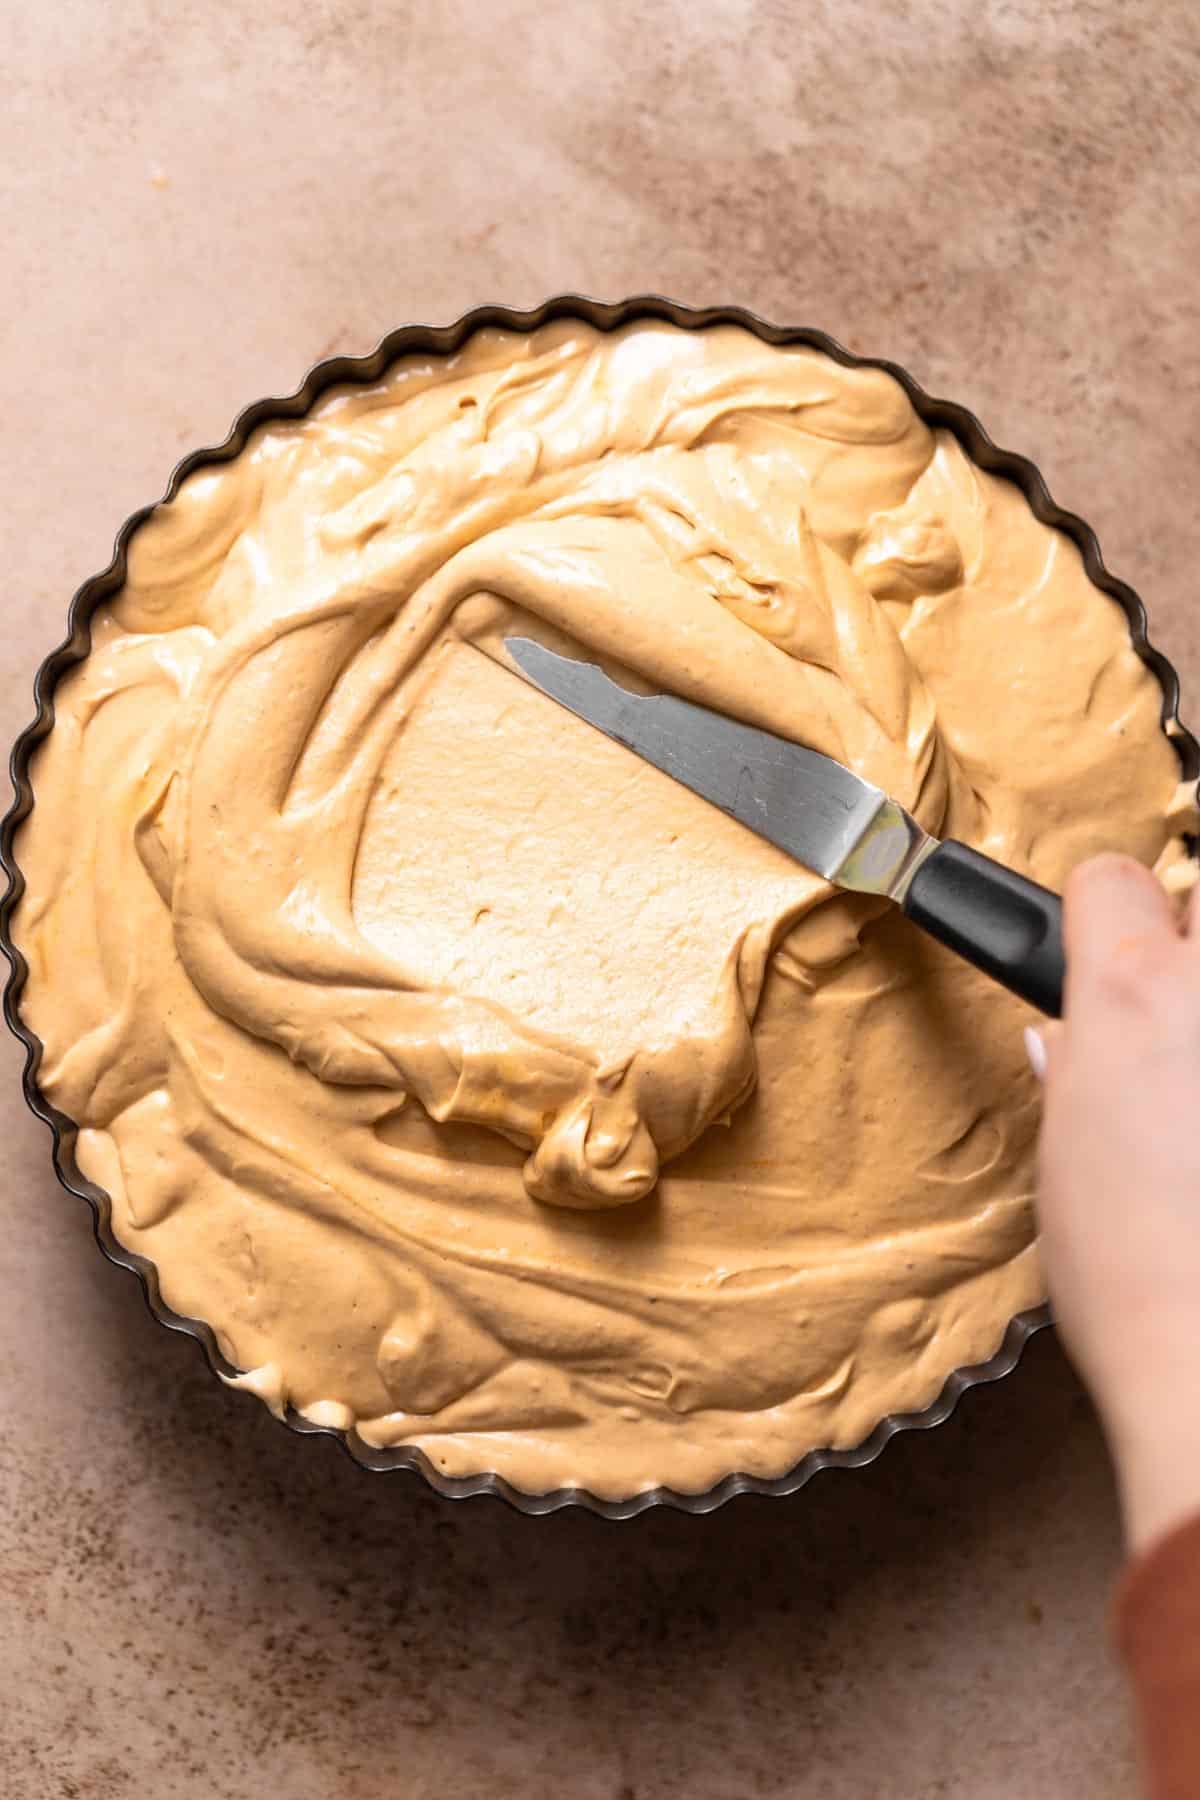
Step 3: Assemble the Reese’s cake. You’ll start with the chocolate cake on the bottom, then the whipped peanut butter filling. Freeze it for a minimum of 4-6 hours!
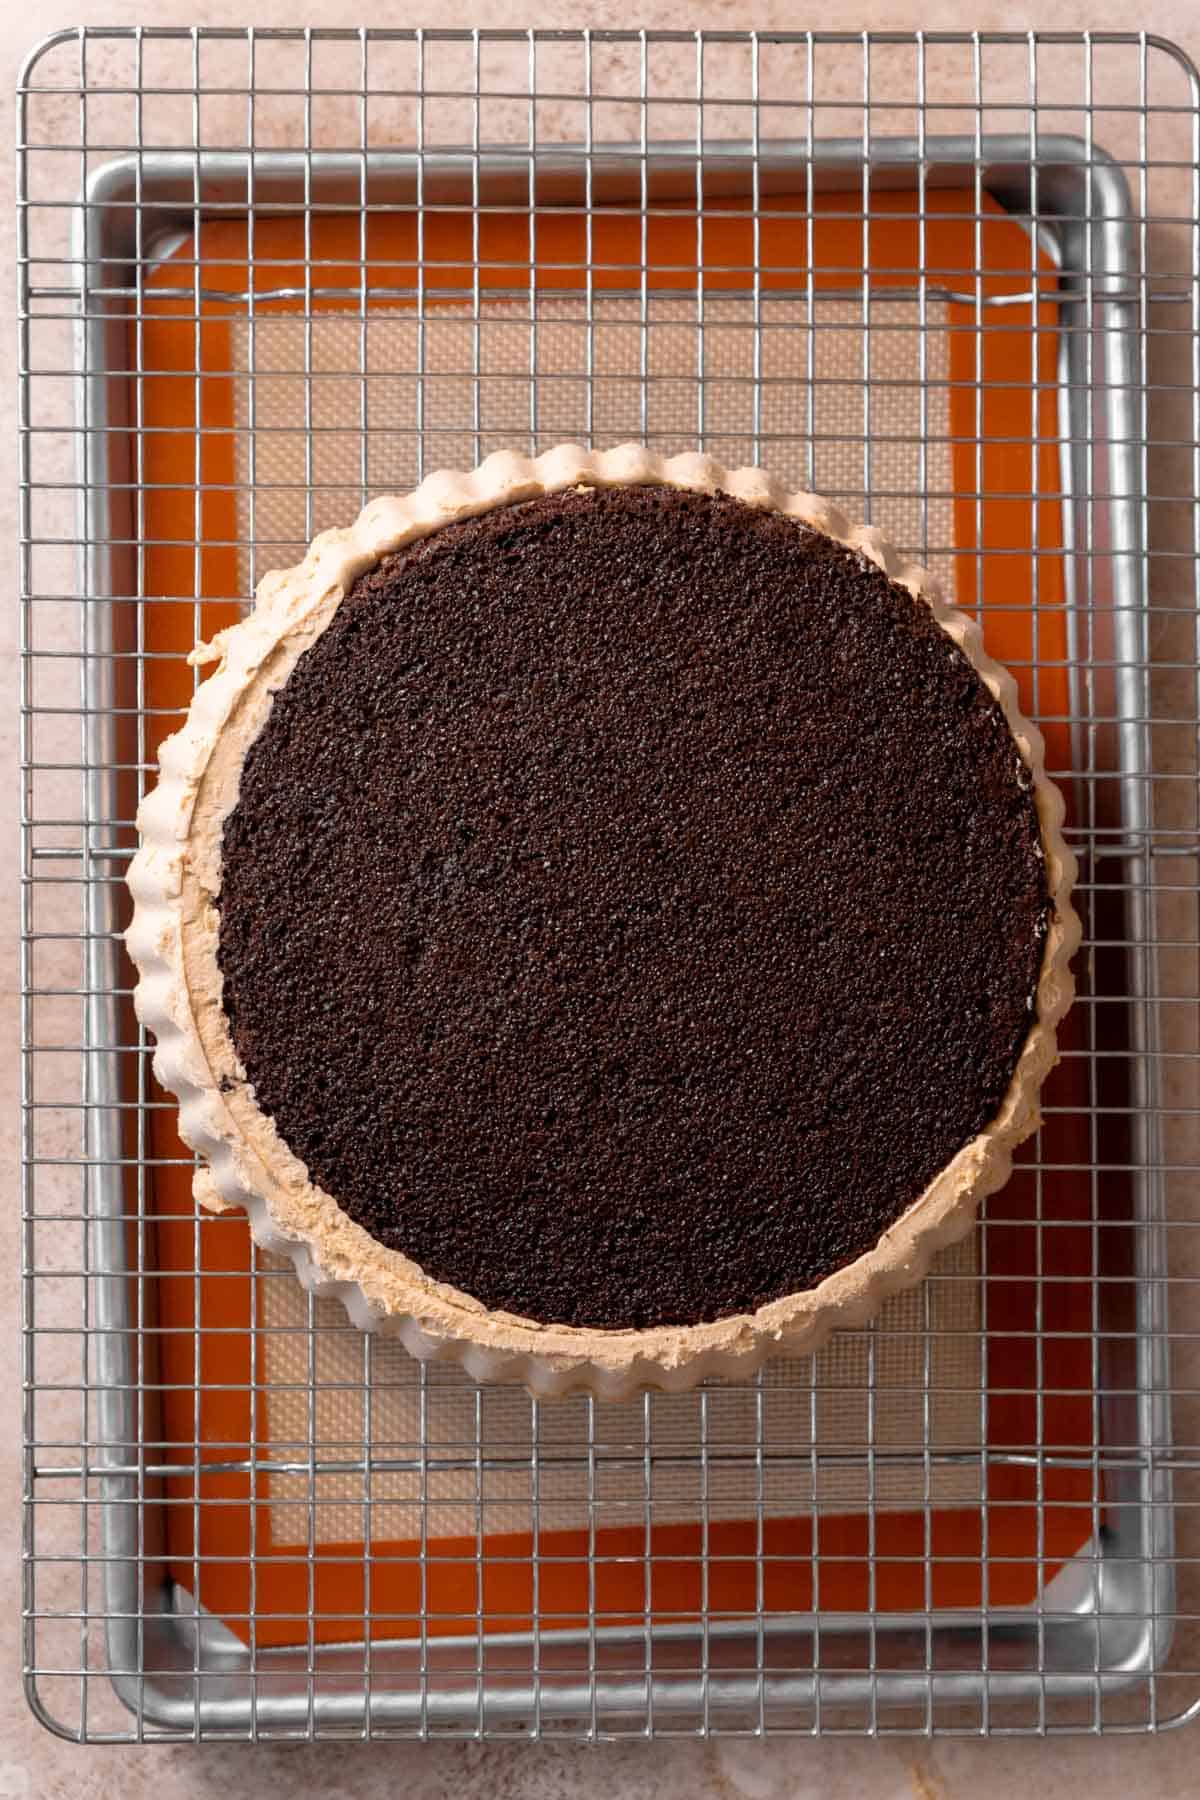
Step 4: Remove the cake from the pan. Turn it upside down and remove the sides and bottom first. Watch the video below for visual guidance!
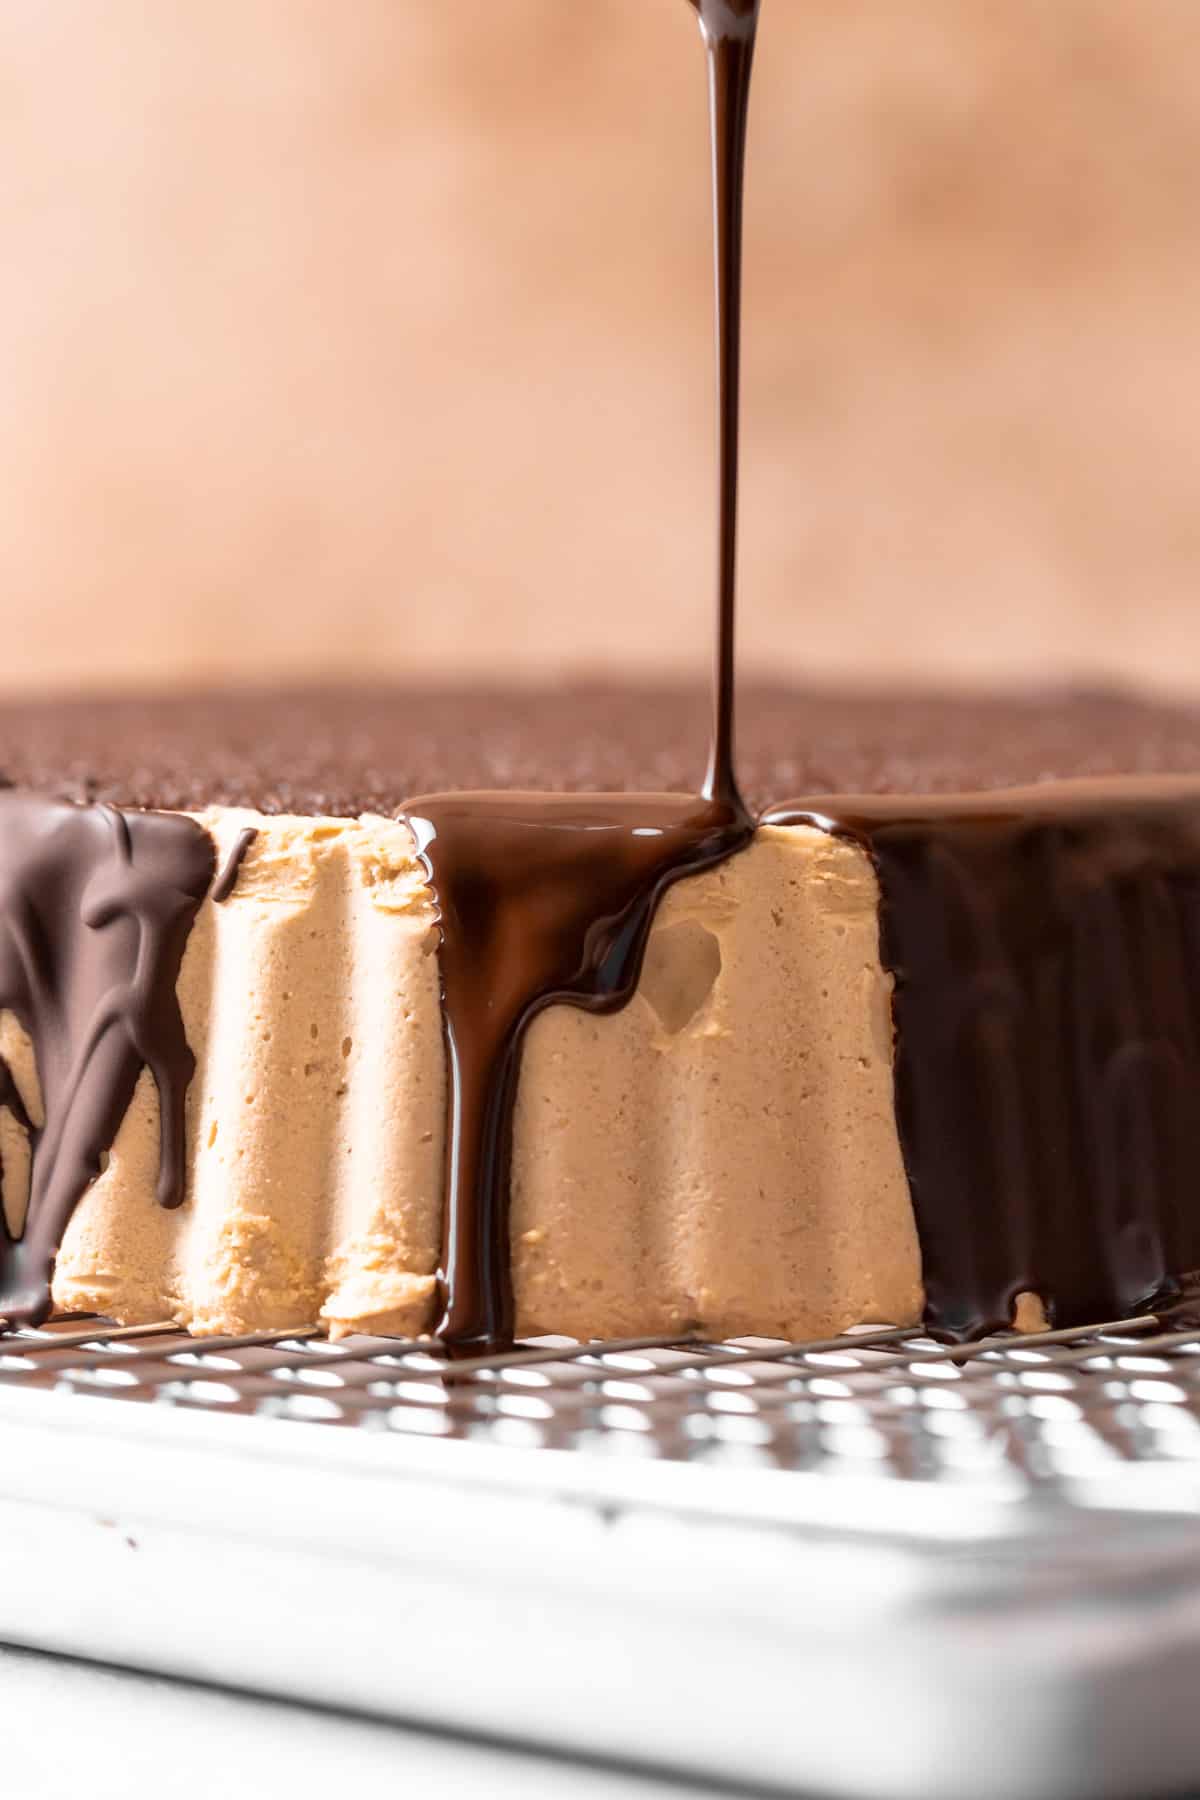
Step 5: Cover the sides of the cake with the chocolate ganache drip. Slowly pour the melted chocolate ganache over the edge of the cake so it drips down the sides and covers it completely.
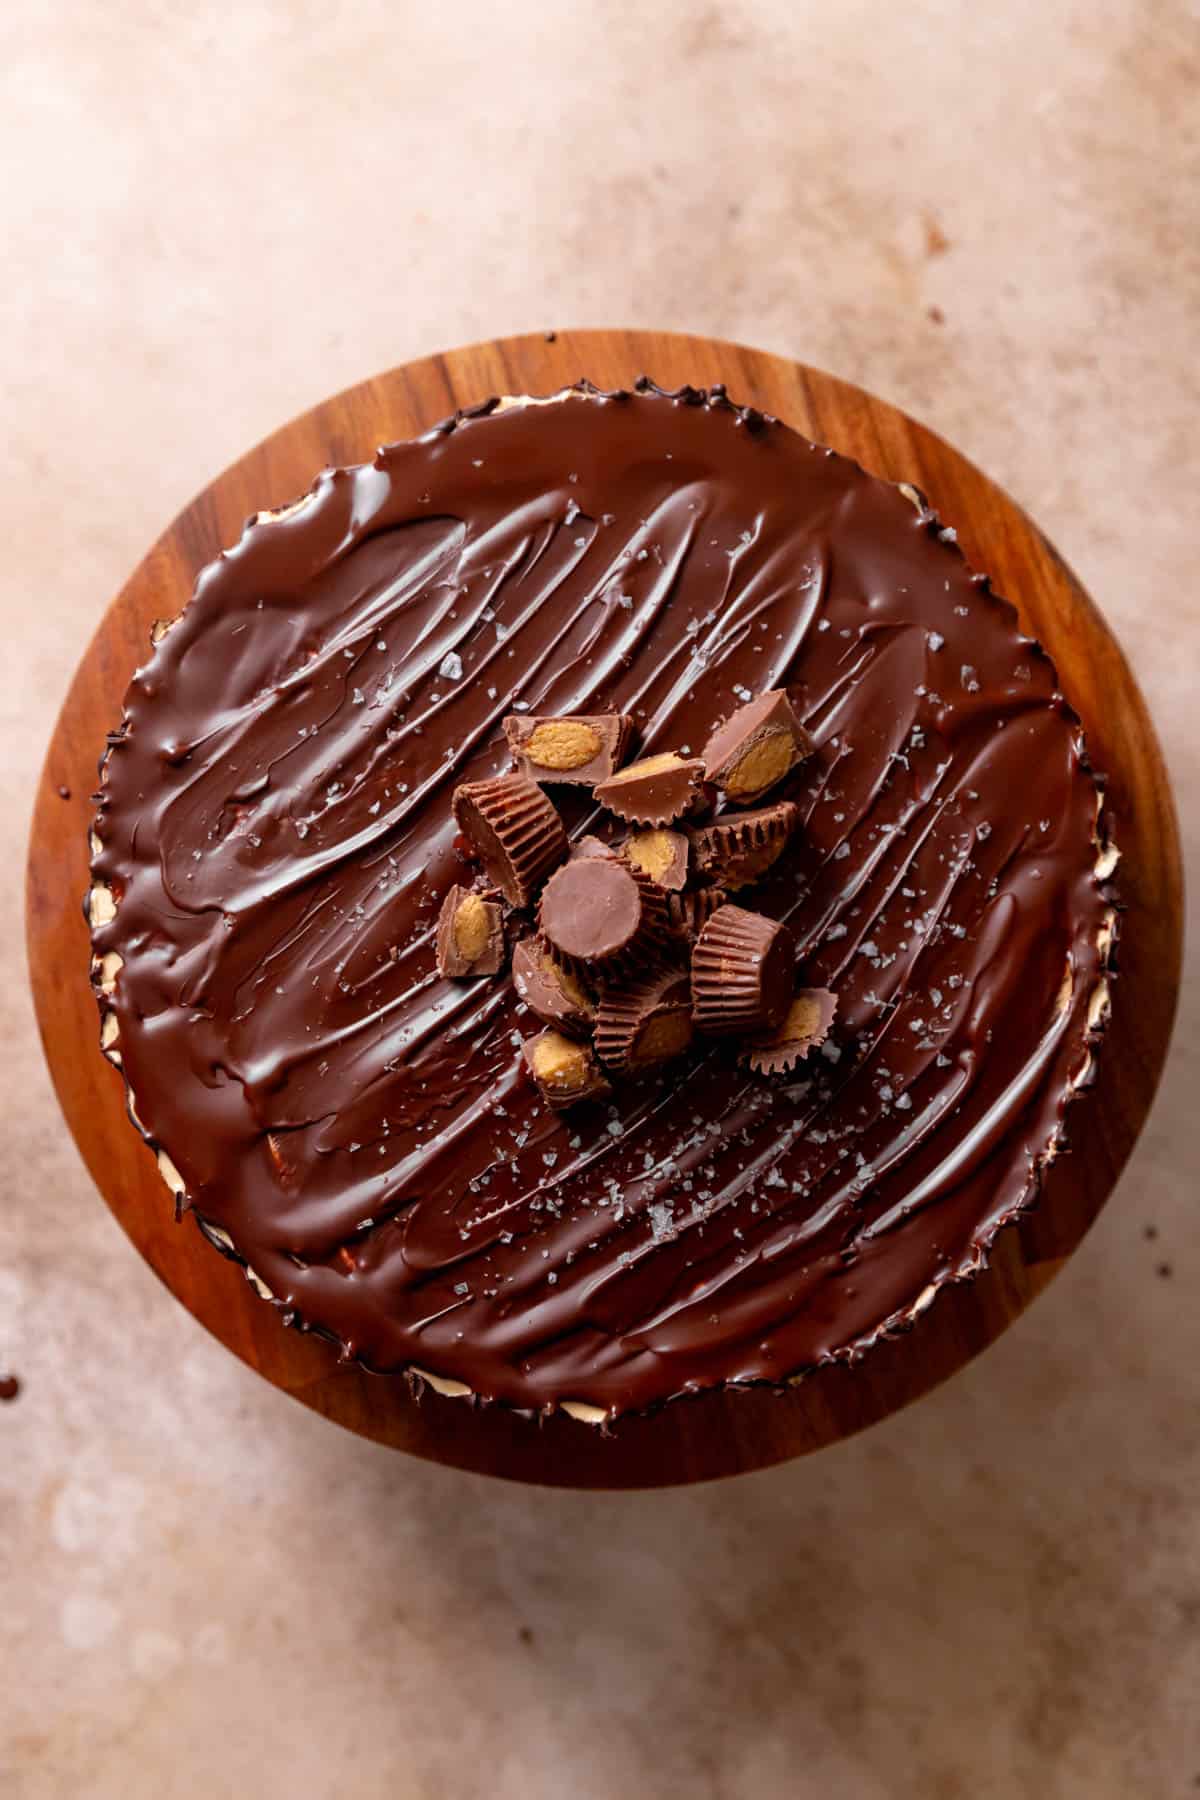
Step 6: Garnish the top of the cake. Flip it over onto your serving platter, then spread the rest of the ganache on top evenly to the edges. Garnish with flaky sea salt and chopped peanut butter cups!
Tips for a Flawless Cake
Use a kitchen scale. Baking with a scale is my #1 baking tip!
Serve the cake chilled. The filling has an ice cream consistency and will be too soft to cut if left at room temperature for too long.
Cut with a sharp knife. To ensure clean slices, use a sharp knife and wipe it clean between cuts.
Decorating Ideas
For a birthday cake: Write “Happy Birthday” on the top of the ganache in melted white chocolate.
Use different candies: Instead of peanut butter cups, decorate the top with chopped peanuts, Reese’s pieces candy, or peanut butter chips.
Storage & Keeping it Fresh
Fridge: This cake is best stored in the fridge until serving. Store leftover slices in an airtight container with parchment paper between slices.
Freezing: Store the cake in an airtight container. If you plan on storing it for longer than a few days, I recommend waiting to cover it in the ganache. Over time, the chocolate starts to weep and melt in the freezer, losing its crunchy texture.
FAQs
It’s a deep dish tart pan; you can buy it on Amazon!
Definitely! Follow the instructions on the back of the box for one 8-inch cake layer.
Yes! A 9-inch springform pan can also be used.
More Chocolate Cake Recipes
If you tried this or any other recipe on my website, please let me know how it went in the comments; I love hearing from you! Also, please leave a star rating while you’re there! You can also tag me on Instagram or Facebook so I can check it out!
Reeses Cake
Ingredients
Chocolate Cake
- 3/4 cup + 2 tablespoons all-purpose flour, *See notes for measuring below*
- 1/3 cup Dutch-processed cocoa powder
- 3/4 teaspoon baking powder
- 1/4 teaspoon baking soda
- 1/2 teaspoon fine sea salt
- 1 cup granulated sugar
- 1/4 cup canola oil
- 1 large egg
- 1 teaspoon vanilla extract
- 1/2 cup whole milk
- 1/3 cup hot coffee, substitute hot water
Peanut Butter Mousse
- 1 cup no-stir creamy natural peanut butter, I like Jiffy
- 1/4 cup powdered sugar
- 2 tablespoons granulated sugar
- 1 1/2 cups heavy whipping cream
- 2 teaspoons vanilla extract
Chocolate Ganache
- 7 ounces bittersweet chocolate, chopped
- 2 tablespoons canola oil
- flaky sea salt, for finishing
- chopped peanut butter cups, for finishing
Instructions
- Before you start. Line an 8-inch cake pan with parchment paper on the bottom. Lightly oil the sides of the tart pan and set aside. Preheat the oven to 350 F/180 C.
- Combine the dry ingredients. In a bowl, combine the flour, cocoa powder, baking powder, baking soda, and salt. Set aside.3/4 cup + 2 tablespoons (110 g) all-purpose flour, 1/3 cup (38 g) Dutch-processed cocoa powder, 3/4 teaspoon baking powder, 1/4 teaspoon baking soda, 1/2 teaspoon fine sea salt
- Mix in the wet ingredients. In a large mixing bowl, whisk together the sugar, oil, egg, vanilla, and milk. Then whisk in the dry ingredients until just combined.1 cup (200 g) granulated sugar, 1/4 cup (52 g) canola oil, 1 (50 g) large egg, 1 teaspoon vanilla extract, 1/2 cup (113 g) whole milk
- Mix in the hot coffee. Whisk in the hot coffee until just combined.1/3 cup (80 g) hot coffee
- Bake the cake. Pour the chocolate cake batter into the prepared pan. Bake for 20-30 minutes or until a toothpick inserted into the center comes out covered in a few moist crumbs. Let the cake pan cool on a wire rack for 20 minutes, then knock out the cake to finish cooling on the rack before assembling.
- Make the peanut butter mousse. In a stand mixing bowl with the whisk attachment, mix the peanut butter, sugar, and powdered sugar for 5 minutes until fluffy and the sugar dissolves. Stream the heavy cream and vanilla into the peanut butter. Once added, increase the speed to medium high and beat until light, fluffy, and thick.1 cup (245 g) no-stir creamy natural peanut butter, 2 tablespoons (30 g) granulated sugar, 1/4 cup (30 g) powdered sugar, 1 1/2 cups (335 g) heavy whipping cream, 2 teaspoons vanilla extract
- Assemble! Place the chocolate cake layer on the bottom of the tart pan. Spoon the peanut butter filling in between the sides of the cake and on top of the cake, smoothing it to evenly fill the pan. Tap the pan 3-4 times on the counter so that the filling settles into the sides all the way to the bottom. Chill in the freezer for 4-6 hours minimum.
- Melt the chocolate ganache. Over a double boiler or in the microwave, melt the chocolate and oil together until smooth and runny. Pour the chocolate into a container with a spout for easy pouring.7 ounces (7 oz) bittersweet chocolate, 2 tablespoons canola oil
- Remove the cake from the pan. Take the cake out of the freezer and let it sit at room temperature for 5-10 minutes. Firmly press the bottom of the cake pan up to release the sides of the pan. Don't fully take the pan off it yet! Place a wire rack on top of the cake and flip it over so that the bottom of the cake is now the top. Then remove the sides and bottom of the pan. Place a sheet pan underneath the wire rack to catch the excess chocolate.
- Cover the cake with the melted chocolate. Pour the chocolate ganache slowly over the edge of the cake so that it falls down the sides and covers the peanut butter filling. You can scrape any excess chocolate back into the container to pour over the cake. If it starts to solidify, gently rewarm it in the microwave until runny. Once the sides are fully covered, chill the cake in the freezer for 10-15 minutes.
- Garnish and serve! Place your cake stand or serving platter on top of the cake and carefully flip it over so that the wire rack and exposed peanut butter filling are now the top. Pour more of the ganache over the top of the cake, quickly spreading it to the edges before it sets. Sprinkle the top with flaky sea salt and chopped peanut butter cups if desired. Chill the cake in the freezer once more for 30 minutes before serving.flaky sea salt, chopped peanut butter cups
- This cake is best served chilled. Cut with a sharp knife, wiping it clean in between cuts for best results! Store leftover slices in an airtight container in the fridge for 4-5 days. If freezing for longer than a few days, I recommend waiting to cover it in the chocolate ganache so that it doesn't lose its crunchy texture.











I made this cake for my son for his birthday last year, and he requested it again this year. The sea salt definitely makes it do not leave it out on this. It adds just that perfect little flavor that brings out the other flavors. It’s amazing. We love this cake!!!
Sooo happy to hear that Dana!
Just curious if a springform pan would work for this instead? Thanks!
Absolutely!
It says to bake the cake for 20-30 minutes but at what temperature??
Sorry about that! The cake is baked at 350F, I just updated the recipe.