



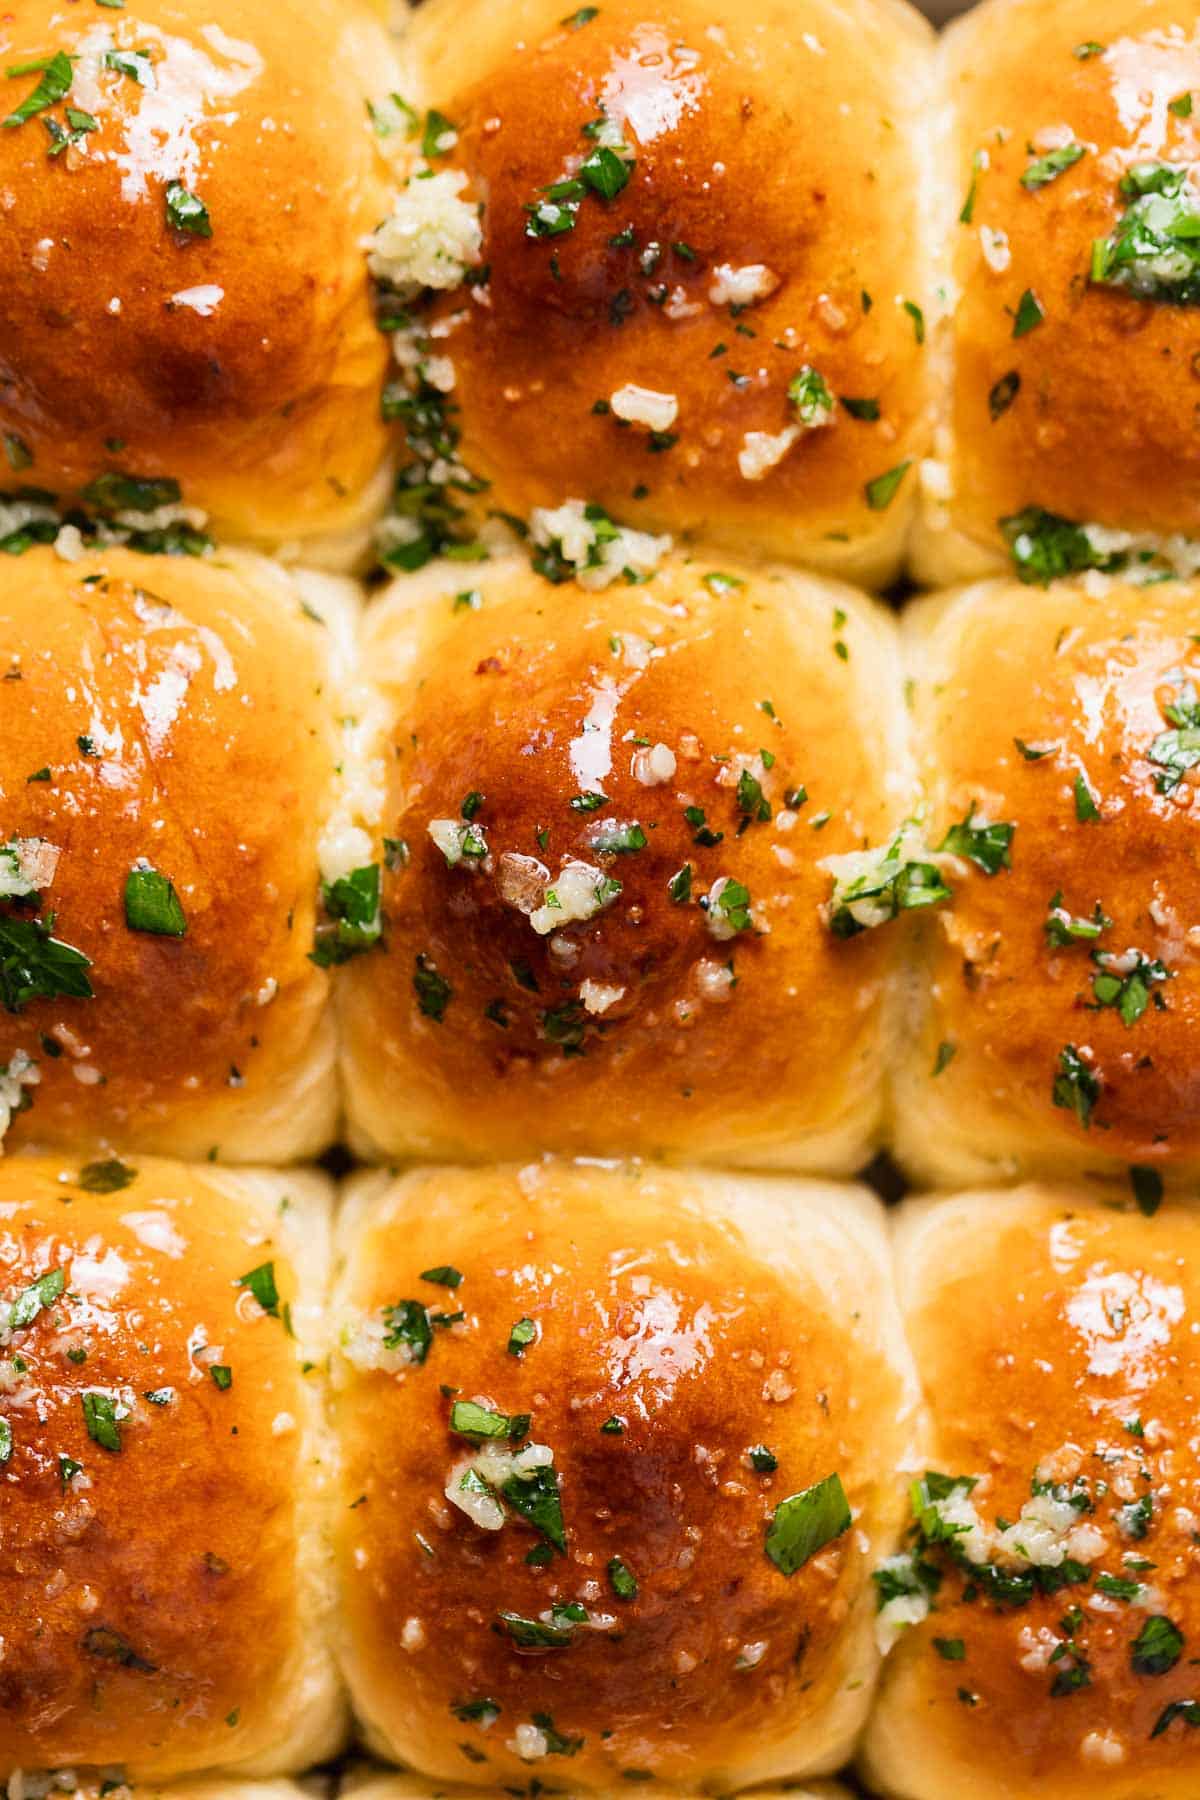
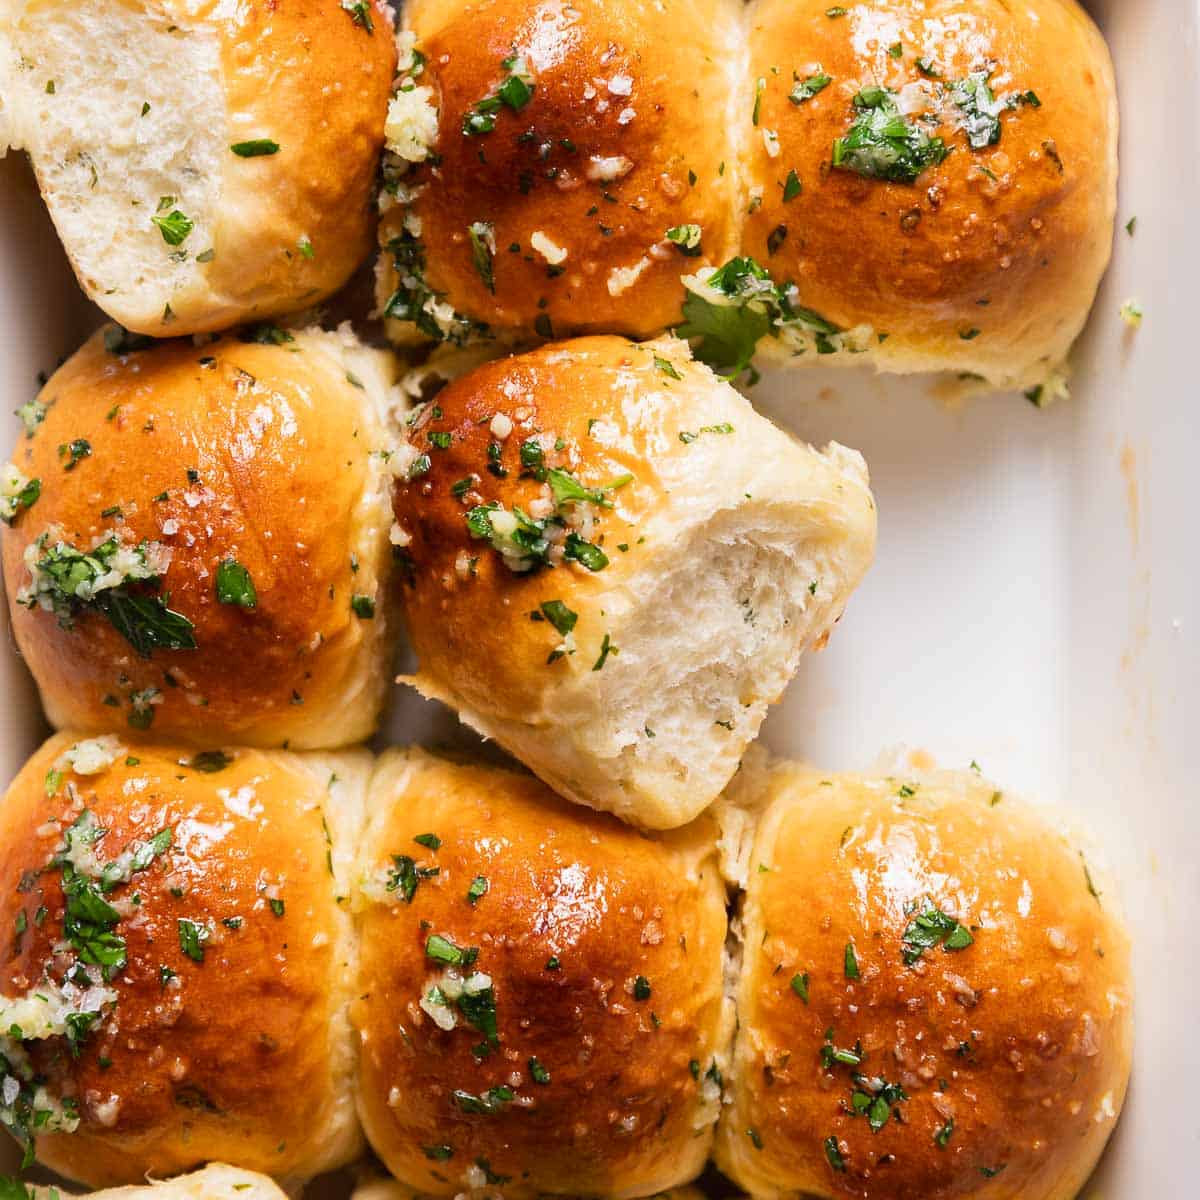
Garlic bread rolls are soft and fluffy dinner rolls packed with garlic flavor. These are a quick, savory variation of my homemade dinner rolls, made with lots of fresh garlic in the dough and brushed with even more garlic-herb butter after baking!
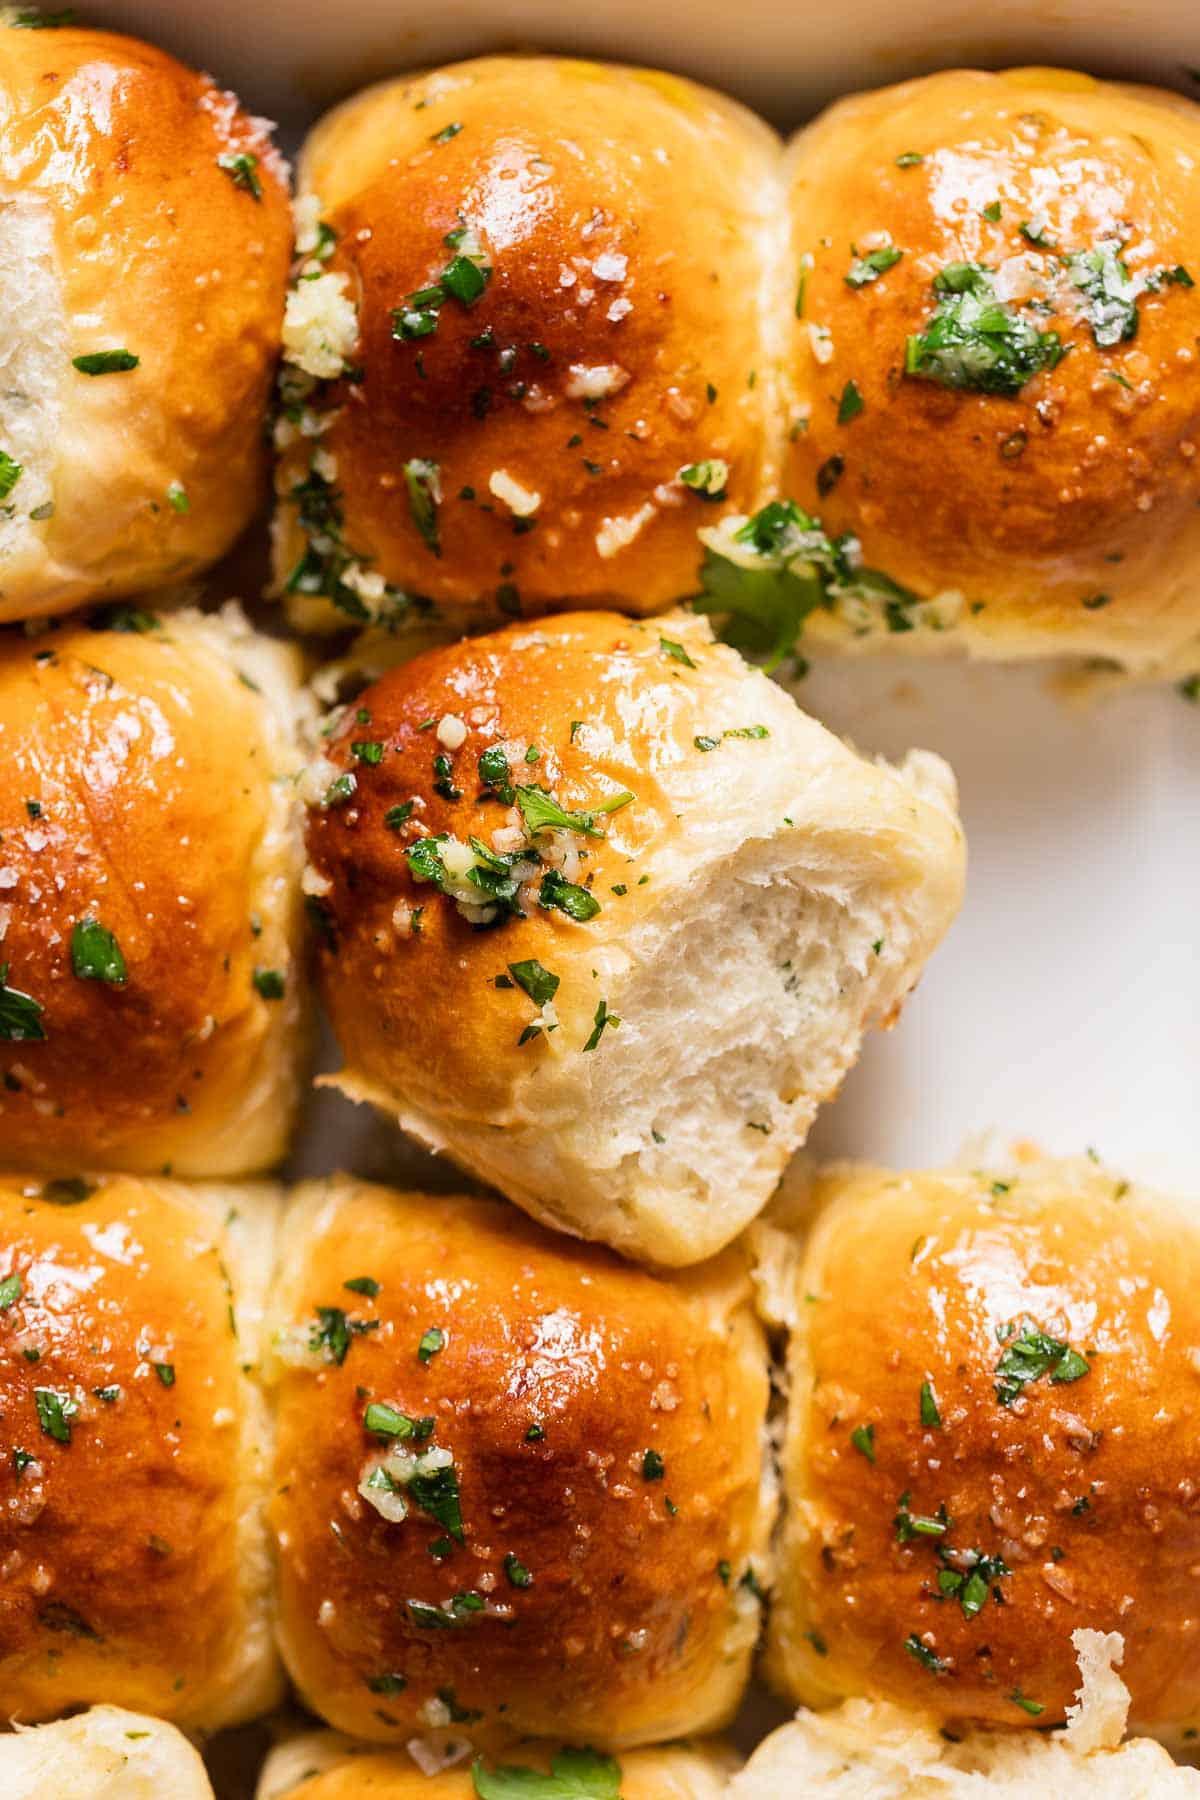
These garlic rolls get their flavor from the inside out: garlic is cooked in butter and added right to the dough, then the warm rolls are brushed with even more garlic-herb butter so they taste just like garlic bread.
They’re incredibly soft and buttery, with fresh garlic and herbs in every bite, and have earned a permanent spot on my holiday table for Thanksgiving, Christmas, and Easter, along with other favorites like my savory bread pudding.
Table of Contents
Tips for Making Dinner Rolls
The dough is ready when it looks smooth and elastic and feels tacky but manageable, and the shaped rolls are finished proofing when they look noticeably puffy and feel soft to the touch.
Your kitchen temperature will affect the timing, so go by appearance rather than the clock. I briefly cook the garlic in butter first to mellow its sharp raw flavor, then portion the dough into ~67-gram balls so every roll proofs and bakes evenly.
Ingredient Notes and Substitutions
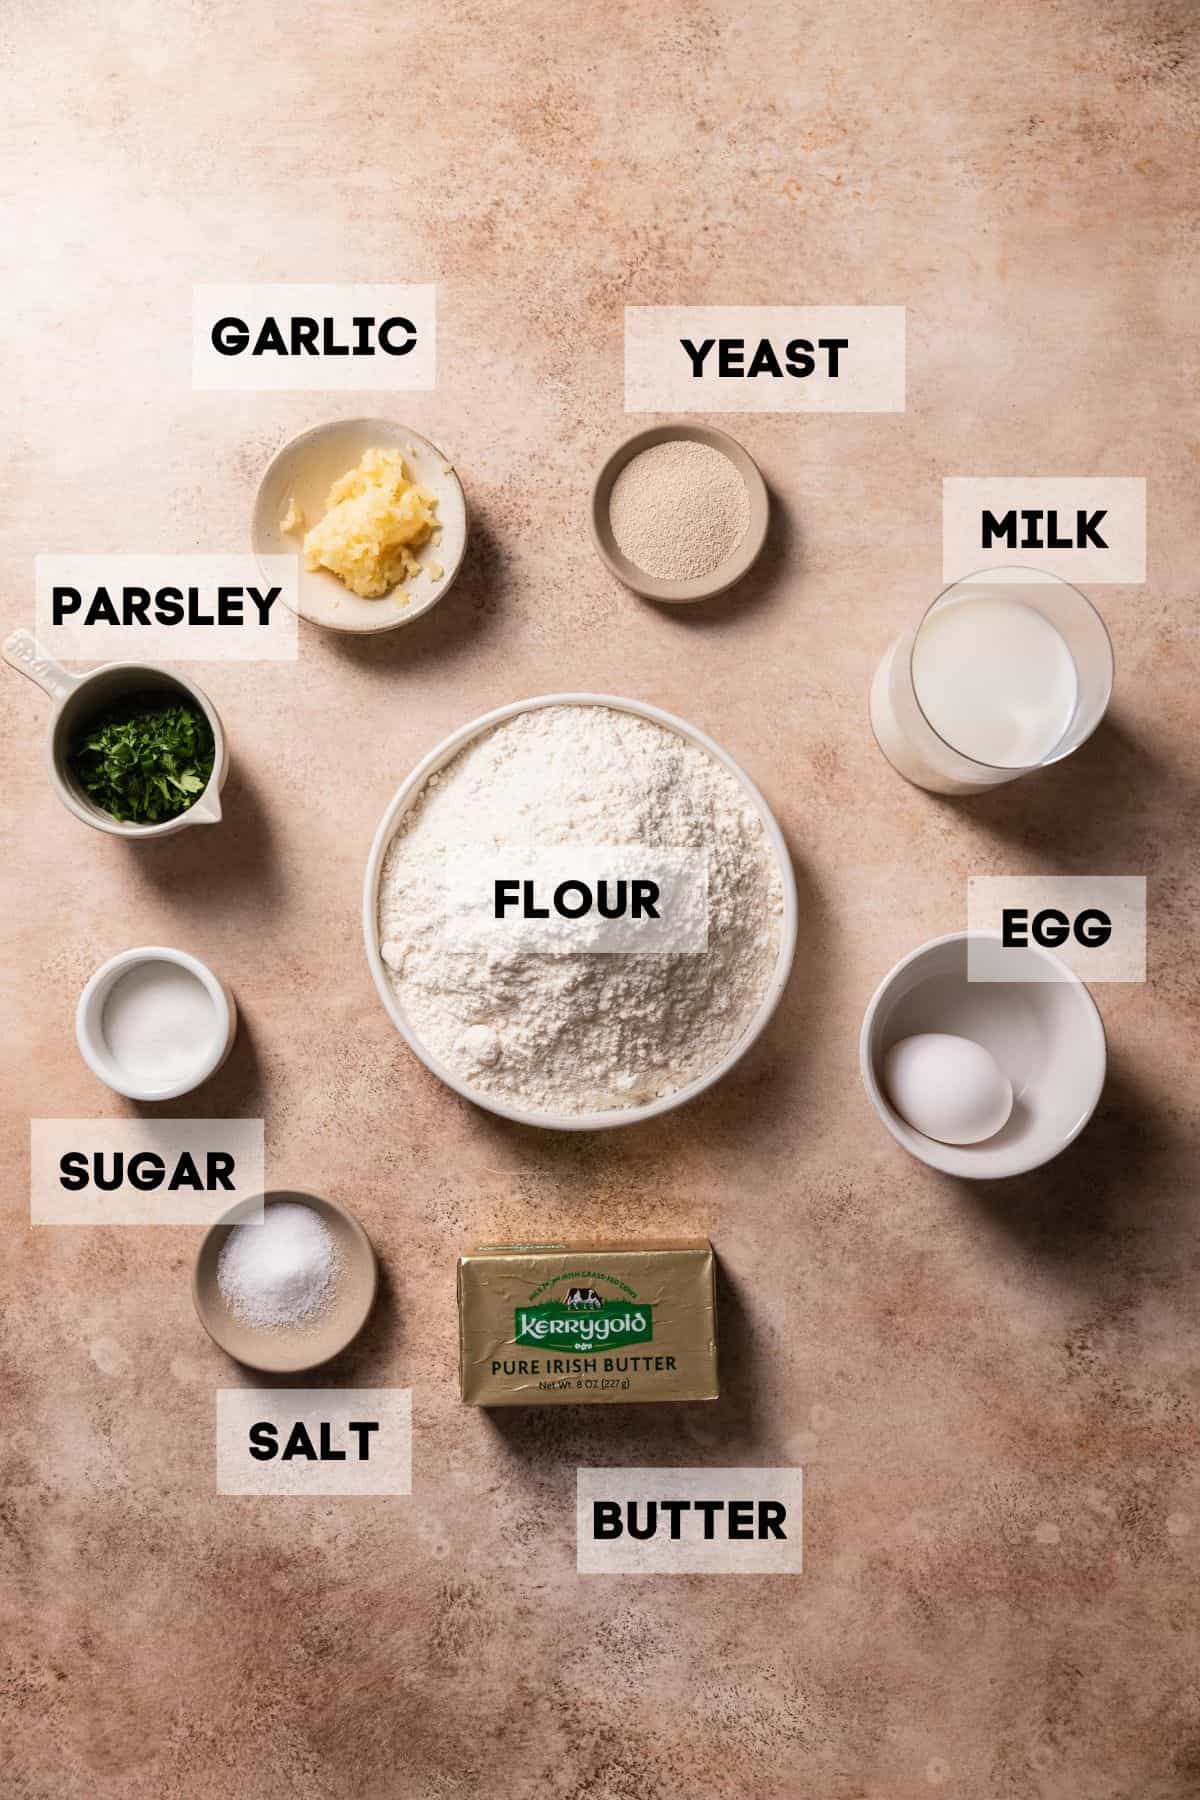
Instant yeast: No activation is needed; add it directly to the dough. Active dry yeast also works, but dissolve it in the warm milk first and let it sit until foamy. See my baking with yeast guide for more help.
Garlic: Fresh garlic gives the best flavor. Briefly cooking it in butter before adding it to the dough mellows the sharp raw garlic flavor while still keeping the rolls plenty garlicky.
Recipe Instructions
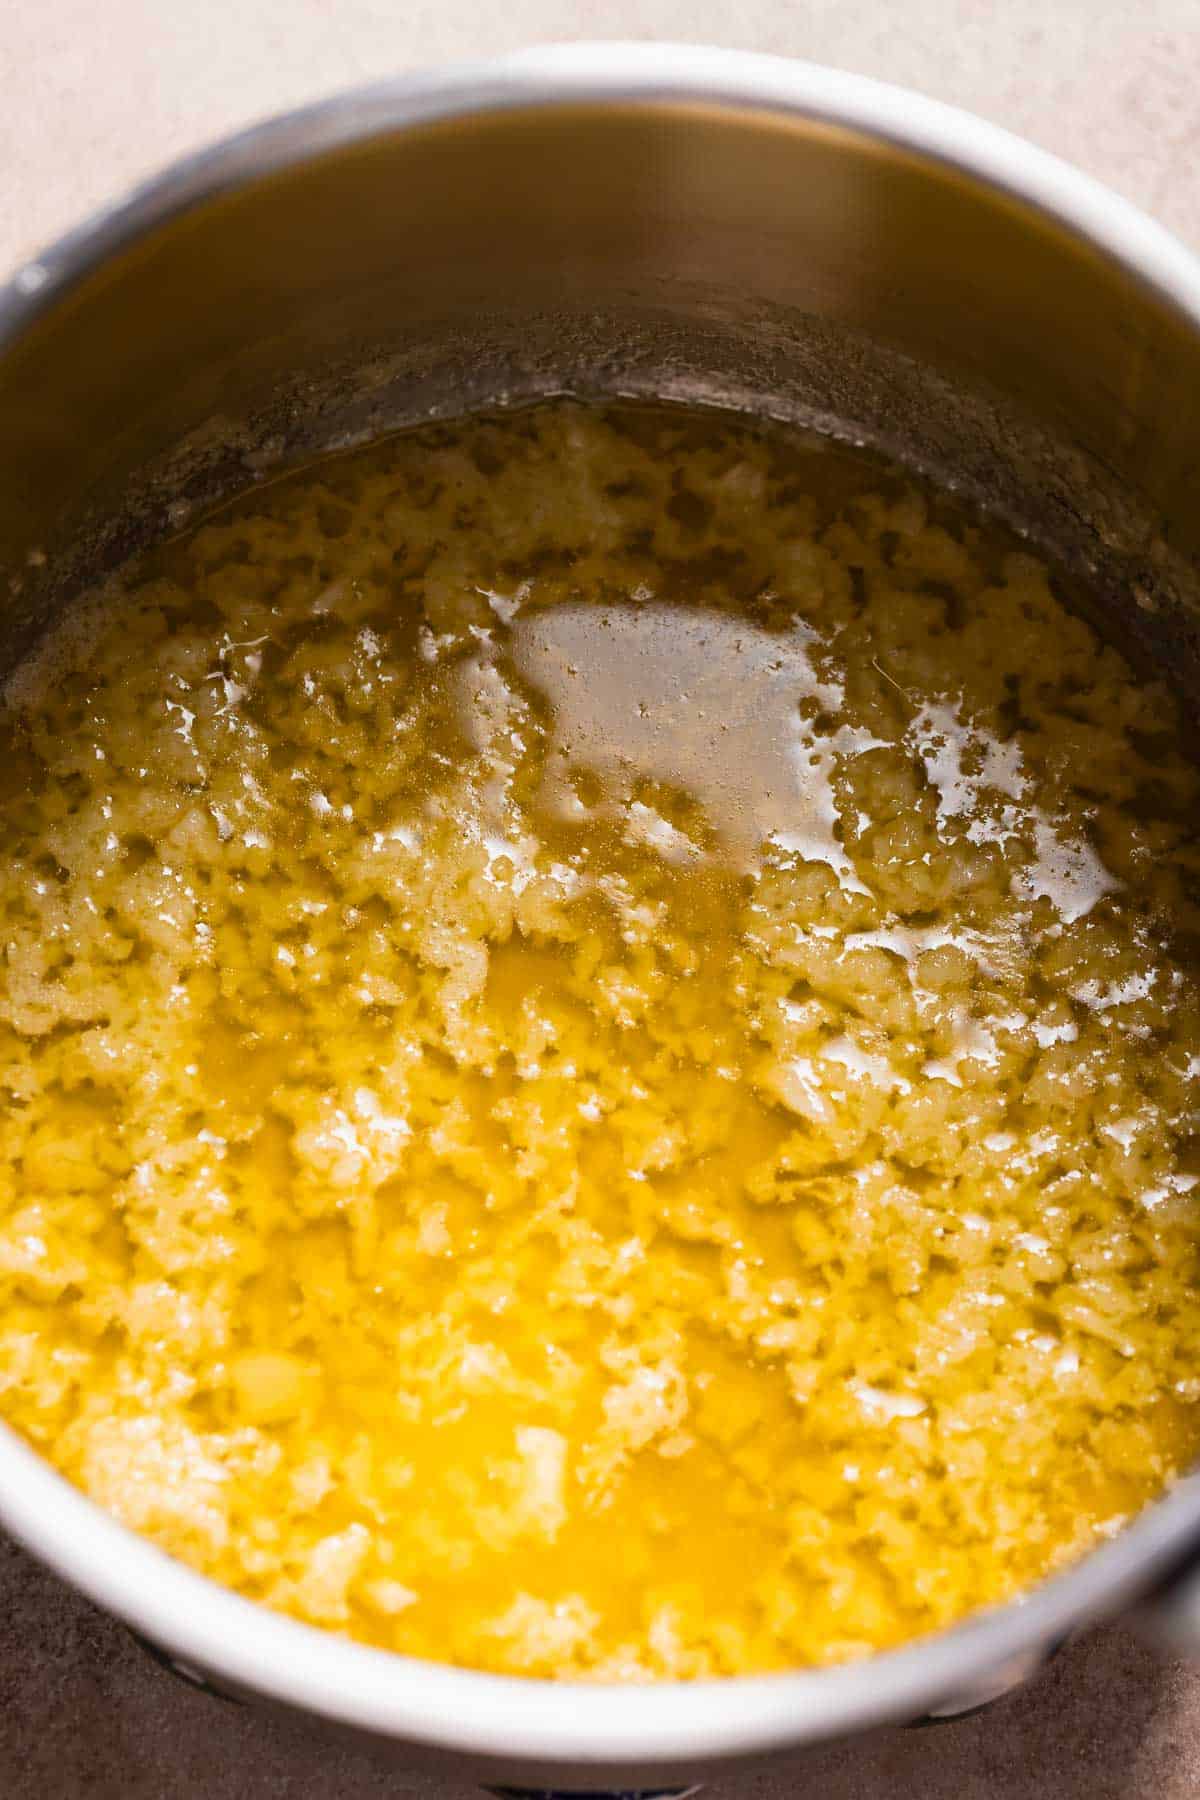
Step 1: Make the garlic butter. In a small saucepan, cook the butter and garlic until the garlic is sizzling and fragrant. Set it aside to cool briefly.
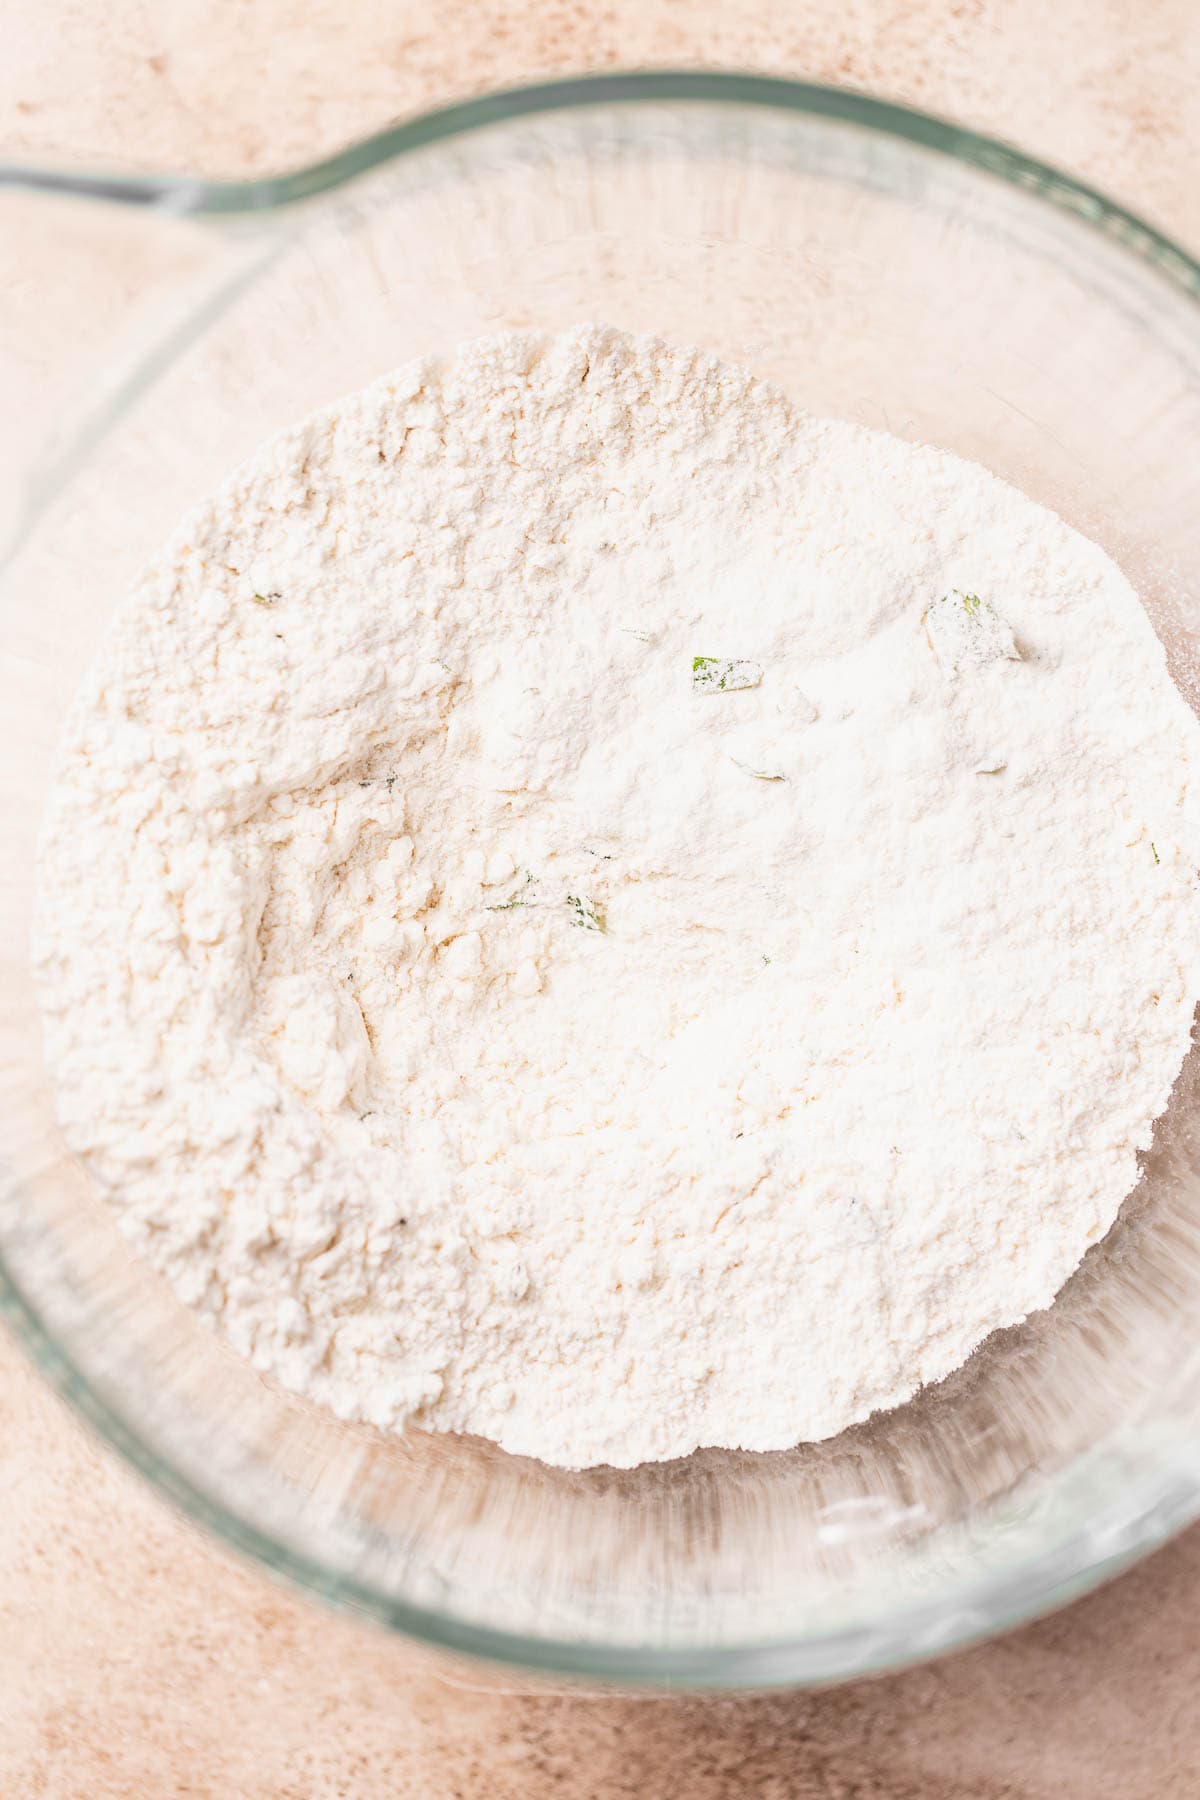
Step 2: Combine the dry ingredients. In a stand mixer bowl, combine the all-purpose flour, sugar, yeast, salt, and parsley. Then add the warm milk, melted garlic butter, and egg.
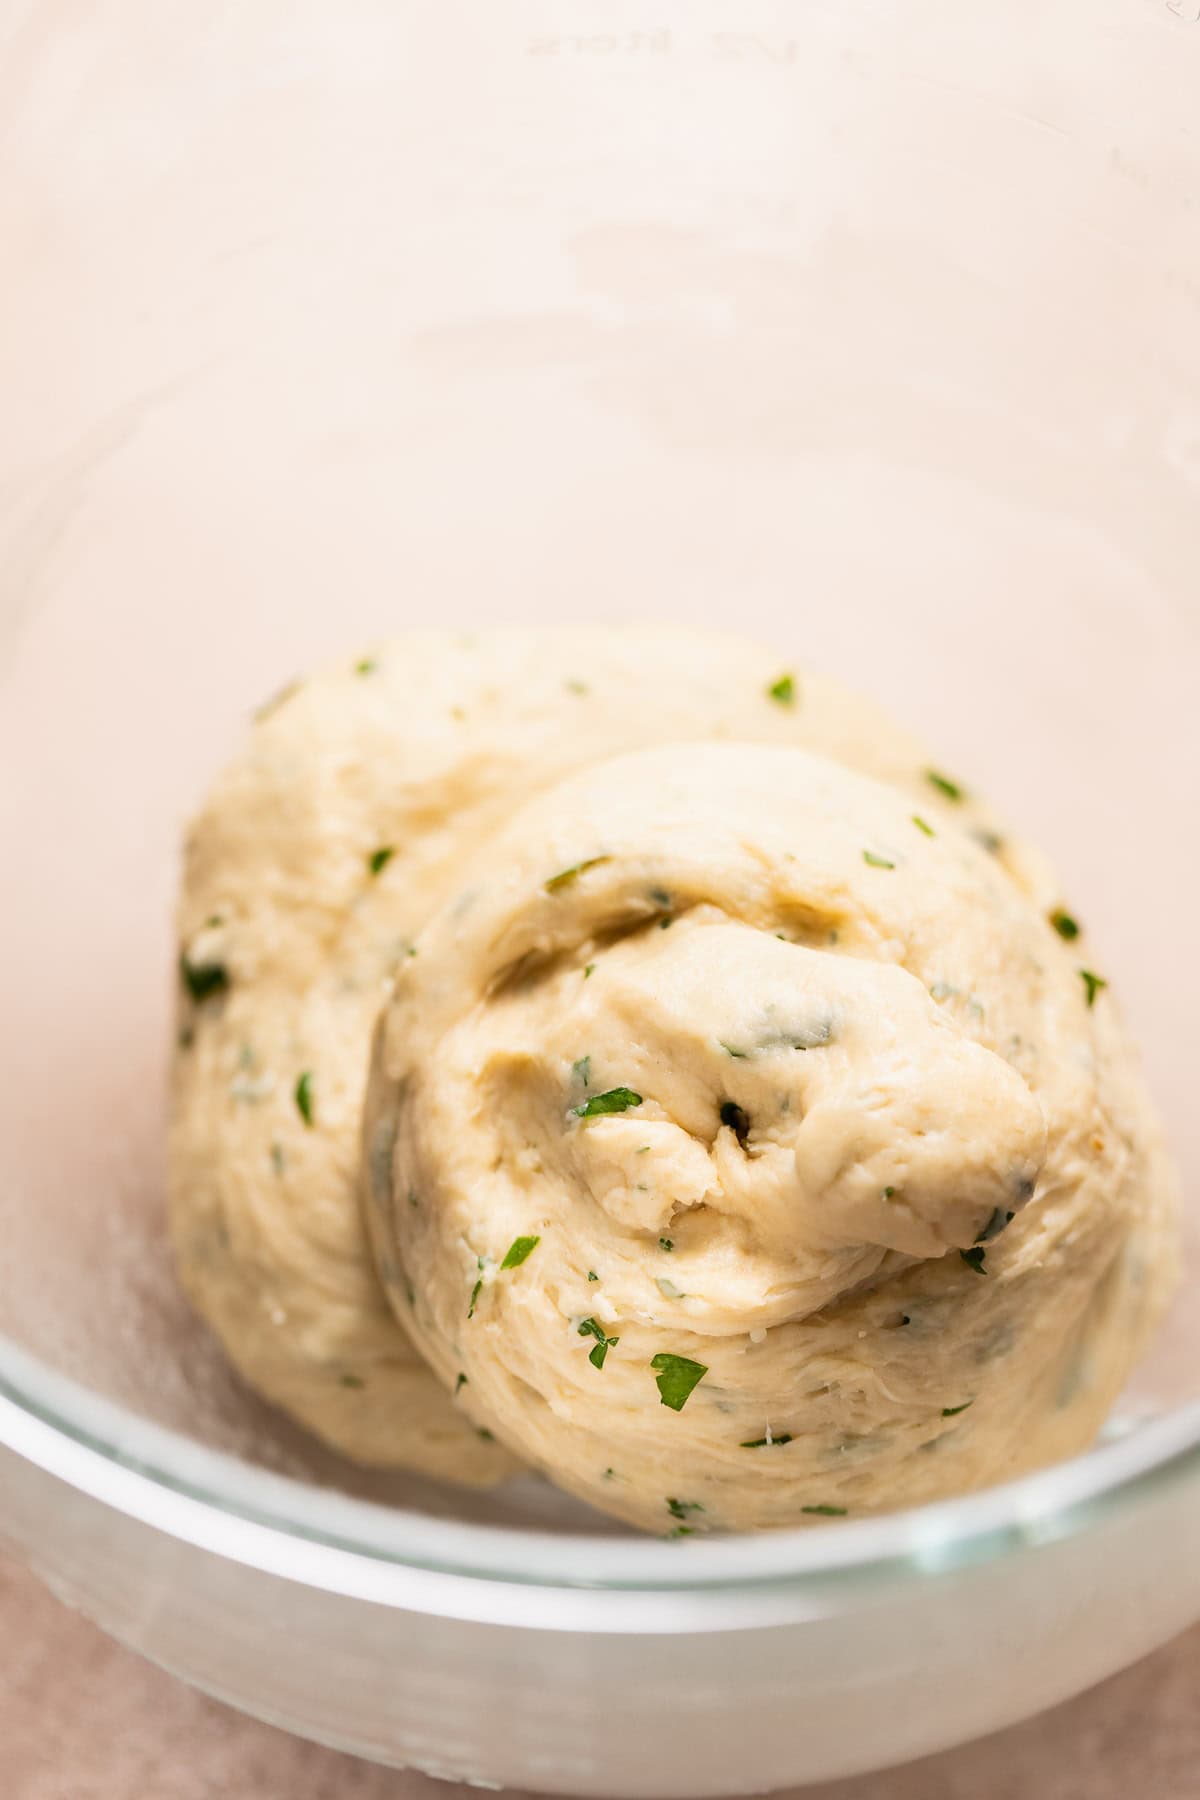
Step 3: Knead the bread dough. On low speed, knead the dough with the dough hook attachment until it comes together into a ball. It should look smooth and feel soft and tacky.
You can also add up to 1/4 cup shredded parmesan cheese to the bread dough and sprinkle more on top before baking.
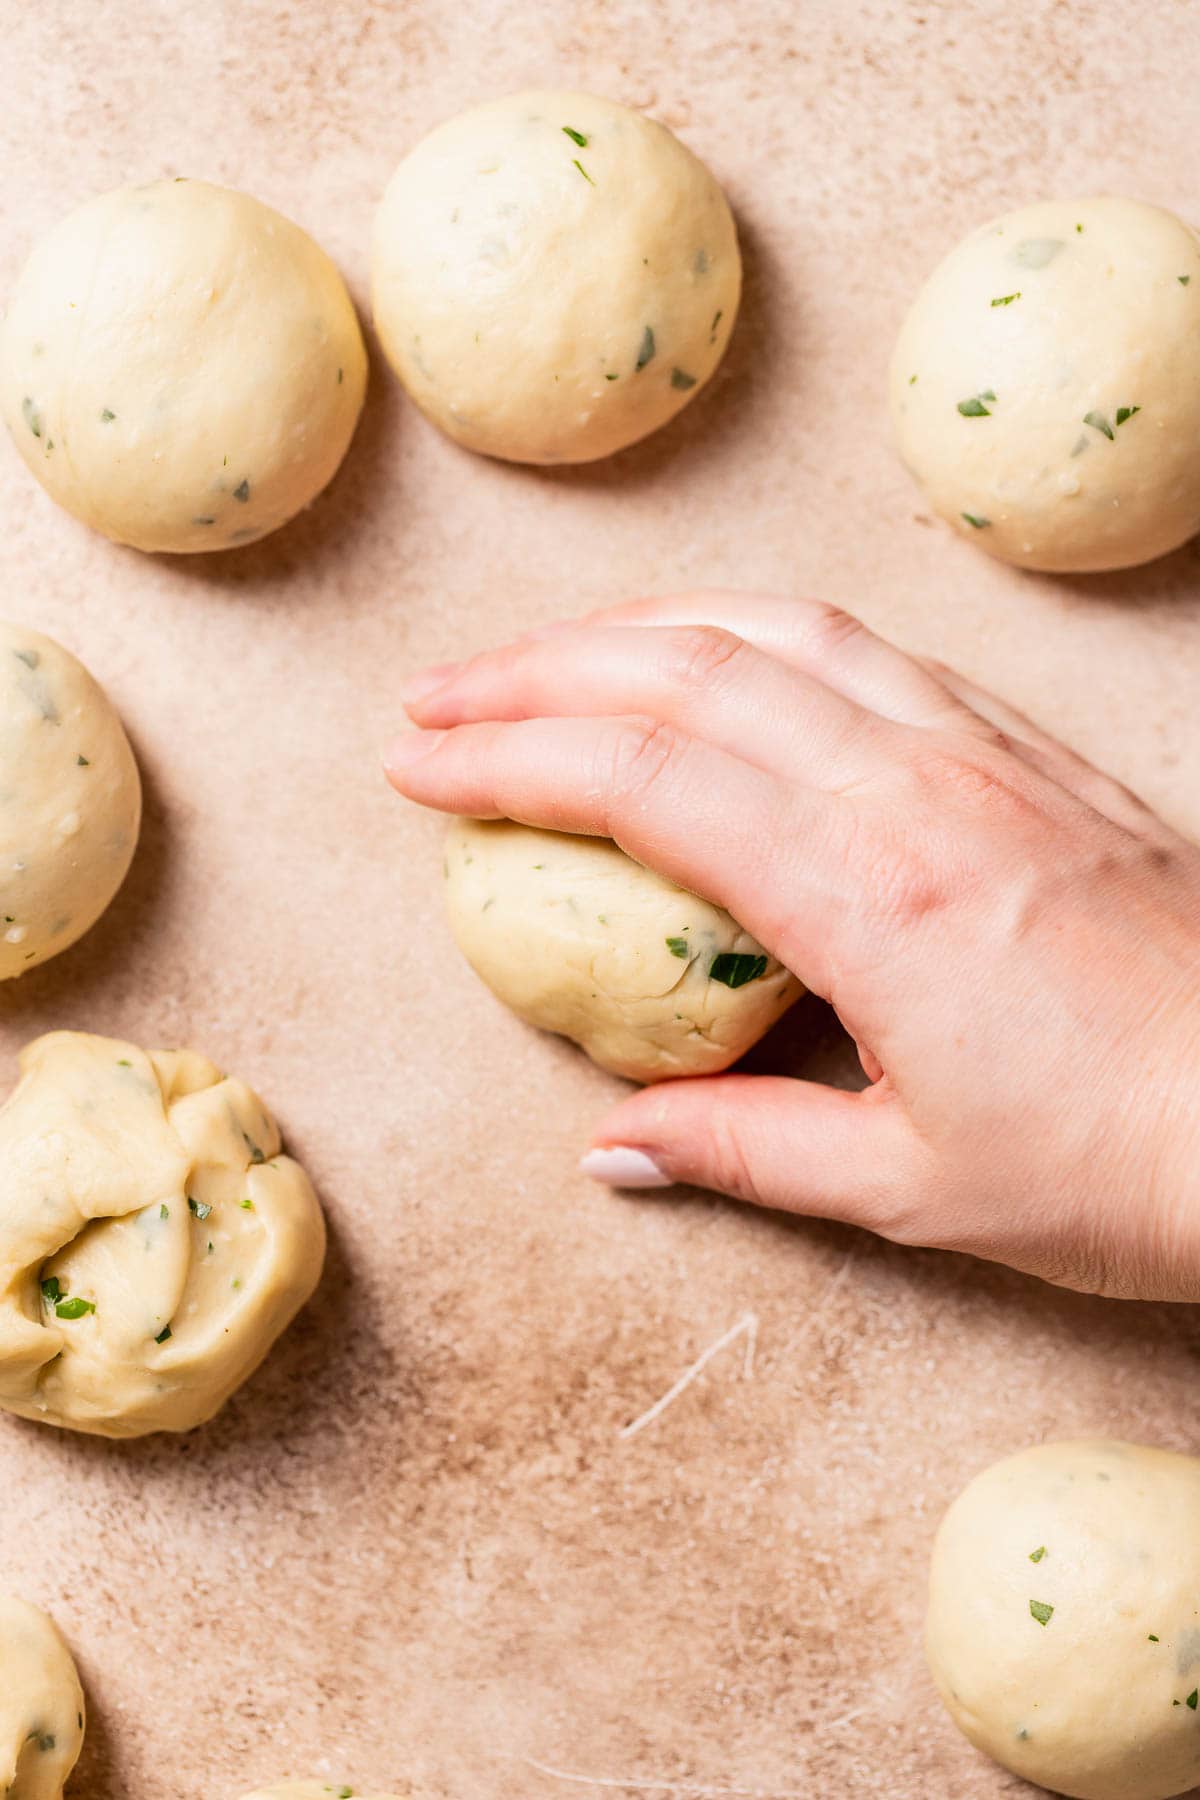
Step 4: Shape into individual rolls. Cut the dough into 12 equal portions. Use a scale for accuracy!
Then cup your hand around each portion, moving in a clockwise direction and applying some pressure, until the dough forms a perfect round ball. See the video in the recipe card for help.
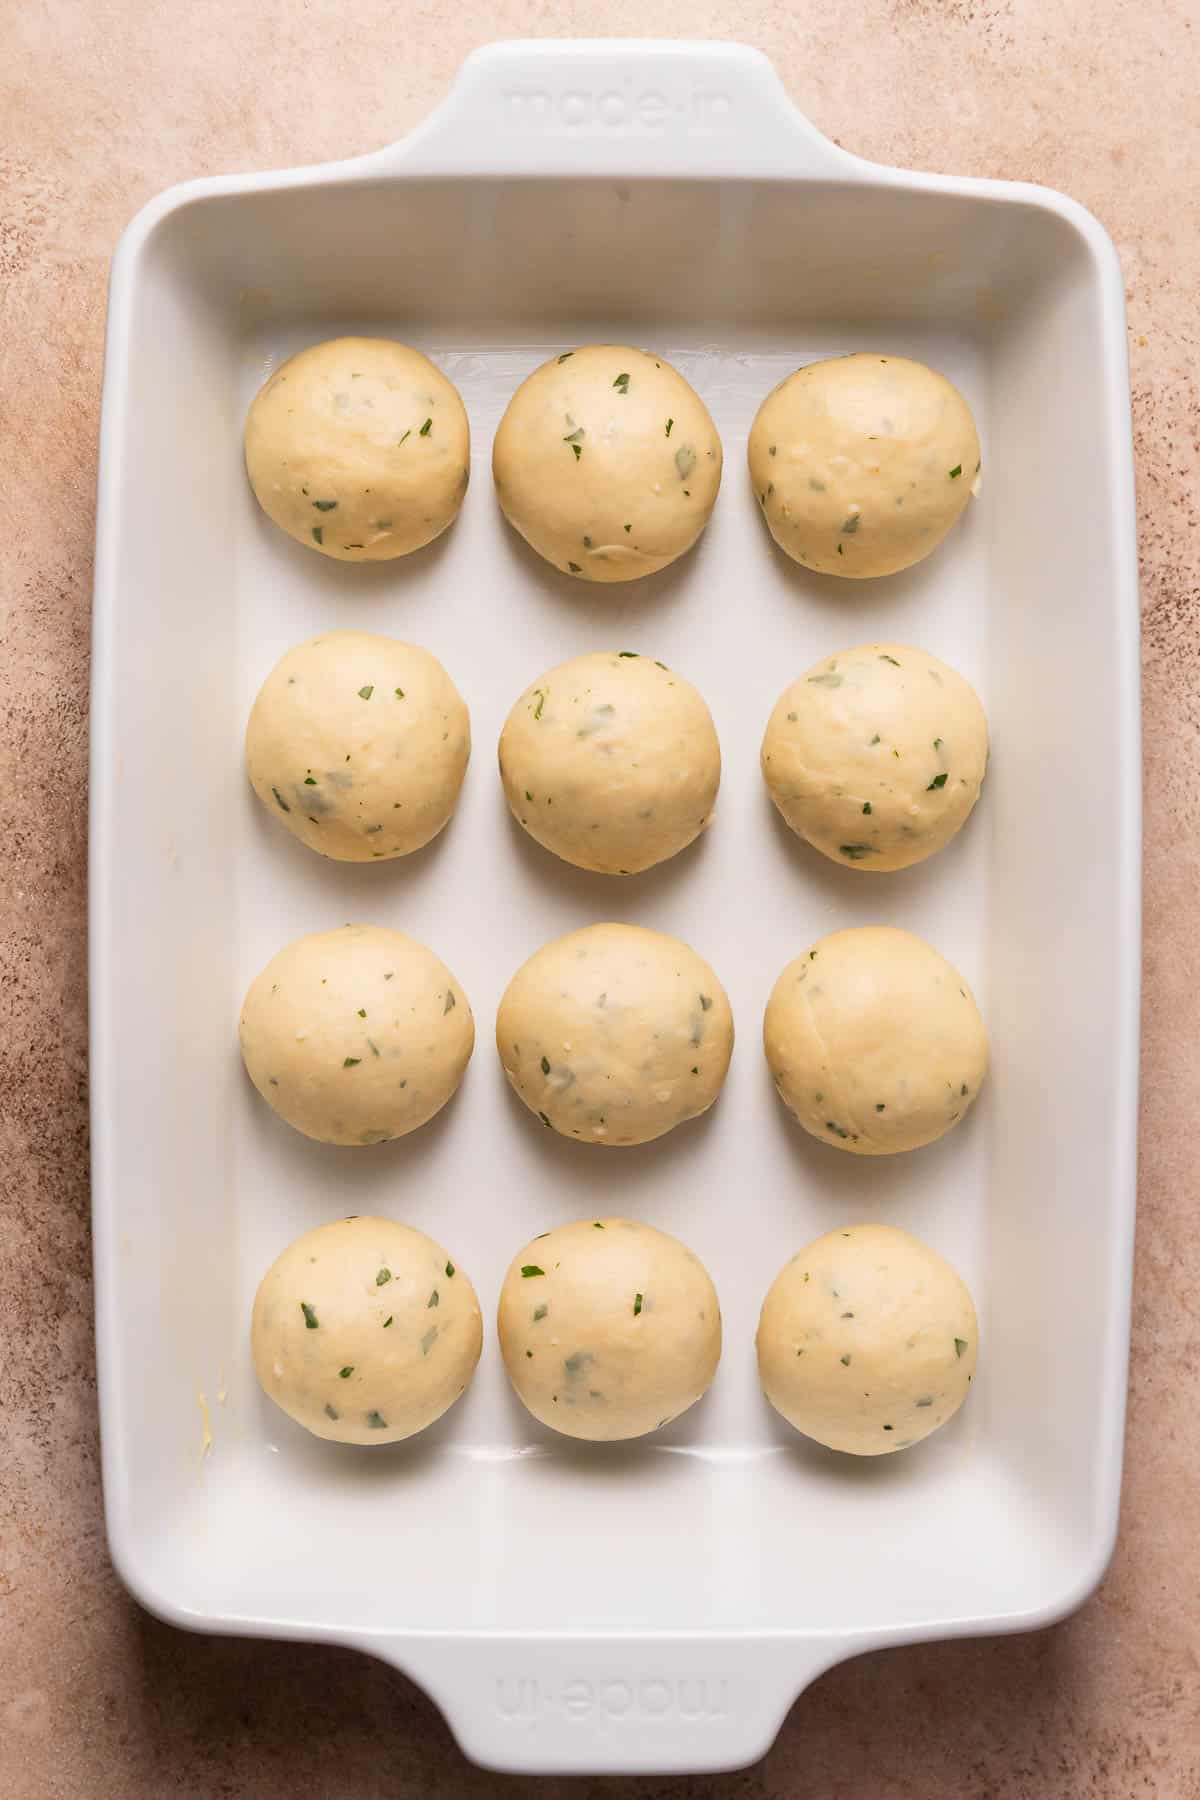
Step 5: Let the dough rise. Place the shaped rolls in a buttered baking dish and cover the top with plastic wrap. Set in a warm place to rise until doubled in size, about 1-2 hours.
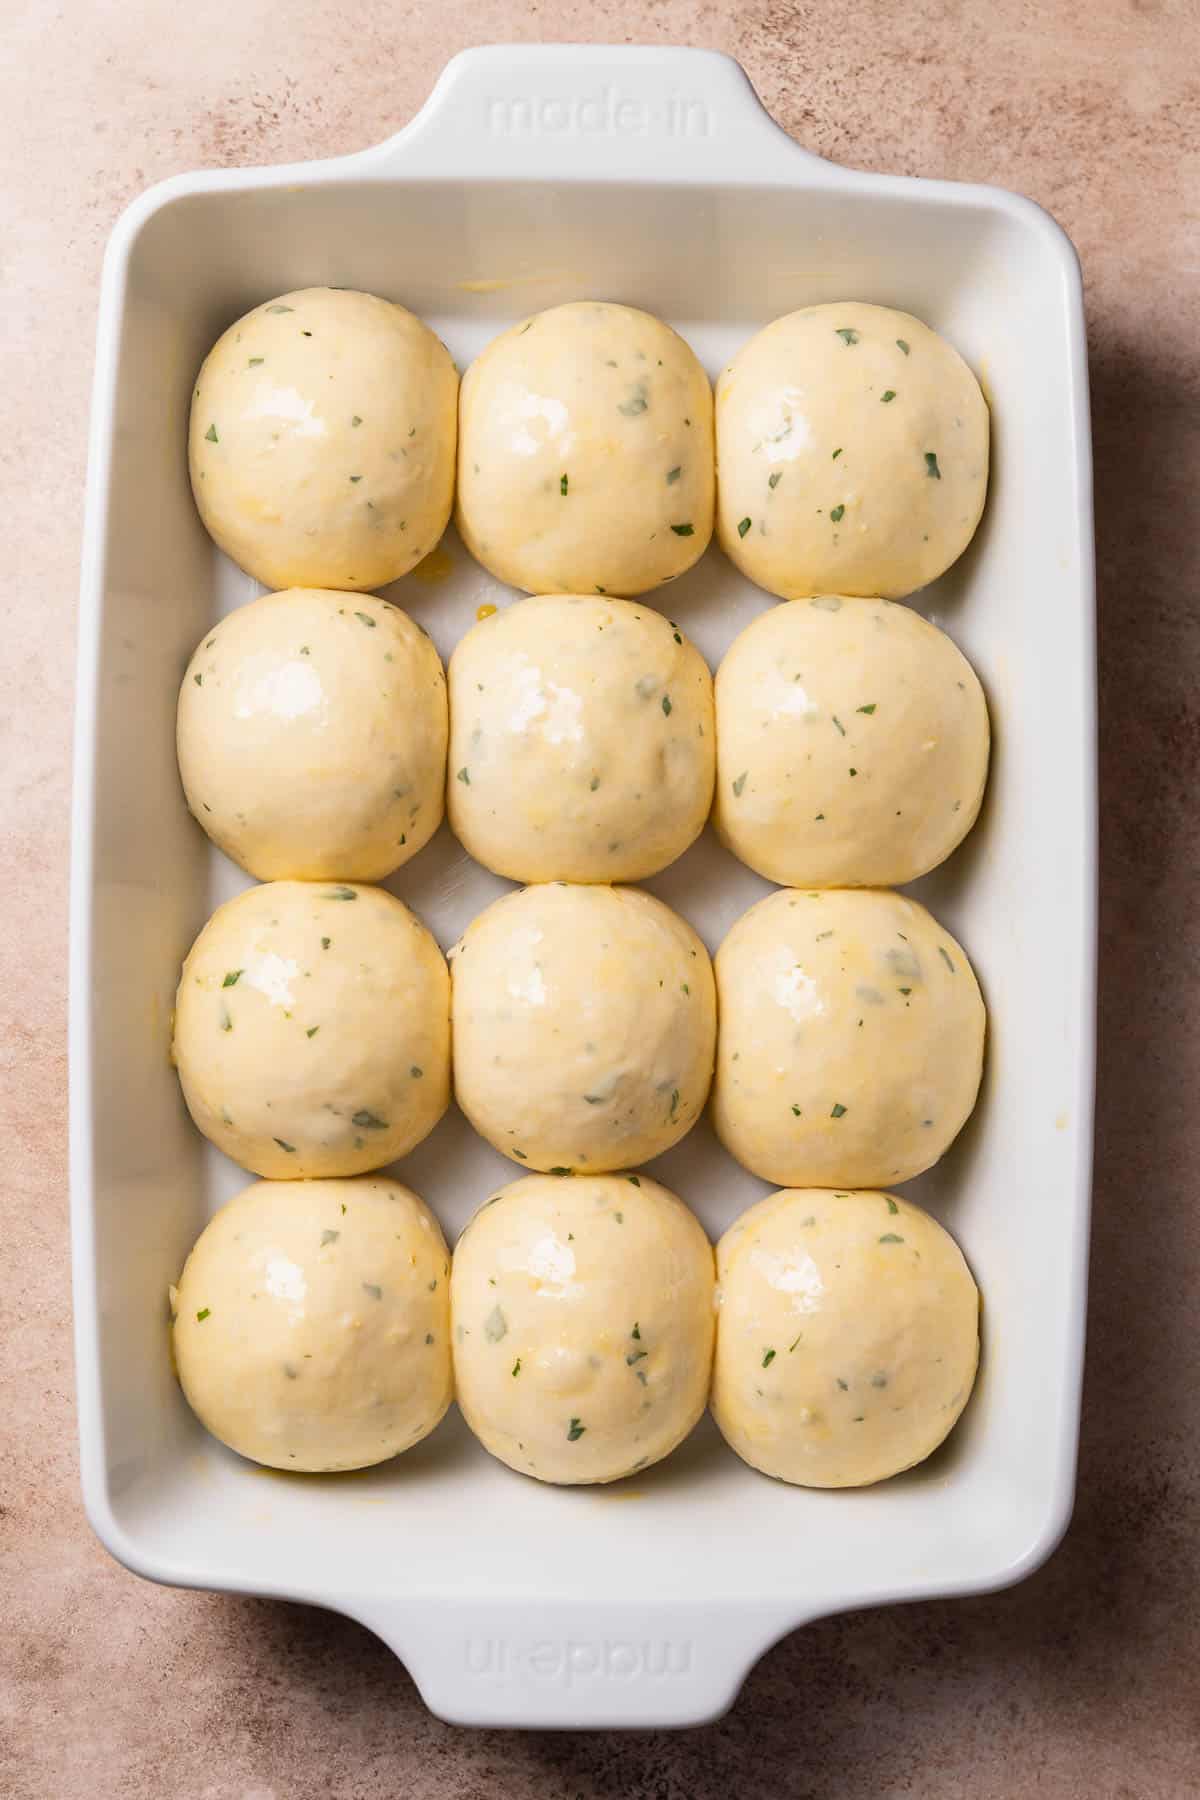
Step 6: Brush with garlic butter. Brush the garlic rolls with an egg wash, then bake until golden brown. Straight out of the oven, brush the tops of the baked rolls with more garlic herb butter before serving warm.
Storage, Freezing, Make Ahead, and Reheating
Storage: Dinner rolls are best served the day they are made, but can be stored for 2-3 days in an airtight container or Ziploc bag at room temperature.
Freezer: After baking, remove the rolls from the pan and let them cool completely. Transfer them to an airtight container for one month.
Make ahead: Once the rolls are shaped and snuggled into their baking pan, cover the top tightly with plastic wrap and refrigerate overnight. The next day, let them double in size at room temperature before baking. This could take a few hours!
Reheating: These garlic bread rolls are best served warm. Before serving, cover the rolls with foil and bake them at 350°F until warmed through. You can also pop them in the microwave for 20-30 seconds.
If you tried this or any other recipe on my website, please let me know how it went in the comments; I love hearing from you! Also, please leave a star rating while you’re there! You can also tag me on Instagram or Facebook so I can check it out!
Garlic Bread Rolls
Equipment
Ingredients
- 4 1/2 tablespoons unsalted butter
- 2 tablespoons minced garlic
- 3 1/2 cups + 1 tablespoon all-purpose flour, *See notes below for measuring*
- 3 tablespoons chopped fresh parsley
- 1 tablespoon granulated sugar
- 2 1/4 teaspoons instant yeast
- 1 teaspoon fine sea salt
- 1 cup whole or 2% milk, warmed to 110°F
- 1 large egg, room temperature
- 1 beaten egg, for brushing the tops
For the Garlic Butter
- 2 tablespoons unsalted butter
- 1 tablespoon minced garlic
- 1 tablespoon chopped fresh parsley
- flaky sea salt, for finishing
Instructions
- Lightly butter the bottom and sides of a 9×13 pan and set it aside.
- In a small pot, melt the butter and add the minced garlic. Cook for 1-2 minutes or until the garlic is fragrant. Take off the heat and cool while you measure the other ingredients.4 1/2 tablespoons (60 g) unsalted butter, 2 tablespoons minced garlic
- In a stand mixing bowl, combine the flour, parsley, sugar, yeast, and salt. Then add the warmed milk, egg, and garlic butter from above. Knead on low speed with the dough hook until the dough looks smooth and feels soft and tacky, about 10-12 minutes. *If the dough is too sticky, add one tablespoon of flour at a time until you have a workable dough.3 1/2 cups + 1 tablespoon (434 g) all-purpose flour, 3 tablespoons chopped fresh parsley, 1 tablespoon (15 g) granulated sugar, 2 1/4 teaspoons instant yeast, 1 teaspoon fine sea salt, 1 cup (225 g) whole or 2% milk, 1 (55 g) large egg
- Cut the kneaded dough into 12 equal portions (use a scale for accuracy- 67 grams each). Shape each piece of dough into a smooth ball with your hand. Pinch the bottom of the roll where the seam comes together to keep it tight. Then place the shaped dough balls into the prepared baking pan. Cover the top with plastic wrap or a clean kitchen towel and set them in a warm place to rise until doubled in size, about 1-2 hours. *Watch the video below for visual aid!
- Preheat the oven to 350 F/180 C.
- Brush the tops of the rolls with the beaten egg wash. Then bake the dinner rolls for 20-30 minutes, or until the tops are golden brown.1 beaten egg, for brushing the tops
- While the rolls are baking, make the garlic butter. Melt the butter in a pot and add the minced garlic. Cook for 1-2 minutes until the garlic is fragrant. Then remove it from the heat and stir in the parsley. When the rolls come out of the oven, immediately brush them with the garlic butter. Sprinkle with flaky sea salt if desired, and serve warm!2 tablespoons (28 g) unsalted butter, 1 tablespoon minced garlic, 1 tablespoon chopped fresh parsley, flaky sea salt














I needed a recipe to utilize the one instant yeast packet I had left and I was so pleased at the short ingredient list and rise time! I didn’t have parsley so I tried some rosemary, thyme, and a tablespoon or so of honey. Just sprinkled in a little more flour during the mix time to make sure it wasn’t too tacky. They’re absolutely incredible. Topped the egg wash w some Parmesan and I’m so excited about this recipe! I’ll have to try it without my tweaks! I just can’t stop fiddling w recipes and try them properly the first time like a normal person! X) thank you!
I’m so happy to hear that Ivy! Glad you enjoyed them.
These rolls are super delicious and flavorful and are very soft and fluffy. Mine took about 45 to rise, and I brushed them with garlic and butter, and topped with parmesan cheese before baking. 23 minutes was just about perfect, and then I brushed on more garlic and butter, served them warm, and they were SO good. Make these now- you’ll eat too many but won’t regret it 🙂
Can you make the rolls and leave them in the fridge overnight and then bake them the next day?
Yes! Make sure to let them come to room temperature the next day before baking.
I followed the recipe to a t and they didn’t turn out well at all. The dough didn’t rise and never expanded when baking. But I rated the recipe high because the instructions were good and easy to follow. I’ve never been able to successfully make bread, so this is just another fail in my bread making career, lol 🙁
Hi Grace, I’m sorry to hear that! If the rolls didn’t rise it’s likely a yeast problem. Did you use instant yeast or active dry yeast? This recipe calls for instant yeast so if you used that and they didn’t rise the yeast was probably dead. If you used active dry yeast, you have to activate it in the warm milk with a bit of sugar (as per the packet instructions) until it gets foamy and active before using it, or the rolls will not rise. If you follow these instructions exactly, I would check to make sure your milk wasn’t scalding hot as hot liquid will kill yeast! Let me know if this is helpful!
I need to make these ahead of time. Do you suggest I bake the rolls and hold off on the garlic butter until just before serving or process through entire recipe, store in fridge and then just serve at room temp? Thanks!
Hi Anita! I recommend storing the rolls at room temperature and not the fridge as they can get stale. You can reheat them in the oven when adding the garlic butter to soften them up before serving!
I haven’t made these so I can’t rate them. The one star I only so I can ask 2 questions. These actually look very good. Is there really only 1 rise? Can you refrigerate overnight before baking? We have our family dinner on Sunday early and need to have bread ready to bake in a shorter time than it takes to make and rise. Thank you.
Hi Melody, yes there is only one rise because we are using instant yeast! You can definitely leave them in the fridge overnight. Once the rolls are shaped and in the baking pan, cover the pan with plastic wrap and refrigerate. The next day let the rolls rise at room temperature until double in size.
easy recipe. Rolls were good but not as light as I had hoped. Don’t get me wrong, they were very good, just a little denser thank I expected.
Hi! Next time let the rolls rise longer, dense rolls is usually caused by not letting them proof enough. Also a good note to check your yeast as well, yeast that is older and not fresh can yield dense rolls as well.
The flavor of these were so good, but mine turned out much more dense than expected. They were more like a biscuit. But I thought I followed the receipt exactly.
Hi Amy, sounds like your yeast was expired or you used too much flour! Make sure to use fresh yeast and the spoon level method (or even better a kitchen scale) to weigh your ingredients; otherwise the rolls will be dense.
I made these rolls today. I am by no means a bread maker or baker so it’s all new to me. I followed the recipe (minus the parsley) and made the dough by hand as I don’t have a stand mixer. The buns were ready (baked) within 15 minutes and they turned out to be really nice, fluffy and tasty. I’m saving this recipe for future use!
I’m so happy to hear that Liz!! Thank you so much for coming back to leave a 5 star review 🙂
I tried making these with active dry yeast and while they didn’t end up looking like the ones in the picture (could be due to me being a novice at bread making or due to the fact that I kneaded it by hand!) They taste absolutely incredible and are so soft and fluffy on the inside! The recipe was simple and very easy to follow.. thank you, this one is definitely a keeper!!
I’m so happy to hear that Candice! Yes, kneading by hand can take a bit more elbow grease for the dough to look completely smooth which could be the reason why they didn’t look exact. Thanks so much for coming back to leave a review! 🙂
I am new to using yeast and am confused as to the different types eg. regular vs quick or rapid rise, please name preferred brand name and type. Thank you.
Hi Catherine, for this recipe I recommend Instant Yeast, the brand is Fleischmann’s and you can find it in the flour/baking aisle at the grocery store. Here’s a link to what it looks like!
Yay! Thanks so much Dawn!
Yay! So glad they were enjoyed Rick!
Amazing! So glad you enjoyed them Yasmeen!
I made these vegan by using vegan butter (earth balance), soy milk and Bobs Red Mill Egg Replacer and they came out PERFECTLY!! So fluffy, easy to make and flavorful – will definitely make again!
what are the dimensions of the “large baking dish” required and must it be ceramic?
Sorry, it should be about 9×13. You can definitely use a metal pan, although you should line the bottom with parchment paper so the rolls don’t stick to the pan.