

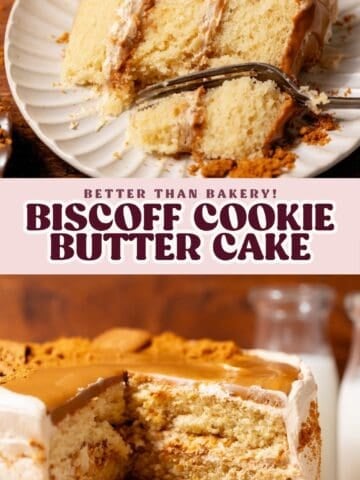

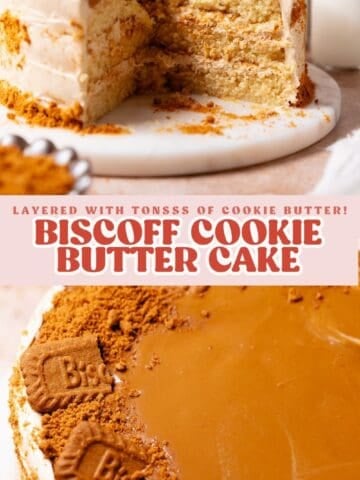
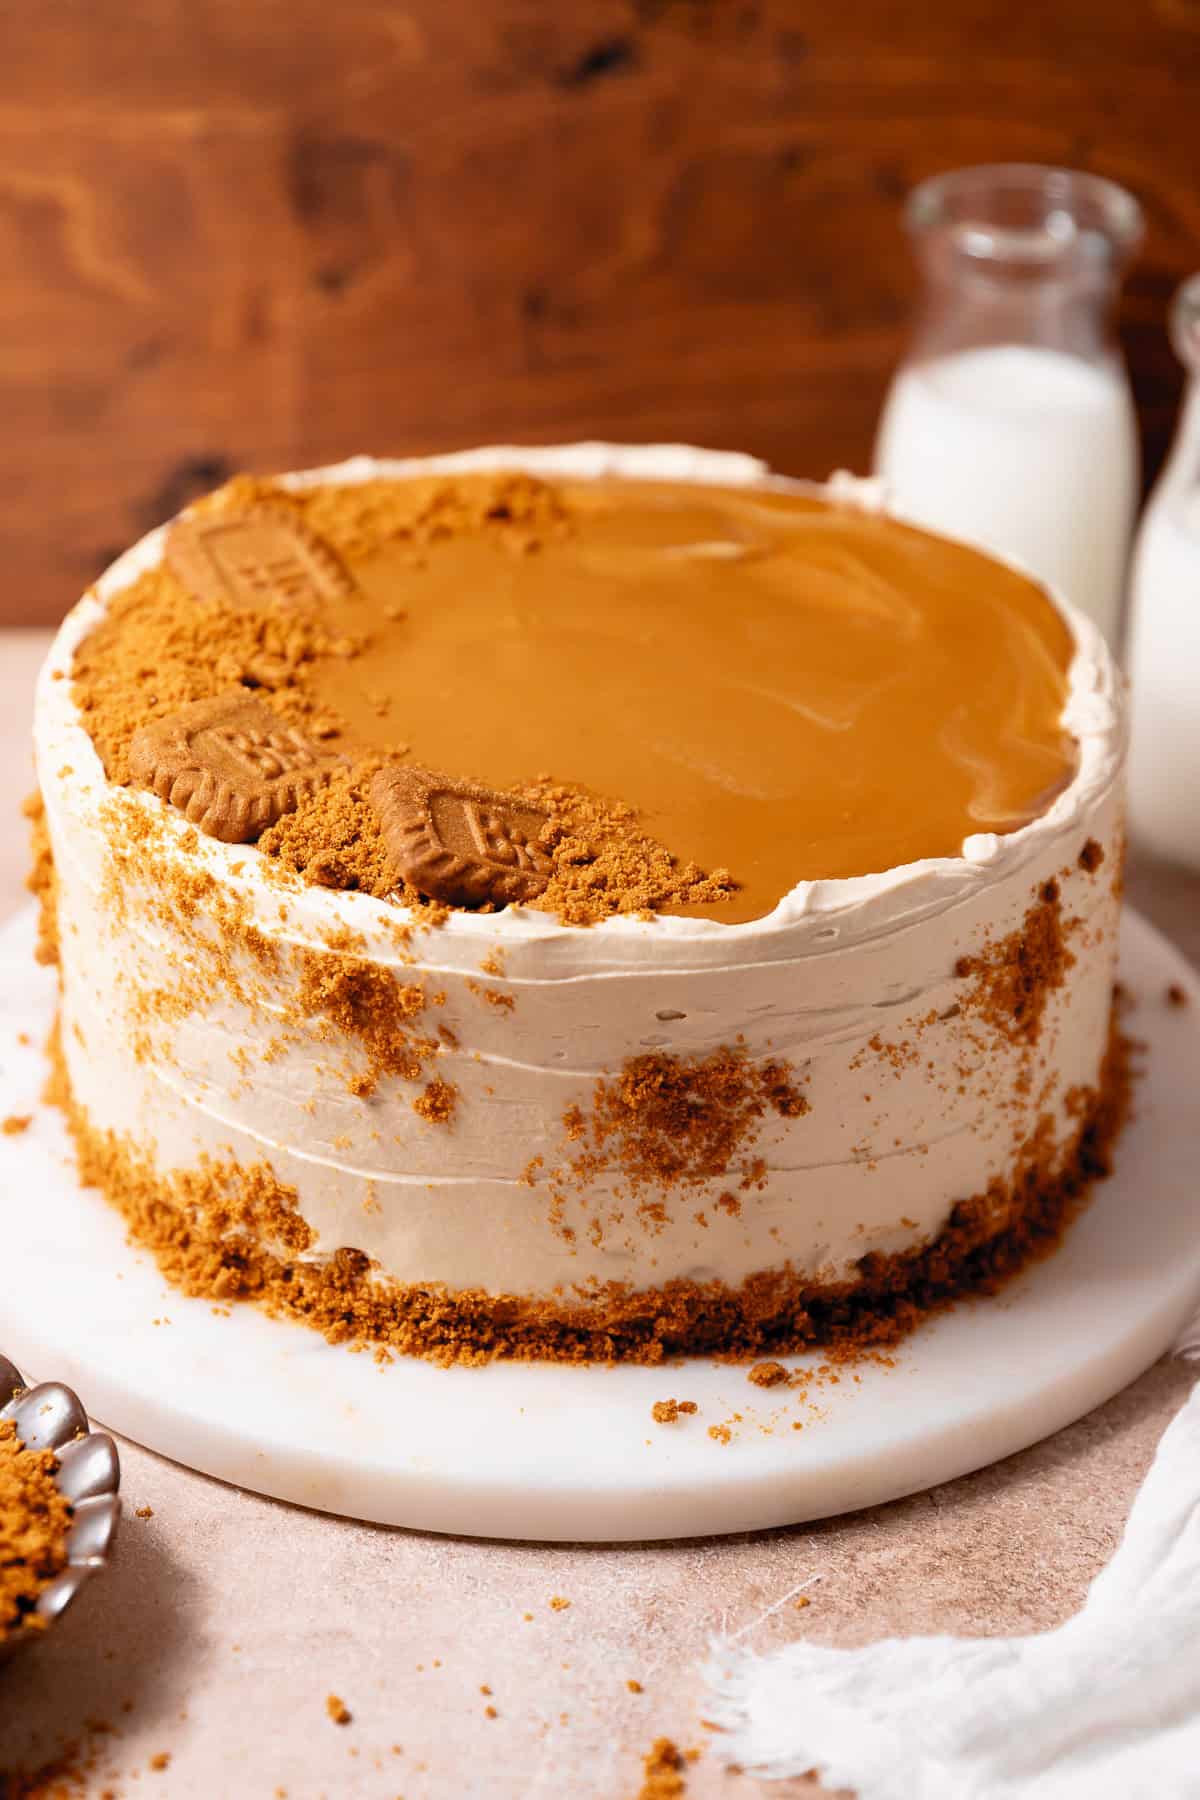
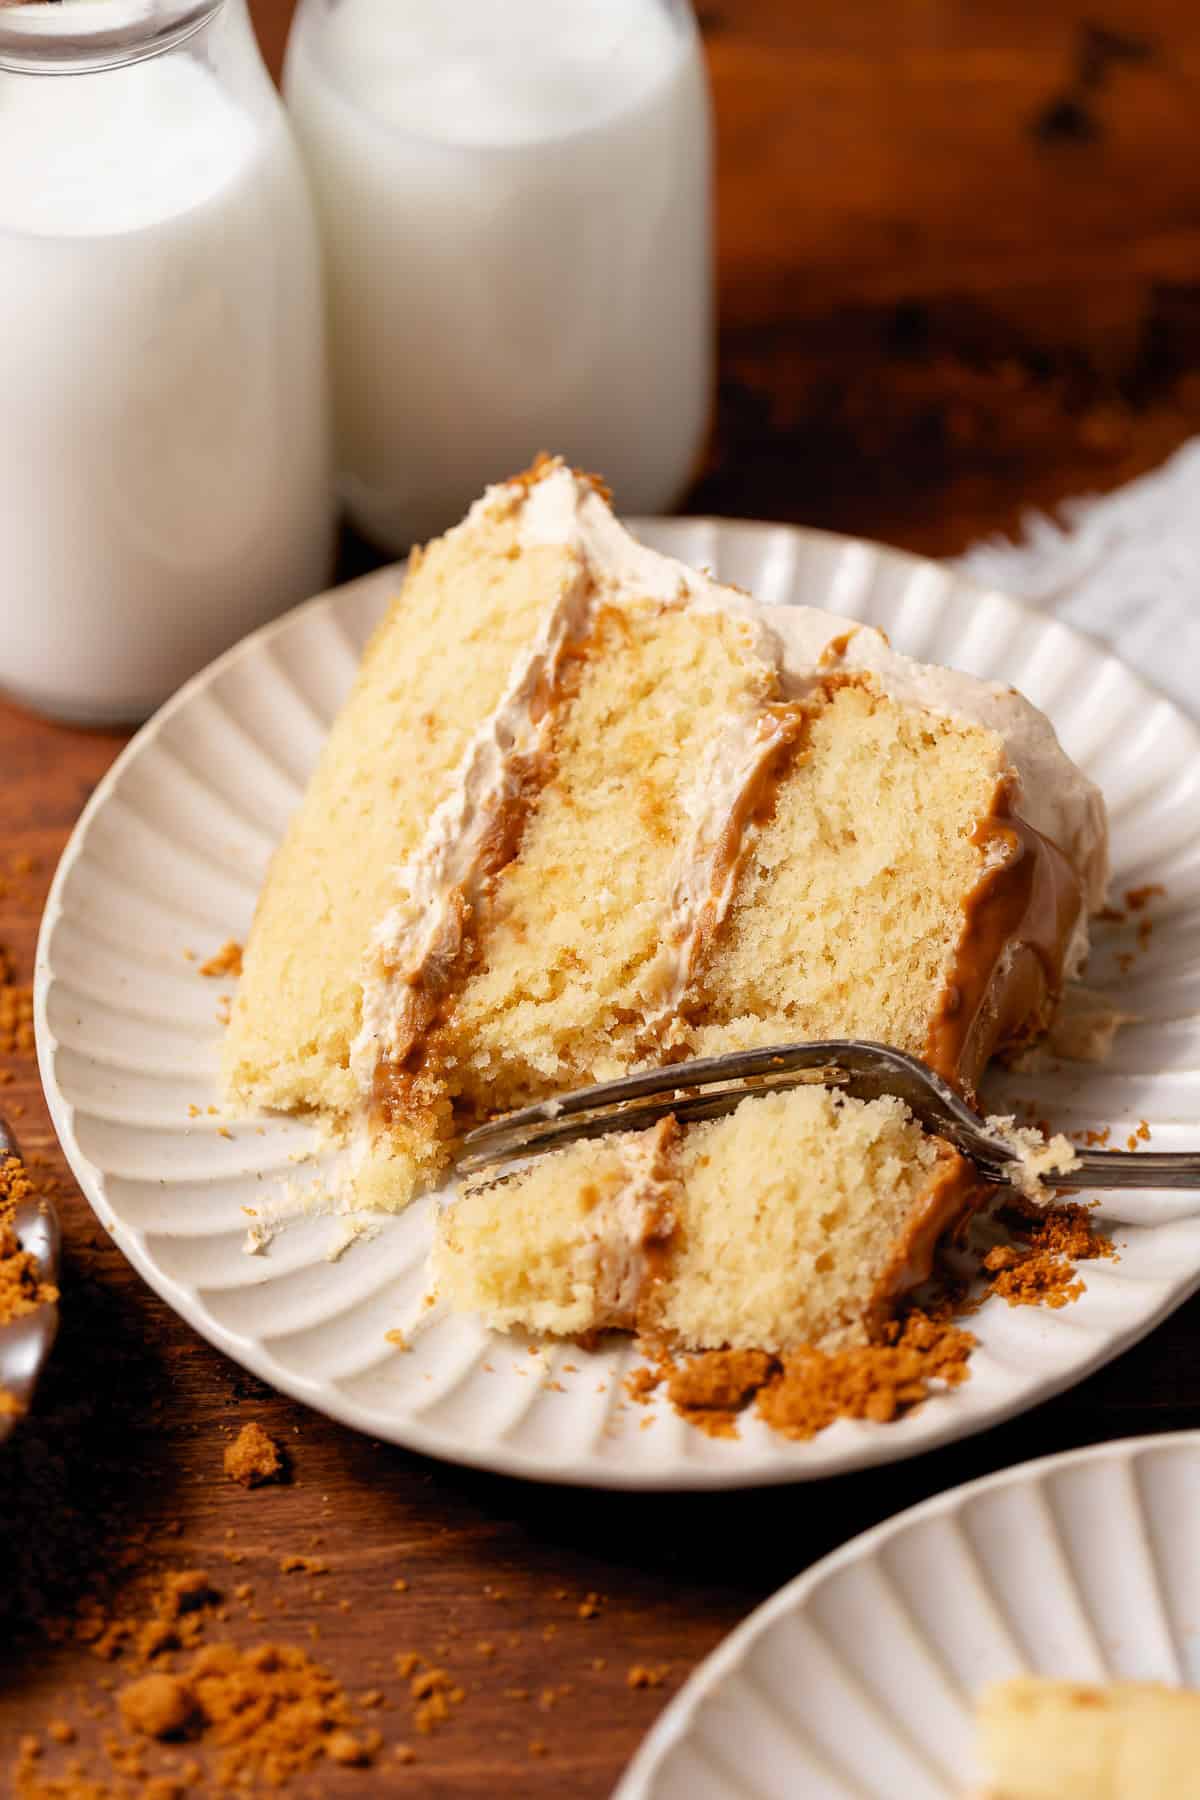
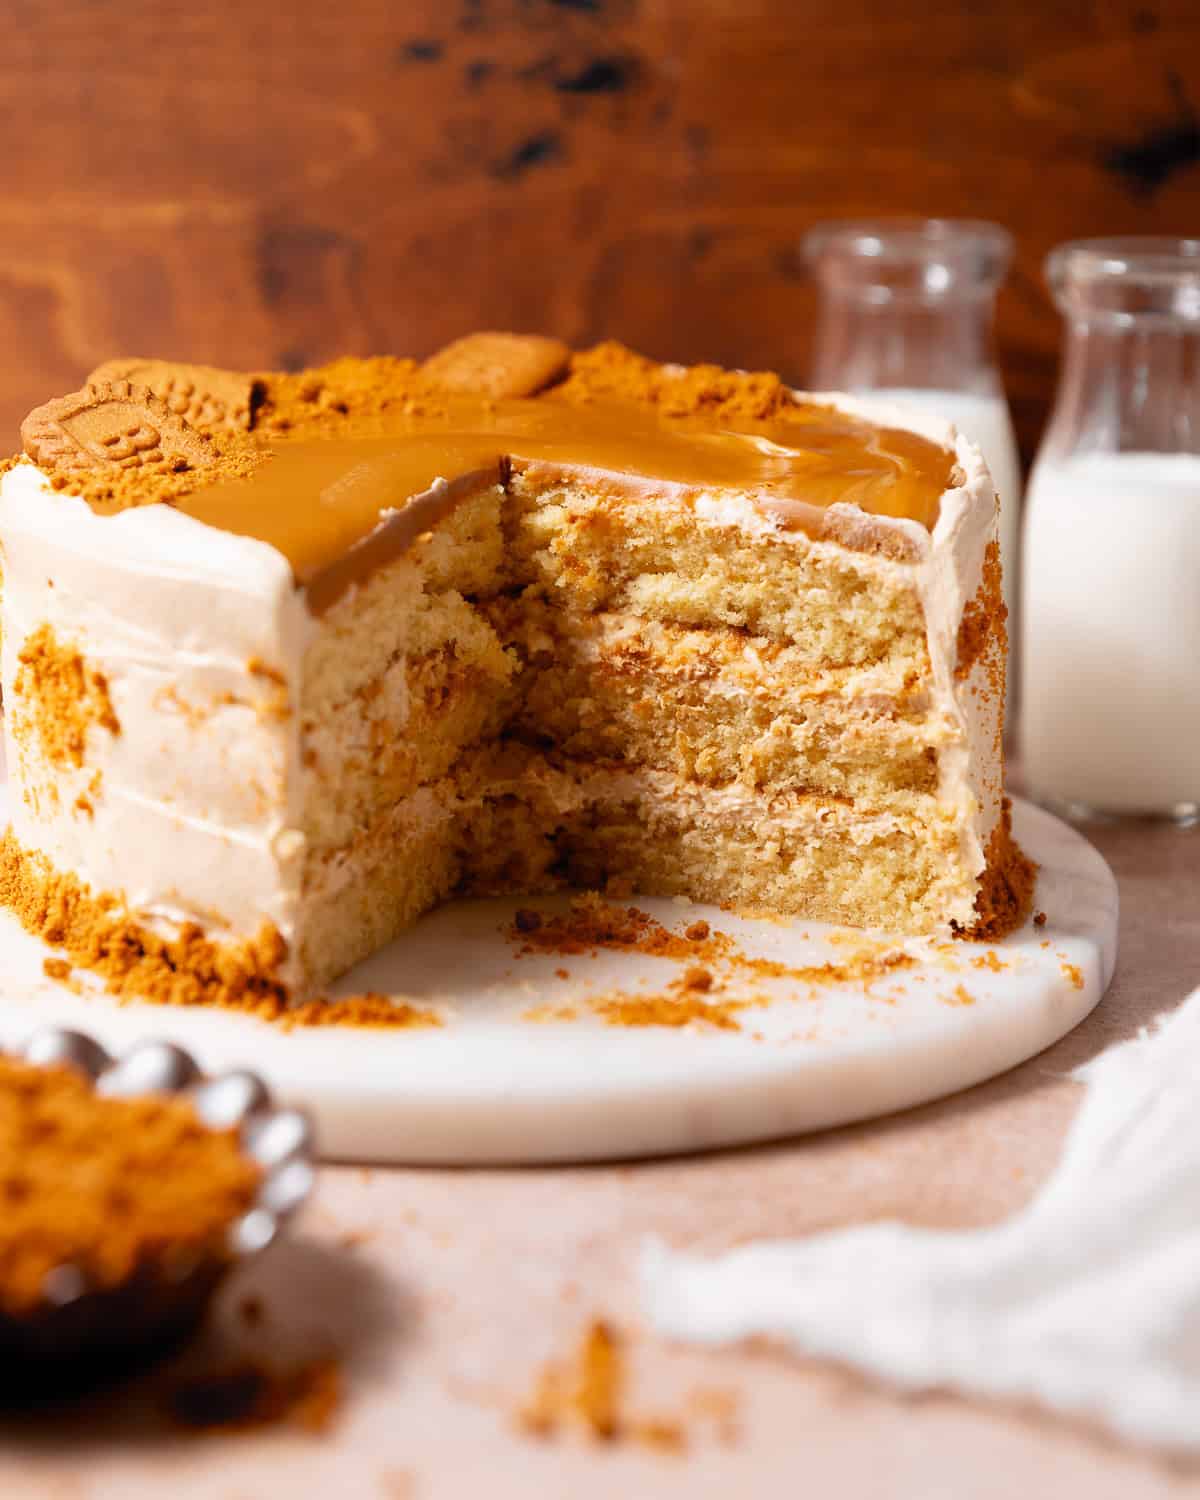
Loaded with cookie butter from top to bottom, this cookie butter cake tastes as incredible as it looks. Soft, moist cake layers are baked with Lotus Biscoff cookie butter, then stacked with fluffy cookie butter buttercream, crunchy cookie crumbs, and ribbons of Biscoff spread between every layer. A glossy pool on top ties it all together, so every bite is packed with rich, caramelized cookie butter flavor.
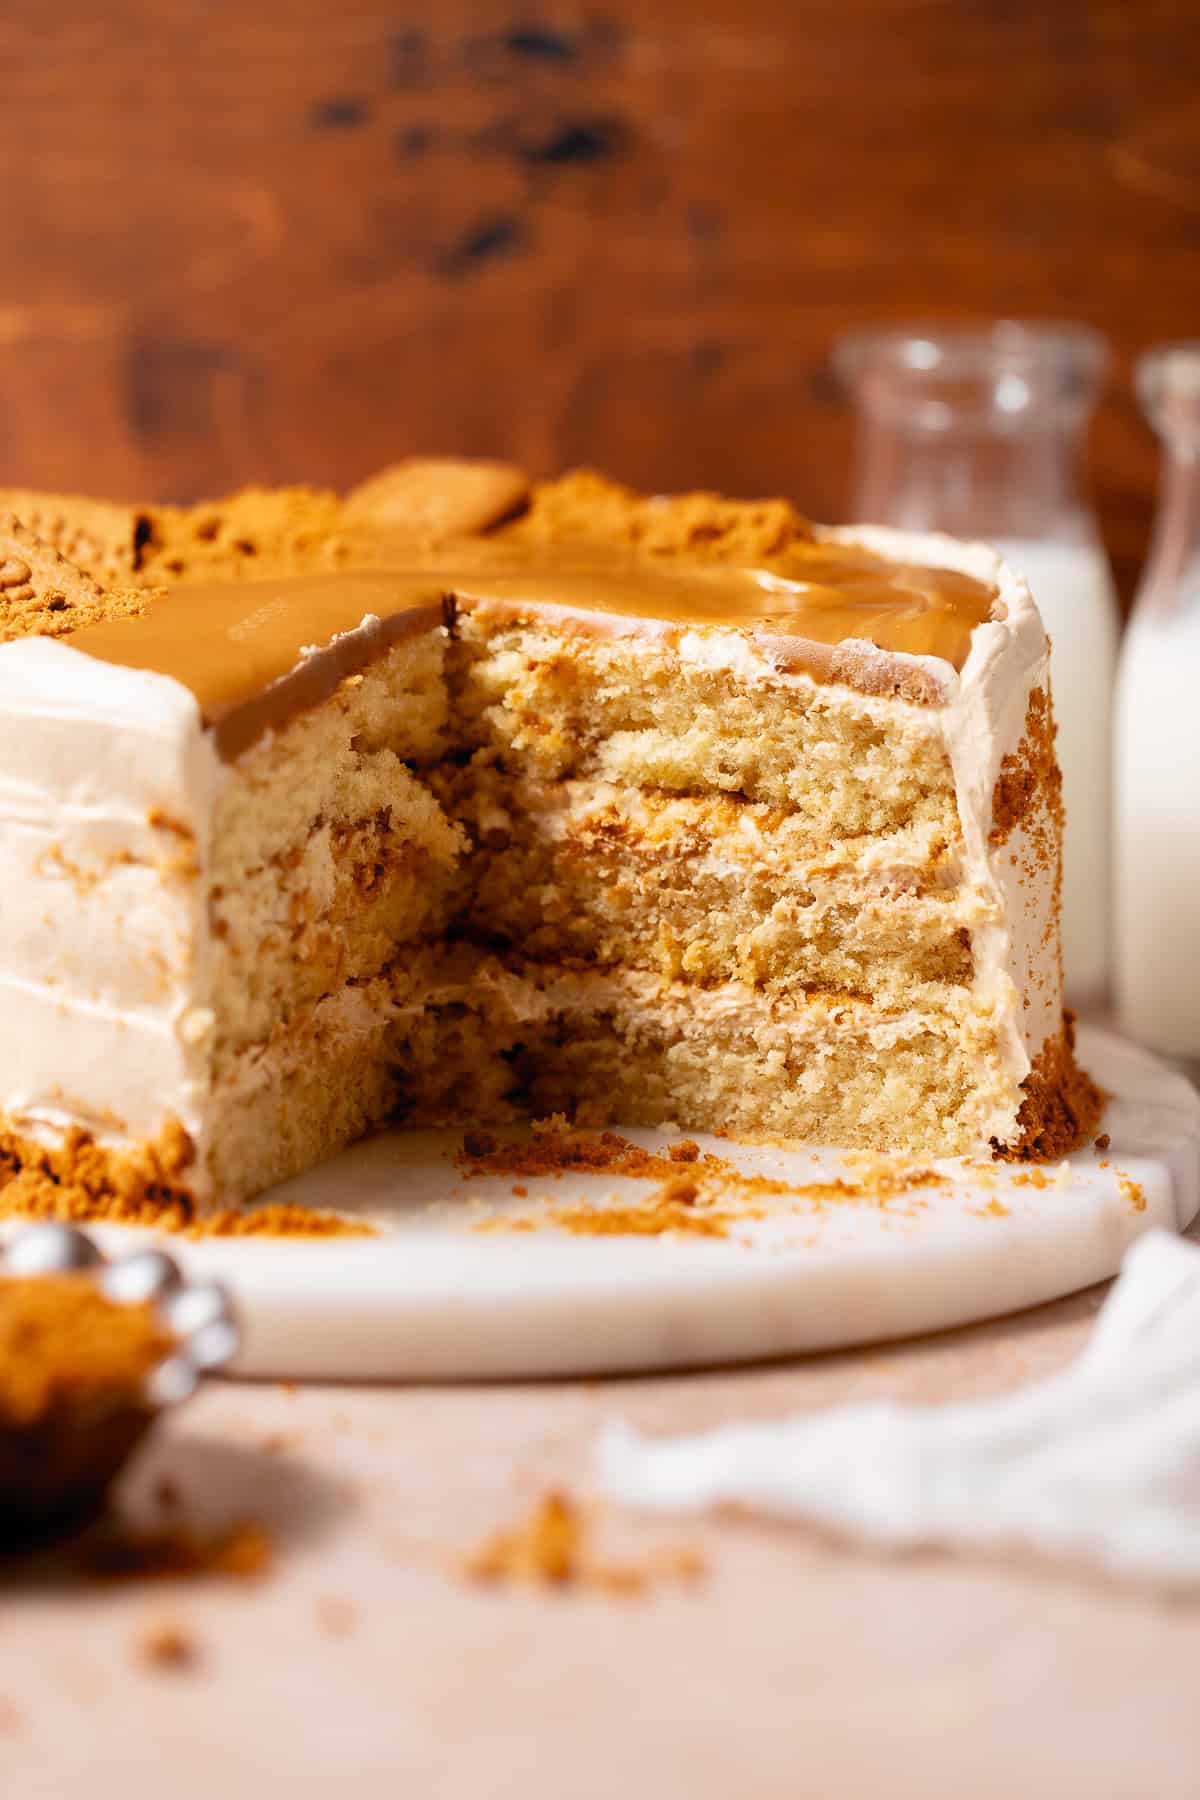
Unlike my stuffed cookie butter brownies, where the cookie butter is concentrated in the center, this cake includes it everywhere for the best flavor.
I tested swirling extra Biscoff spread into the batter, but while it looked sooo pretty, it made the cake overly sweet, and readers reported a slightly dense texture, which is why this recipe has been improved (in 2026) since the original publish date in 2023.
This cake is moist, fluffy, and packed with sooo much cookie butter flavor in every bite. I can’t wait for you to try it!
How to Make It
1
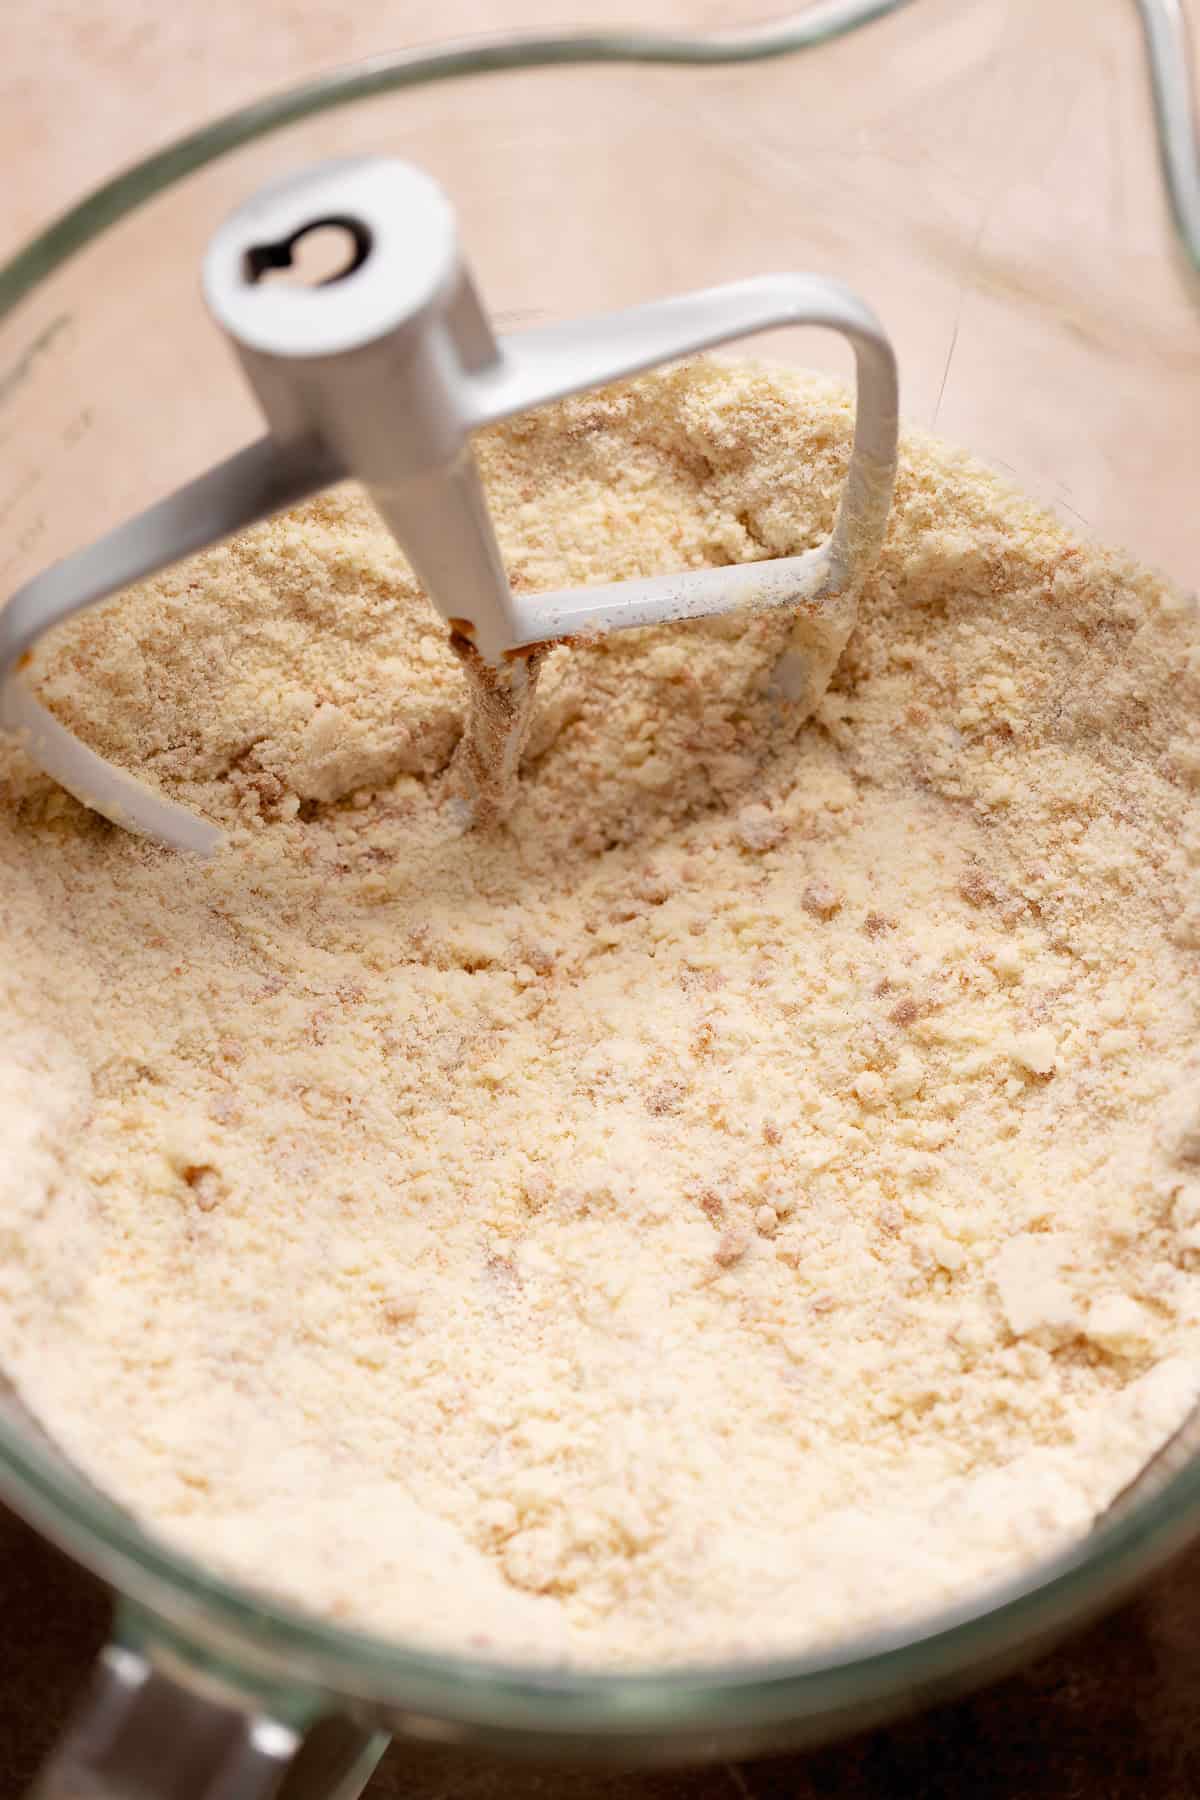
Combine the butter into the cake flour until it resembles coarse sand. This is called the reverse creaming method.
That’s why we’re using cake flour, because it produces a softer, tighter crumb than traditional creamed cakes with all-purpose flour.
If you’ve made my bakery-style chocolate cake, you should be really familiar with this technique now!
2
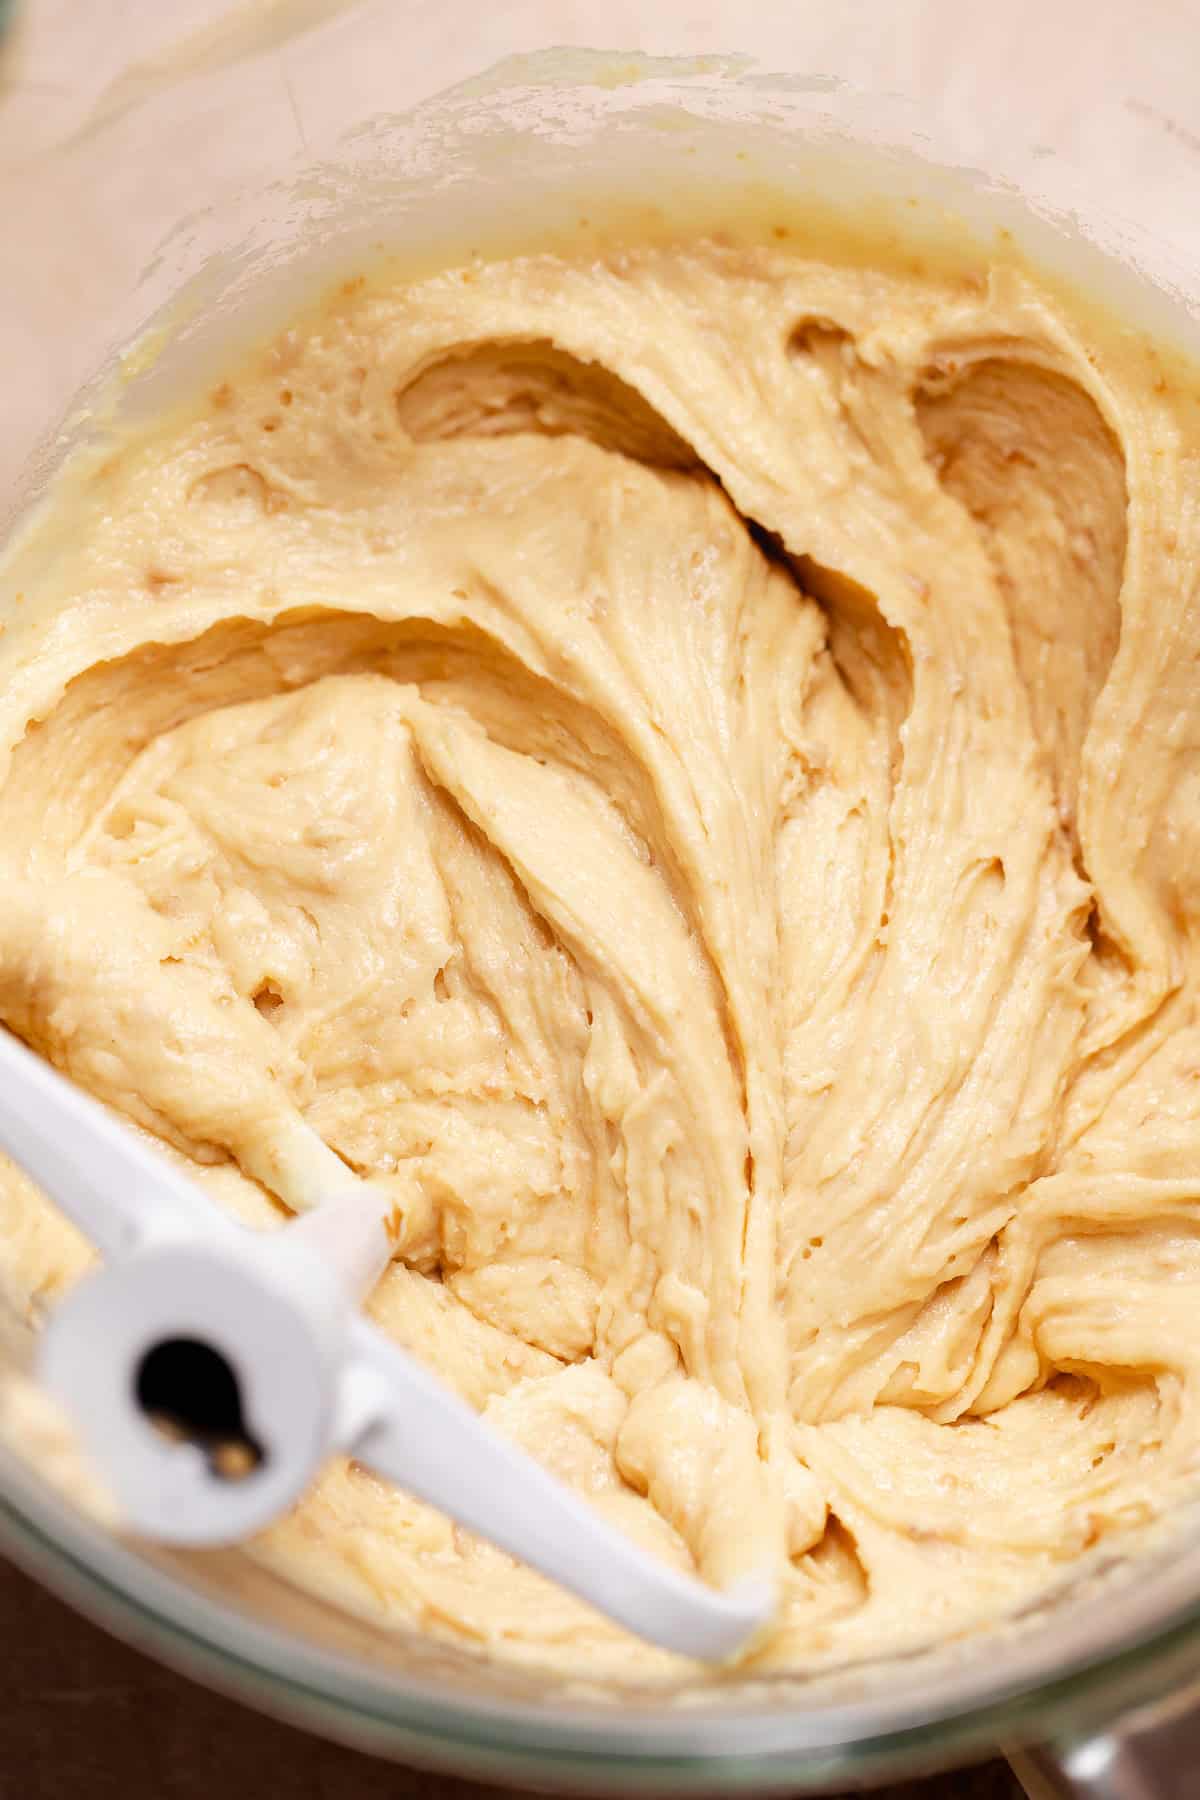
After mixing in half the wet ingredients, you should have a thick but smooth batter as shown above.
To prevent a dense cake, make sure the liquid ingredients are room temperature and not cold.
3
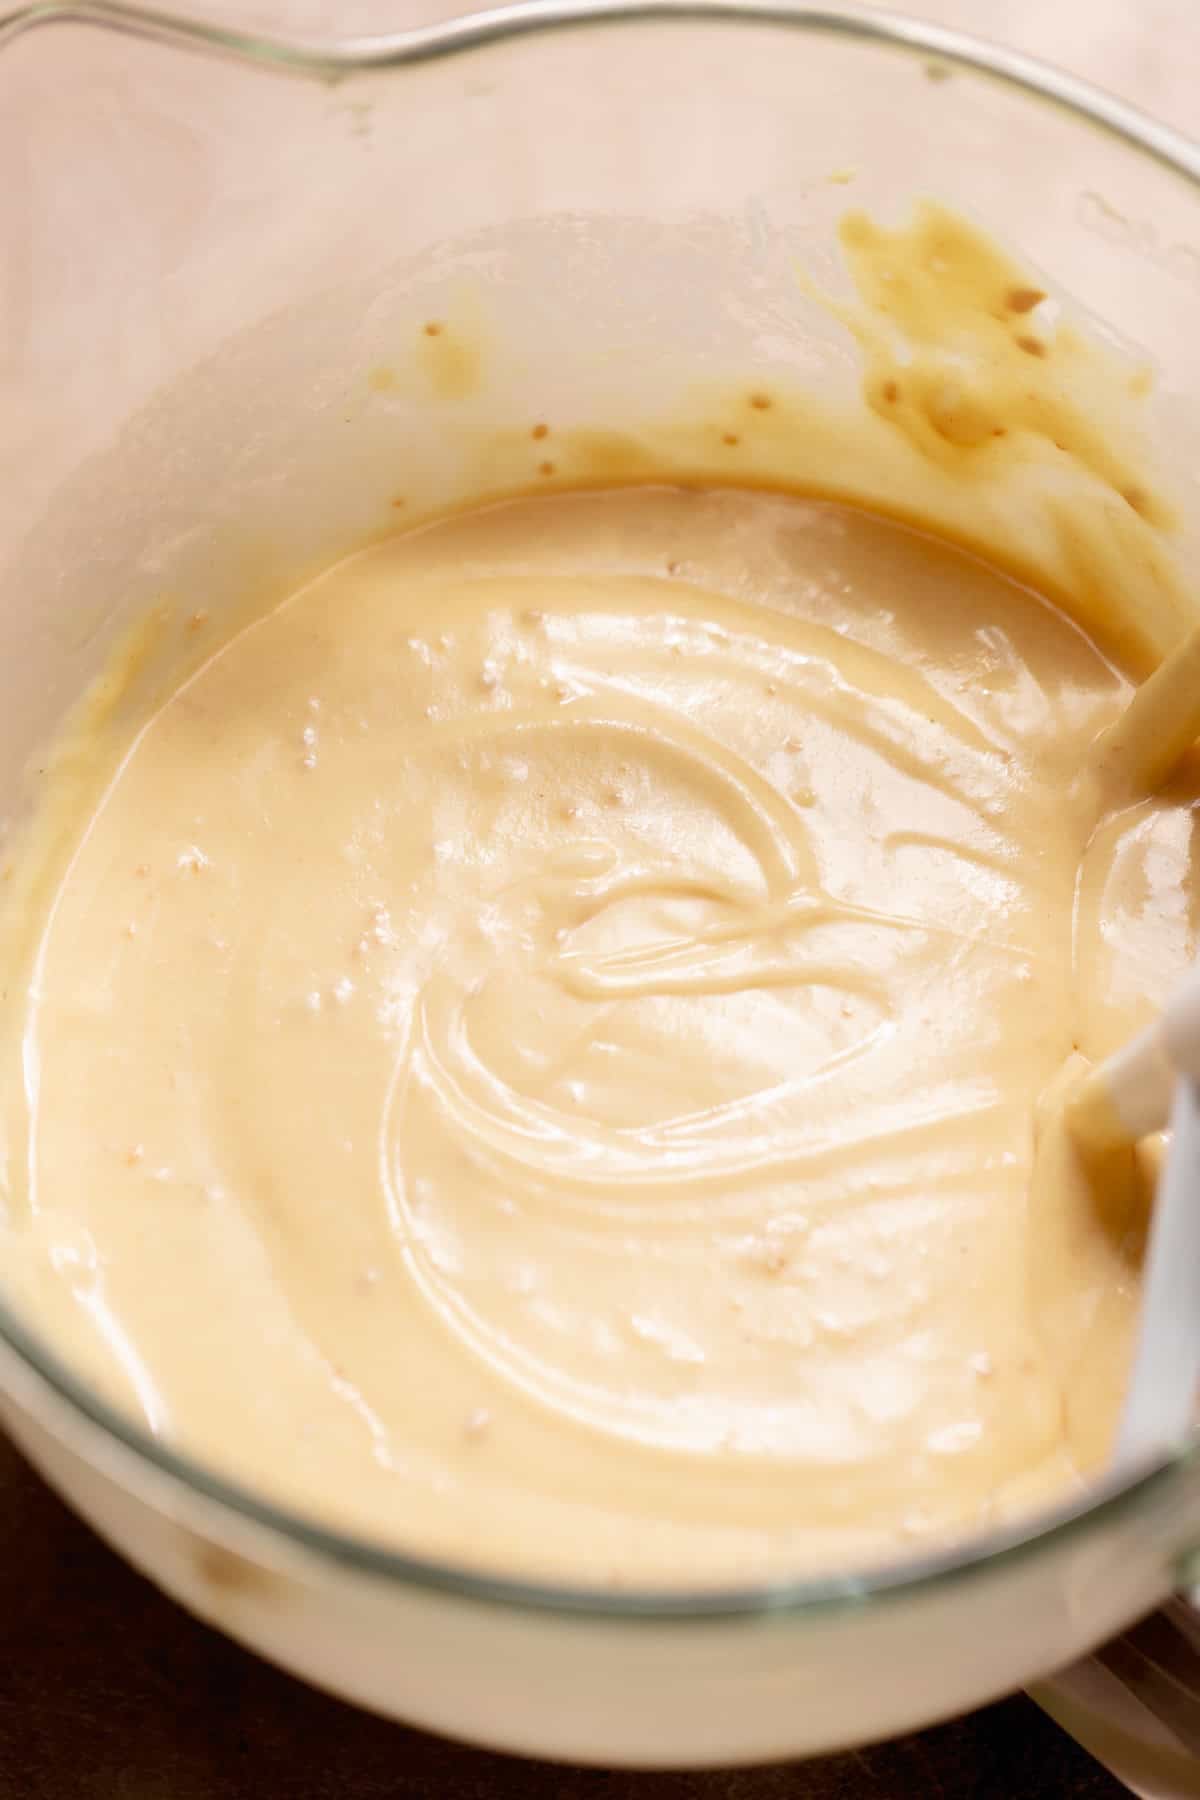
After mixing in the remaining liquid ingredients, you should have a smooth batter.
4
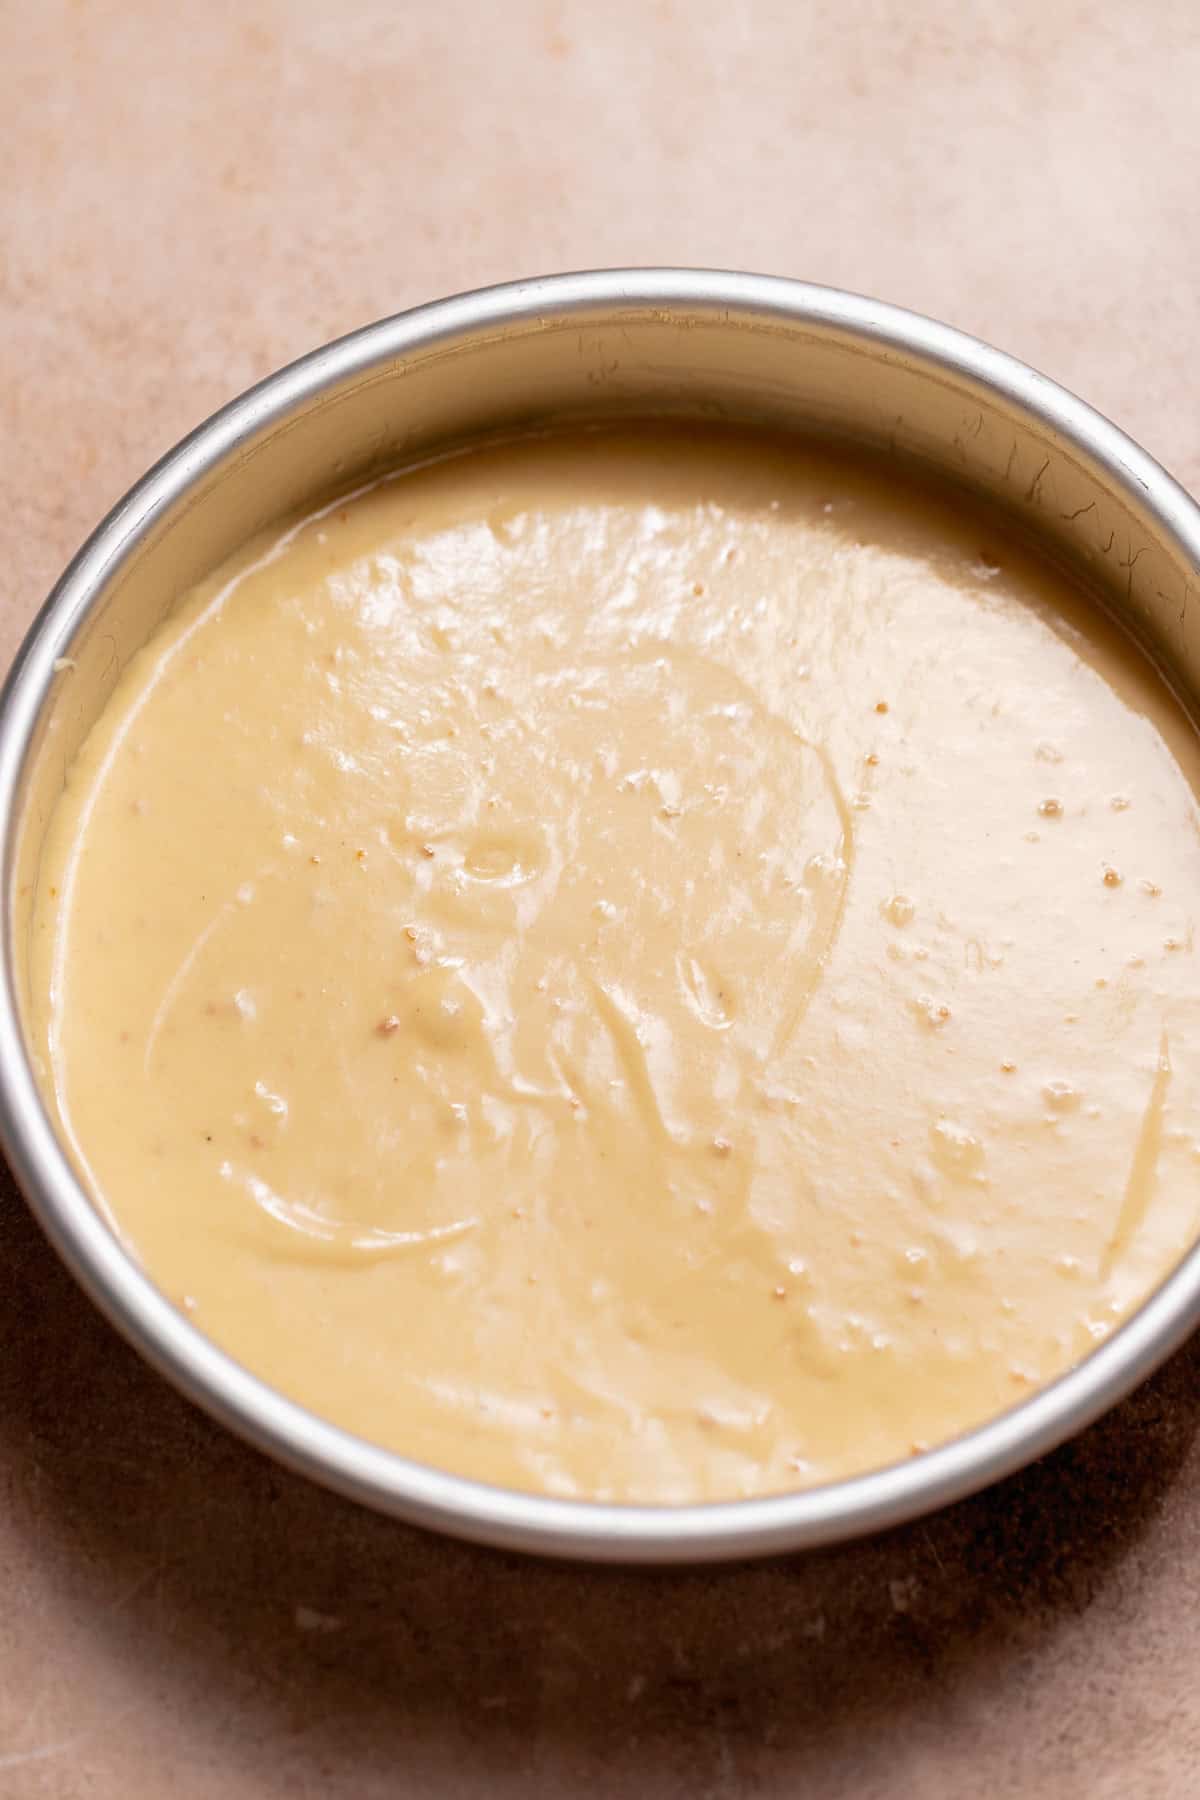
Evenly distribute the cake batter into three 8-inch cake pans.
If you prefer a sheet cake over this layer cake, you can bake the batter in a lined 9×13 pan as well.
5
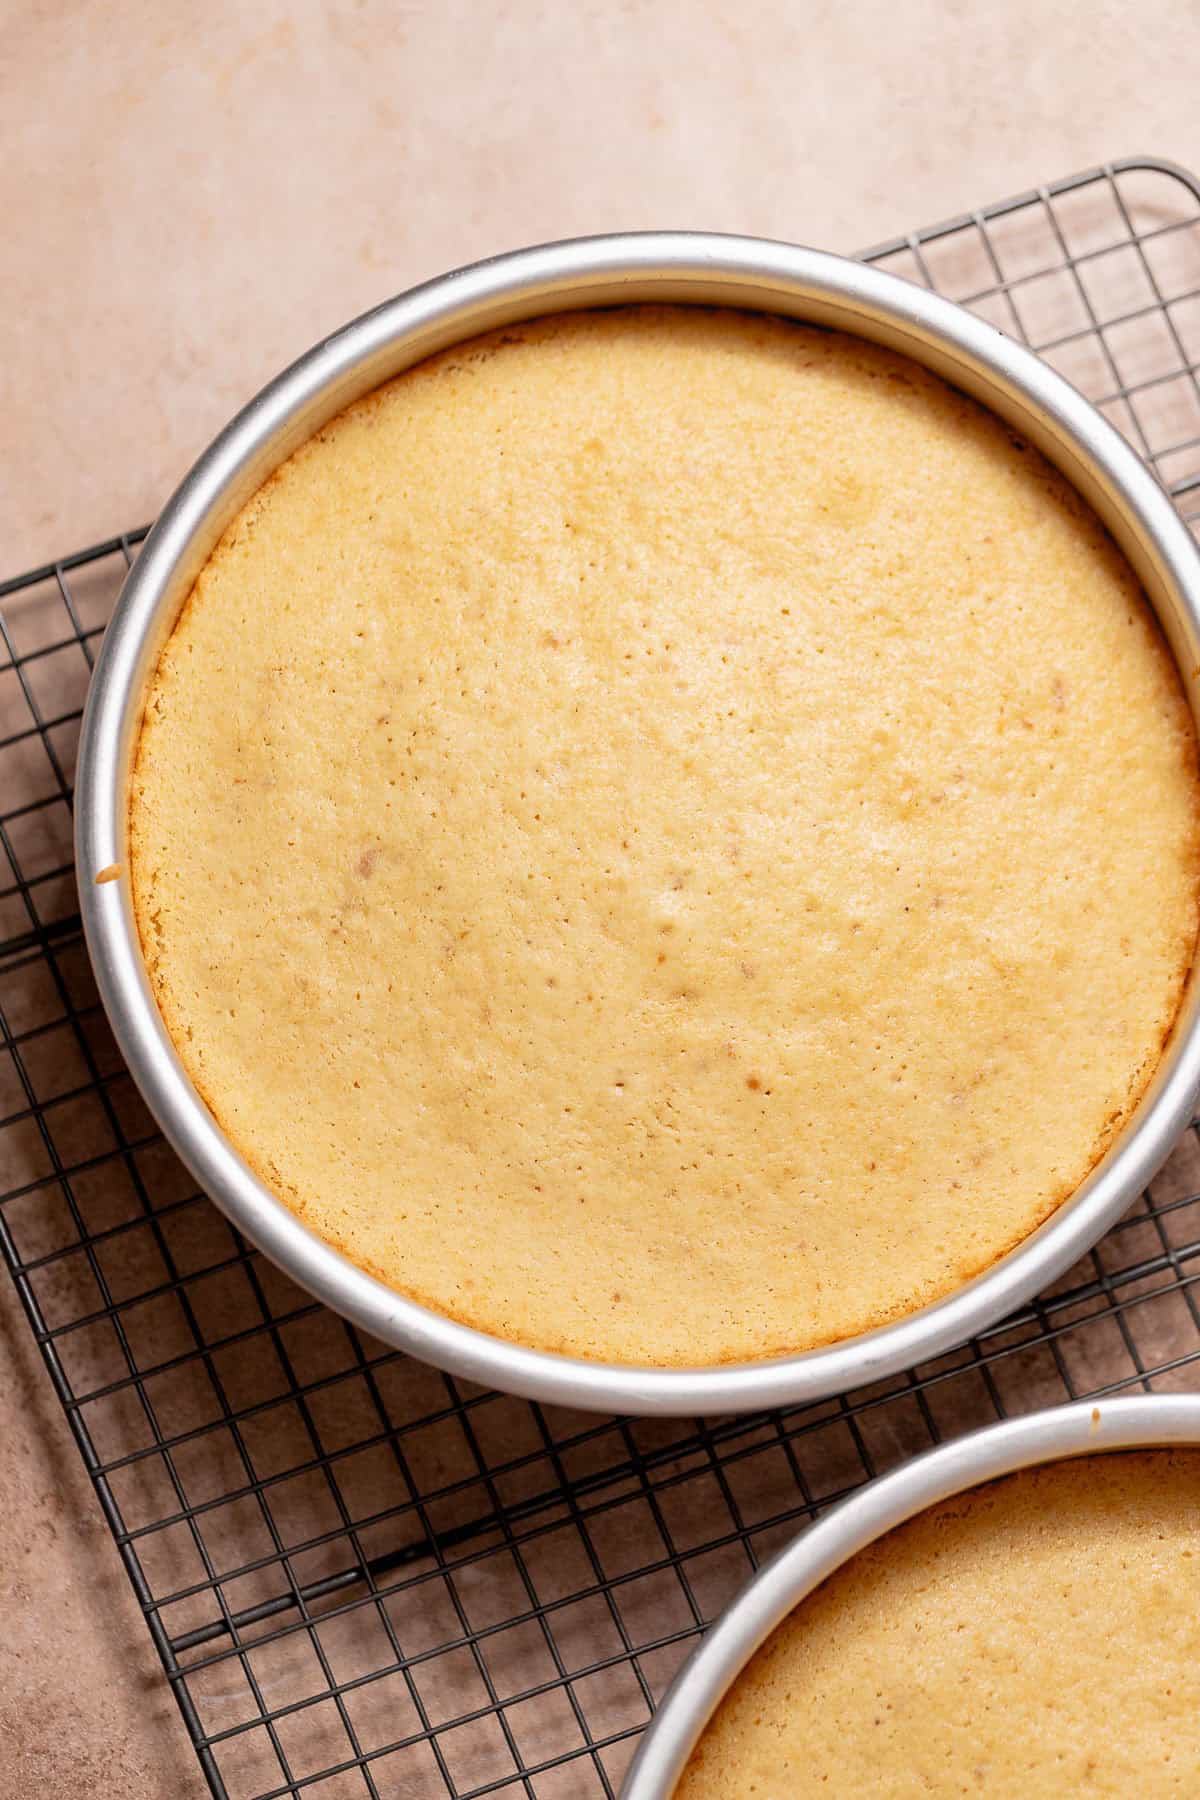
The baked cake layers should have little to no color, except for some golden brown edges.
Once the cake layers are cooled, you can wrap them in plastic wrap if you plan to finish the cake later. I like to keep mine at room temperature for the next day, or freeze them for up to one month.
6
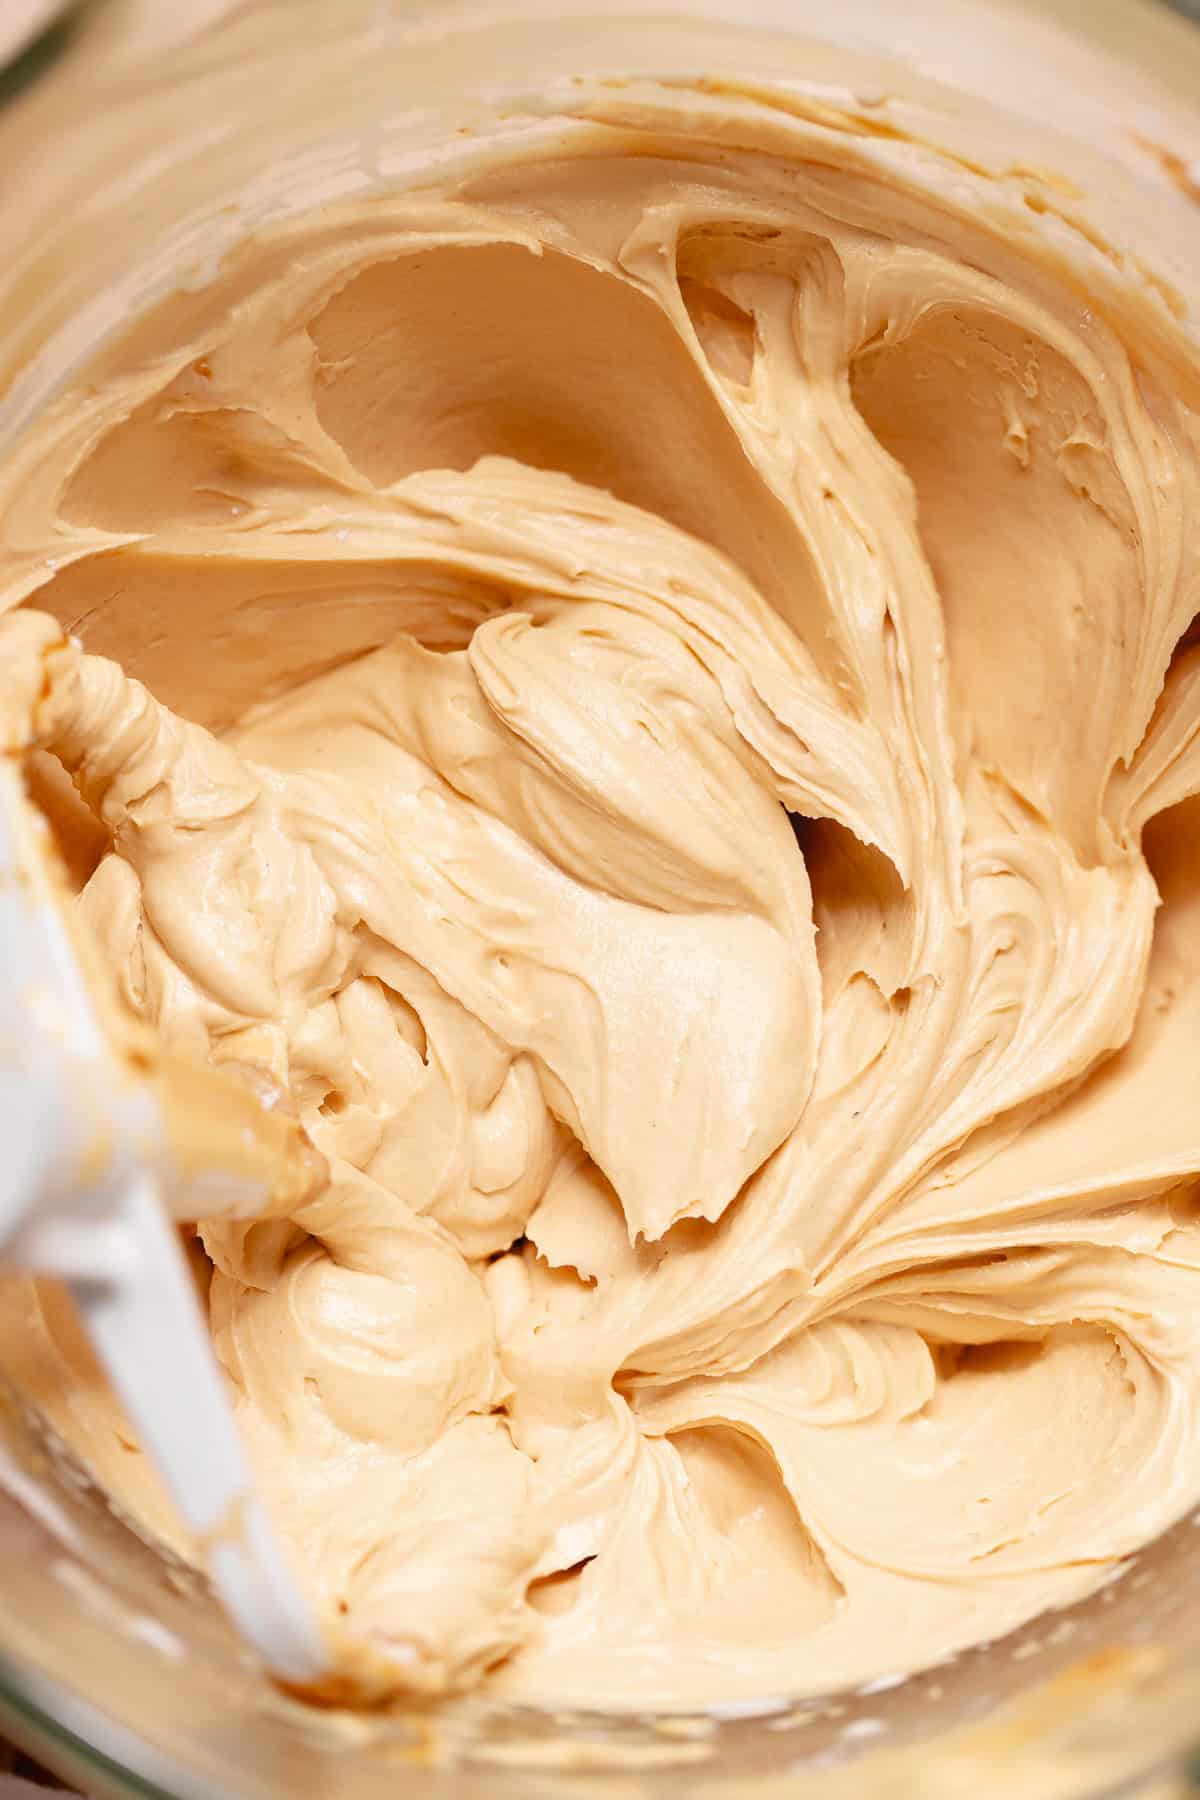
When making the Biscoff buttercream, it’s important to use room temperature butter that isn’t overly soft or greasy (between 66-68°F).
If the butter is too warm, it can cause the buttercream to be overly soft and harder to work with when stacking and layering the cake.
7
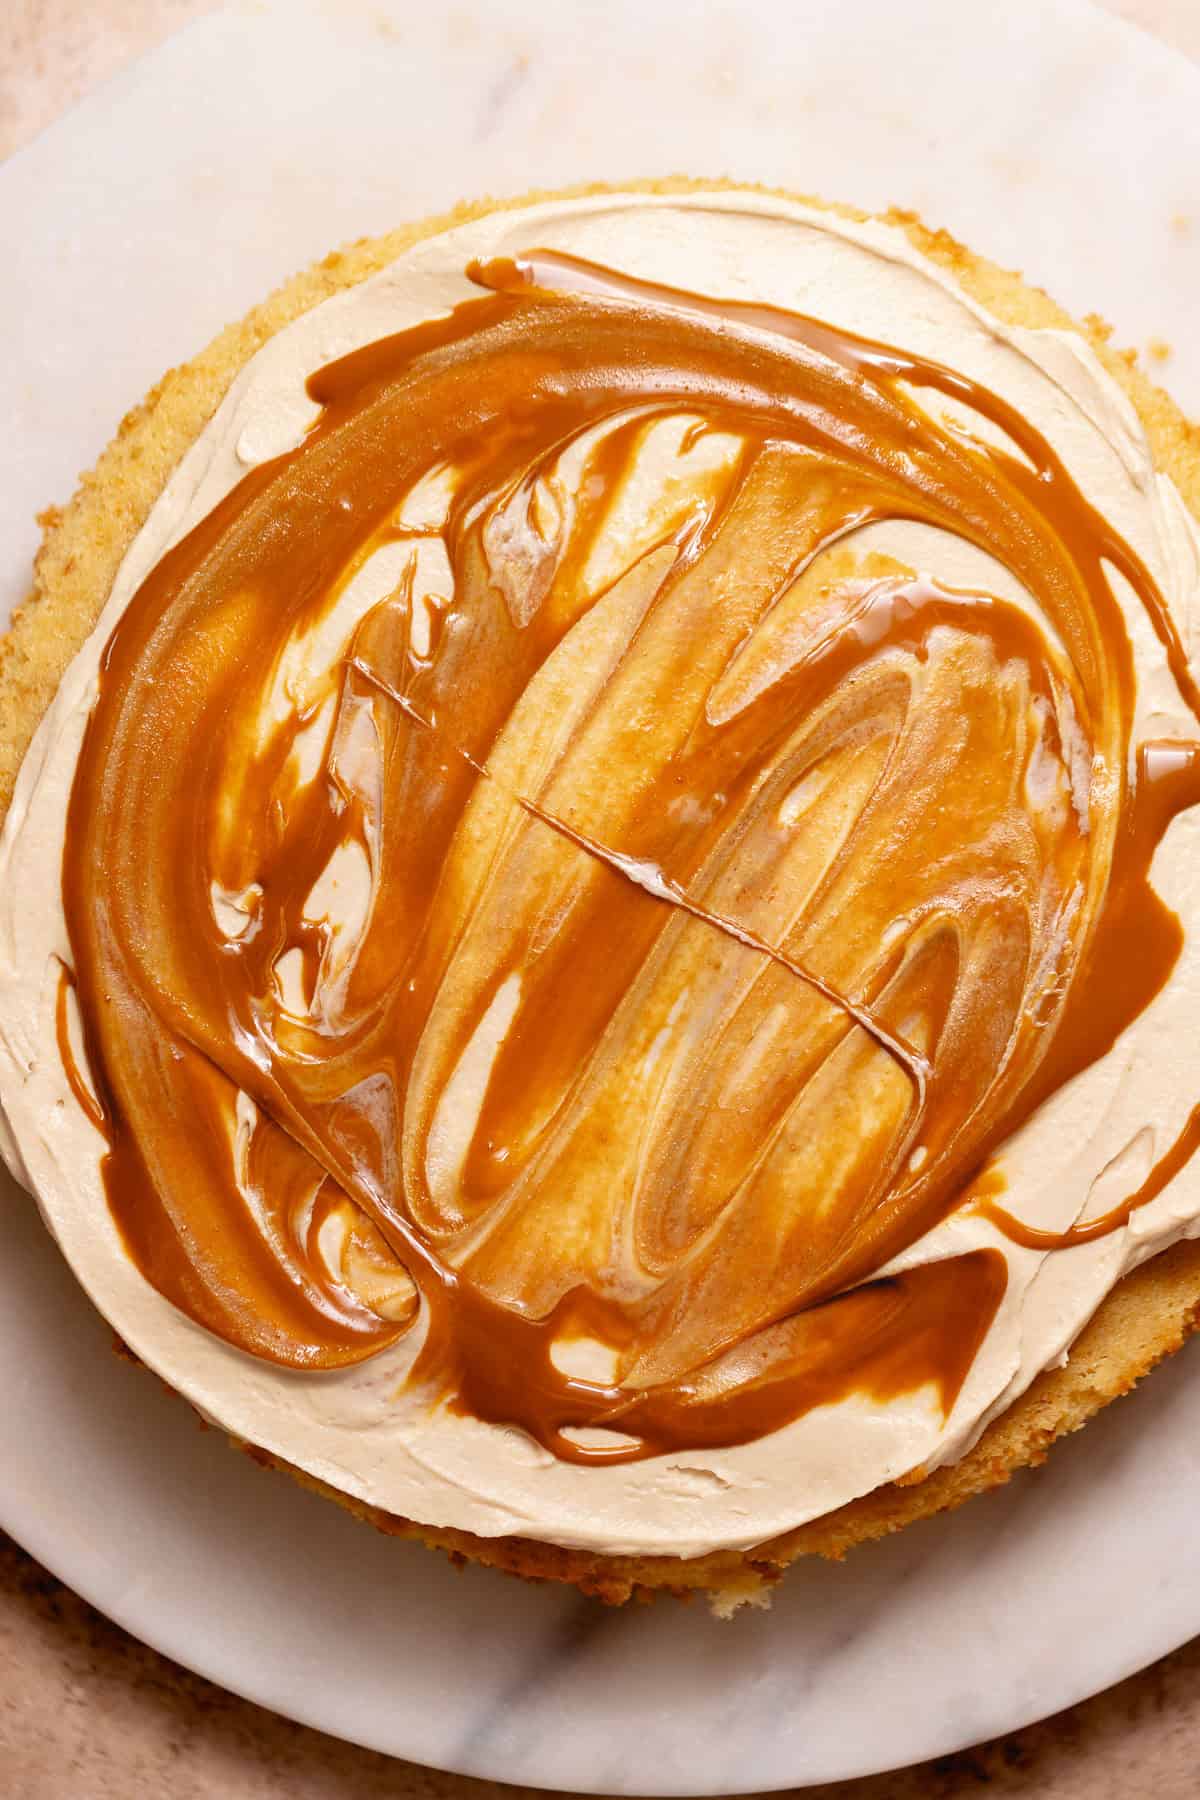
After you spread the buttercream over the cake layers, spread the melted cookie butter on top.
By the way, if you can’t find the original Lotus spread, I’ve used Trader Joe’s Speculoos cookie butter in a pinch, and it works amazingly!
8
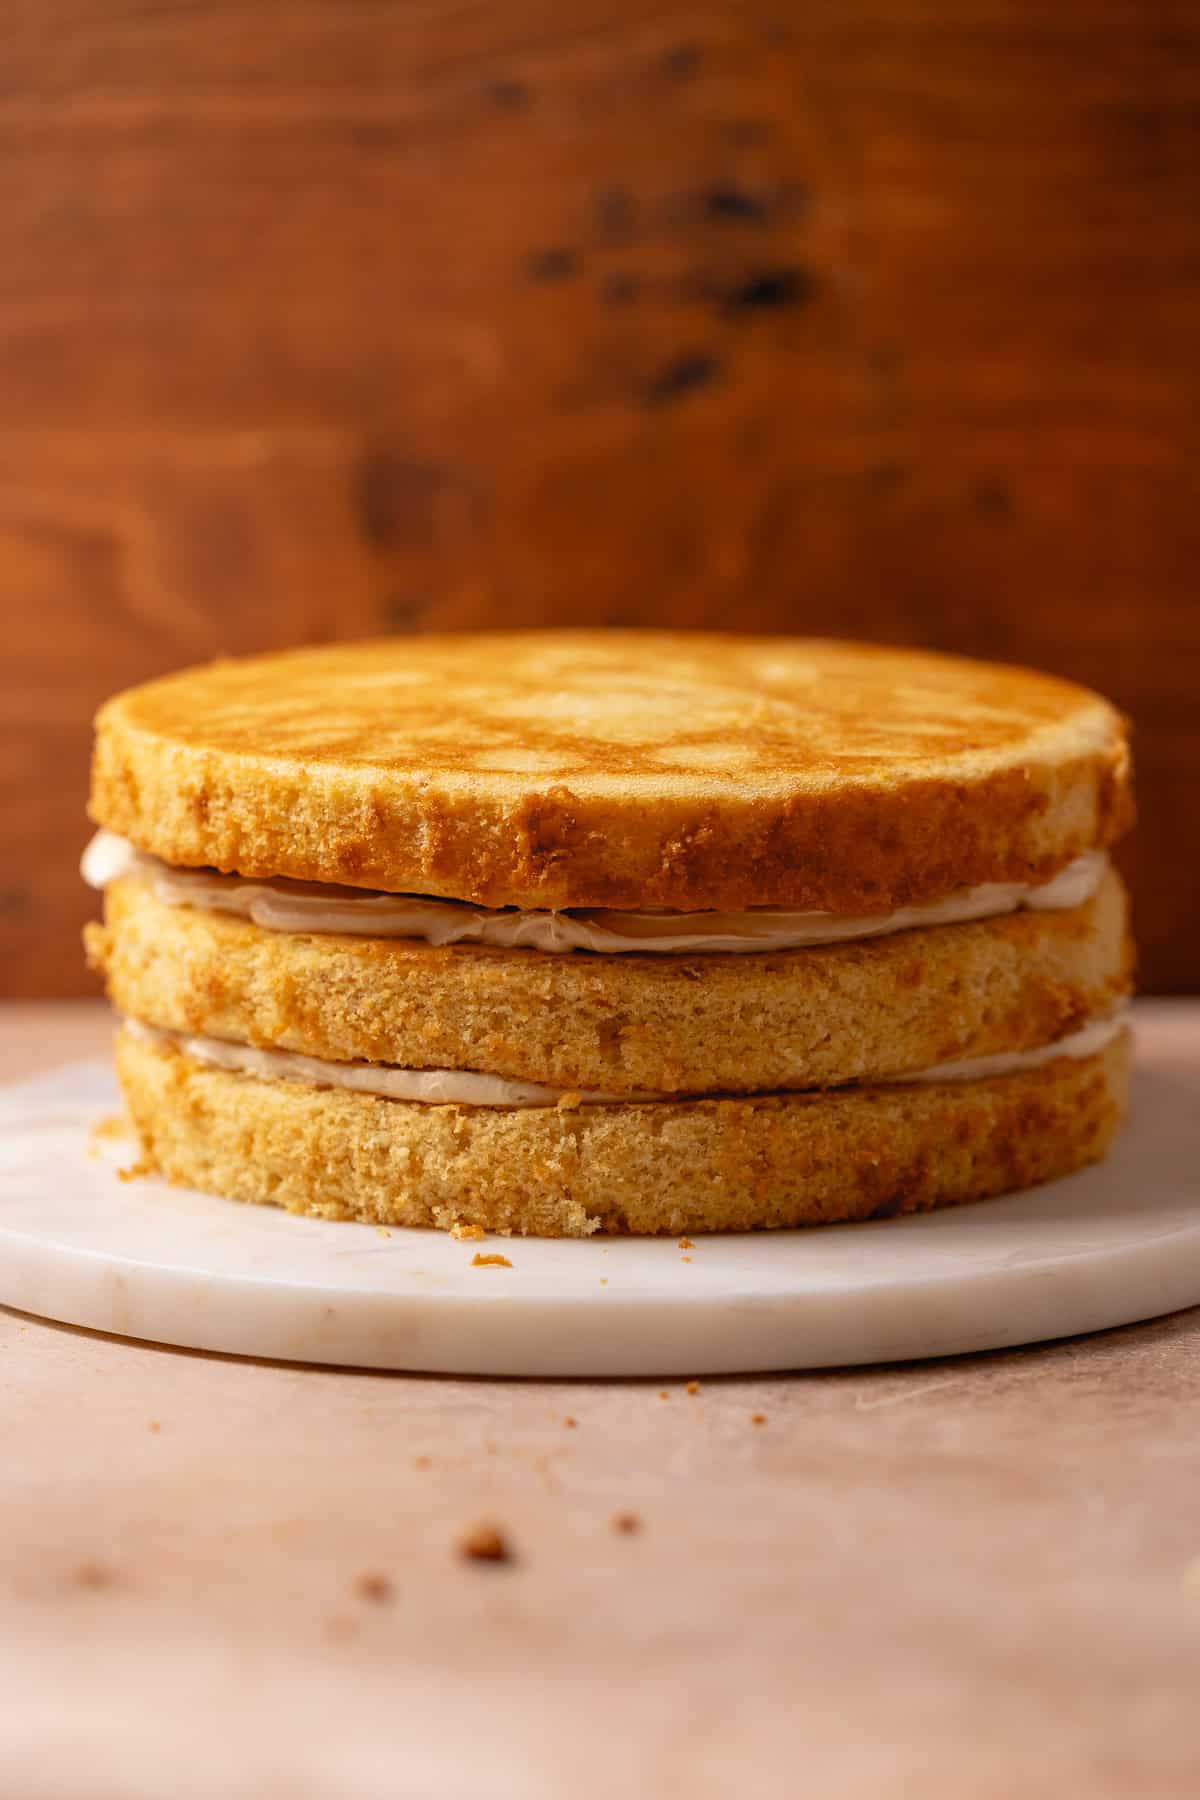
Once assembled, your cake should look like this!
If decorating a layer cake is new to you and the cake feels wobbly, you can cover it in a crumb coat (a very thin layer of buttercream) and refrigerate it until firm before continuing with the next step.
9
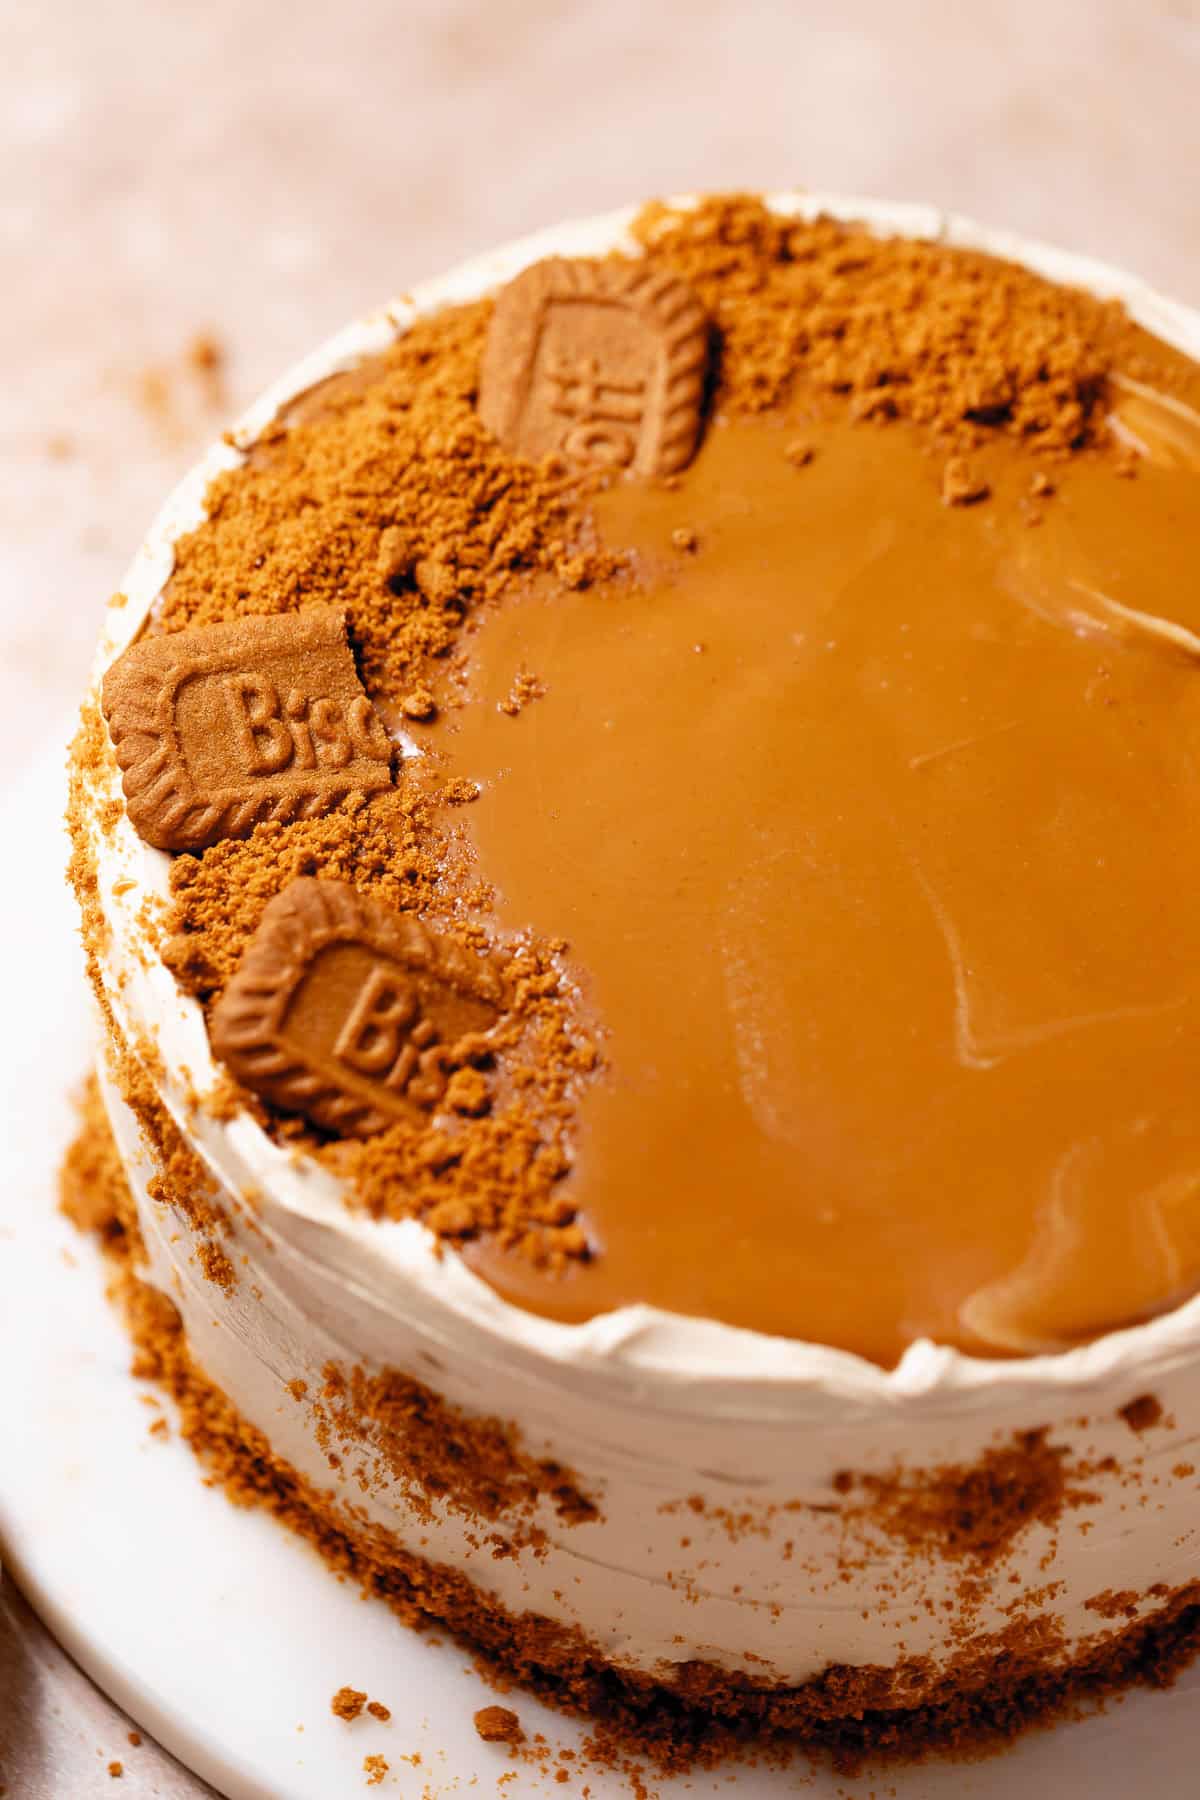
Once frosted with the rest of the buttercream, I like to decorate the top of the cake with a giant pool of melted cookie butter, Biscoff cookie crumbs, and whole cookies.
10
I also use some of the cookie crumbs to edge the bottom border of the cake and throw some on the sides for texture.
For this recipe, I ended up buying a big jar of Biscoff spread and had plenty left over, so I used the rest to make my cookie butter cookies if you find yourself in the same position 😉
Enjoy!
— Cambrea 🫶🏻
If you tried this or any other recipe on my website, please let me know how it went in the comments; I love hearing from you! Also, please leave a star rating while you’re there! You can also tag me on Instagram or Facebook so I can check it out!
Biscoff Cookie Butter Cake
Equipment
Ingredients
For the Cookie Butter Cake Batter
- 2 1/3 cups unbleached cake flour, see notes below for measuring
- 1 1/2 cups granulated sugar
- 1 tablespoon baking powder
- 1 teaspoon fine sea salt
- 6 tablespoons cubed, unsalted butter, room temperature
- 1/3 cup Biscoff cookie butter
- 3 large eggs, room temperature
- 1/2 cup whole milk, room temperature
- 1/2 cup heavy cream, room temperature
- 1/2 cup sour cream, room temperature
- 1/4 cup canola oil, or other neutral oil
- 2 teaspoons vanilla bean paste
For the Cookie Butter Frosting
- 2 cups unsalted butter, room temperature
- 2/3 cup Biscoff cookie butter
- 2 1/2 cups powdered sugar
- Pinch of fine sea salt
- 2 tablespoons heavy cream
- 1 teaspoon vanilla bean paste or extract
- 2/3 cup Biscoff cookie butter, melted and cooled, for between the layers and the top
- 2/3 cup Biscoff cookie crumbs, for decorating
Instructions
Make the Cake Batter
- Preheat the oven to 325°F (160°C). Grease the sides of three 8-inch cake pans and line the bottoms with parchment paper.
- In the bowl of a stand mixer, whisk together the flour, sugar, baking powder, and salt.2 1/3 cups (300 g) unbleached cake flour, 1 1/2 cups (300 g) granulated sugar, 1 tablespoon (11 g) baking powder, 1 teaspoon (4 g) fine sea salt
- Using the paddle attachment, mix in the butter and cookie butter on low speed until the mixture resembles coarse sand, about 2–3 minutes.6 tablespoons (90 g) cubed, unsalted butter, 1/3 cup (80 g) Biscoff cookie butter
- In a separate bowl, whisk together the eggs, milk, heavy cream, sour cream, oil, and vanilla.3 (165 g) large eggs, 1/2 cup (120 g) whole milk, 1/2 cup (120 g) heavy cream, 1/2 cup (113 g) sour cream, 1/4 cup (56 g) canola oil, 2 teaspoons (4 g) vanilla bean paste
- Add half of the wet ingredients and mix on low speed until smooth and pasty. Scrape down the sides and bottom of the bowl, then add the remaining wet ingredients. Mix until smooth and combined, scraping down the bowl once more as needed.
- Divide the batter evenly between the prepared cake pans, about 435 g per pan.
- Bake for 25–30 minutes, or until the edges are lightly golden and a toothpick inserted into the center comes out with a few moist crumbs. (Do not rely on the traditional "press the top to see if the cake springs back for doneness", or the cake will be overbaked)
- Let the cakes cool in the pans on a wire rack for 20–30 minutes. Carefully remove them from the pans and let cool completely on the racks before assembling.
Make the Cookie Butter Buttercream
- In the bowl of a stand mixer fitted with the paddle attachment, beat the butter on medium speed until light and fluffy, about 2–3 minutes. Add the cookie butter and mix until smooth.2 cups (452 g) unsalted butter, 2/3 cup (160 g) Biscoff cookie butter
- Add the powdered sugar and salt and mix on low speed until combined. Increase the speed to medium and beat for 4–5 minutes, or until light and fluffy.2 1/2 cups (300 g) powdered sugar, Pinch of fine sea salt
- Add the heavy cream and vanilla and mix until just combined.2 tablespoons (30 g) heavy cream, 1 teaspoon (3 g) vanilla bean paste or extract
Assembling the Cake
- Place the first cake layer on a serving platter or cake stand. The cake layers should bake fairly flat, so trimming shouldn’t be necessary.
- Spread an even layer of frosting over the cake. Drizzle 3–4 tablespoons of the melted and cooled cookie butter over the frosting and gently spread it into an even layer.2/3 cup (160 g) Biscoff cookie butter
- Place the second cake layer on top and repeat with another layer of frosting and 3–4 tablespoons of cookie butter. Place the final cake layer upside down on top for a flat surface.
- Spread a thin layer of frosting over the entire cake. Refrigerate for 20–30 minutes, or until the frosting is firm.
- Cover the cake with the remaining frosting, reserving some for decorating if desired.
- Pour the remaining melted and cooled cookie butter over the top of the cake. Garnish with Biscoff cookie crumbs and broken cookies, if desired.2/3 cup (75 g) Biscoff cookie crumbs













Could this cake be turned into cupcakes?
Yes! Absolutely
I made this and it is delicious. My obsession with cookie butter has been in vain until this cake haha
I’m so happy you loved it, Mandy! Thanks for coming back to leave a review 💛
What can I use instead of sour cream? It is not available around.
A good substitute is full-fat Greek yogurt!
Your recipes are amazing..You cannot go wrong with Cambrea’s recipes..Thanks very much for all the recipes ❤️From Gaborone,Botswana
Thank you so much!! It means the world to me that you trust my recipes!
Can plain flour be used?
Unfortunately for this recipe, it’s not meant to be made with anything other than cake flour
I made this as my birthday cake yesterday and it was absolutely perfect. The cake was literally melting in your mouth and delicious.
Thank you so much!! 🥹 I’m so happy you chose my recipe for your birthday cake, and even happier that you loved it. Happy belated birthday!
Super moist and amazing flavor. Absolutely delicious!
Amazing!! Thanks so much for the review, Sam. I’m so glad you enjoyed it 💛
This is a great recipe! Tastes delicious! The only thing I would do differently next time is mixing the sour cream on its own before adding it to the wet ingredients, as I had a few lumps in my mixture. Other than that, it was perfect!
Thank you so much!! I’m so glad you enjoyed the recipe! 😊
BEST BIRTHDAY CAKE EVER!! I am astonished at how smooth and silky the cake and the frosting is. The amount of cookie butter throughout the whole cake is amazing. So delicious. Everyone at my party loved it. Thanks Cambrea!
YAY! I’m sooo thrilled to hear that, thank you so so much for the review Andrea!
Thank you for this recipe. They are the best, the first one was indeed dense i cant wait to try this one
Can I use regular vegetable oil if I don’t have canola oil?
Yes of course!
I love your recipes I tried this I wish there was a way to upload pictures
Aw yay! So happy to hear that, I’ll have to add a photo upload function to the website in the future.
This is one of the best cakes i have ever eaten. Texture is perfectly moist but structured enough for a tiered cake.
The flavor of this cake was fabulous but it was super dense. I was very careful when I measured out the flour but now wished I had weighed the flour instead of measuring it.
Hi Bridget! The mixing method for this cake naturally results in a more dense cake with a tighter crumb, but if it’s too dense and dry/crumbly it is most likely a flour issue, so using a scale like you mentioned could yield a better result!
What a delightful recipe! I love how you’ve layered cookie butter in the batter and buttercream — that extra swirl is genius. One tip from my own baking: chill the cake well before doing the final frosting step, it really helps keep everything neat and less messy. Thanks for sharing such a mouthwatering idea — I can’t wait to try this at home!
Thank you so much! I’m so glad you enjoyed the cookie butter swirl—it’s one of my favorite parts too. Can’t wait for you to give it a try at home!