

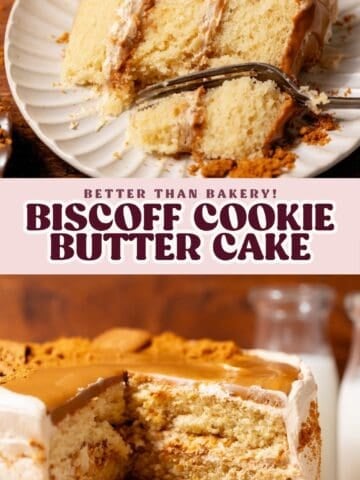

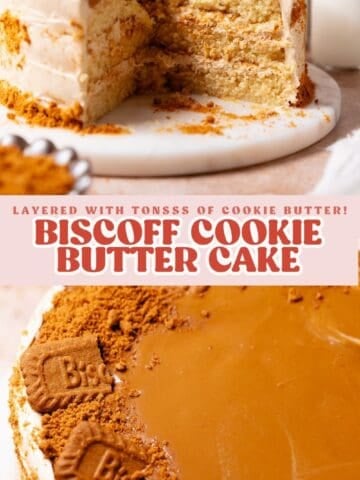
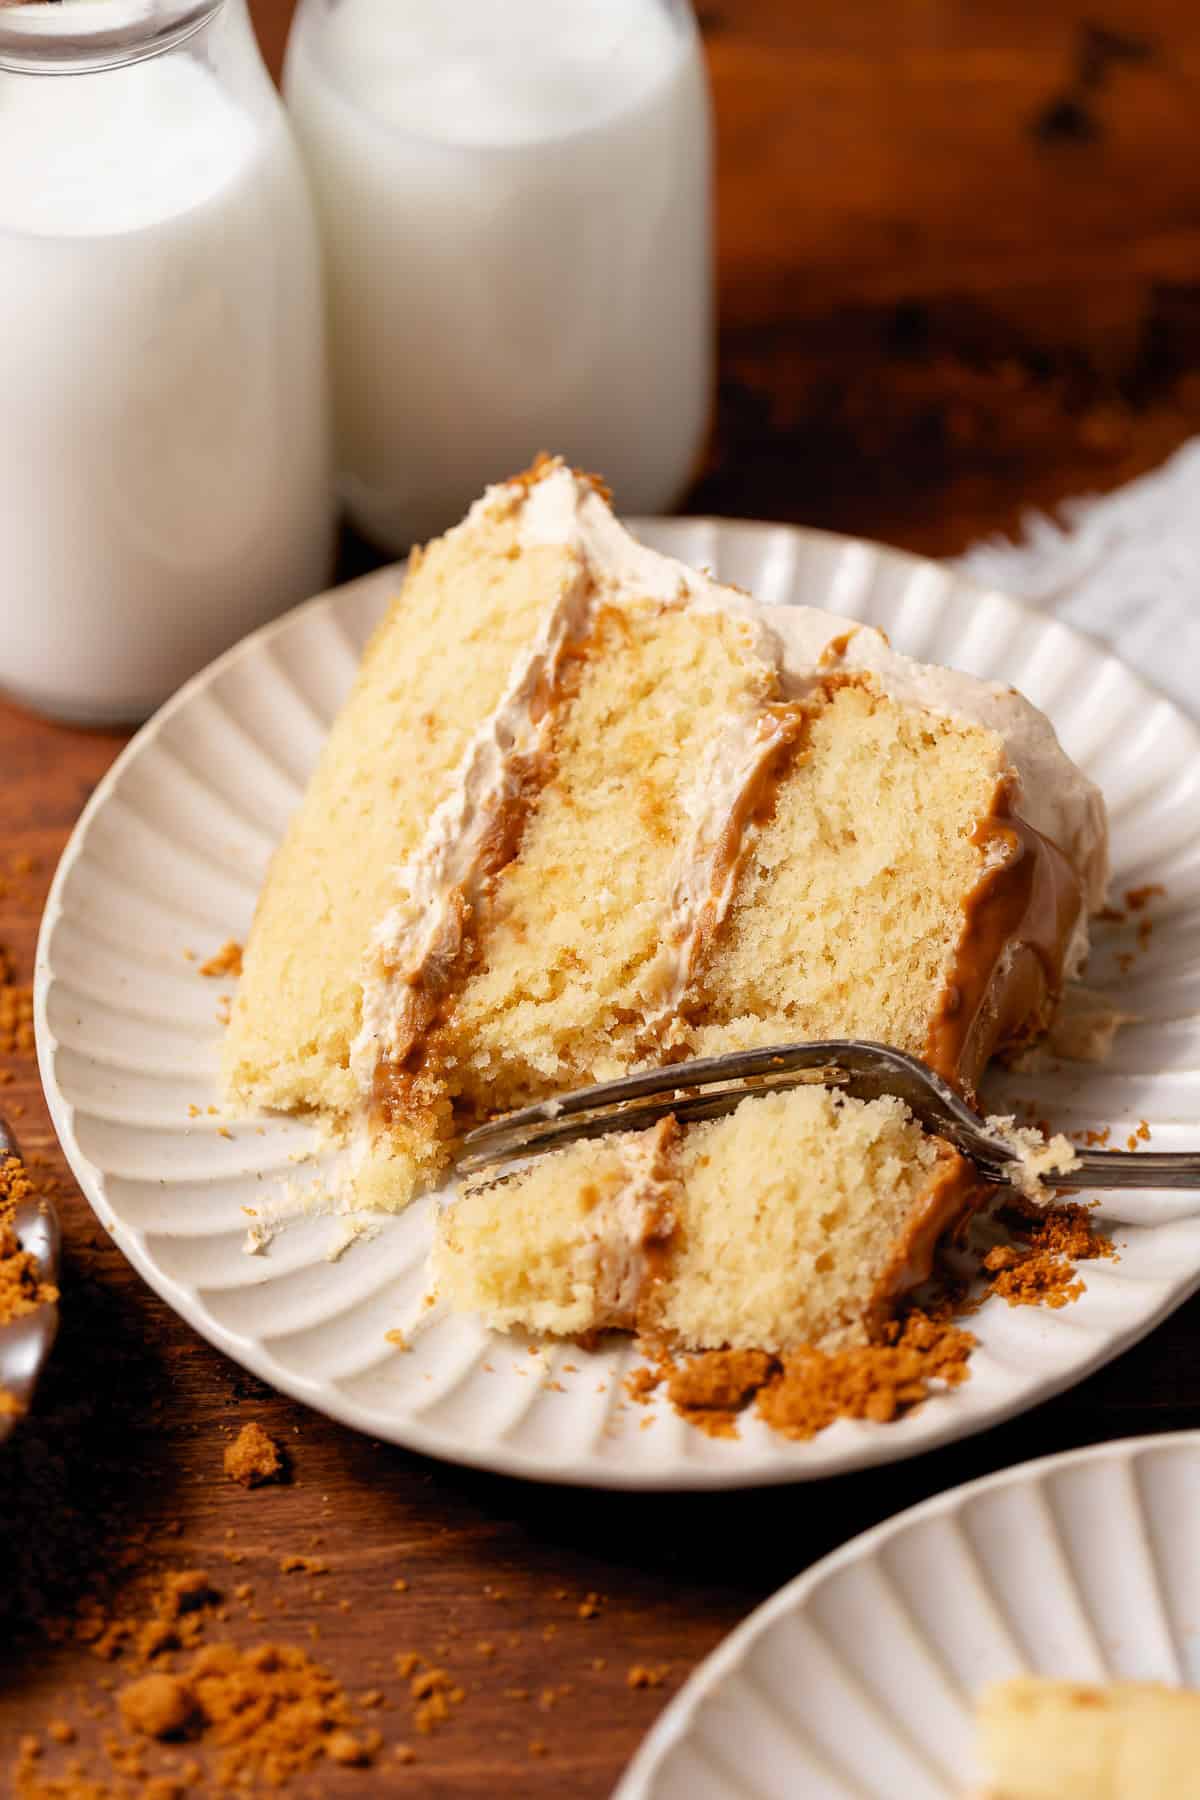
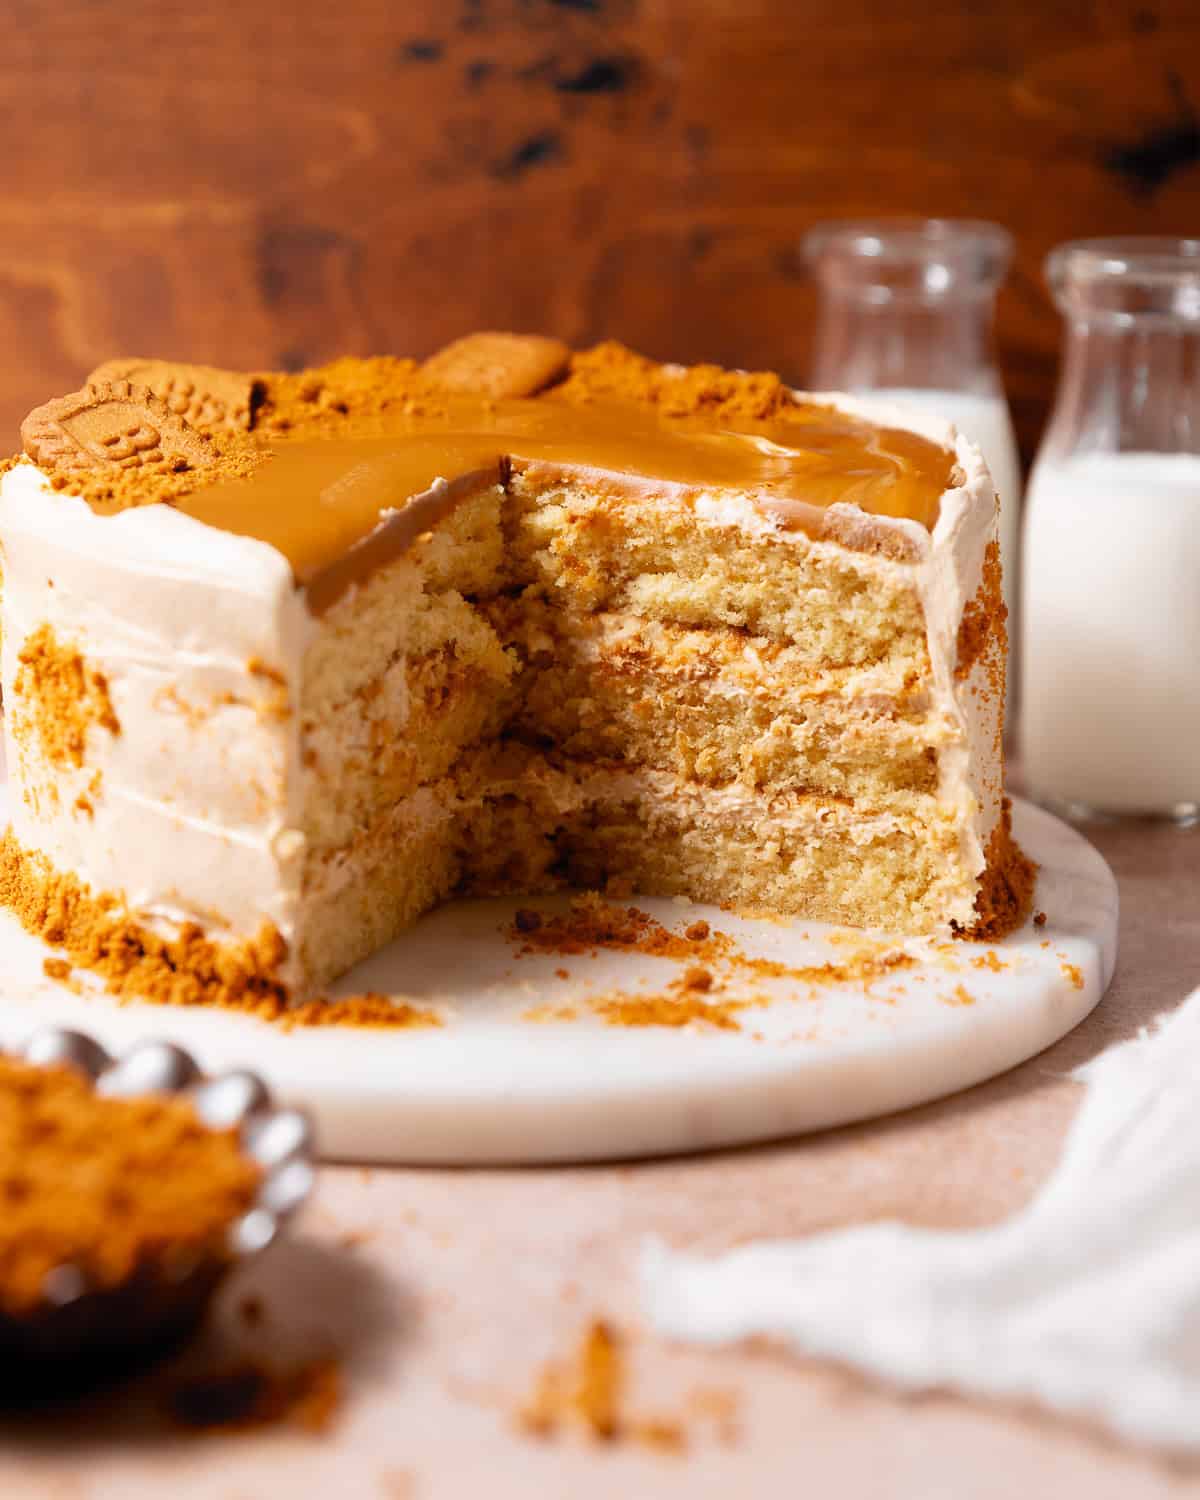
Loaded with cookie butter from top to bottom, this cookie butter cake tastes as incredible as it looks. Soft, moist cake layers are baked with Lotus Biscoff cookie butter, then stacked with fluffy cookie butter buttercream, crunchy cookie crumbs, and ribbons of Biscoff spread between every layer. A glossy pool on top ties it all together, so every bite is packed with rich, caramelized cookie butter flavor.
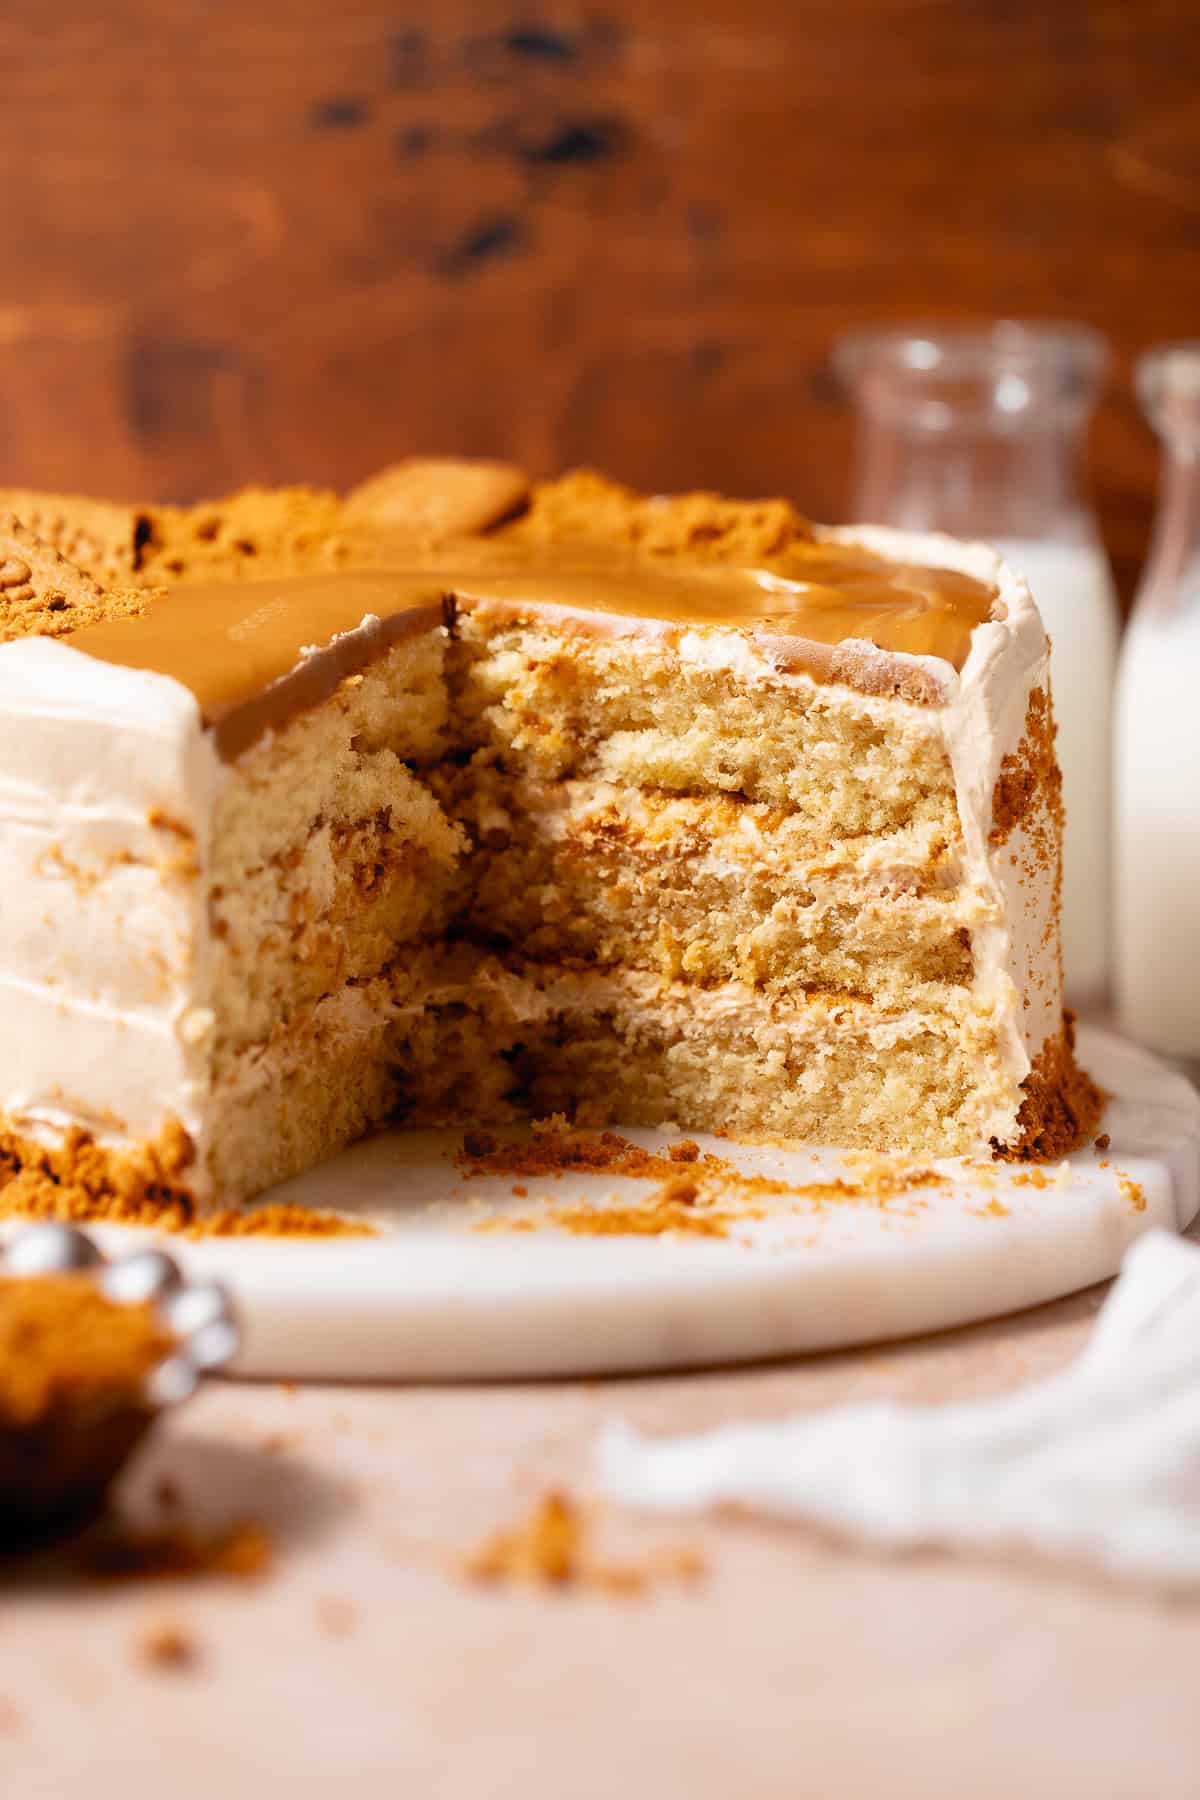
Unlike my stuffed cookie butter brownies, where the cookie butter is concentrated in the center, this cake includes it everywhere for the best flavor.
I tested swirling extra Biscoff spread into the batter, but while it looked sooo pretty, it made the cake overly sweet, and readers reported a slightly dense texture, which is why this recipe has been improved (in 2026) since the original publish date in 2023.
This cake is moist, fluffy, and packed with sooo much cookie butter flavor in every bite. I can’t wait for you to try it!
How to Make It
1
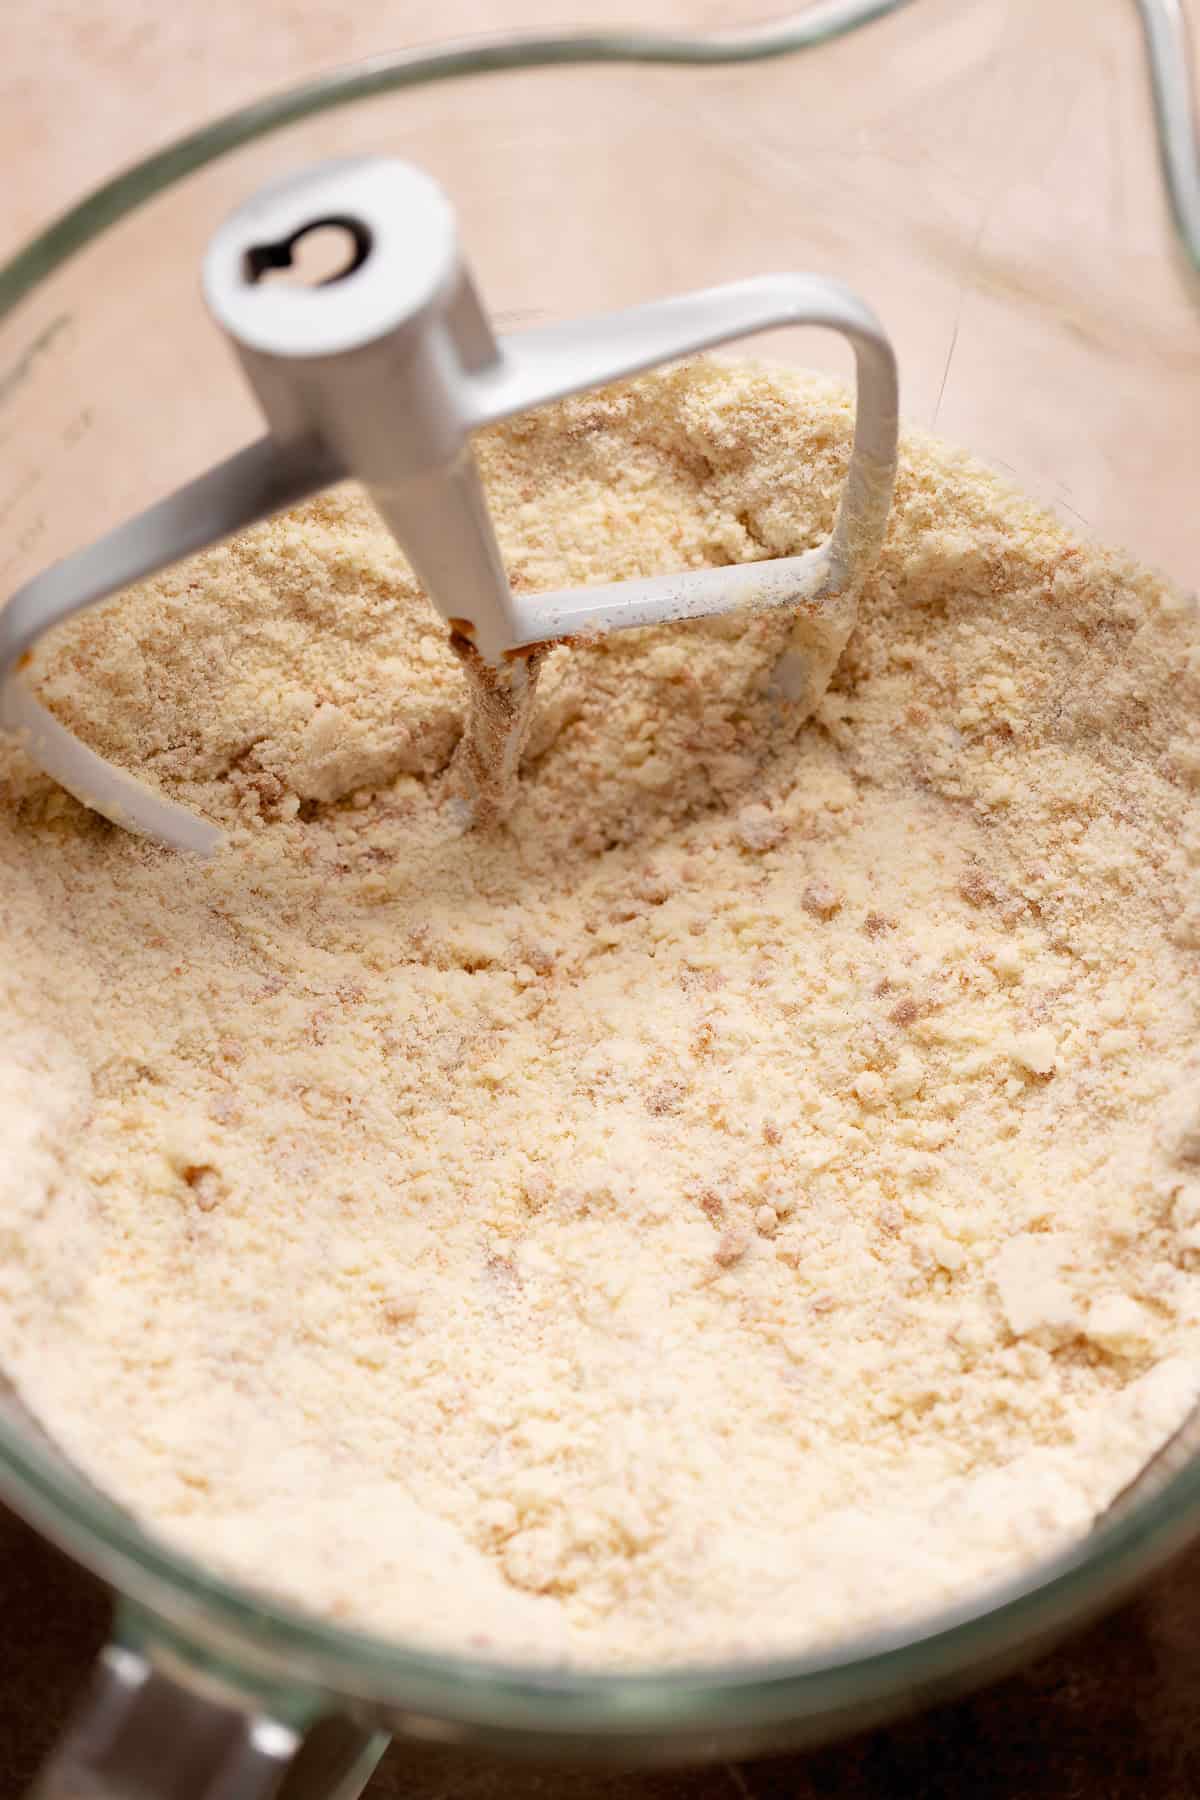
Combine the butter into the cake flour until it resembles coarse sand. This is called the reverse creaming method.
That’s why we’re using cake flour, because it produces a softer, tighter crumb than traditional creamed cakes with all-purpose flour.
If you’ve made my bakery-style chocolate cake, you should be really familiar with this technique now!
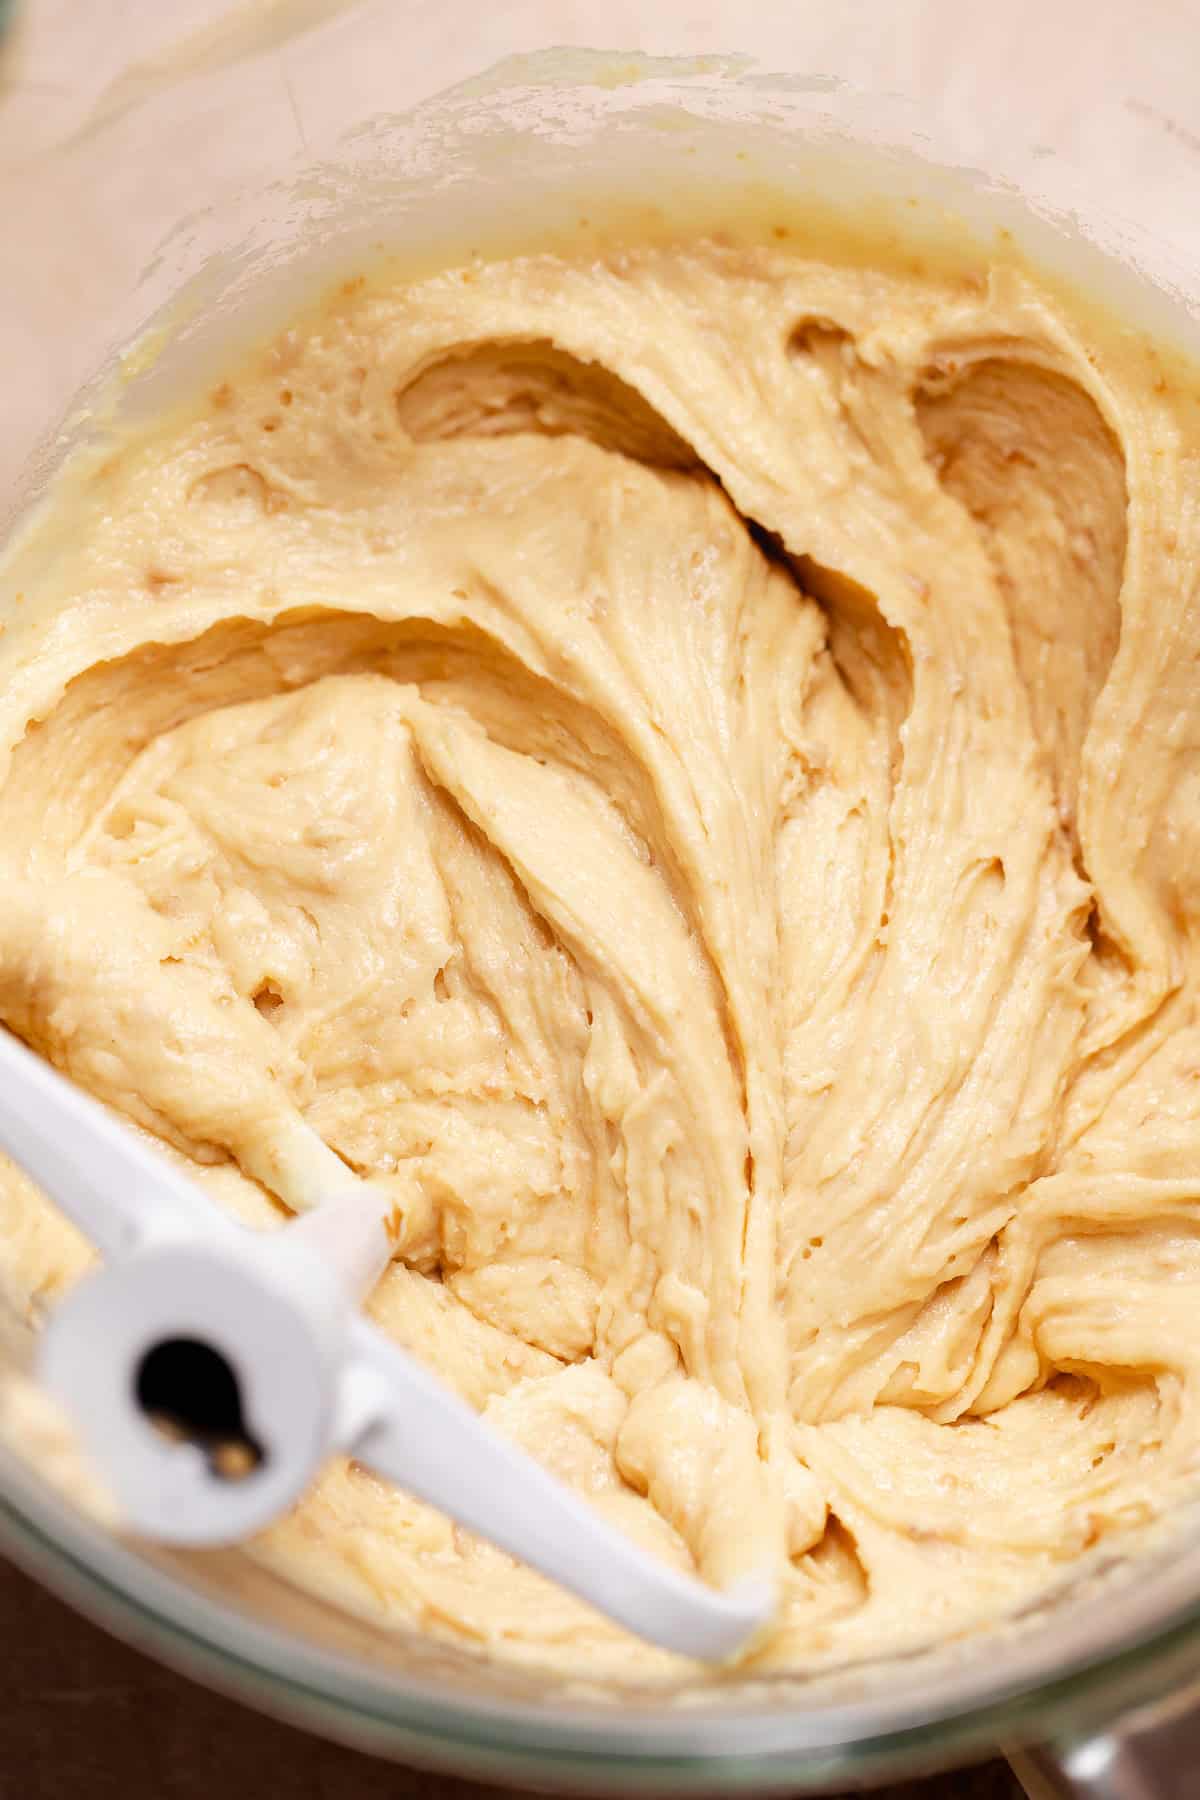
2
After mixing in half the wet ingredients, you should have a thick but smooth batter as shown above.
To prevent a dense cake, make sure the liquid ingredients are room temperature and not cold.
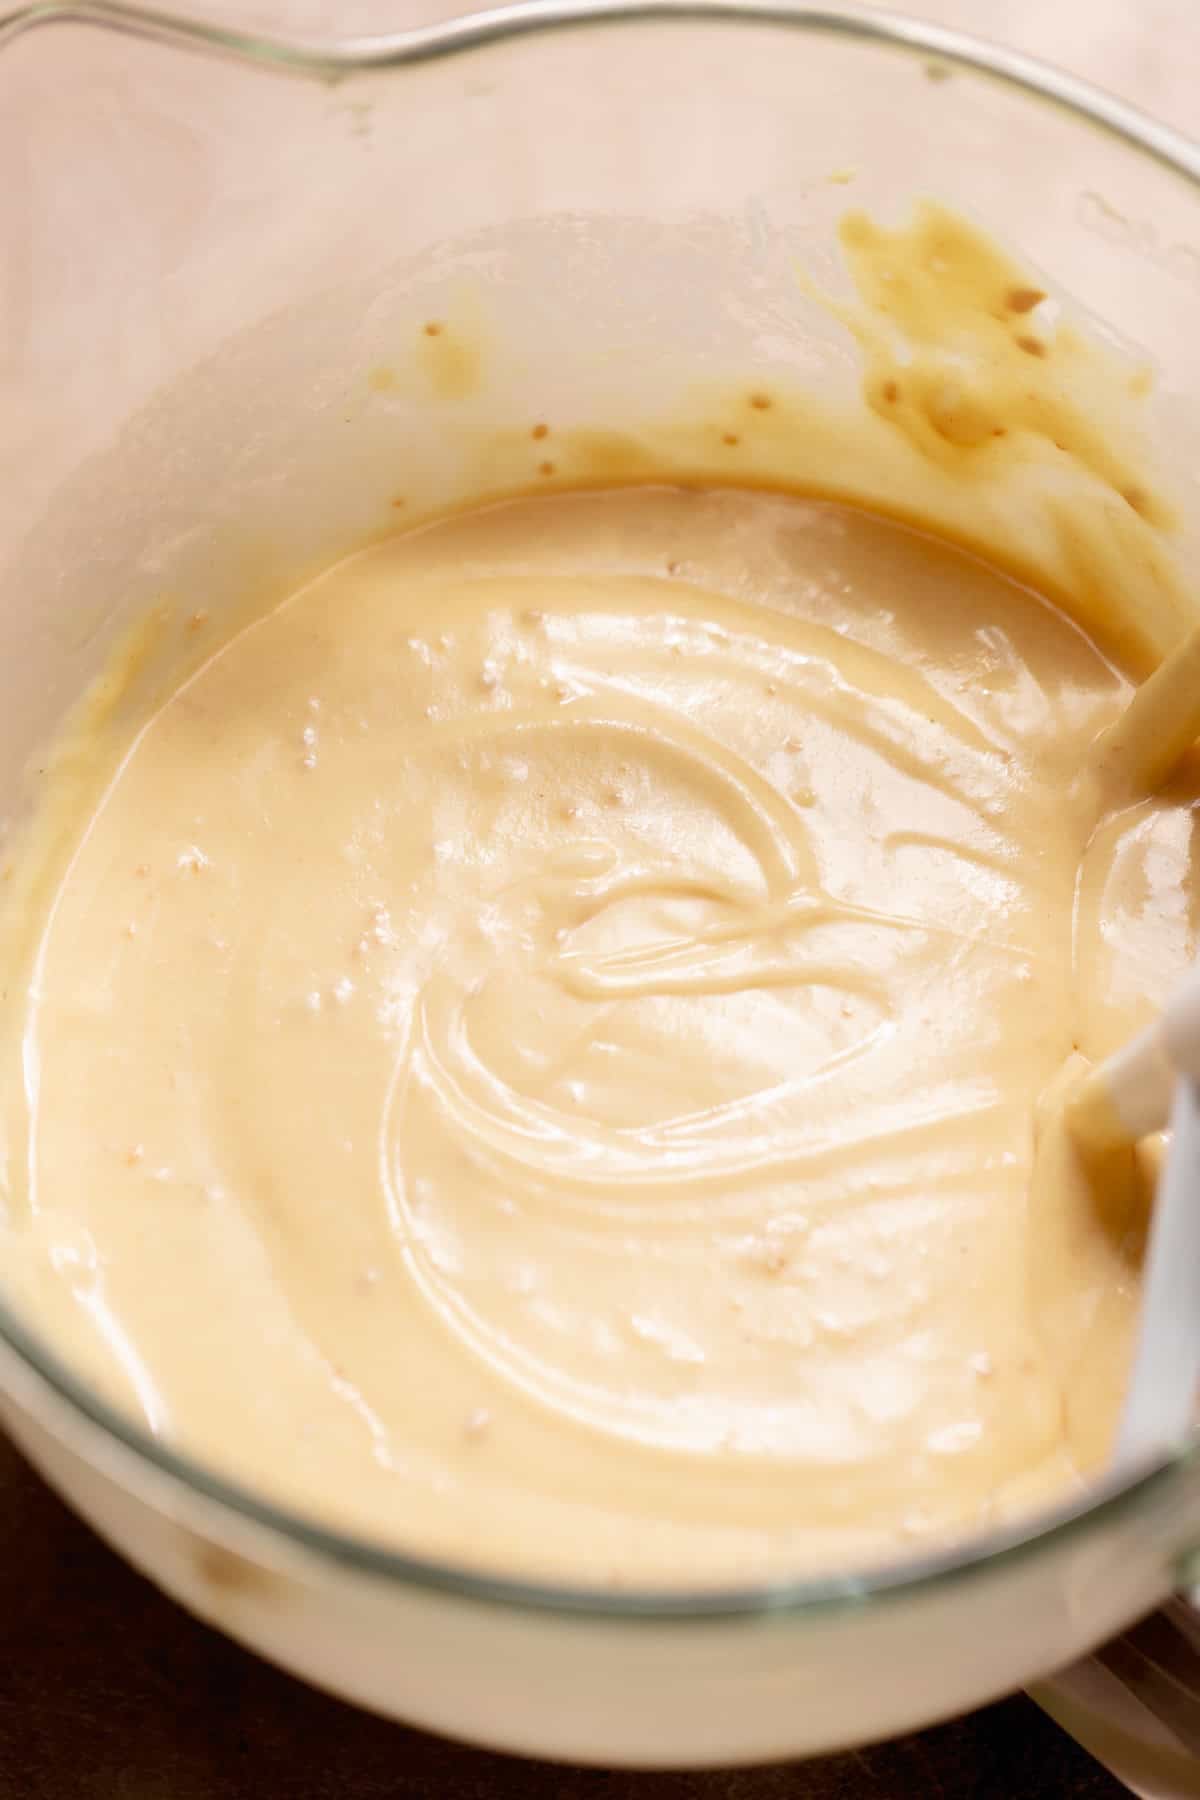
3
After mixing in the remaining liquid ingredients, you should have a smooth batter.
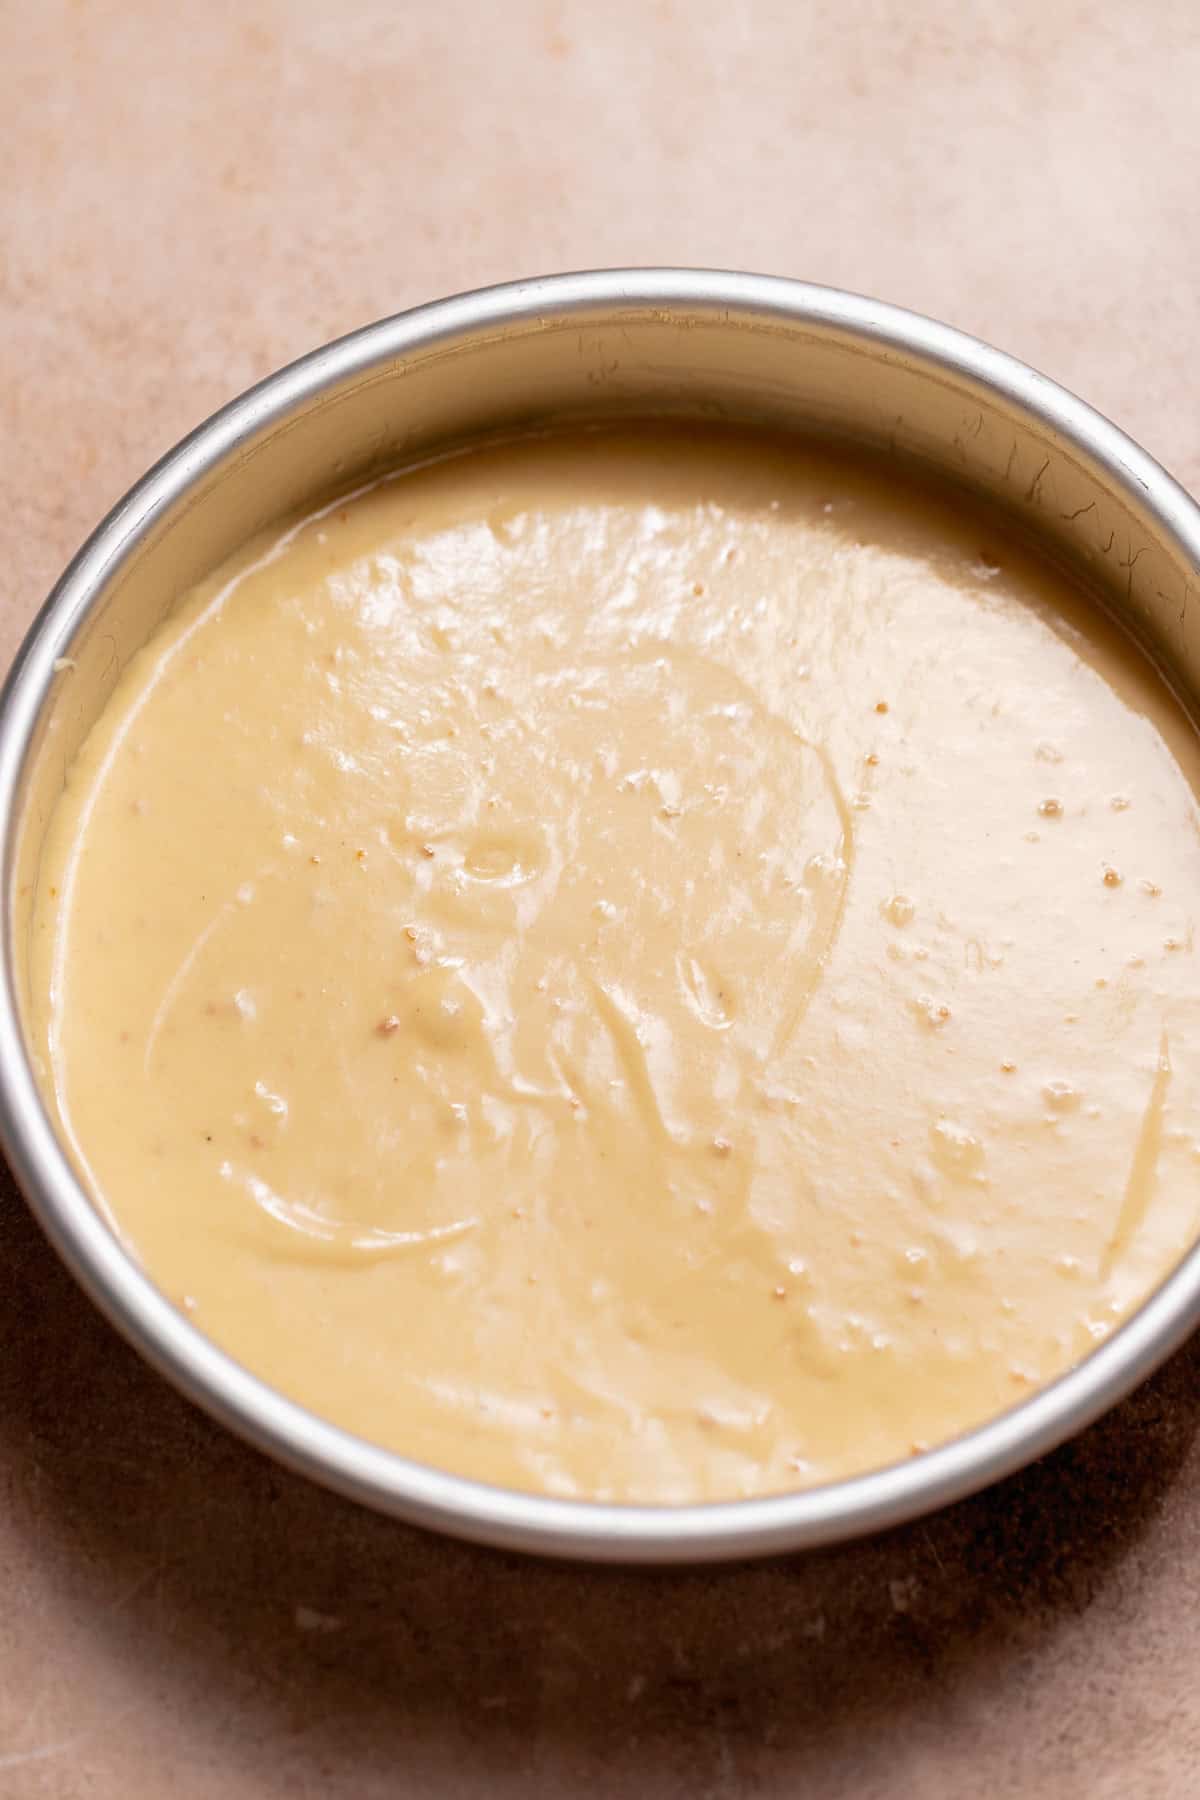
4
Evenly distribute the cake batter into three 8-inch cake pans.
If you prefer a sheet cake over this layer cake, you can bake the batter in a lined 9×13 pan as well.
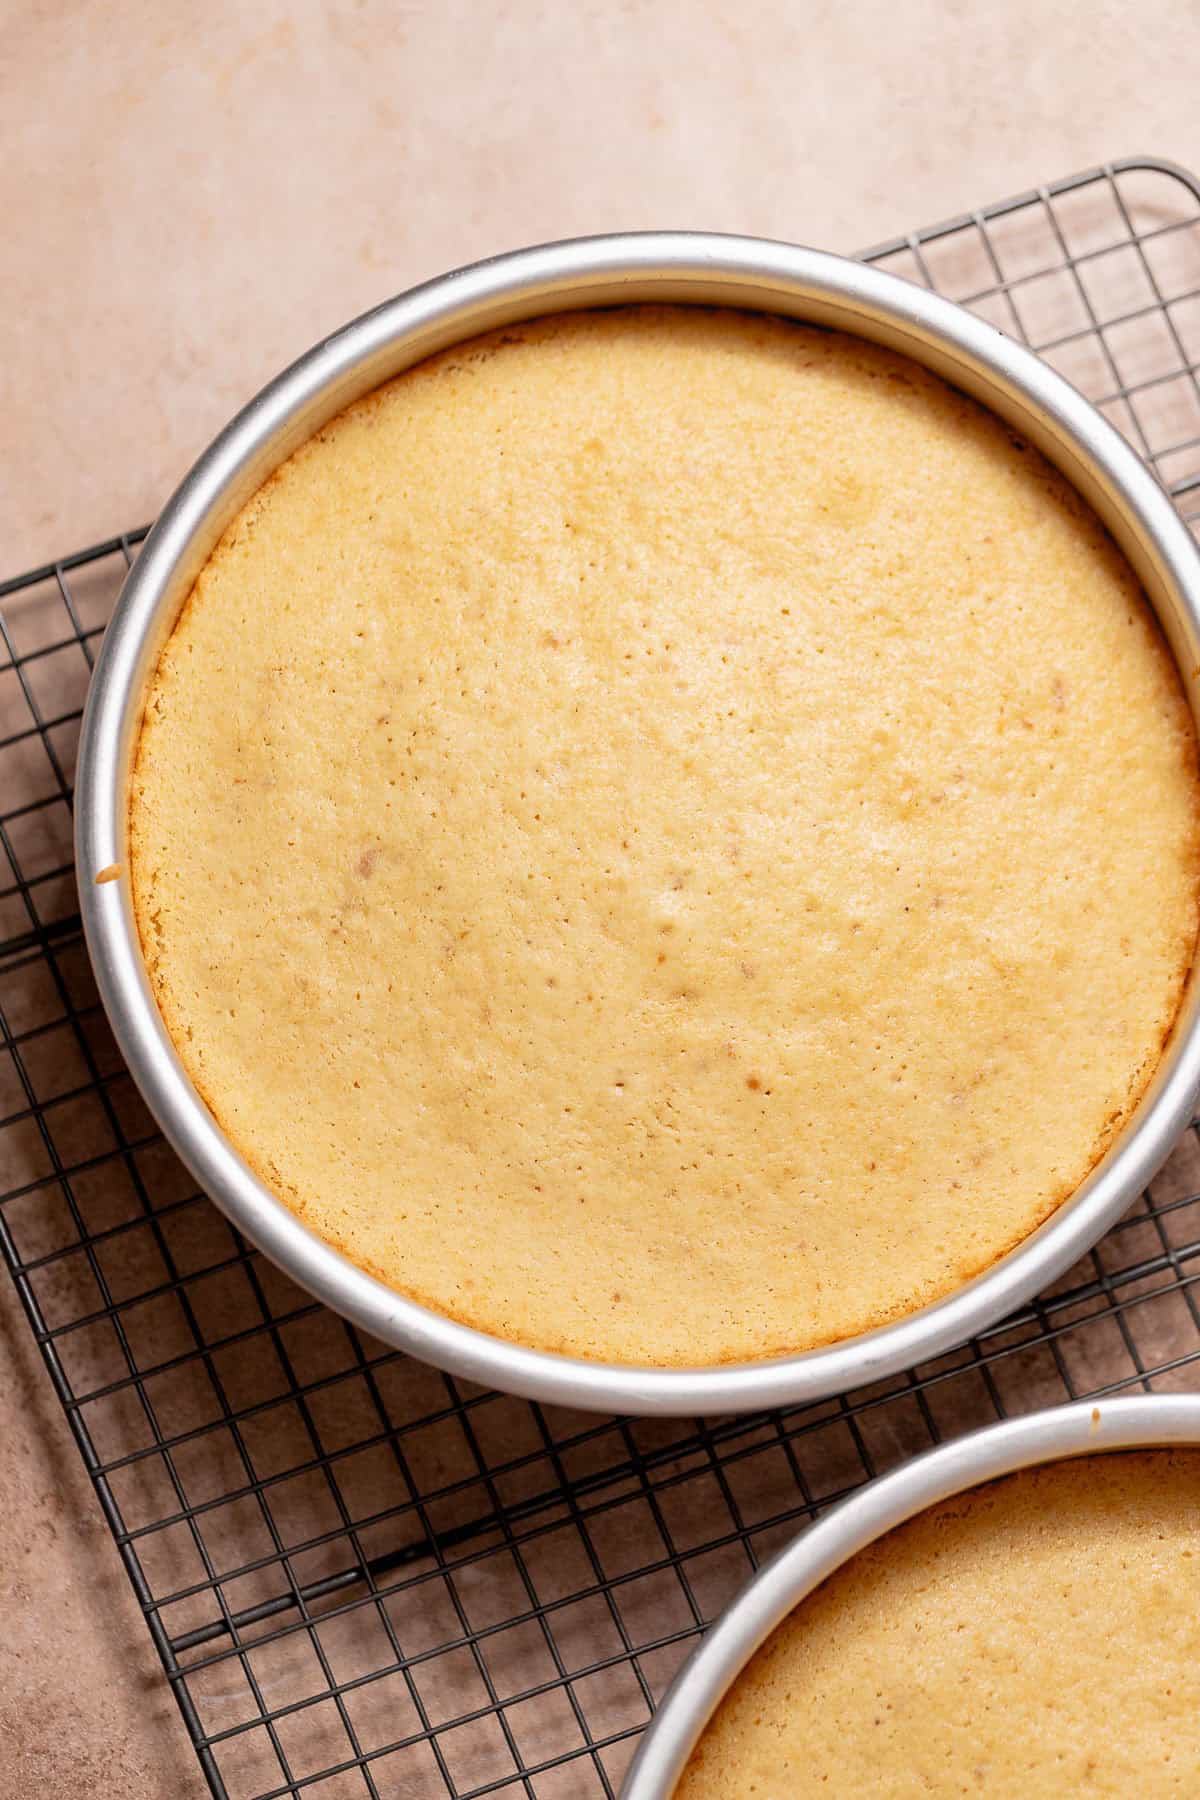
5
The baked cake layers should have little to no color, except for some golden brown edges.
Once the cake layers are cooled, you can wrap them in plastic wrap if you plan to finish the cake later. I like to keep mine at room temperature for the next day, or freeze them for up to one month.
6
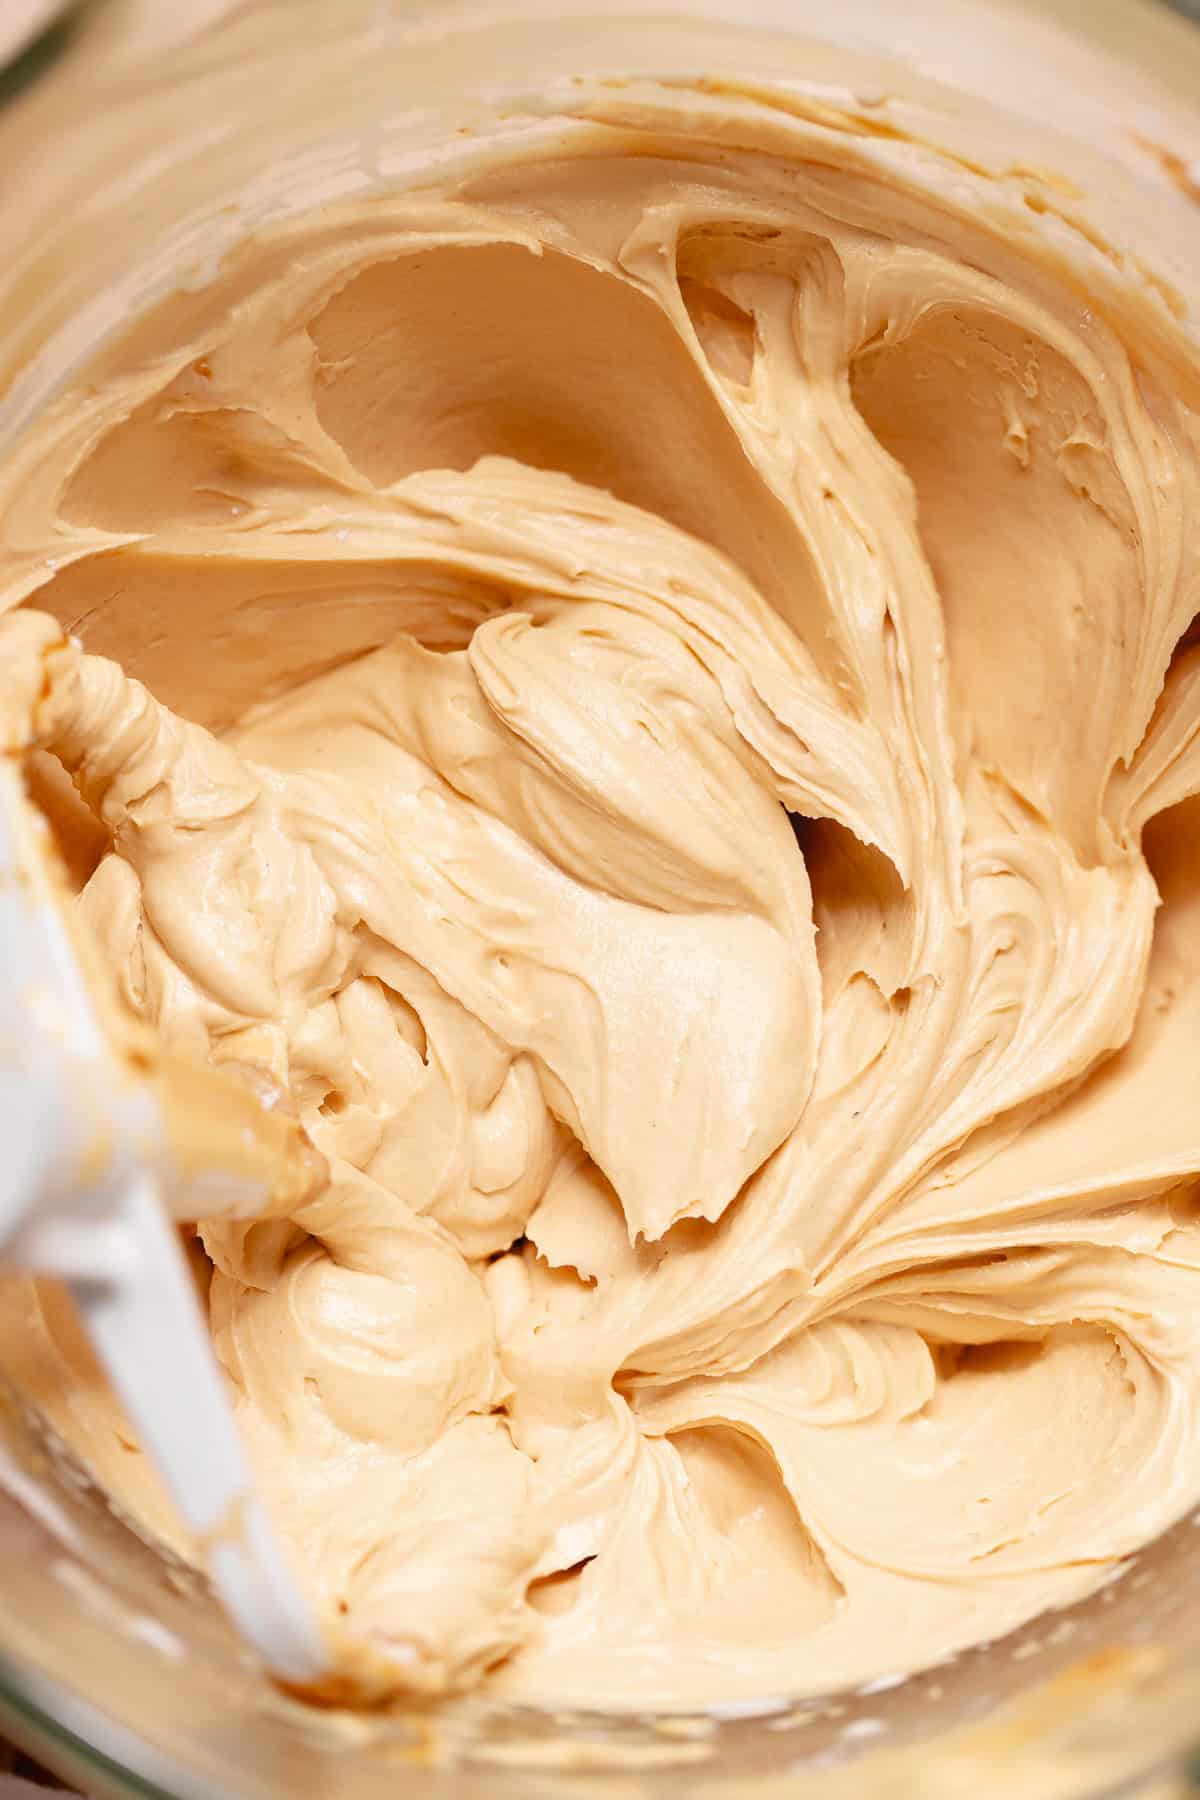
When making the Biscoff buttercream, it’s important to use room temperature butter that isn’t overly soft or greasy (between 66-68°F).
If the butter is too warm, it can cause the buttercream to be overly soft and harder to work with when stacking and layering the cake.
7
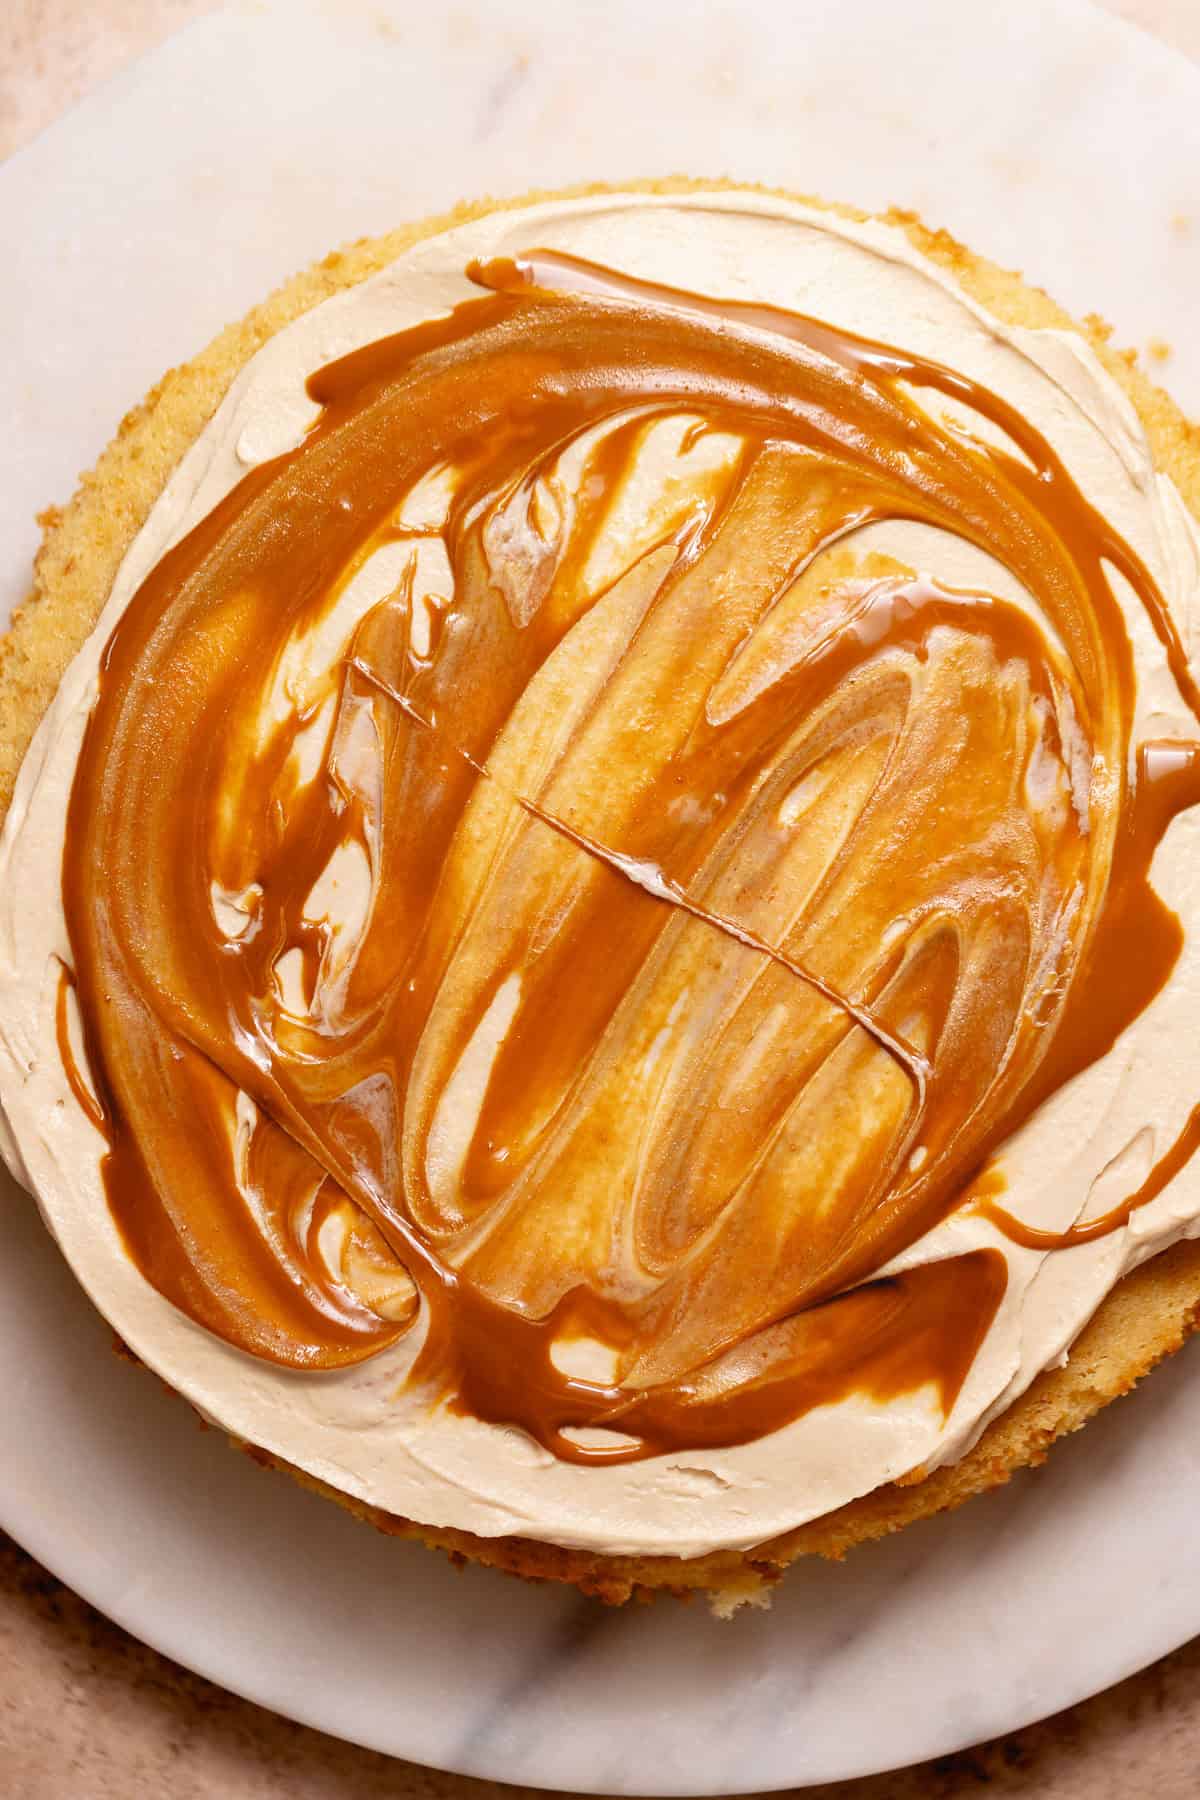
After you spread the buttercream over the cake layers, spread the melted cookie butter on top.
By the way, if you can’t find the original Lotus spread, I’ve used Trader Joe’s Speculoos cookie butter in a pinch, and it works amazingly!
8
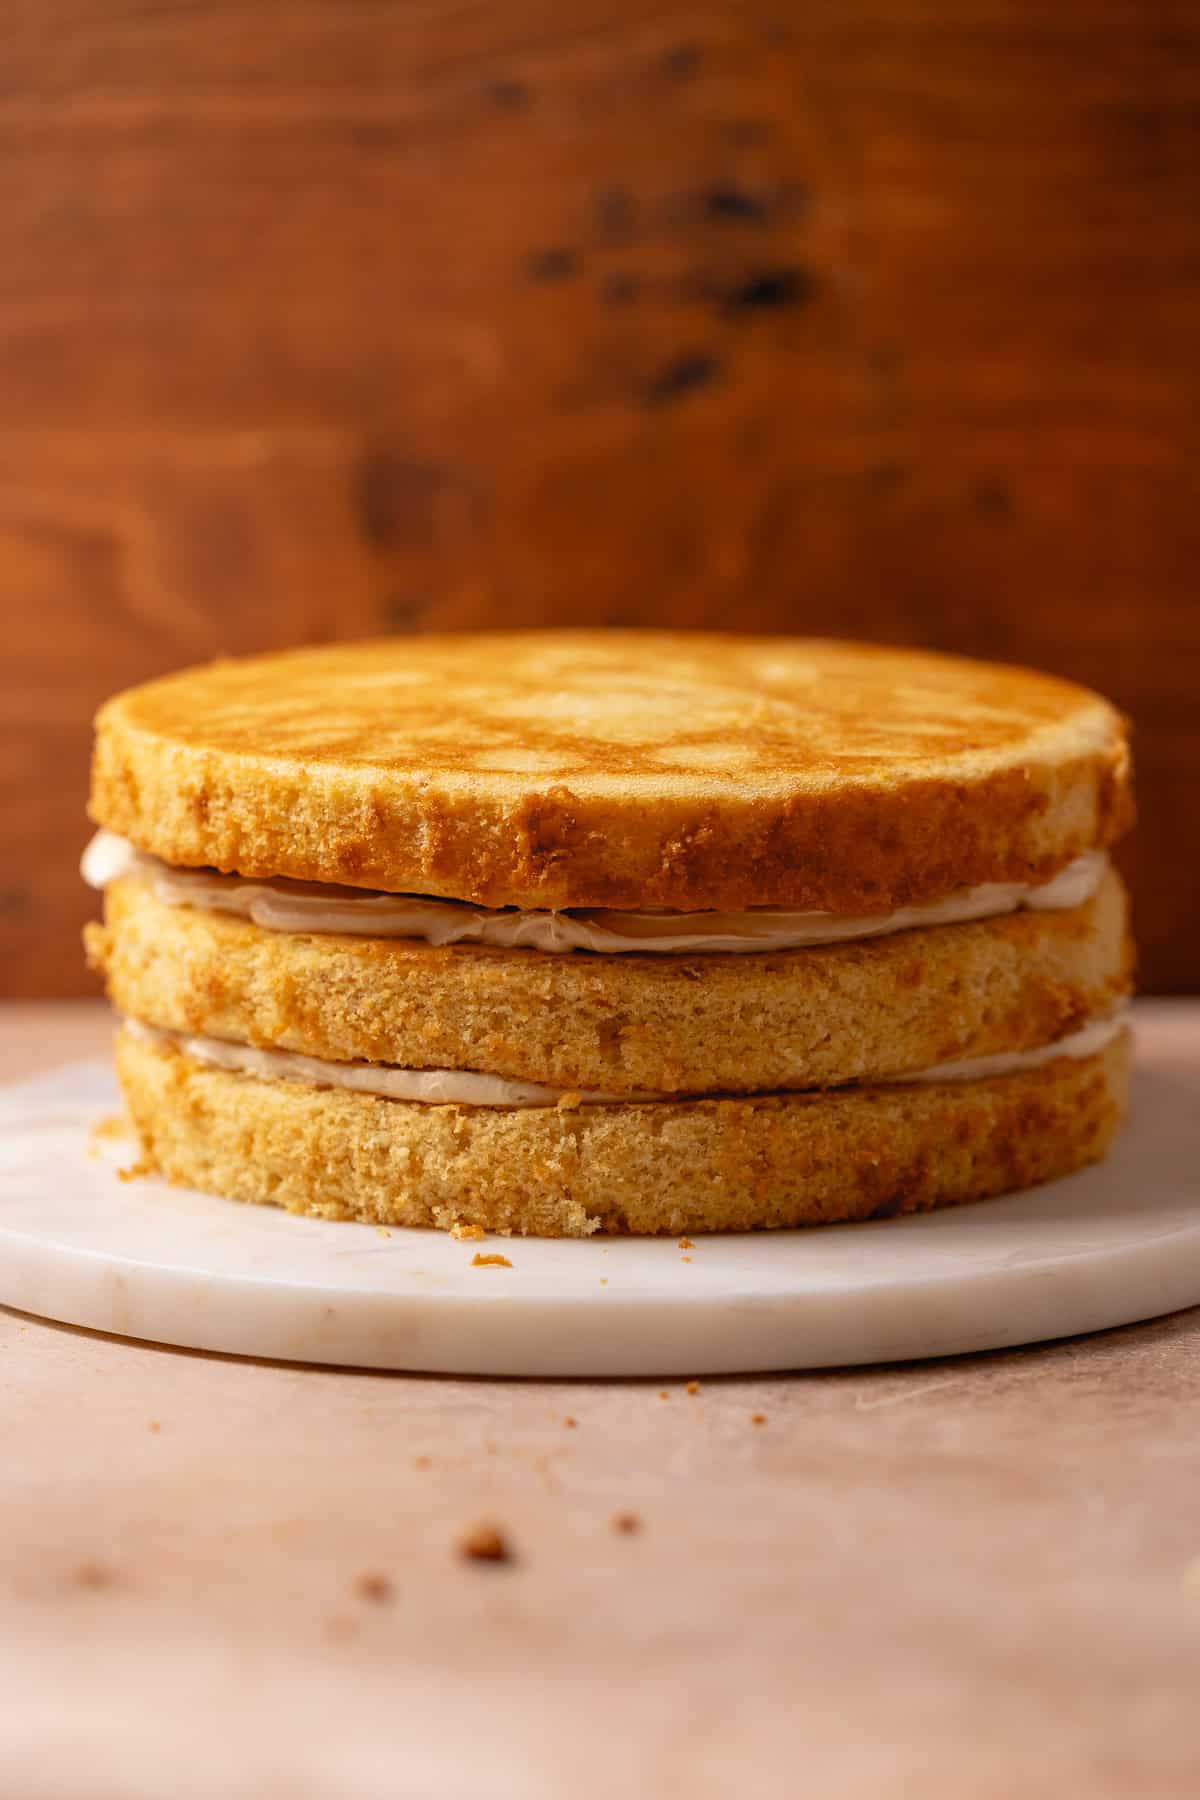
Once assembled, your cake should look like this!
If decorating a layer cake is new to you and the cake feels wobbly, you can cover it in a crumb coat (a very thin layer of buttercream) and refrigerate it until firm before continuing with the next step.
9
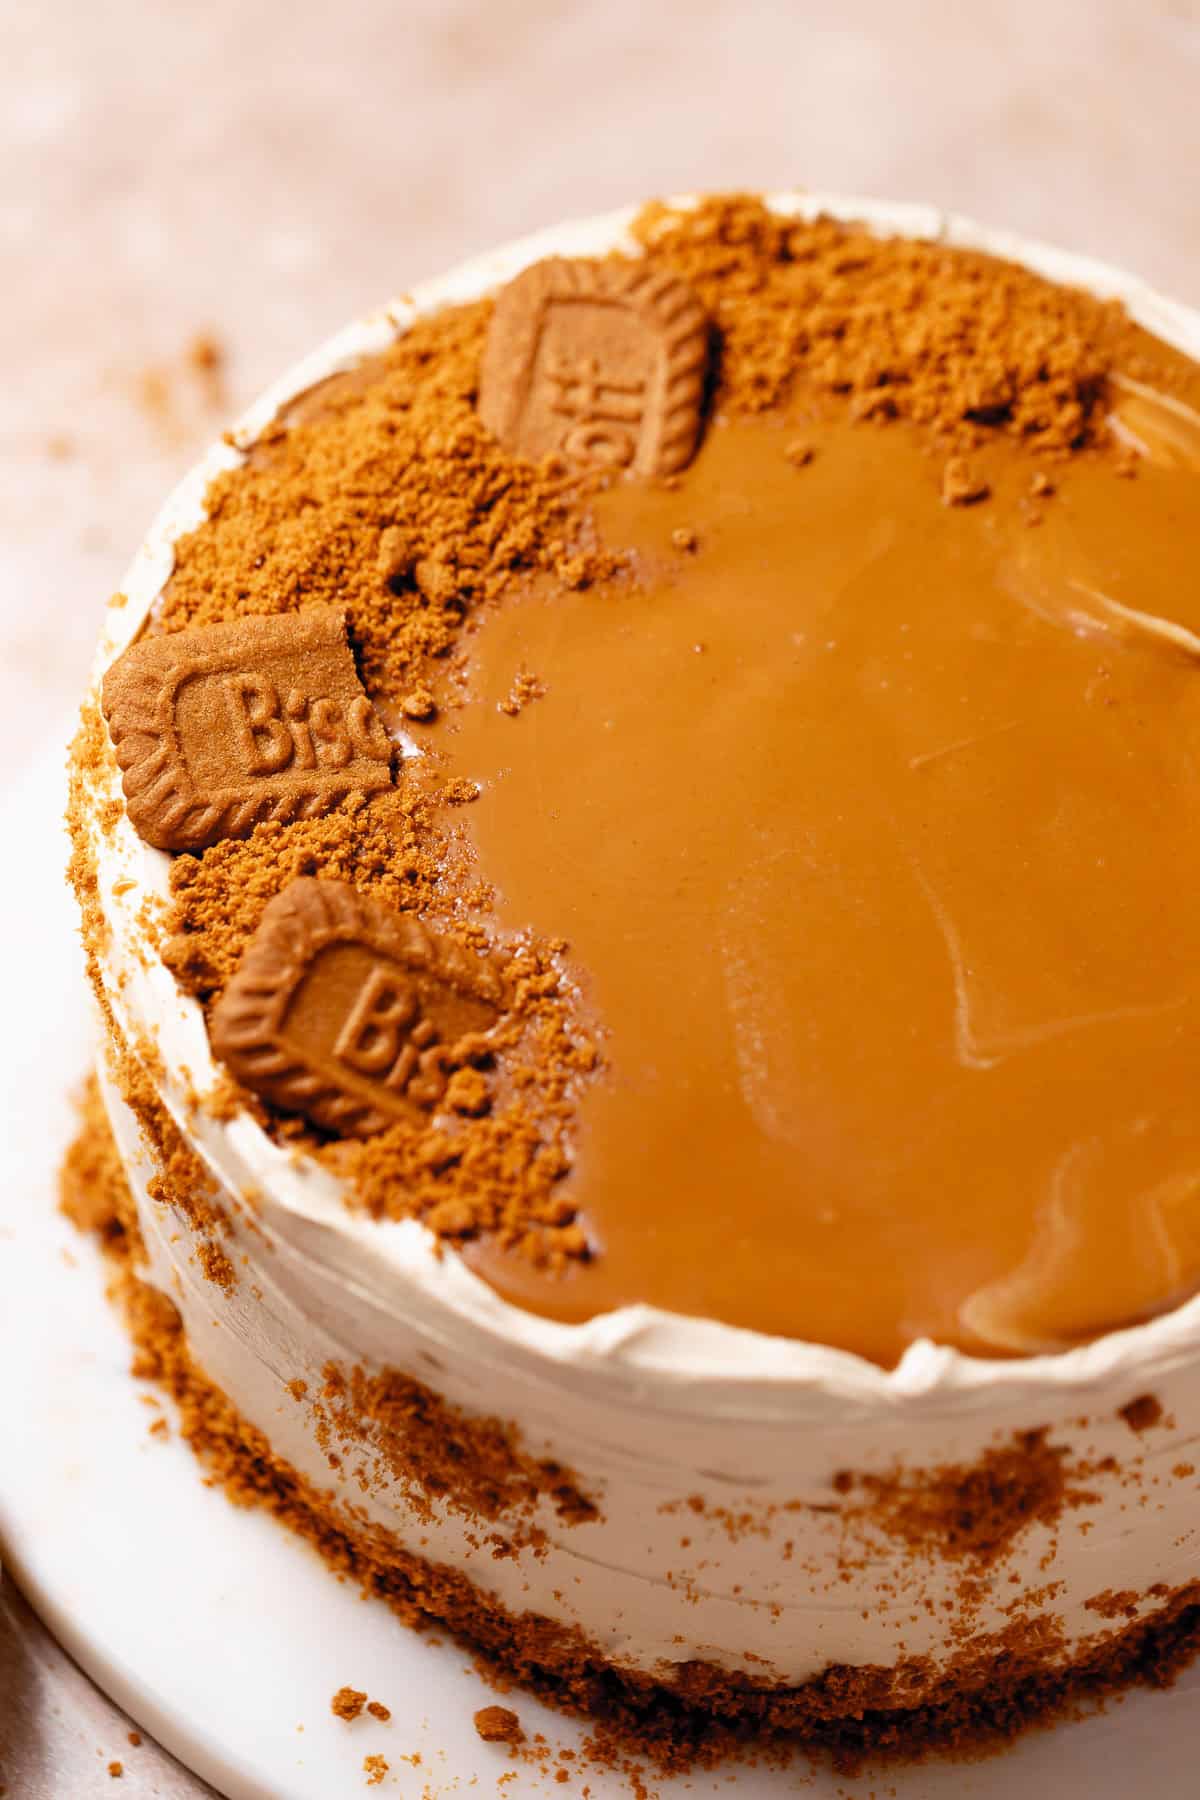
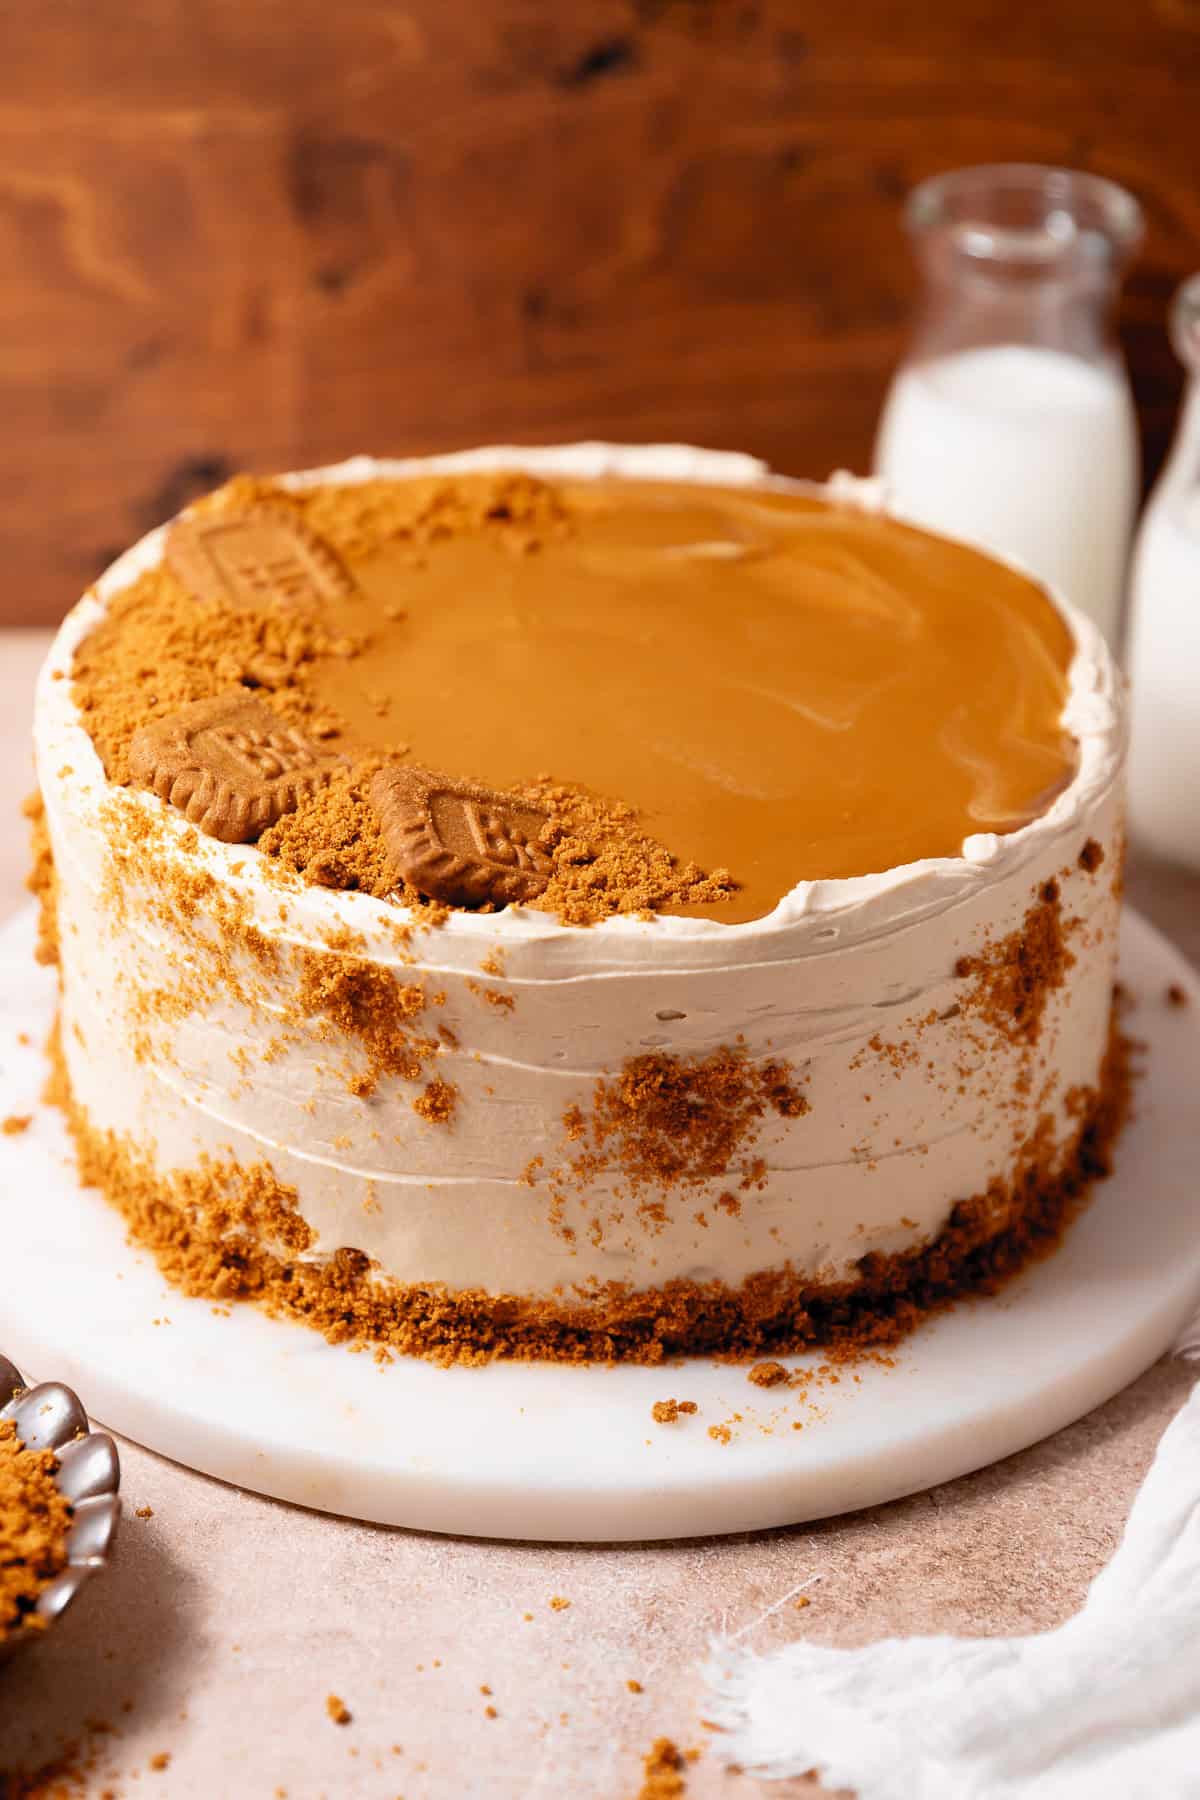
Once frosted with the rest of the buttercream, I like to decorate the top of the cake with a giant pool of melted cookie butter, Biscoff cookie crumbs, and whole cookies.
10
I also use some of the cookie crumbs to edge the bottom border of the cake and throw some on the sides for texture.
For this recipe, I ended up buying a big jar of Biscoff spread and had plenty left over, so I used the rest to make my cookie butter cookies if you find yourself in the same position 😉
Enjoy!
— Cambrea 🫶🏻
If you tried this or any other recipe on my website, please let me know how it went in the comments; I love hearing from you! Also, please leave a star rating while you’re there! You can also tag me on Instagram or Facebook so I can check it out!
Biscoff Cookie Butter Cake
Equipment
Ingredients
For the Cookie Butter Cake Batter
- 2 1/3 cups unbleached cake flour, see notes below for measuring
- 1 1/2 cups granulated sugar
- 1 tablespoon baking powder
- 1 teaspoon fine sea salt
- 6 tablespoons cubed, unsalted butter, room temperature
- 1/3 cup Biscoff cookie butter
- 3 large eggs, room temperature
- 1/2 cup whole milk, room temperature
- 1/2 cup heavy cream, room temperature
- 1/2 cup sour cream, room temperature
- 1/4 cup canola oil, or other neutral oil
- 2 teaspoons vanilla bean paste
For the Cookie Butter Frosting
- 2 cups unsalted butter, room temperature
- 2/3 cup Biscoff cookie butter
- 2 1/2 cups powdered sugar
- Pinch of fine sea salt
- 2 tablespoons heavy cream
- 1 teaspoon vanilla bean paste or extract
- 2/3 cup Biscoff cookie butter, melted and cooled, for between the layers and the top
- 2/3 cup Biscoff cookie crumbs, for decorating
Instructions
Make the Cake Batter
- Preheat the oven to 325°F (160°C). Grease the sides of three 8-inch cake pans and line the bottoms with parchment paper.
- In the bowl of a stand mixer, whisk together the flour, sugar, baking powder, and salt.2 1/3 cups (300 g) unbleached cake flour, 1 1/2 cups (300 g) granulated sugar, 1 tablespoon (11 g) baking powder, 1 teaspoon (4 g) fine sea salt
- Using the paddle attachment, mix in the butter and cookie butter on low speed until the mixture resembles coarse sand, about 2–3 minutes.6 tablespoons (90 g) cubed, unsalted butter, 1/3 cup (80 g) Biscoff cookie butter
- In a separate bowl, whisk together the eggs, milk, heavy cream, sour cream, oil, and vanilla.3 (165 g) large eggs, 1/2 cup (120 g) whole milk, 1/2 cup (120 g) heavy cream, 1/2 cup (113 g) sour cream, 1/4 cup (56 g) canola oil, 2 teaspoons (4 g) vanilla bean paste
- Add half of the wet ingredients and mix on low speed until smooth and pasty. Scrape down the sides and bottom of the bowl, then add the remaining wet ingredients. Mix until smooth and combined, scraping down the bowl once more as needed.
- Divide the batter evenly between the prepared cake pans, about 435 g per pan.
- Bake for 25–30 minutes, or until the edges are lightly golden and a toothpick inserted into the center comes out with a few moist crumbs. (Do not rely on the traditional "press the top to see if the cake springs back for doneness", or the cake will be overbaked)
- Let the cakes cool in the pans on a wire rack for 20–30 minutes. Carefully remove them from the pans and let cool completely on the racks before assembling.
Make the Cookie Butter Buttercream
- In the bowl of a stand mixer fitted with the paddle attachment, beat the butter on medium speed until light and fluffy, about 2–3 minutes. Add the cookie butter and mix until smooth.2 cups (452 g) unsalted butter, 2/3 cup (160 g) Biscoff cookie butter
- Add the powdered sugar and salt and mix on low speed until combined. Increase the speed to medium and beat for 4–5 minutes, or until light and fluffy.2 1/2 cups (300 g) powdered sugar, Pinch of fine sea salt
- Add the heavy cream and vanilla and mix until just combined.2 tablespoons (30 g) heavy cream, 1 teaspoon (3 g) vanilla bean paste or extract
Assembling the Cake
- Place the first cake layer on a serving platter or cake stand. The cake layers should bake fairly flat, so trimming shouldn’t be necessary.
- Spread an even layer of frosting over the cake. Drizzle 3–4 tablespoons of the melted and cooled cookie butter over the frosting and gently spread it into an even layer.2/3 cup (160 g) Biscoff cookie butter
- Place the second cake layer on top and repeat with another layer of frosting and 3–4 tablespoons of cookie butter. Place the final cake layer upside down on top for a flat surface.
- Spread a thin layer of frosting over the entire cake. Refrigerate for 20–30 minutes, or until the frosting is firm.
- Cover the cake with the remaining frosting, reserving some for decorating if desired.
- Pour the remaining melted and cooled cookie butter over the top of the cake. Garnish with Biscoff cookie crumbs and broken cookies, if desired.2/3 cup (75 g) Biscoff cookie crumbs

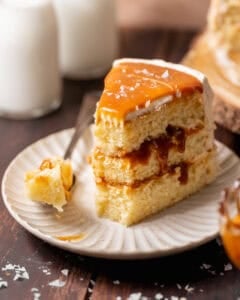











I made this cake for my son’s birthday. He is newly obsessed with cookie butter and absolutely loved it! I was worried when some comments said the cake was on the dense side, so I made a simple syrup and soaked each layer. Zero issues with it being dry or too dense! It looked so impressive with all the layers. I piped a frosting dam and added about 1/8 cup of melted cookie butter and two crushed Biscoff cookies on each layer. I also did a Biscoff drip on top. 10/10 would make again!
This is amazing! So glad it turned out perfectly and looked as good as it tasted!
Can I use the same measurements to make a two layer 8 inch instead of 3
6 inch. Layers? Thanks
Hi! That should work just fine! Note that the baking time may be different, so keep an eye on them while they bake.
Hi! I’m wanting to make this for a party, but need to make this a 9 in cake. Do you suggest 1.5 the recipe? I saw some comments where you mentioned to turn this into a 2 layer cake, but ideally, I’d like to keep it a 3 layer cake. Please let me know and excited to try it out. Thanks!
Hi Caitlin! I would definitely do 1.5X or even double the recipe, that should be enough for a 3 layer 9-inch cake!
Can this cake be baked on 325 instead of 350?
Hi Chandra, the recipe has been tested at 350F so I don’t recommend changing the temp.
Cake was DELICIOUS! I got so many compliments on it. The taste of biscoff came through both the cake and the frosting. Recipe was easy to follow. Thanks Cambrea!!
Sooo happy to hear that! Thanks so much for the kind review Erin! 🙂
Hi Jenny, it sounds like your oven is way too hot. Try turning the temperature down.
Hi Cambrea! I love this recipe! I had a question though. I made the sponges today (3, 6 inch pans) and found when I cut the tops off to level them that in inside was quite dense and the center seemed slightly underbaked. Think more the consistency of a blondie bar than a fluffy cake. I’m wondering if you could help diagnose what I did wrong and how to fix? Could it be over mixing or just need to bake longer? I was worried about keeping it in too long because the sides were starting to brown and crisp up along the top edge. Thank you!
Hi Amanda! Great question, because of the mixing method it is naturally a more dense cake, but shouldn’t be blondie bar dense! It doesn’t sound like a mixing problem, but maybe oven temp. Do you use an oven thermometer? You could try turning down the temp a bit and baking them longer. Let me know it that helps! 🙂
This cake is absolutely delicious and my whole family loves it. I’m giving it a four star rating because I find the batter to be lumpy(both times I made it).Wwhat attachment do you use on your machine when making this cake?
Hi Lea, the batter should be made with the paddle attachment. If it’s overly lumpy you may just need to mix it a few seconds longer. Lumps shouldn’t effect the final outcome of the cake. If you’re noticing clumps in the baked cake that are floury you may need to sift your flour before using it!
I wasn’t going to use this recipe because of the cake flour – I’ve had experiences in the past where that’s all I would taste. I am SO happy I tried this cake recipe. The cake is so fluffy and baked perfectly.
Yay! I’m so happy to hear that Brittney, thank you so much for coming back to leave a review! 🙂
This cake sounds amazing and I can’t wait to make it-already bought all the ingredients!! I was thinking of 1 1/2 of the recipe to put in larger pans-maybe 8”. Thoughts???
Hi Vikki! If you want to make it into an 8-inch cake, I would do the normal recipe but just bake them in 2 8-inch pans instead of 3. That should work!
I can do that-just loved the height!!😉😉
Thanks for your follow up!!!!
Of course! If you like the height, still cut each cake layer in half, so you’ll have 4 cake layers. 8-inch cakes don’t hold up super well when they are taller than that 🙂
Thank you! So single recipe in 2 8” pans split. Perfect!!!!
I made the cake today. 2 8” layers and I split them. Can’t wait to try it-the components were delish!!! Making a few other cake recipes of yours for thanksgiving. Look forward to trying all. Thanks for your help!!!
So happy to hear that Vikki! I can’t wait to hear how they turn out! 🙂
This recipe looks delicious and I can’t wait to try it this weekend! Any suggestions on time/temp if I wanted to do this as cupcakes instead?
Hi Samantha! I would still bake them at 350 F/180 C. Start checking them around 15-18 minutes!
Can I use 8 inch pans and if so how many and do I need to adjust cooking time?
Hi Danielle, I would try splitting the batter into two 8-inch cake pans. I would start checking for doneness around 35 minutes.
Sent you a pic of my cake! It was an easy to follow recipe even though a bit time consuming. Didn’t have 6 inch pans so I bought a set of 7 inch Chinese pan to go containers from the Dollar Tree and lined with the parchment paper in bottom. Just tossed them out when done. Worked great!
Hey Cam, thanks for sharing , so if I want to bake 03 layers of 05inch each which are 2inch deep, how much would I scale down the recipe by in metric units? , do tell thanks 😊.
Hi Zee, I honestly can’t say for sure! I would try halving the recipe and making sure the cake pans aren’t filled with more than 2/3 of batter.
Hi Cambrea. This recipe looks super awesome and I’m planning to bake it for my brother’s 21st next week. I’m an amateur baker. Can you please show a video on how to bake this cake so I won’t mess it up, especially on how to melt the cookie butter. If I use 7inch round pans, how many pans do I need? Thanking you in advance.
Hi Matilda! Unfortunately I don’t have a full video of making the cake. The cookie butter is easy to melt, simply put it in a bowl and microwave it for 10-20 seconds until runny. If you are using 7-inch pans, I would still use 3 of them. They will likely bake faster than the indicated baking time, so keep an eye on them!