Up-level your next homemade pizza night with this chewy pizza dough! With a crispy crust and fluffy inside, you'll love how easy it is to throw together in one hour!
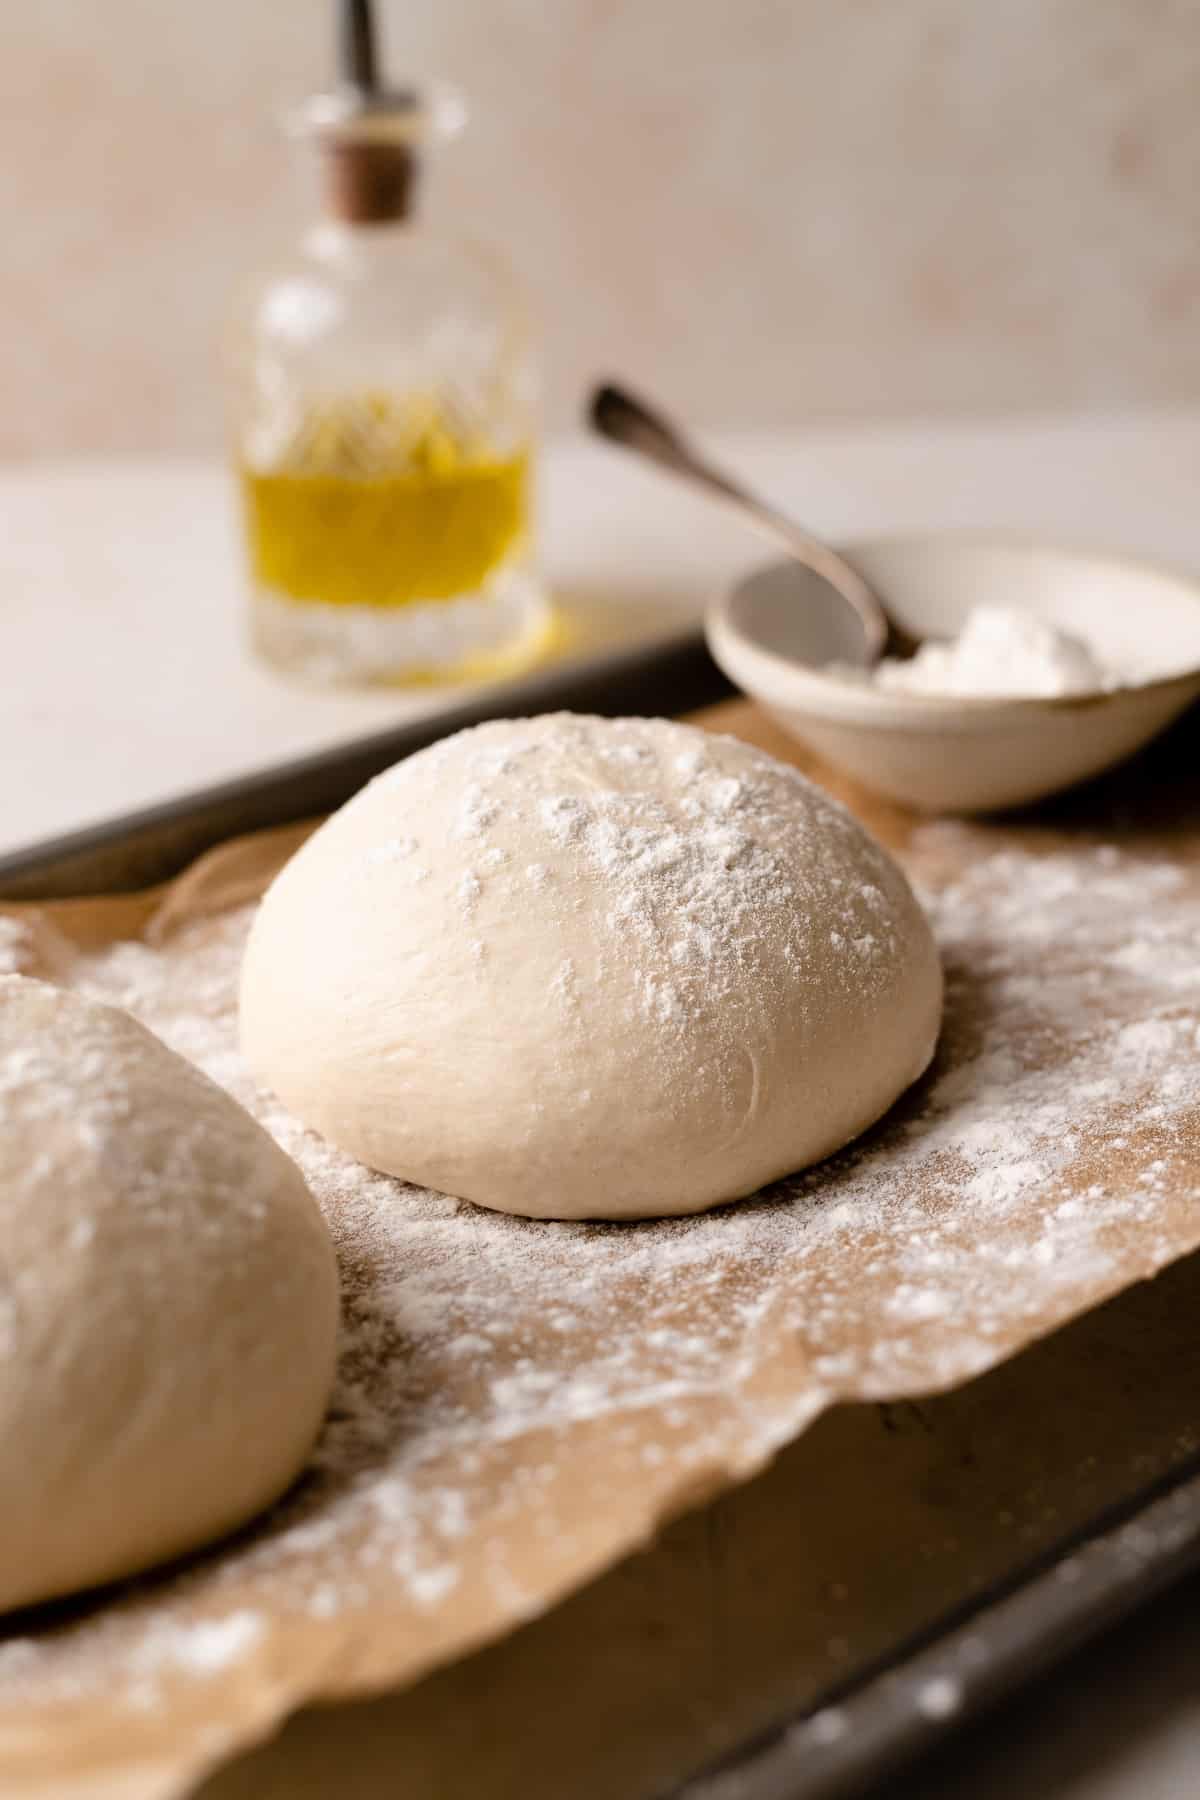
I always avoided making pizza dough at home until I realized how easy and stress-free it can be. You can make this pizza crust with six simple ingredients and it's even made with all-purpose flour so no fancy bread or pizza flour is needed!
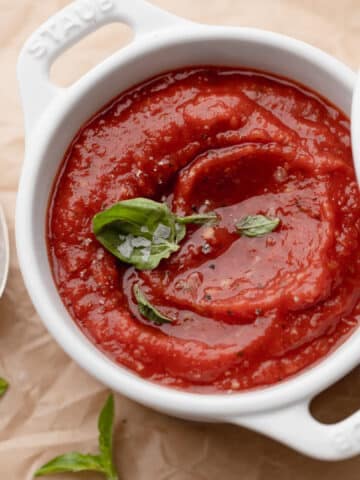
This chewy pizza dough is the perfect foundation for San Marzano pizza sauce and pizza toppings and can even be made into parmesan bread bites and garlic butter bread rolls!
It has become my go-to recipe whenever I'm craving pizza at home and I love that it's ready to eat in one hour!
Jump to:
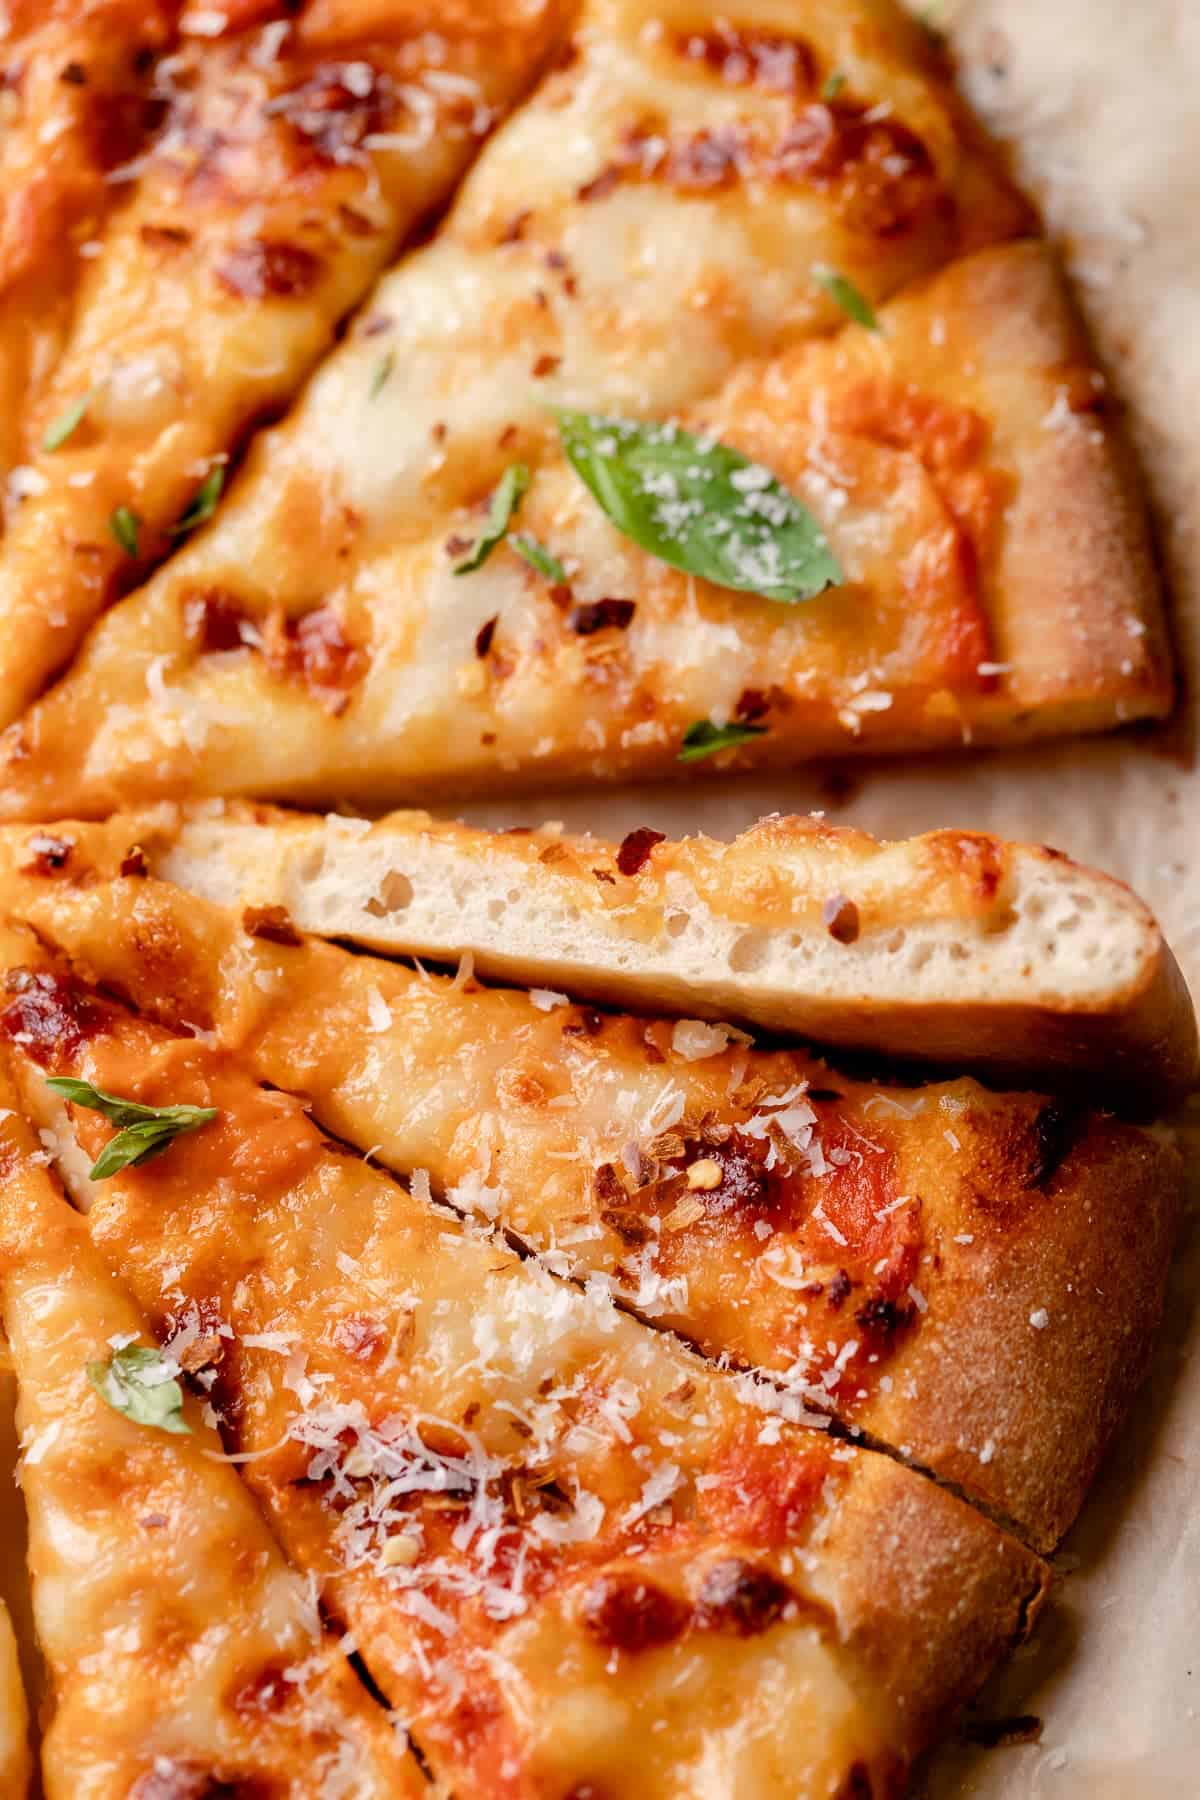
why you'll love this chewy pizza dough
- Soft pizza dough: The crust gets perfectly crisp while the inside stays soft and fluffy. Try it as a cast iron pizza for an extra crispy crust!
- Versatile: This pizza crust is the perfect foundation for vodka sauce pizza or any of your favorite toppings!
- Make it by hand: You can easily make it with a stand mixer or by hand.
- Fool-proof!: It has been tested hundreds of times and turns out perfect every single time. It's soft, pliable, and so easy to work with.
ingredient notes & substitutions
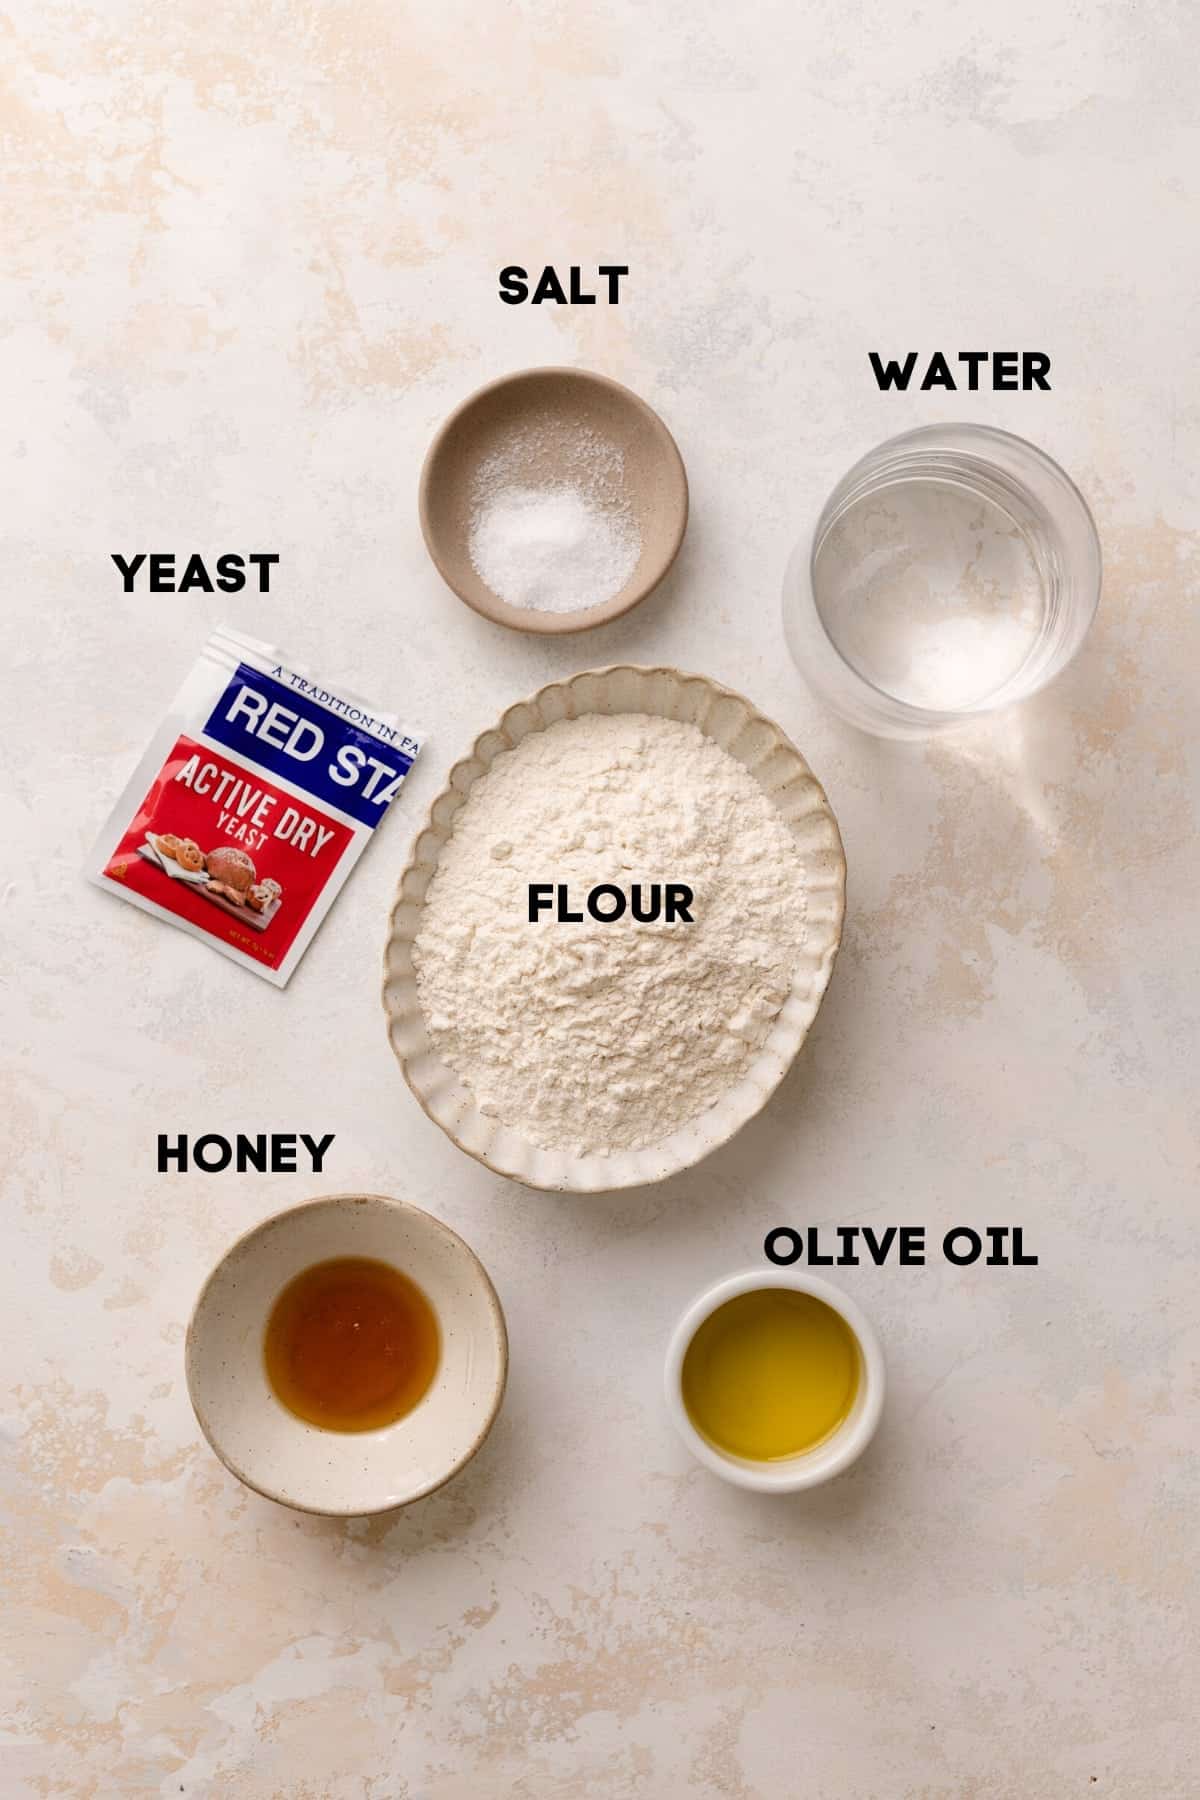
Flour: All-purpose flour is perfect for this recipe! If you want to use something else, it works just as well with bread flour and 00 pizza flour, although you may need to adjust the liquid.
Yeast: This recipe calls for active dry yeast but can also be made with instant yeast. Make sure to follow the instructions on the packet for the best results!
Water: Warm water is crucial for activating the yeast! The water should be warm to the touch but not hot. In general, it should not exceed 113 F or you will kill the yeast.
Honey: Honey gives the pizza dough a beautiful flavor, but can be substituted with granulated sugar if needed.
Olive oil: I don't recommend substituting this with another kind of oil as it will not give the pizza as much flavor.
The secret to making the best soft pizza dough at home that is light and fluffy is always high-quality ingredients. Find the full ingredient measurements and instructions in the recipe card at the bottom of this page.
pizza flavor ideas
The flavor and topping variations are endless! Try some of these ideas:
- Vegetable pizza with cream cheese and fresh veggies
- Margarita pizza with tomatoes, mozzarella, and fresh basil
- Bake it as a cast iron pizza with cheese, pepperoni, and a drizzle of hot honey.
recipe instructions
Here are the step-by-step instructions for how to make homemade pizza dough. I recommend using a stand mixer for ease, however, you can knead it by hand if you don't have one!
STEP 1: Activate the yeast. Mix the active-dry yeast, honey, and warm water together and let it sit for 5 minutes. The water MUST be warm, 110 F is a perfect temperature (image 1 below).
STEP 2: Check for yeast activity. The photo below shows the yeast starting to foam which is a great indication that it's ready to be used! If you are not seeing any activity after 10 minutes, use a new yeast packet (image 2 below).
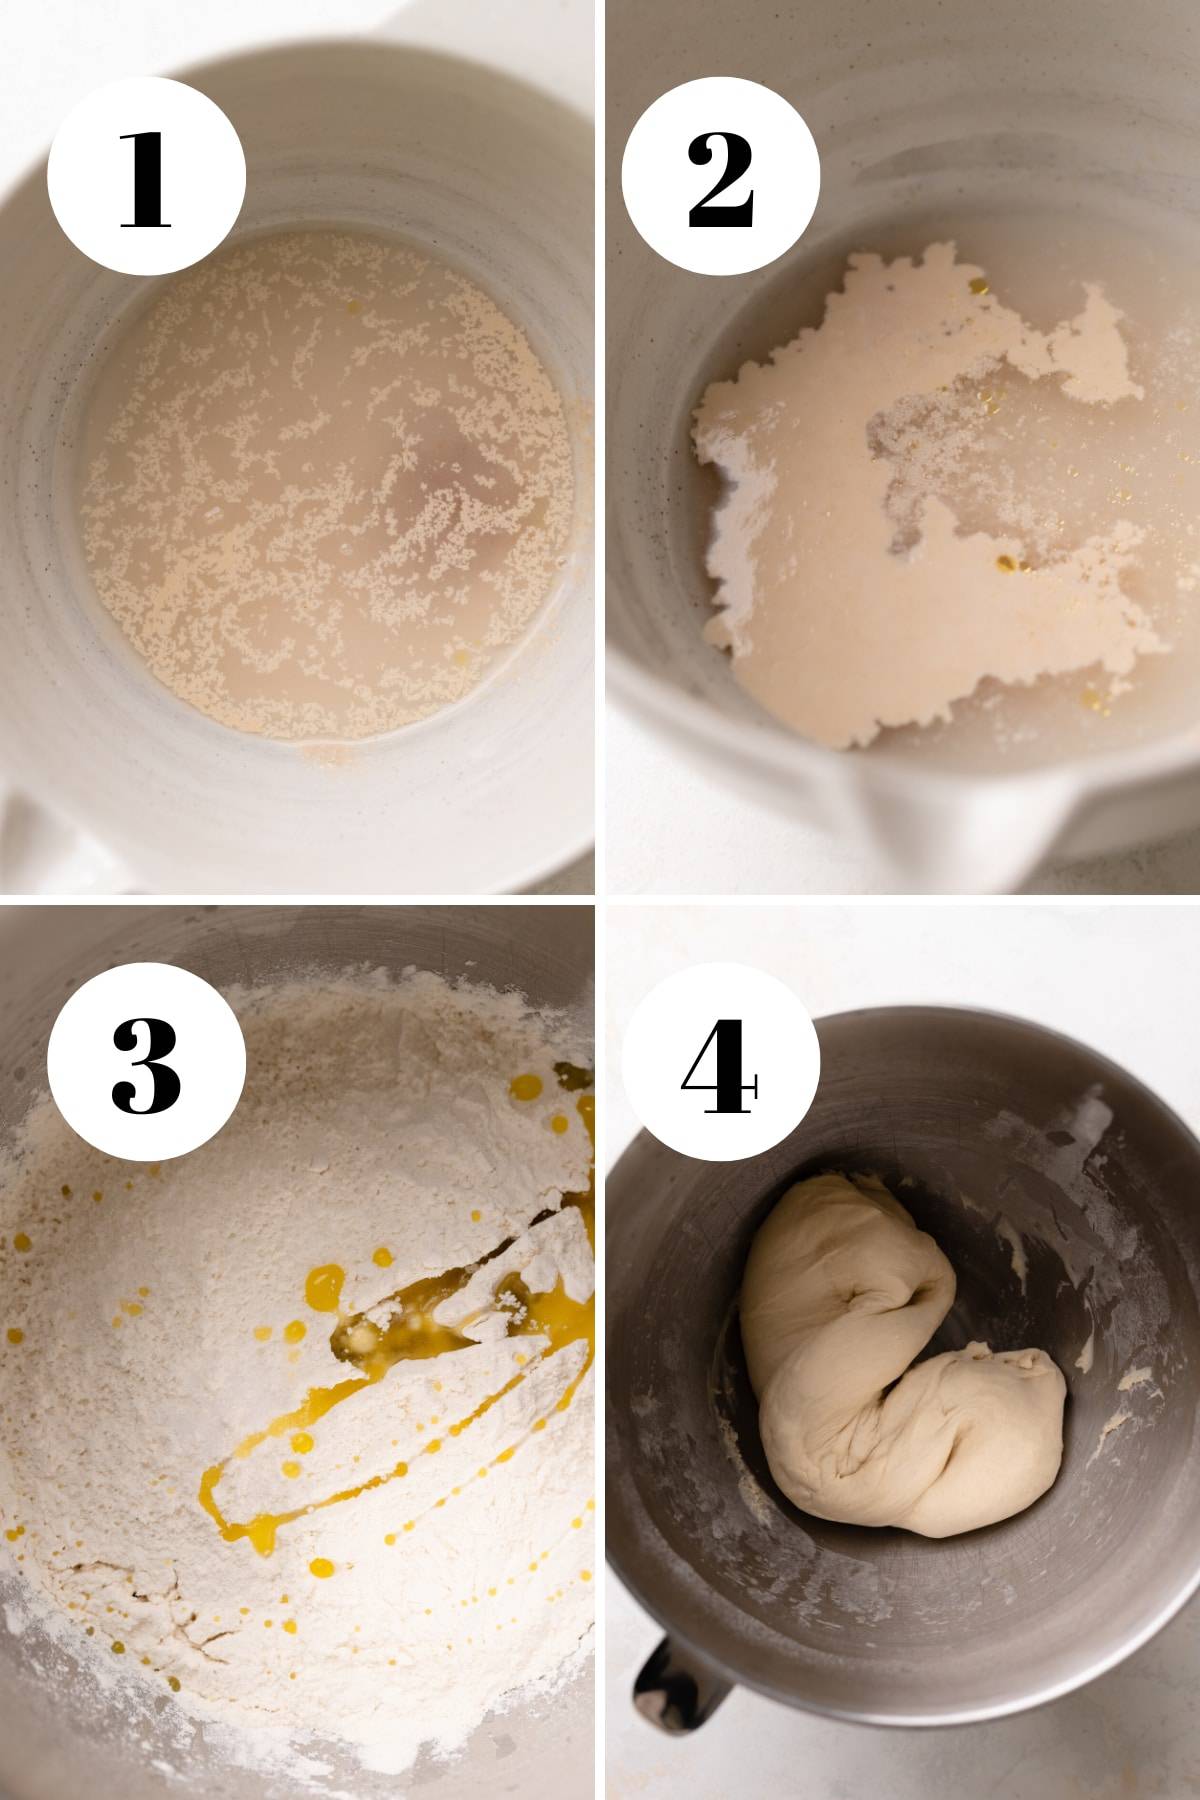
STEP 3: Mix in the dry ingredients. Add the all-purpose flour, olive oil, and salt to the mixing bowl with the dough hook attachment. If mixing by hand, you can mix it in a large bowl with a wooden spoon (image 3 above).
STEP 4: Knead the dough. Knead the pizza dough on low speed until it is smooth and soft, and cleans the sides of the bowl (image 4 above).
After 2-3 minutes of mixing, observe how the dough looks. If it is sticking to the sides of the bowl, you may need extra flour. Mix in one tablespoon of flour as needed until it forms a single tacky ball.
STEP 5: Shape the dough. Shape the dough by cupping your hands around the sides and moving them from the top to the bottom. This will stretch it into a tight ball which helps it rise properly.
Place the dough ball in a lightly oiled bowl. Cover the top tightly with plastic wrap and then move it to a warm spot to rise (image 5 below).
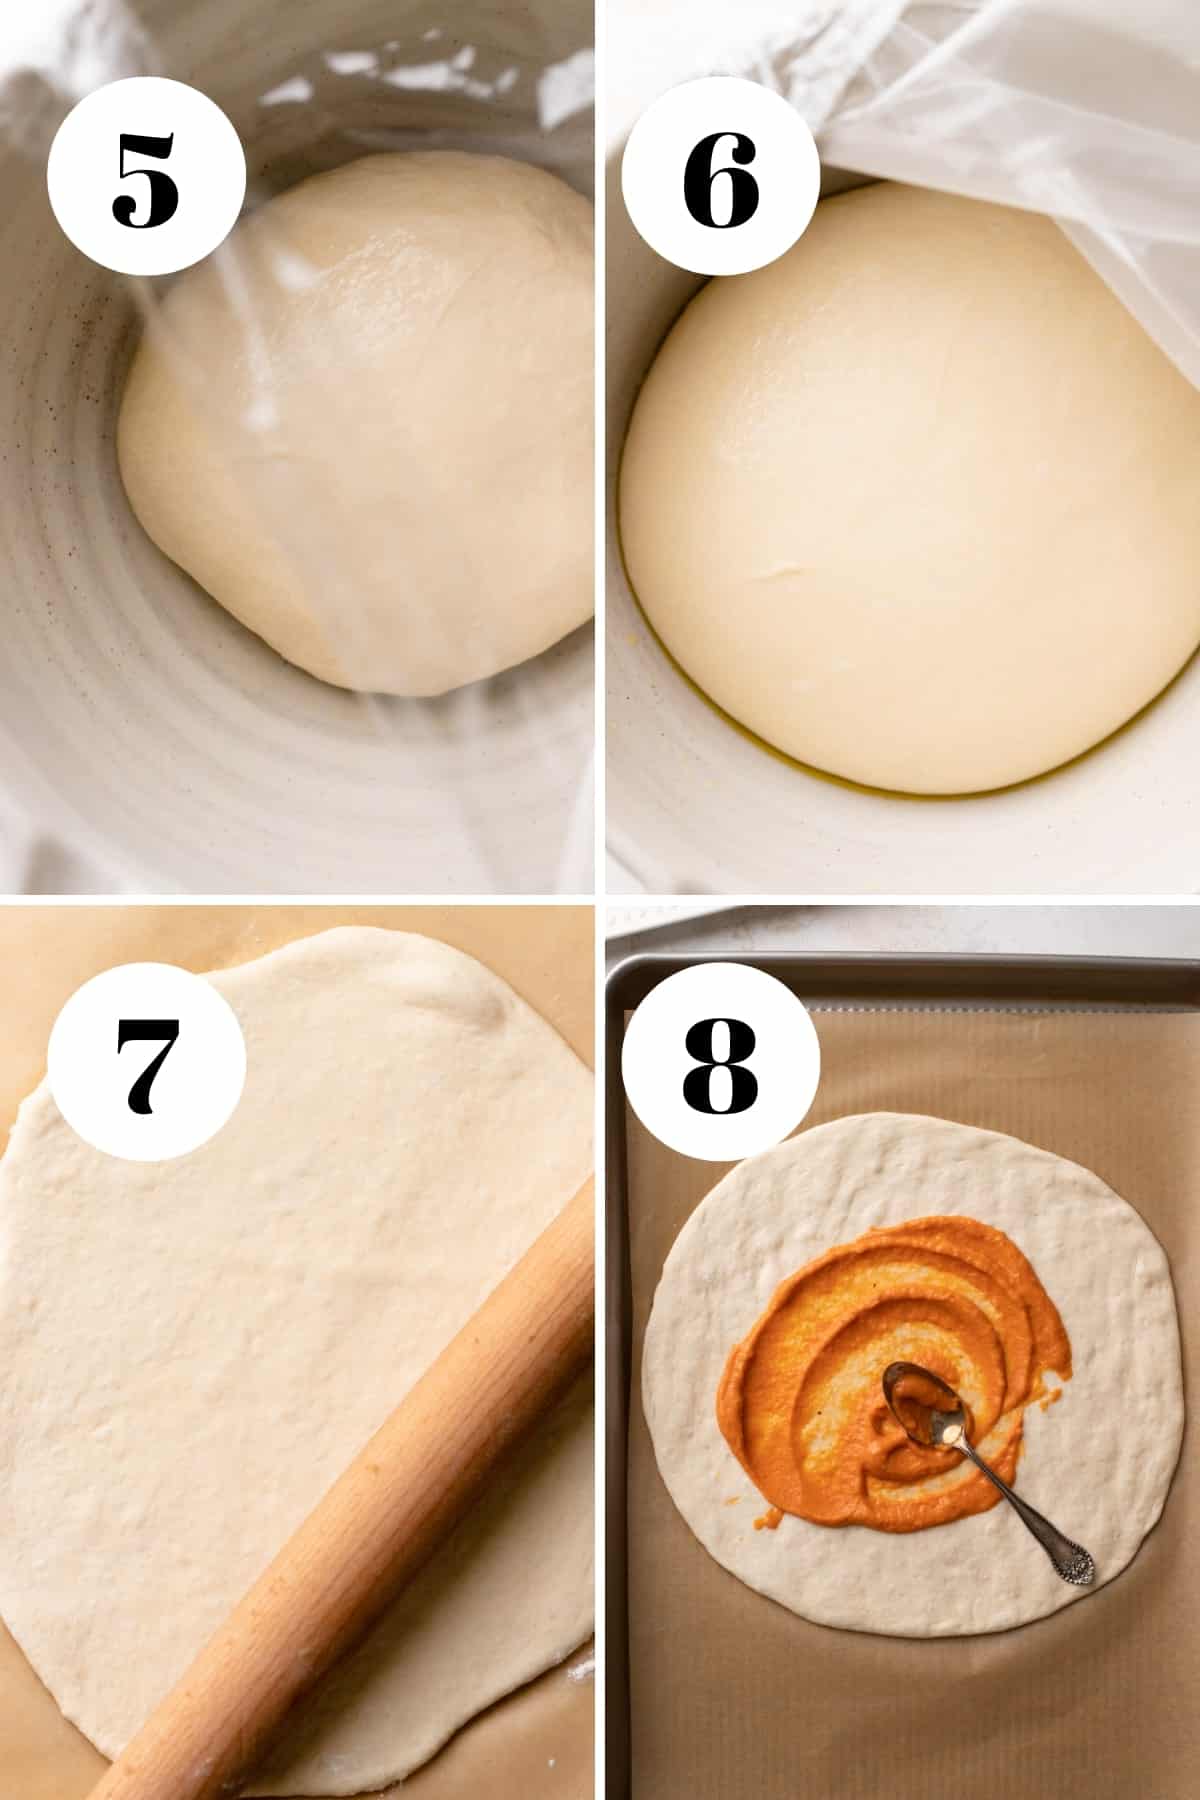
STEP 6: Let it rise until doubled. Once the dough has doubled in size, use your fist to gently punch down the dough to remove excess air (image 6 above).
In my kitchen, this takes usually 30-45 minutes. If your kitchen is on the cooler side, it may take longer!
STEP 7: Roll out your pizza! On a lightly floured surface or parchment paper, use a rolling pin to roll the dough to your desired thickness. You can also portion it into smaller sizes if needed (image 7 above).
STEP 8: Add your favorite toppings. Transfer the pizza dough to a lined baking tray or hot pizza stone. Spread the pizza sauce over the top, then add your favorite cheese and toppings (image 8 above).

STEP 9: Bake! Bake the pizza at 475 F for 12-15 minutes, or until the crust is brown and the cheese is bubbly (image 9 above).
expert tips
- Use a kitchen scale. Baking with a scale is much more accurate than cup measurements. To convert this recipe, click the "metric" button next to the ingredients title on the recipe card.
- Use a pizza stone! For an extra crispy crust, place the pizza stone in the oven while it preheats. Sprinkle it with some cornmeal, then transfer the dough to it.
- Important note about humidity: If it's raining or humid where you live, you may not need all the water in the recipe. Pour in half the water to start then add more until it feels soft and tacky.
- Use fresh yeast. If your yeast is not showing any activity when mixed with warm water, it's likely that it's dead and should be replaced!
- Use the right temperature water. Using warm, around 110 degrees F water is very important! If the water is too cold, your yeast will not activate. The same goes if the water is too hot.
storage
Store the kneaded dough in an airtight container in the fridge for up to one day. After this point, the yeast will begin to ferment and it will smell like alcohol.
recipe faqs
Yes! You can store the kneaded dough in an airtight container for up to one month. Before use, defrost it in the fridge overnight then allow it to come to room temperature before using.
Yes! After kneading, transfer the dough to a well-oiled container at least twice its size. The dough will stay fresh in the fridge for up to 24 hours. When you are ready to bake it, place the container out on your counter to come to room temperature before baking.
I recommend sprinkling it with cornmeal or semolina flour so the dough doesn't stick. You can also use parchment paper but the edges will burn in the oven.
Yes! Kneading the dough builds gluten strands that give it a chewy texture after it's baked.
recipes to use with this pizza dough!
If you tried this or any other recipe on my website, please let me know how it went in the comments below, I love hearing from you! Also, please leave a star rating while you're there! You can also tag me on Instagram or Facebook so I can check it out!
Recipe 📖
Soft & Chewy Pizza Dough
Equipment
- stand mixer with dough hook attachment
Ingredients
- 1 cup warm water
- 1 tablespoon honey
- 2 ¼ teaspoon active dry yeast
- 2 ¾ cup all purpose flour
- 1 tablespoon olive oil
- 1 teaspoon fine sea salt
Instructions
- In a stand mixing bowl, mix together the warm water, yeast, and honey. Set aside for 5 minutes to allow the yeast to become active and foamy.If you are not seeing any activity after 10 minutes, I recommend starting over with a fresh packet of yeast!2 ¼ teaspoon active dry yeast, 1 cup warm water, 1 tablespoon honey
- Add the flour, olive oil, and salt.2 ¾ cup all purpose flour, 1 tablespoon olive oil, 1 teaspoon fine sea salt
- Knead the dough on low speed for 8-9 minutes or until it is soft and smooth, and cleans the sides of the bowl. If the dough is sticking to the bottom and/or sides of the bowl, add extra flour 1 teaspoon at a time until it forms a single ball.
- Shape the dough into a ball.
- Place the dough ball into a lightly oiled bowl and cover the top tightly with plastic wrap. Place it in a warm spot to rise until doubled, about 30-40 minutes.In my kitchen it takes about 30 minutes!
- Lightly punch down the dough to remove any excess air.
- Roll the pizza dough to your desired thickness, then transfer it to your baking sheet or pizza stone.
- Add your favorite sauce and desired toppings, then bake at 475 F/250 C for 12-15 minutes, depending on the thickness. When the crust is brown and the cheese is bubbling, it's ready!
Notes
-
- Flour: All-purpose flour is perfect for this recipe! If you want to use something else, it works just as well with bread flour and 00 pizza flour.
-
- Yeast: This recipe calls for active dry yeast but can also be made with instant yeast. Make sure to follow the instructions on the packet for the best results!
-
- Water: Warm water is crucial for activating the yeast! The water should be warm to the touch but not hot. In general, it should not exceed 113 F or you will kill the yeast.
-
- Honey: Honey gives the pizza dough a beautiful flavor, but can be substituted with granulated sugar if needed.
-
- Olive oil: I don't recommend substituting this with another kind of oil as it will not give the pizza as much flavor.


Kushigalu says
The homemade dough is always the best. Thanks for the recipe. I will be making them soon.
Tayler Ross says
We had a pizza night tonight and used this dough. IT turned out perfectly and everyone loved it!
Cambrea Gordon says
I'm so glad everyone loved it, thanks so much for the kind review Tayler!
Jamie says
This is great for pizza night at my house! I love how the ingredients are simple and easy to find.
Cambrea Gordon says
I'm glad you think so Jamie! I love that I always have the ingredients on hand.
Rhonda McElwain says
A first, everyone likes this crust. Thank you!
Cambrea Gordon says
I am so glad to hear this Rhonda!! Thank you so much for coming back to leave a review 🙂
Sharilyn says
I made this dough so I could make your cast iron pizza and it was way easier than I thought! The dough was super soft and really easy to work with which I was worried about being my first time making homemade dough. I highly recommend this recipe to anyone!!
Cambrea Gordon says
YAY! Love to hear this so much! Thanks Sharilyn!