

When I was working as a pastry chef, I didn’t just make desserts; I also worked the line, making fresh pizzas. This six-ingredient, foolproof pizza crust combines my professional experience and love for pizza to create an easy, homemade dough that you can make in under an hour, with no fancy flours needed!
Crispy on the bottom and pillowy-soft and chewy on the inside, it’s the perfect base for your favorite toppings (like my ultra-crispy cast iron skill pizza). So skip the delivery tonight and make the best pizza dough at home… it will be the most satisfying meal you’ll ever make!
Let’s Make It!
1
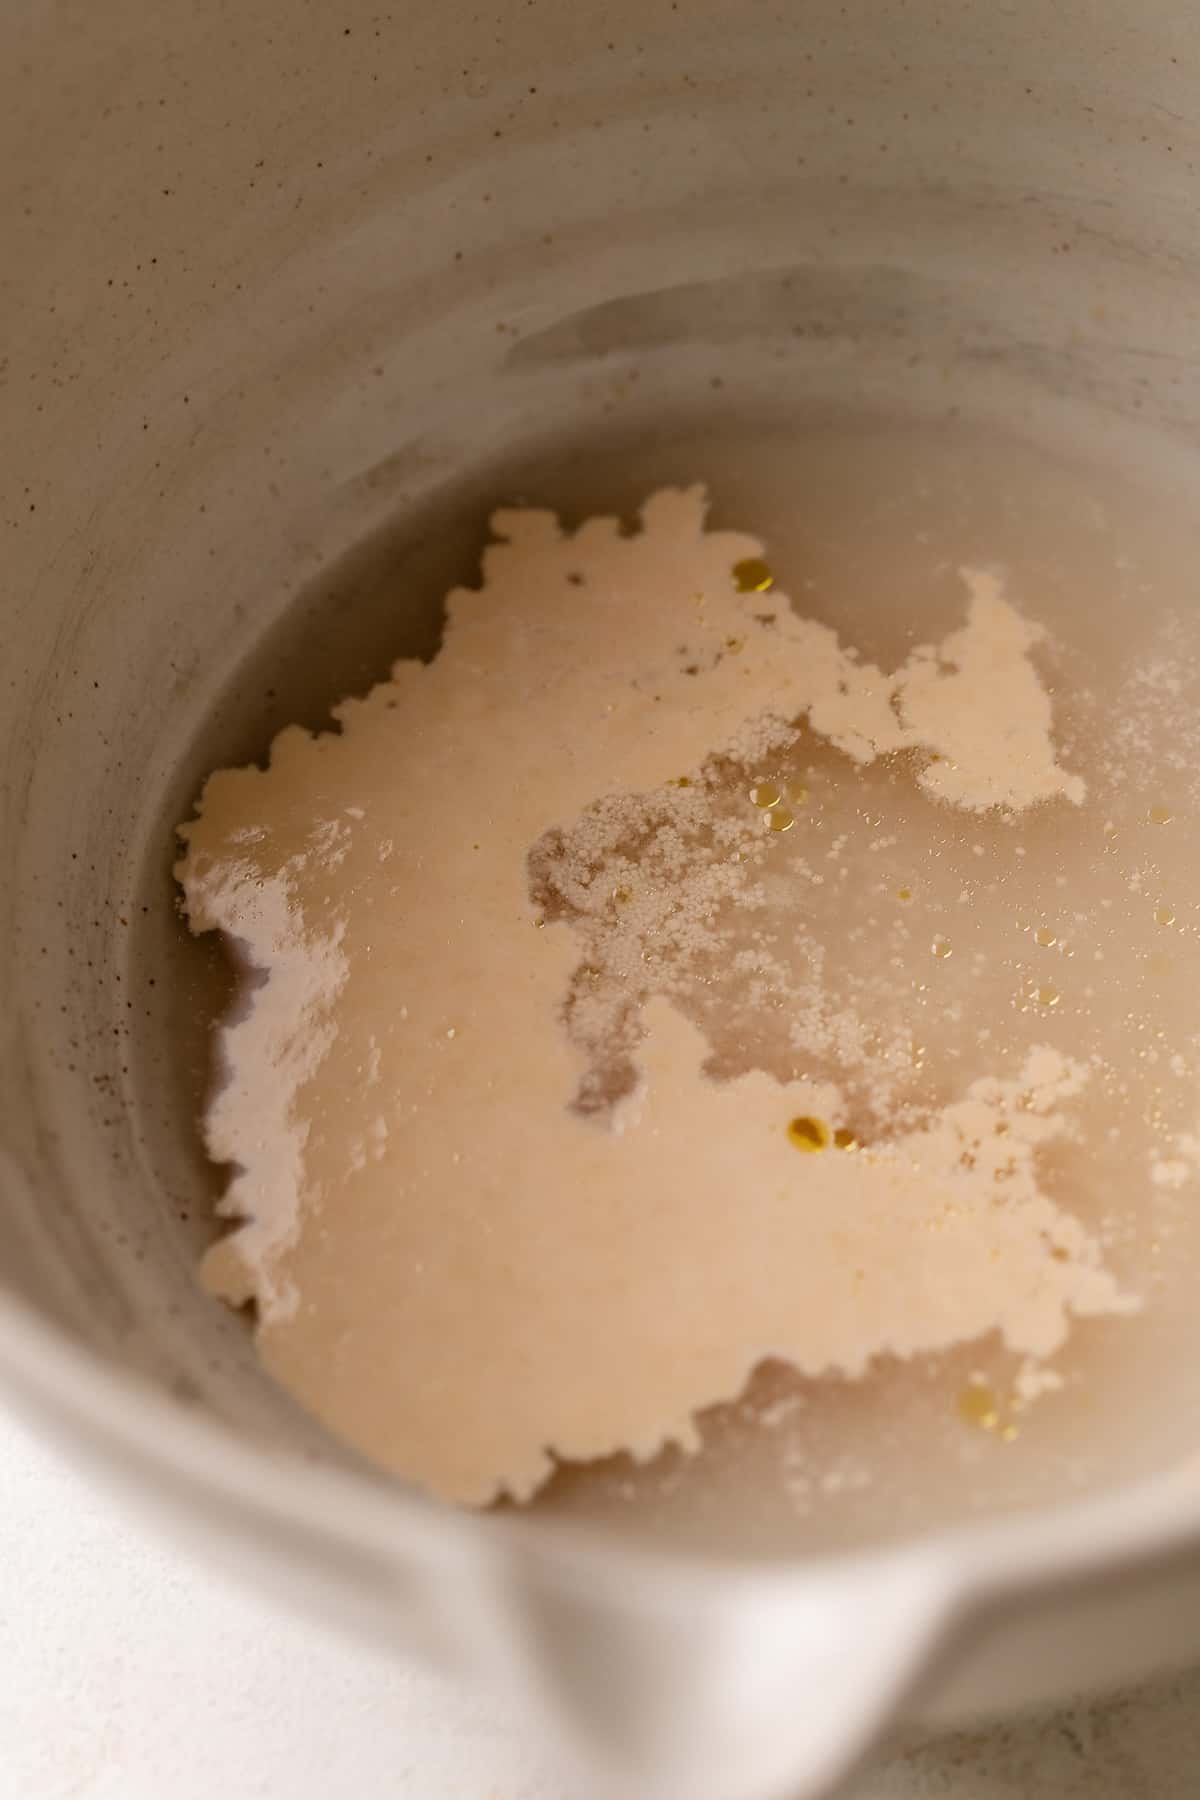
Activate the yeast in warm water and honey. You’ll know it’s ready to use when it looks foamy! If you don’t see any activity after 5 minutes, you will need to use a fresh packet of yeast.
2
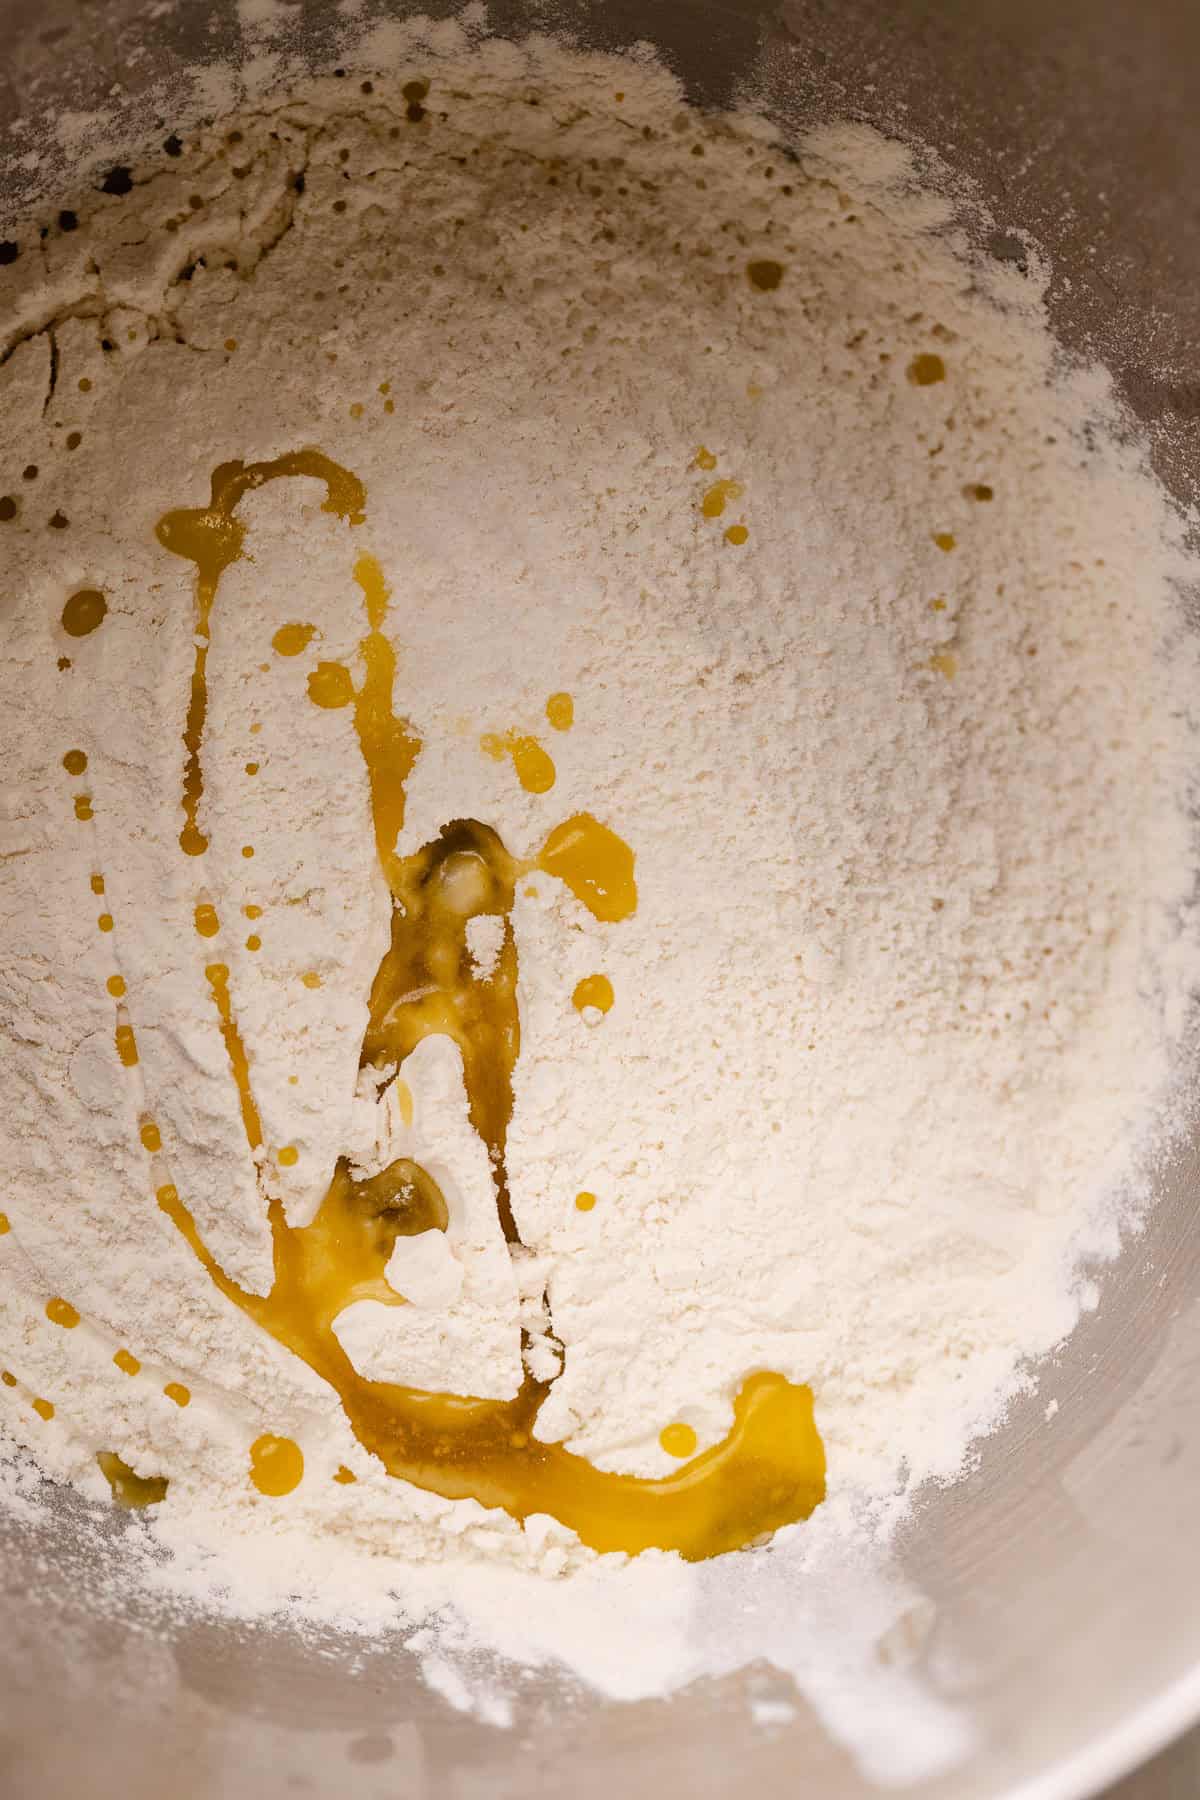
Mix in the dry ingredients. For ease, I recommend using a stand mixer! If mixing by hand, you can mix it in a large bowl with a wooden spoon.
I loved how easy this recipe was to make, so I even turned it into mini cheesy parmesan bread bites. They make the BEST appetizer or snack!

3
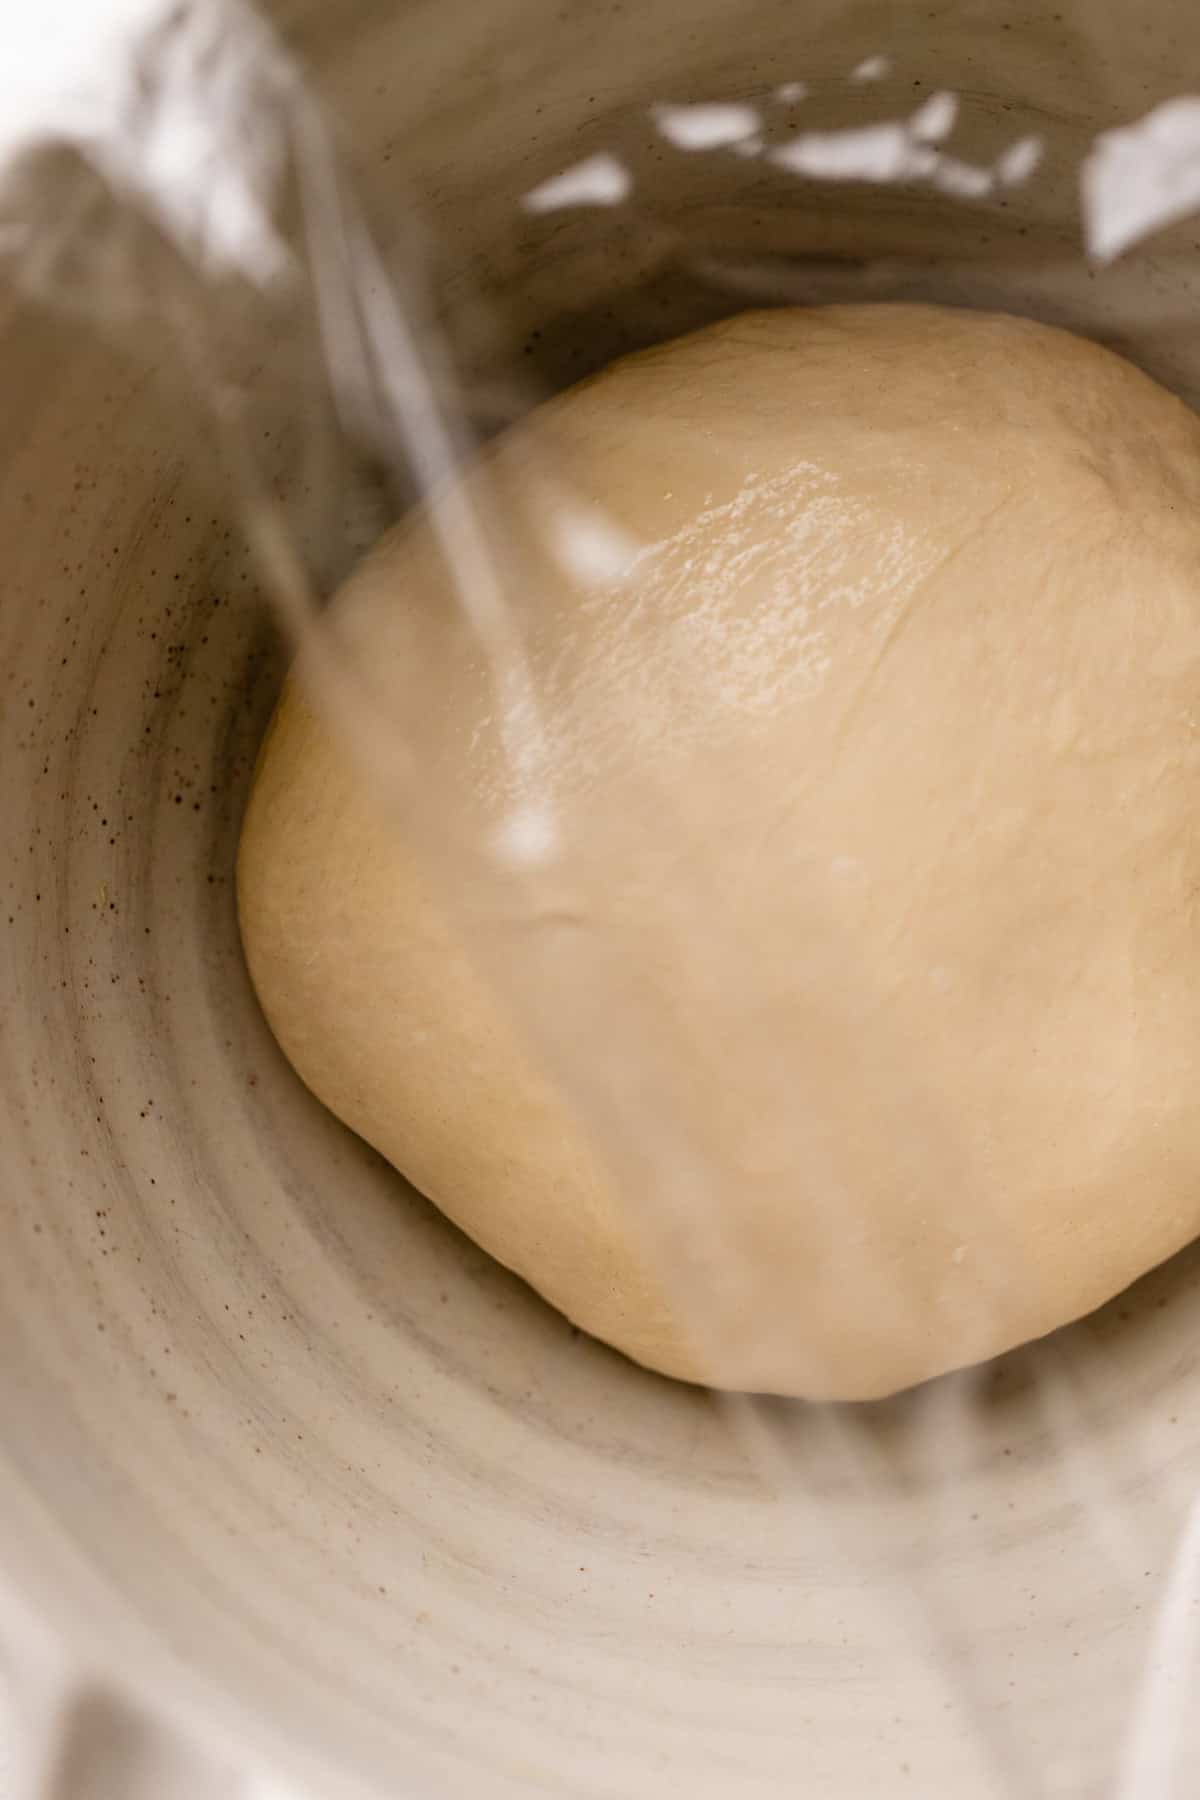
Knead the dough until it is smooth. It should clean the sides of the bowl and feel soft and tacky!
4
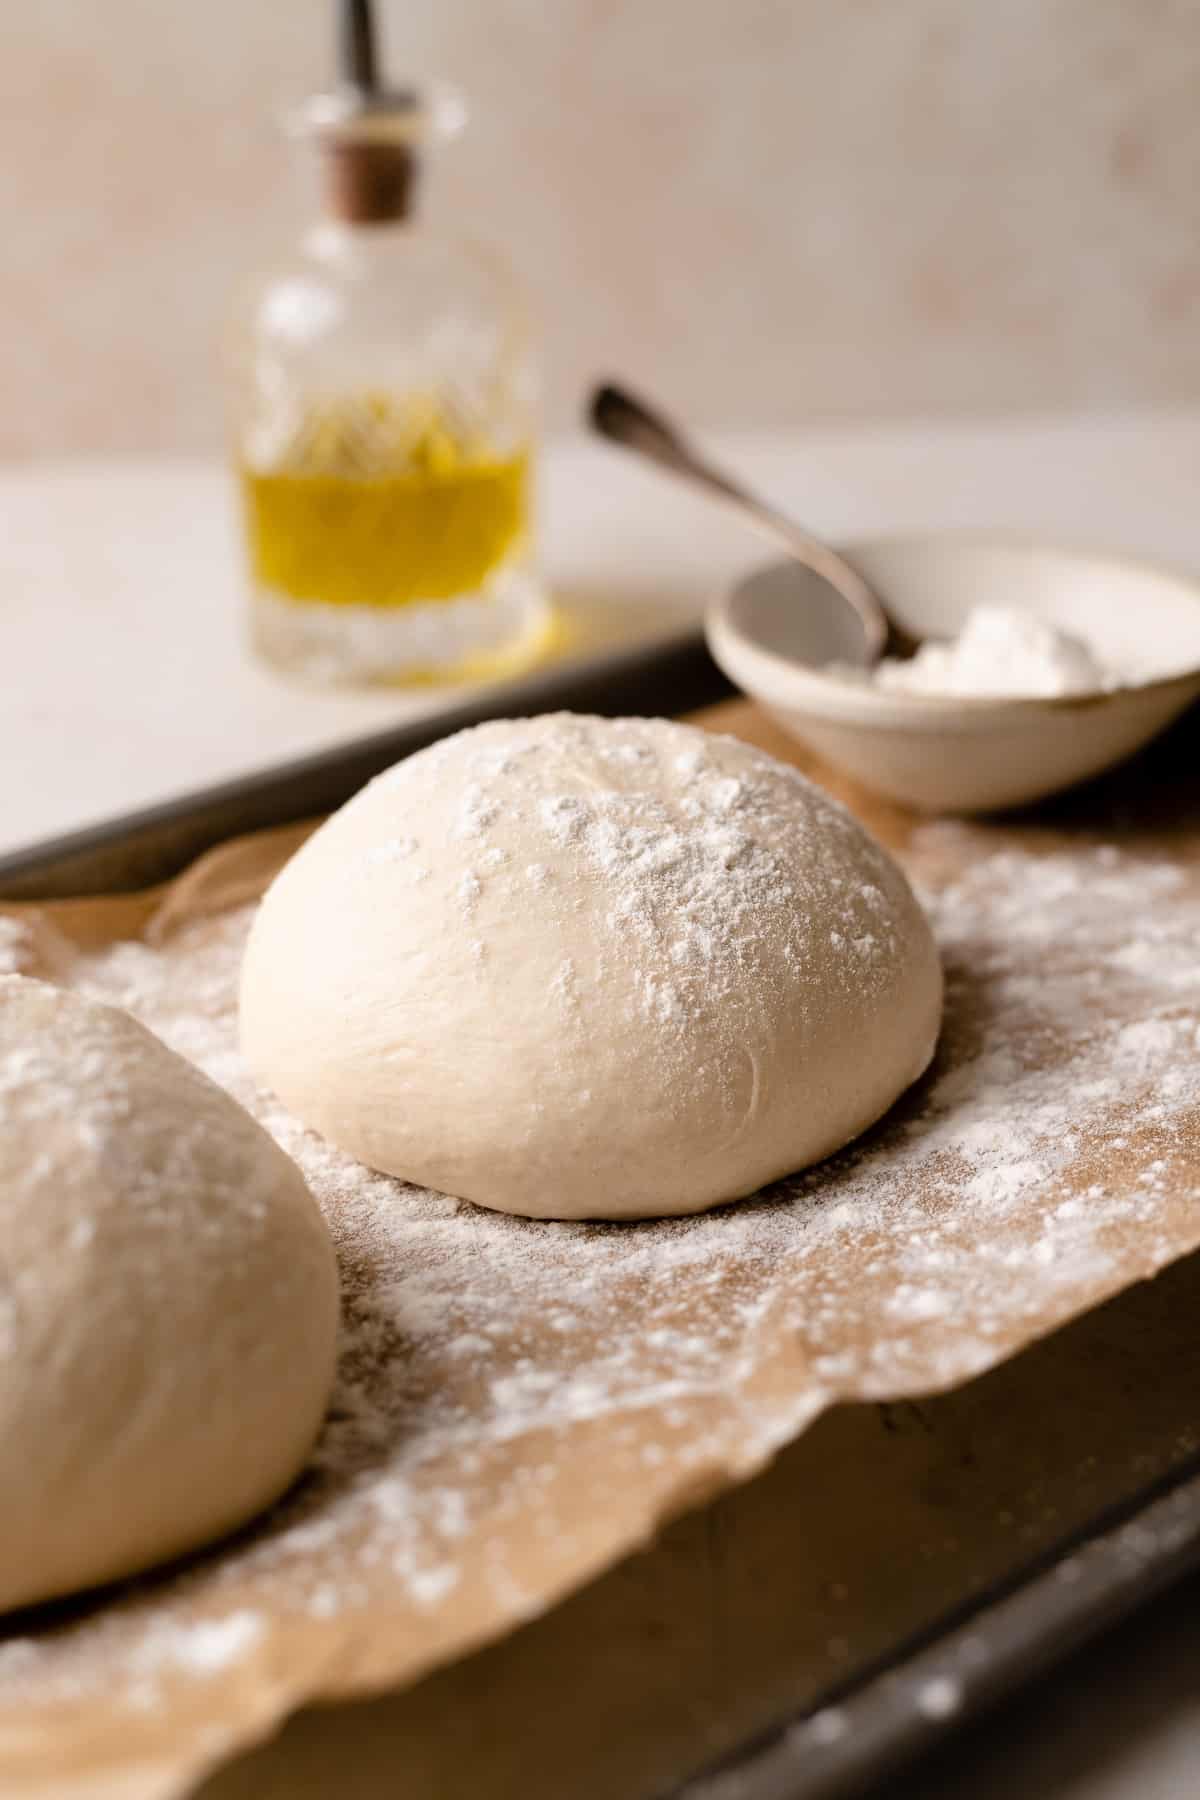
Shape the dough into a ball. Cup your hands around the sides and move them from the top to the bottom. This will stretch it into a tight ball to help it rise properly.
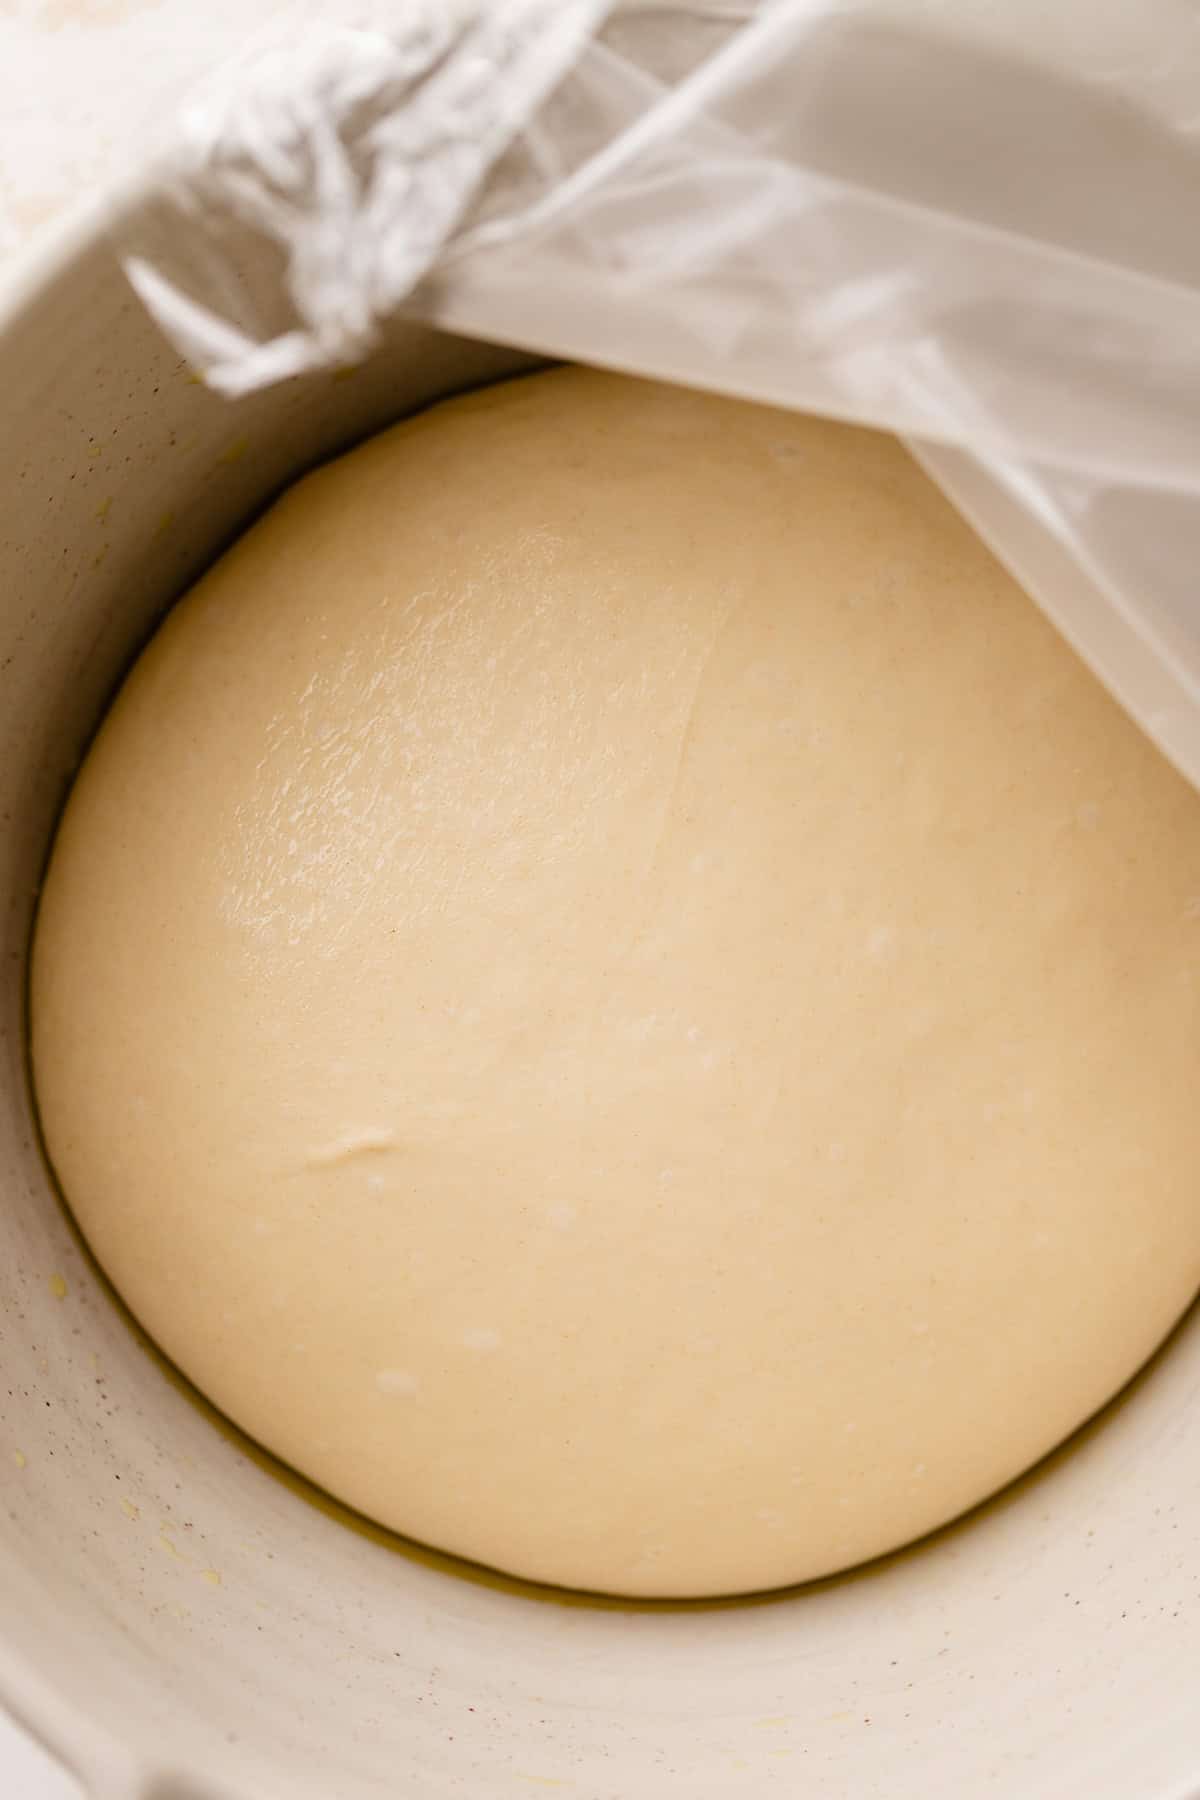
5
Let it rise in a warm spot. It should double in size. The time it takes for it to rise can depend on how warm your kitchen is, but it typically takes around 30 minutes.
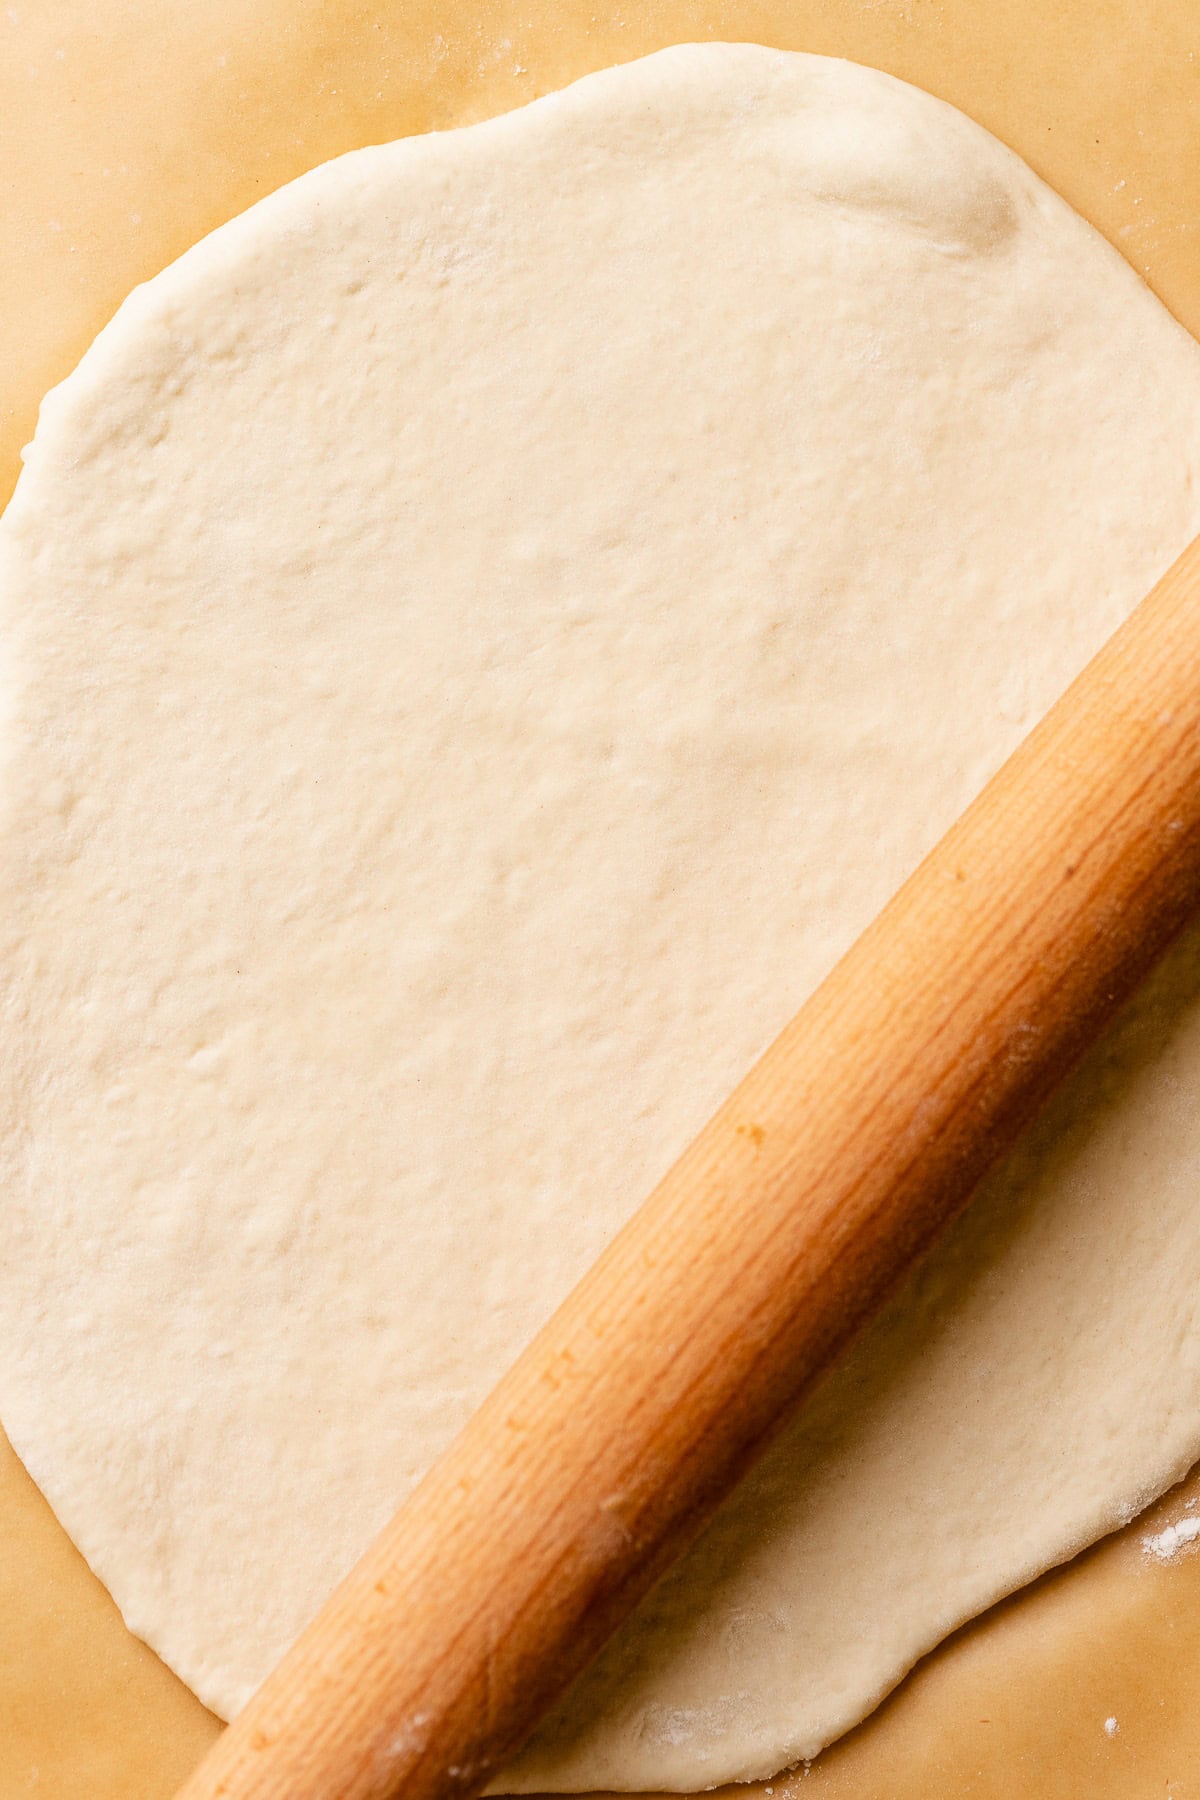
6
Roll out your pizza crust and top with your favorite toppings. Roll the dough to your desired thickness. You can also portion it into smaller sizes for mini pizzas! If using a pizza stone, be sure to preheat it before transferring the dough on top.
If you tried this or any other recipe on my website, please let me know how it went in the comments; I love hearing from you! Also, please leave a star rating while you’re there! You can also tag me on Instagram or Facebook so I can check it out!

Quick & Easy Chewy Pizza Dough
Equipment
- stand mixer with dough hook attachment
Ingredients
- 1 cup warm water
- 1 tablespoon honey
- 2 1/4 teaspoons active dry yeast
- 2 3/4 cup all purpose flour
- 1 tablespoon olive oil
- 1 teaspoon fine sea salt
Instructions
- In a stand mixing bowl, mix together the warm water, yeast, and honey. Set aside for 5 minutes to allow the yeast to become active and foamy.If you are not seeing any activity after 10 minutes, I recommend starting over with a fresh packet of yeast!2 1/4 teaspoons active dry yeast, 1 cup (211 g) warm water, 1 tablespoon (18 g) honey
- Add the flour, olive oil, and salt.2 3/4 cup (335 g) all purpose flour, 1 tablespoon (10 g) olive oil, 1 teaspoon fine sea salt
- Knead the dough on low speed for 8-9 minutes or until it is soft and smooth, and cleans the sides of the bowl. If the dough is sticking to the bottom and/or sides of the bowl, add extra flour 1 teaspoon at a time until it forms a single ball.
- Shape the dough into a ball.
- Place the dough ball into a lightly oiled bowl and cover the top tightly with plastic wrap. Place it in a warm spot to rise until doubled, about 30-40 minutes.In my kitchen it takes about 30 minutes!
- Lightly punch down the dough to remove any excess air.
- Roll the pizza dough to your desired thickness, then transfer it to your baking sheet or pizza stone.
- Add your favorite sauce and desired toppings, then bake at 475 F/250 C for 12-15 minutes, depending on the thickness. When the crust is brown and the cheese is bubbling, it's ready!


This pizza dough is AMAZING! It came together so easily and had that perfect soft fluffy texture I love in a good crust. I refrigerated half of it for the next day and that worked out so well!
This pizza dough is AMAZING! It came together so easily and had that perfect soft fluffy texture I love in a good crust. I refrigerated half of it for the next day and that worked out so well!
This pizza dough is the best I’ve ever had! The perfect texture and flavor. I can’t believe how easy it was to make. I’m telling y’all, don’t be afraid to try this recipe, even someone with no baking experience could make this dough easily!
This pizza dough is the best I’ve ever had! The perfect texture and flavor. I can’t believe how easy it was to make. I’m telling y’all, don’t be afraid to try this recipe, even someone with no baking experience could make this dough easily!
So simple and easy! Loved all the tips, this was a stellar hit for pizza night.