

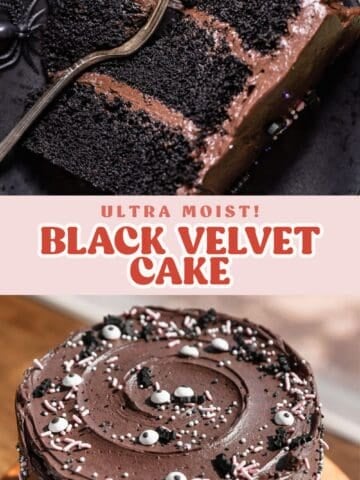
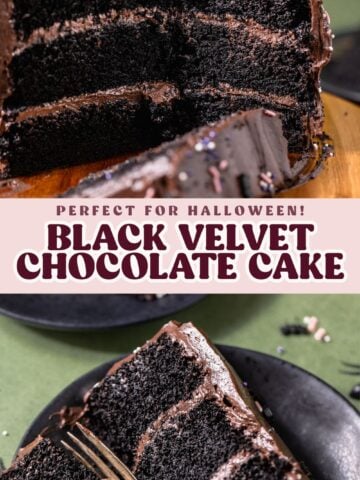
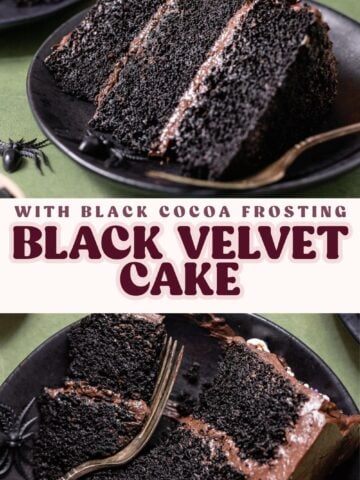
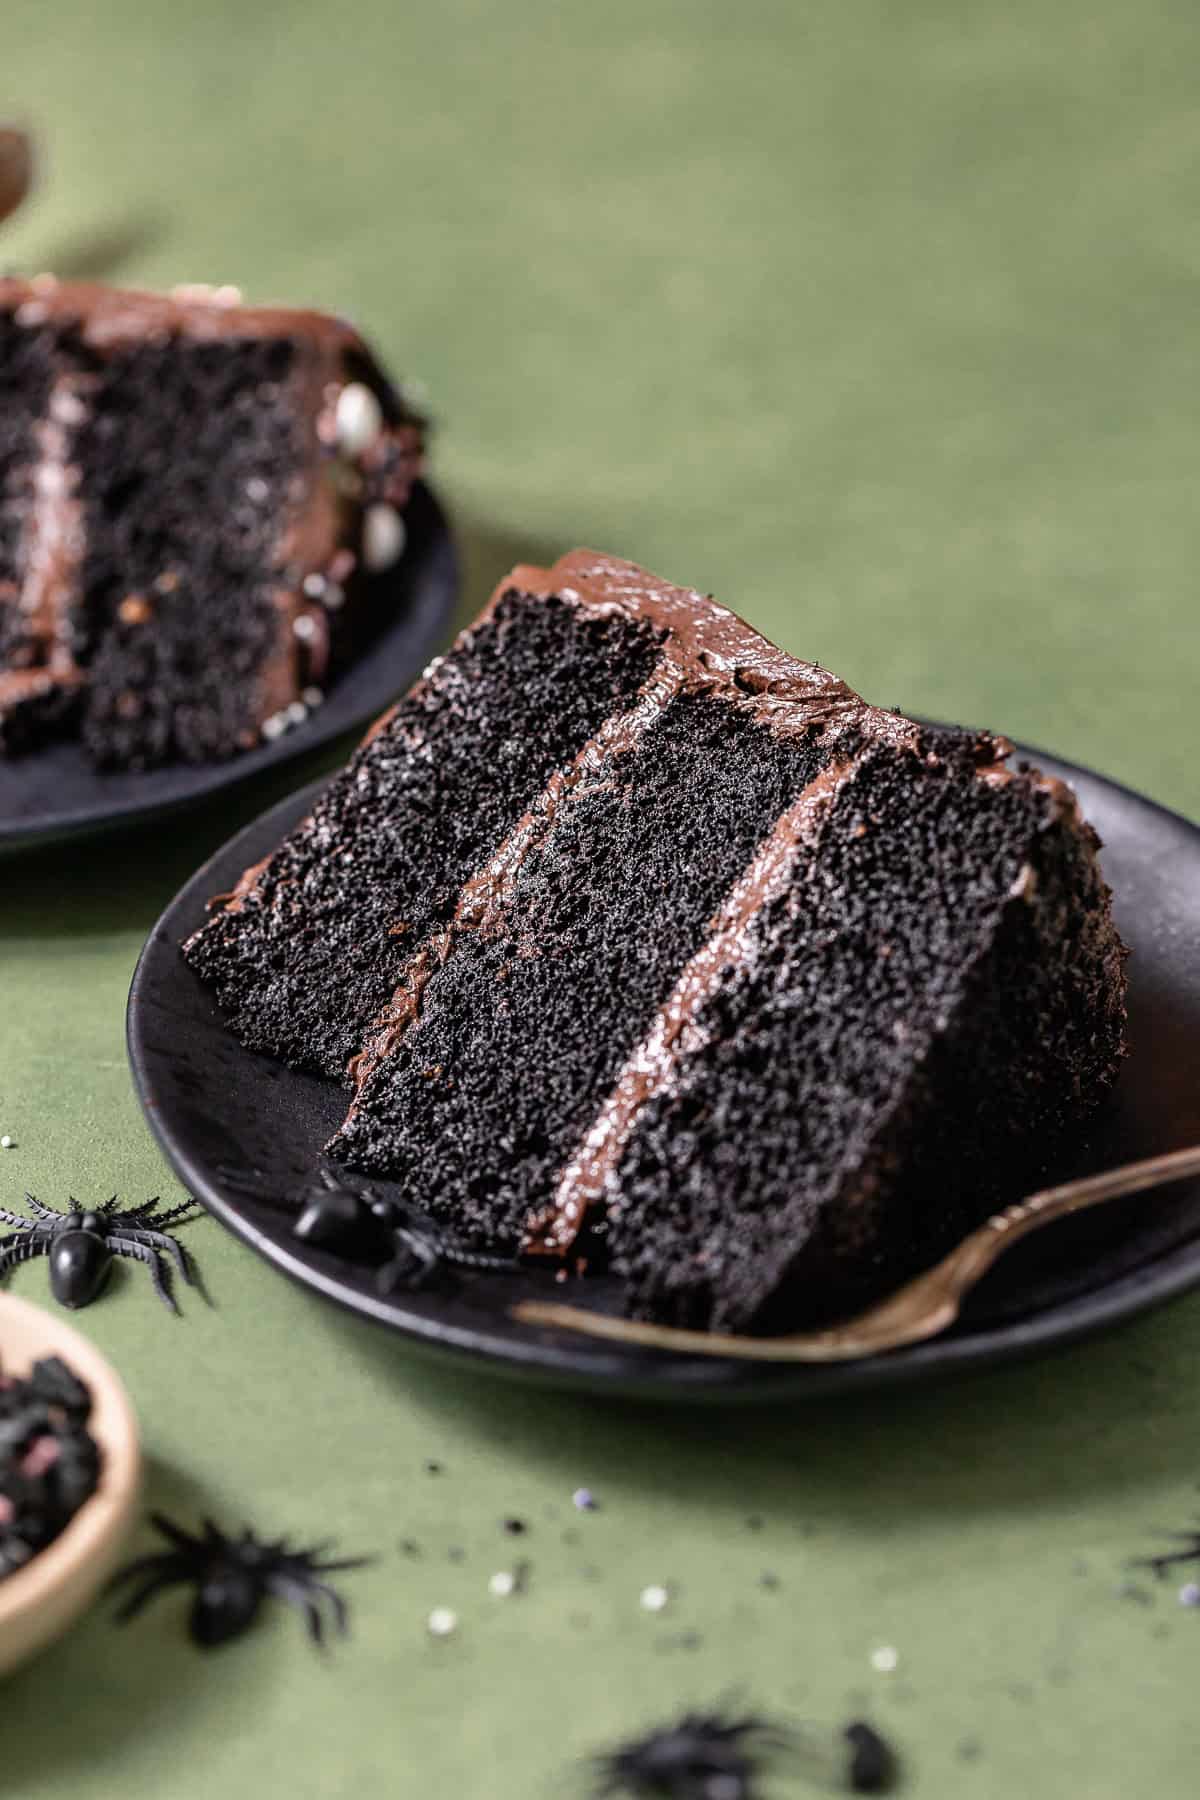
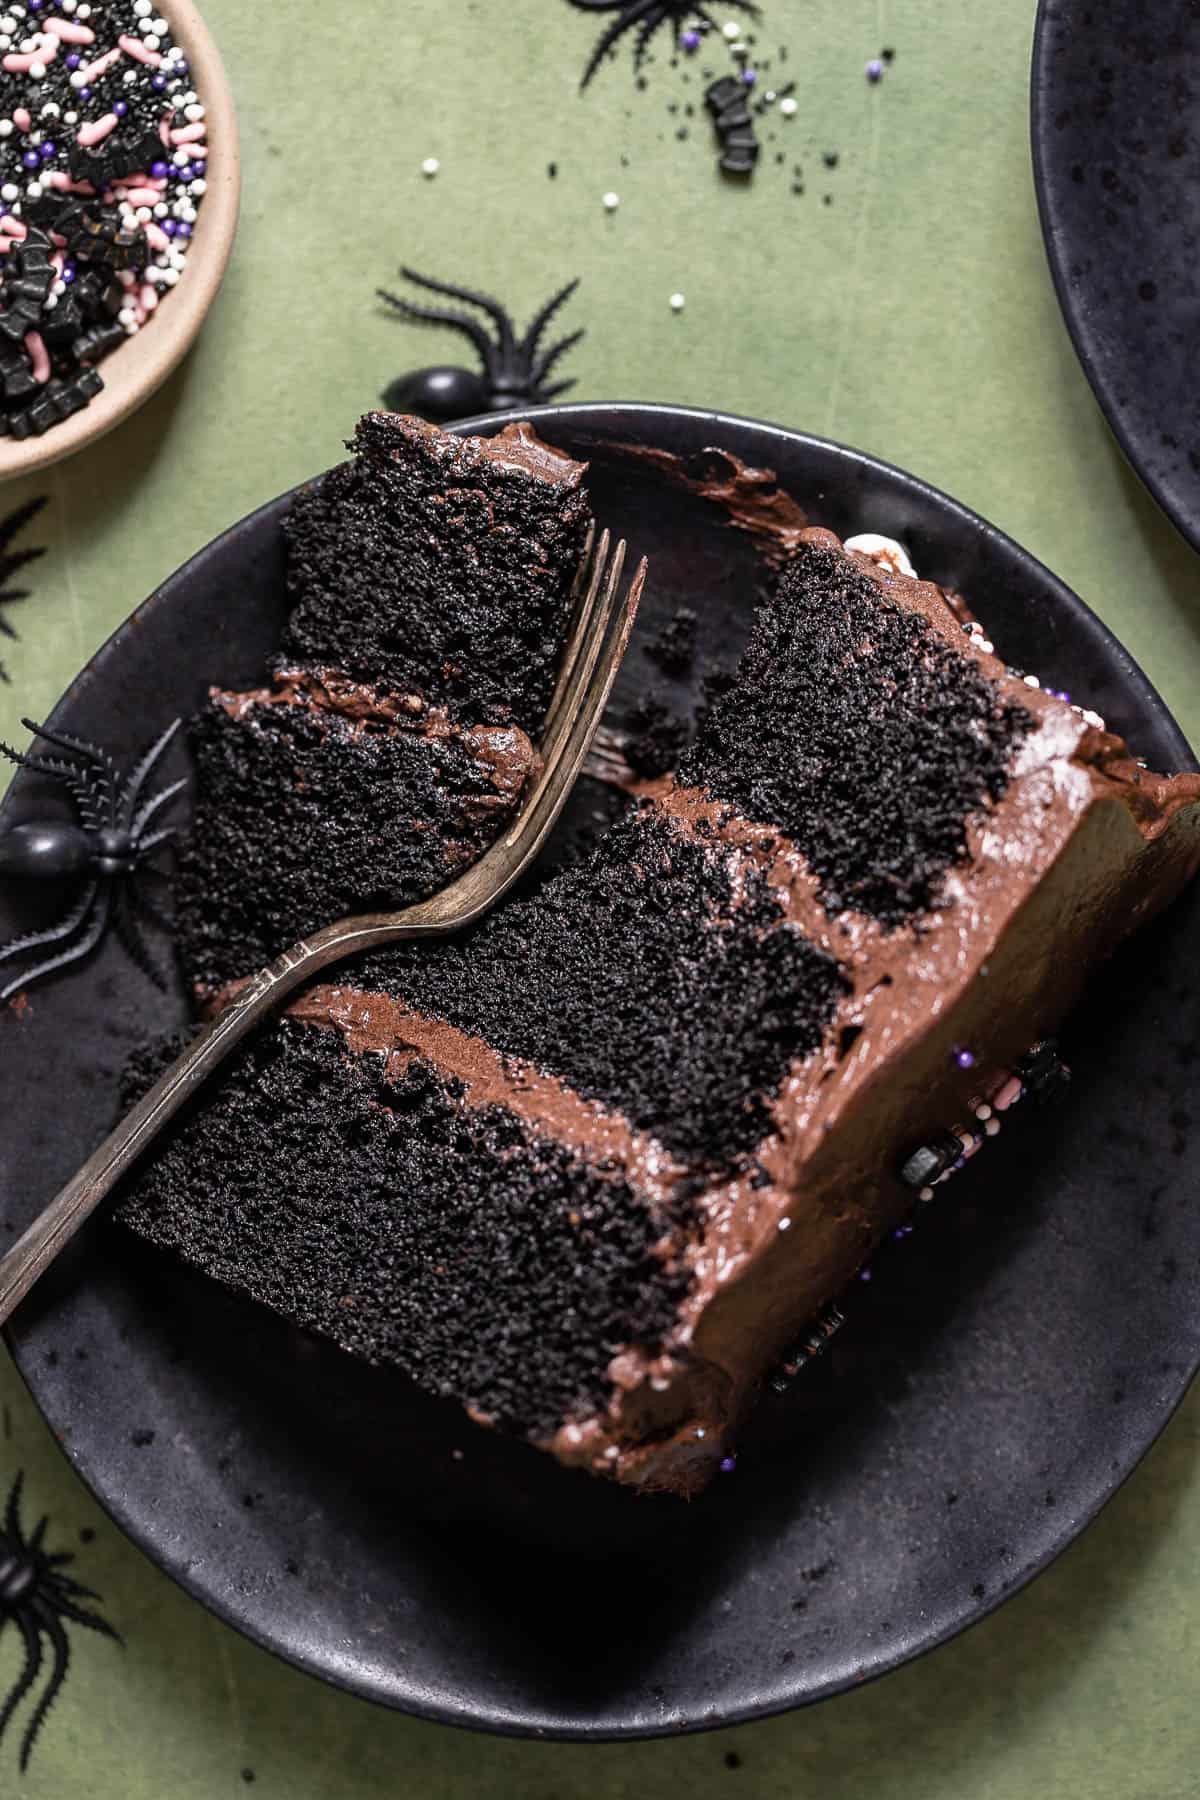
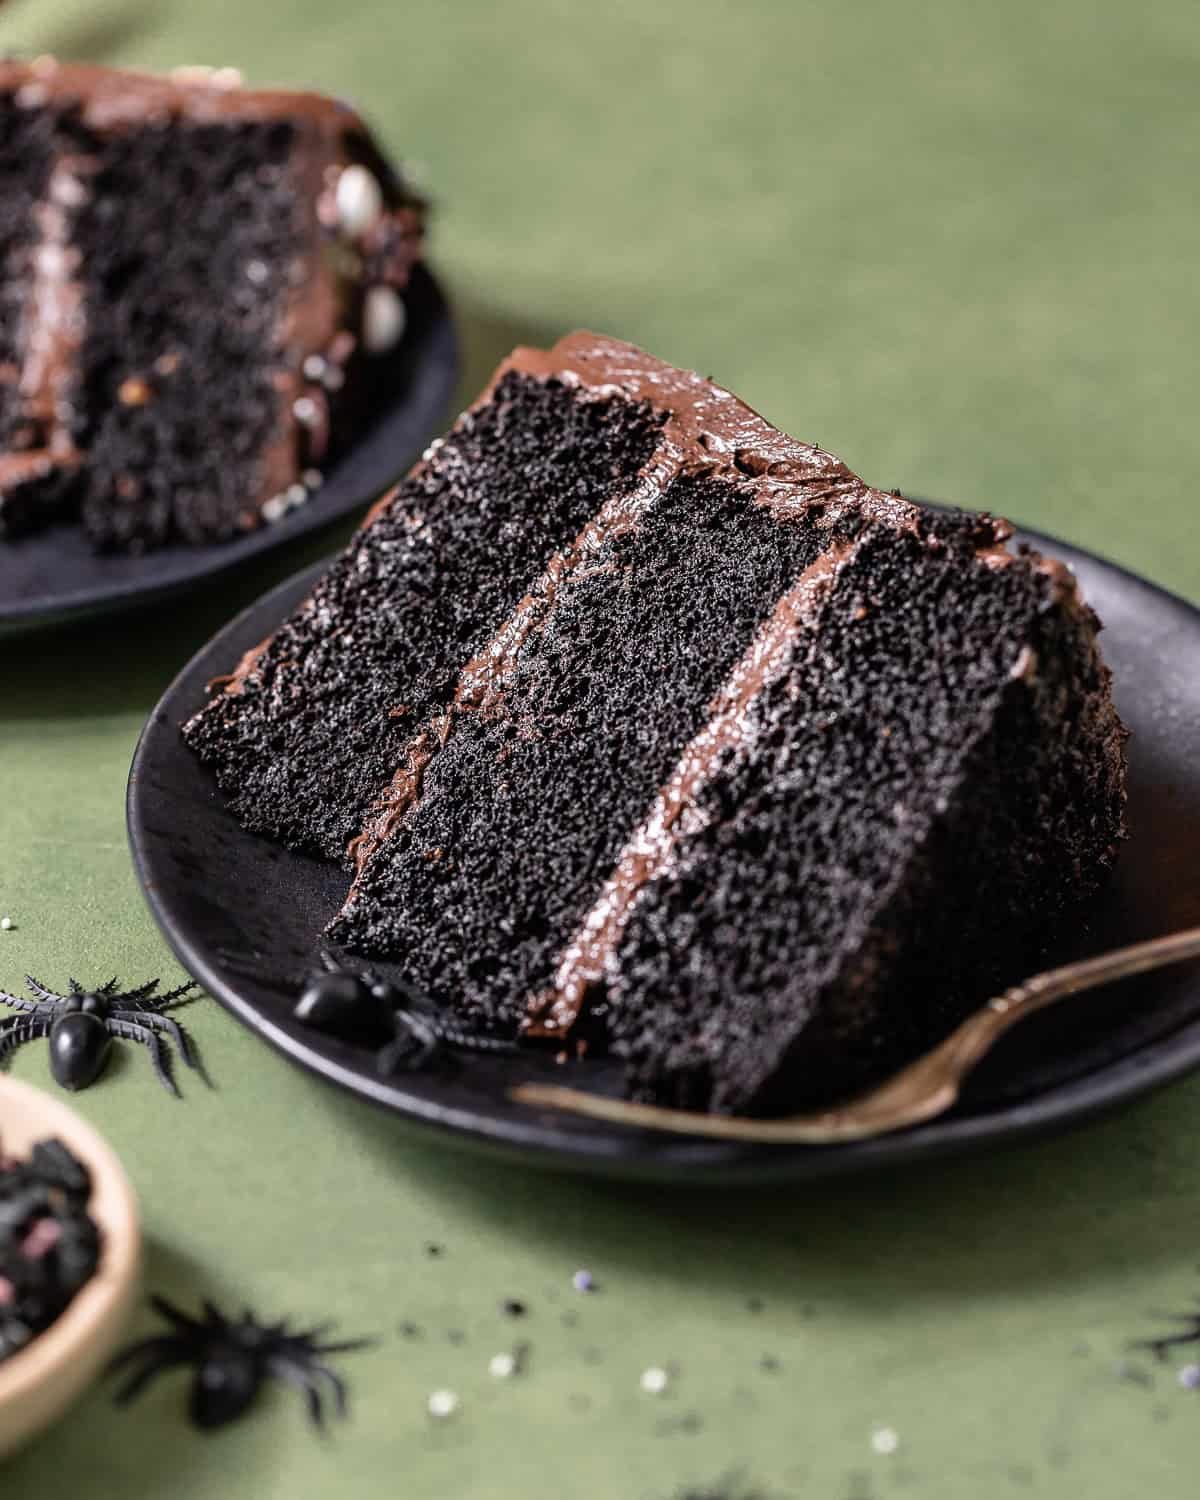
This black velvet cake is Halloween dessert goals: pitch-black, ultra-moist, and full of rich, chocolatey flavor. Made with black cocoa powder (no food dye needed!), it tastes just like an Oreo cookie in cake form.
Adapted from my naturally dyed black velvet cupcakes, the chocolate cake layers bake up soft and tender, then get covered in my favorite silky black cocoa buttercream. It’s a guaranteed bakery-style showstopper!
If you’ve never bought black cocoa before, you’re really in for a treat.
It’s what gives this cake is dramatic black color without a drop of food coloring, plus this really deep cocoa flavor that you just don’t get with any other cocoa powder.
I don’t recommend substituting it, because regular or Dutch-process cocoa won’t give you quite the same flavor or dramatic color.
And don’t worry about buying a whole bag of black cocoa just for this cake because I use it all the time! It’s what gives my chocolate Oreo cake even more Oreo flavor, and it makes my black cocoa miso brownies ridiculously rich and fudgy.
How to Make It
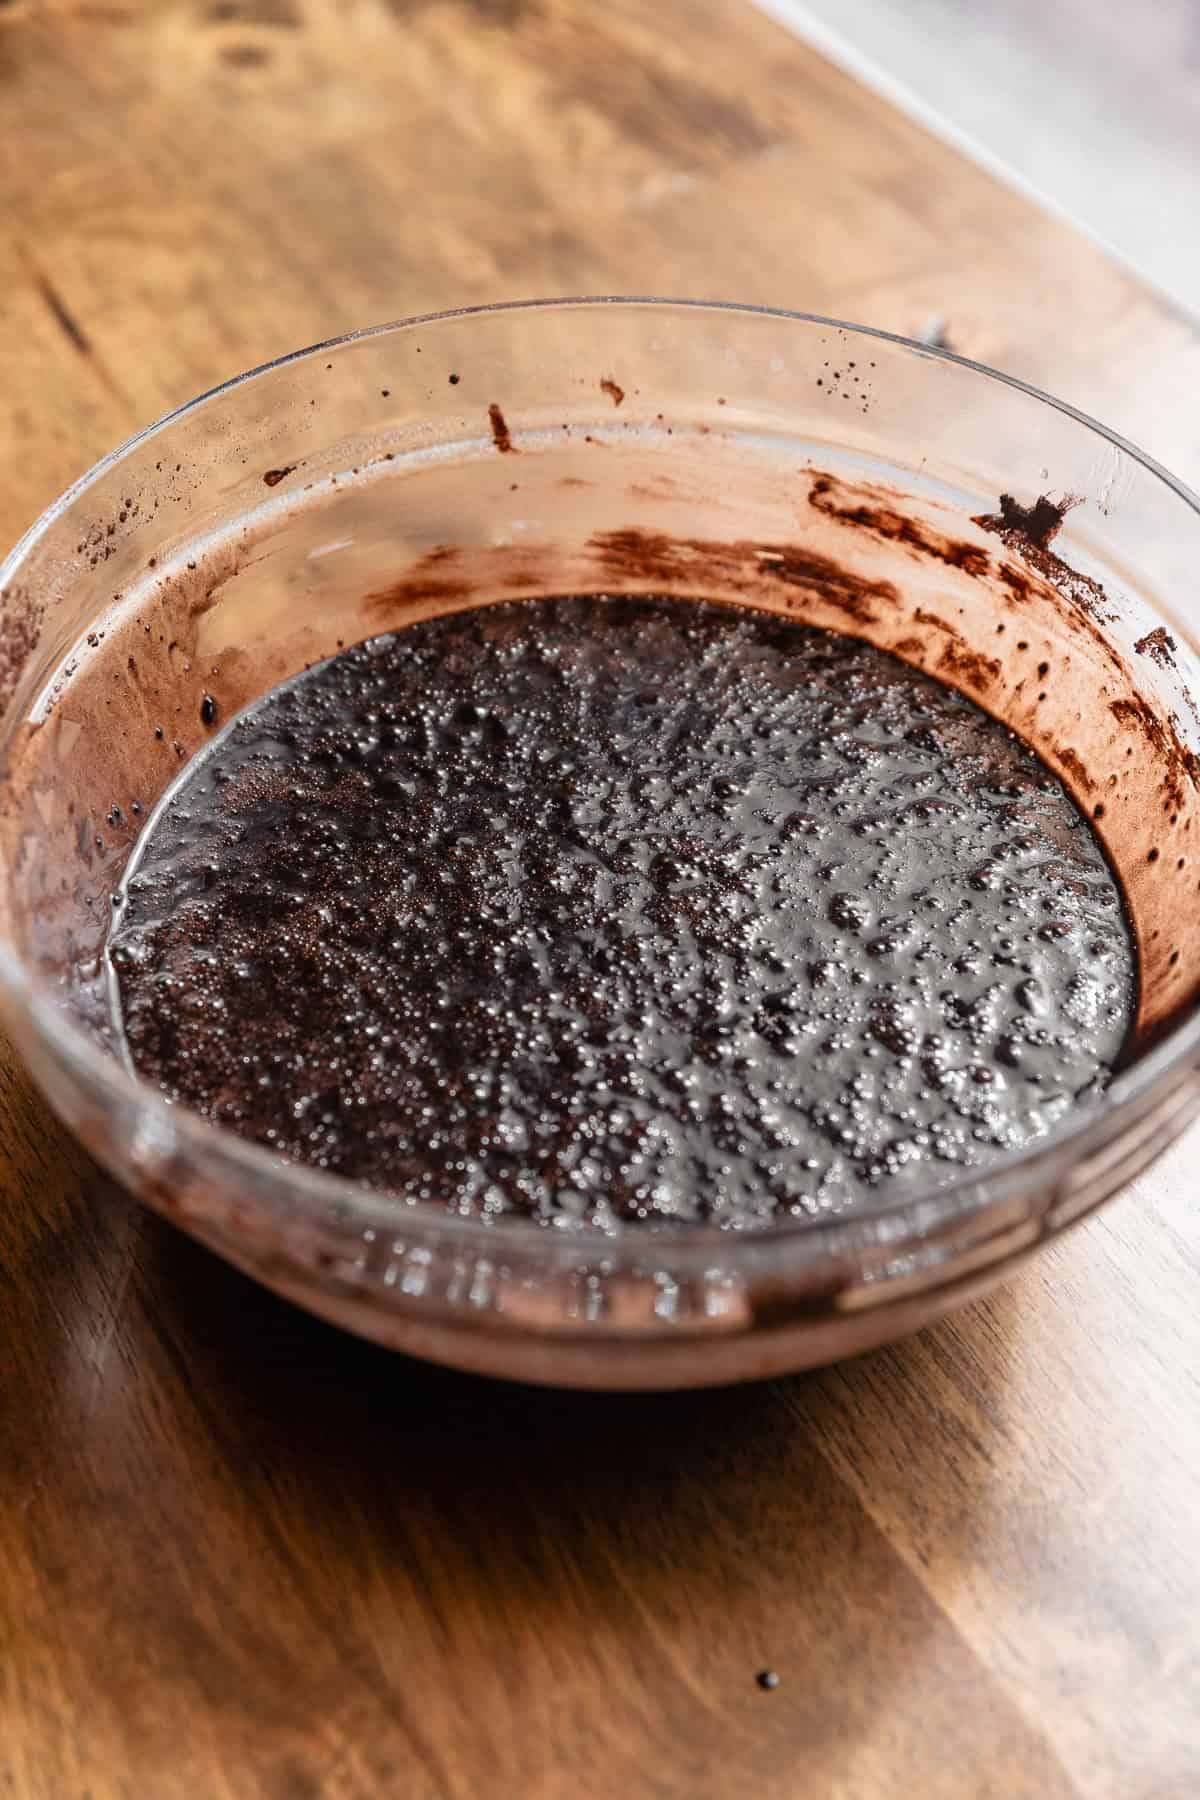
1
Once the black cocoa cake batter is mixed, you’ll see a rich black color and a glossy texture. It comes together in one bowl, you do not need a stand mixer.
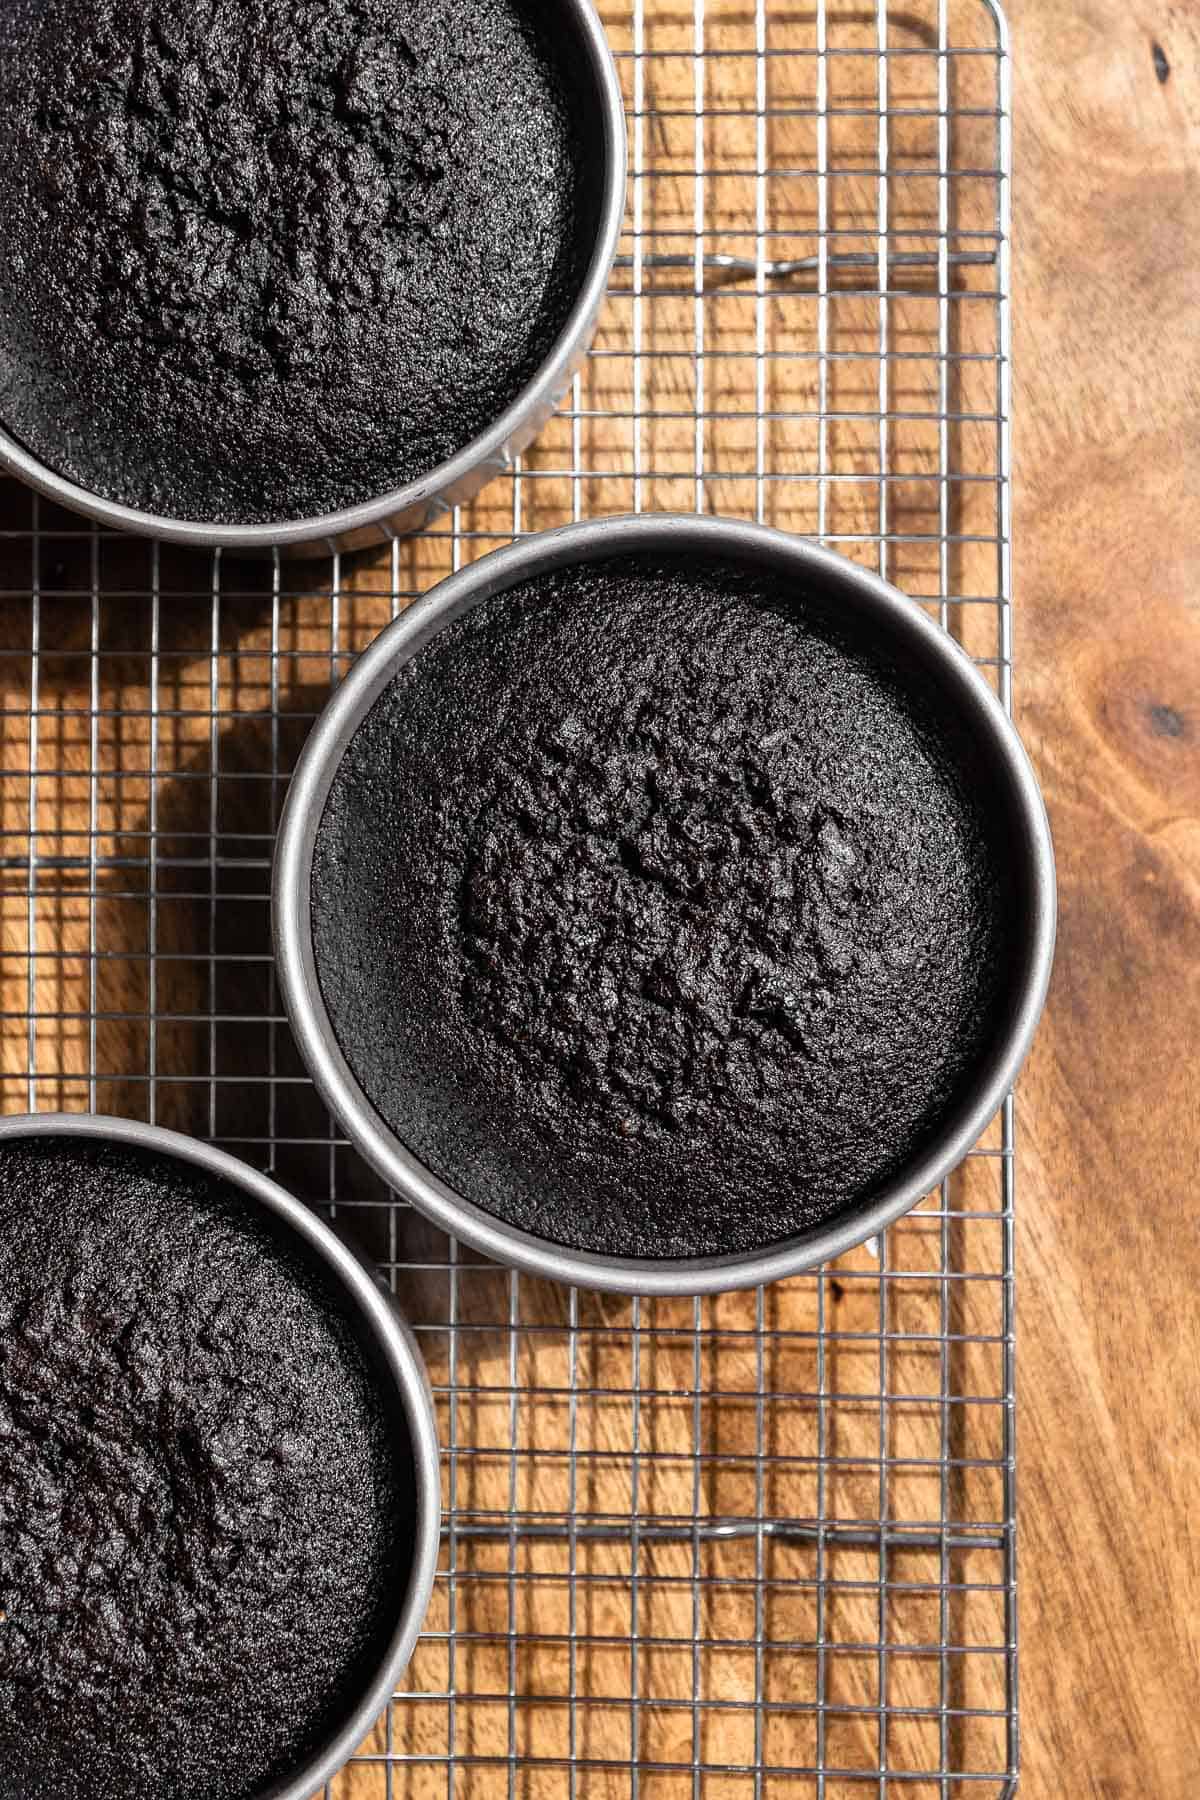
2
Bake the cake batter in three 6-inch cake pans, then Let the cake layers cool on a wire rack. Wait until the cake layers are completely cooled before assembling, or the cake will melt the frosting!
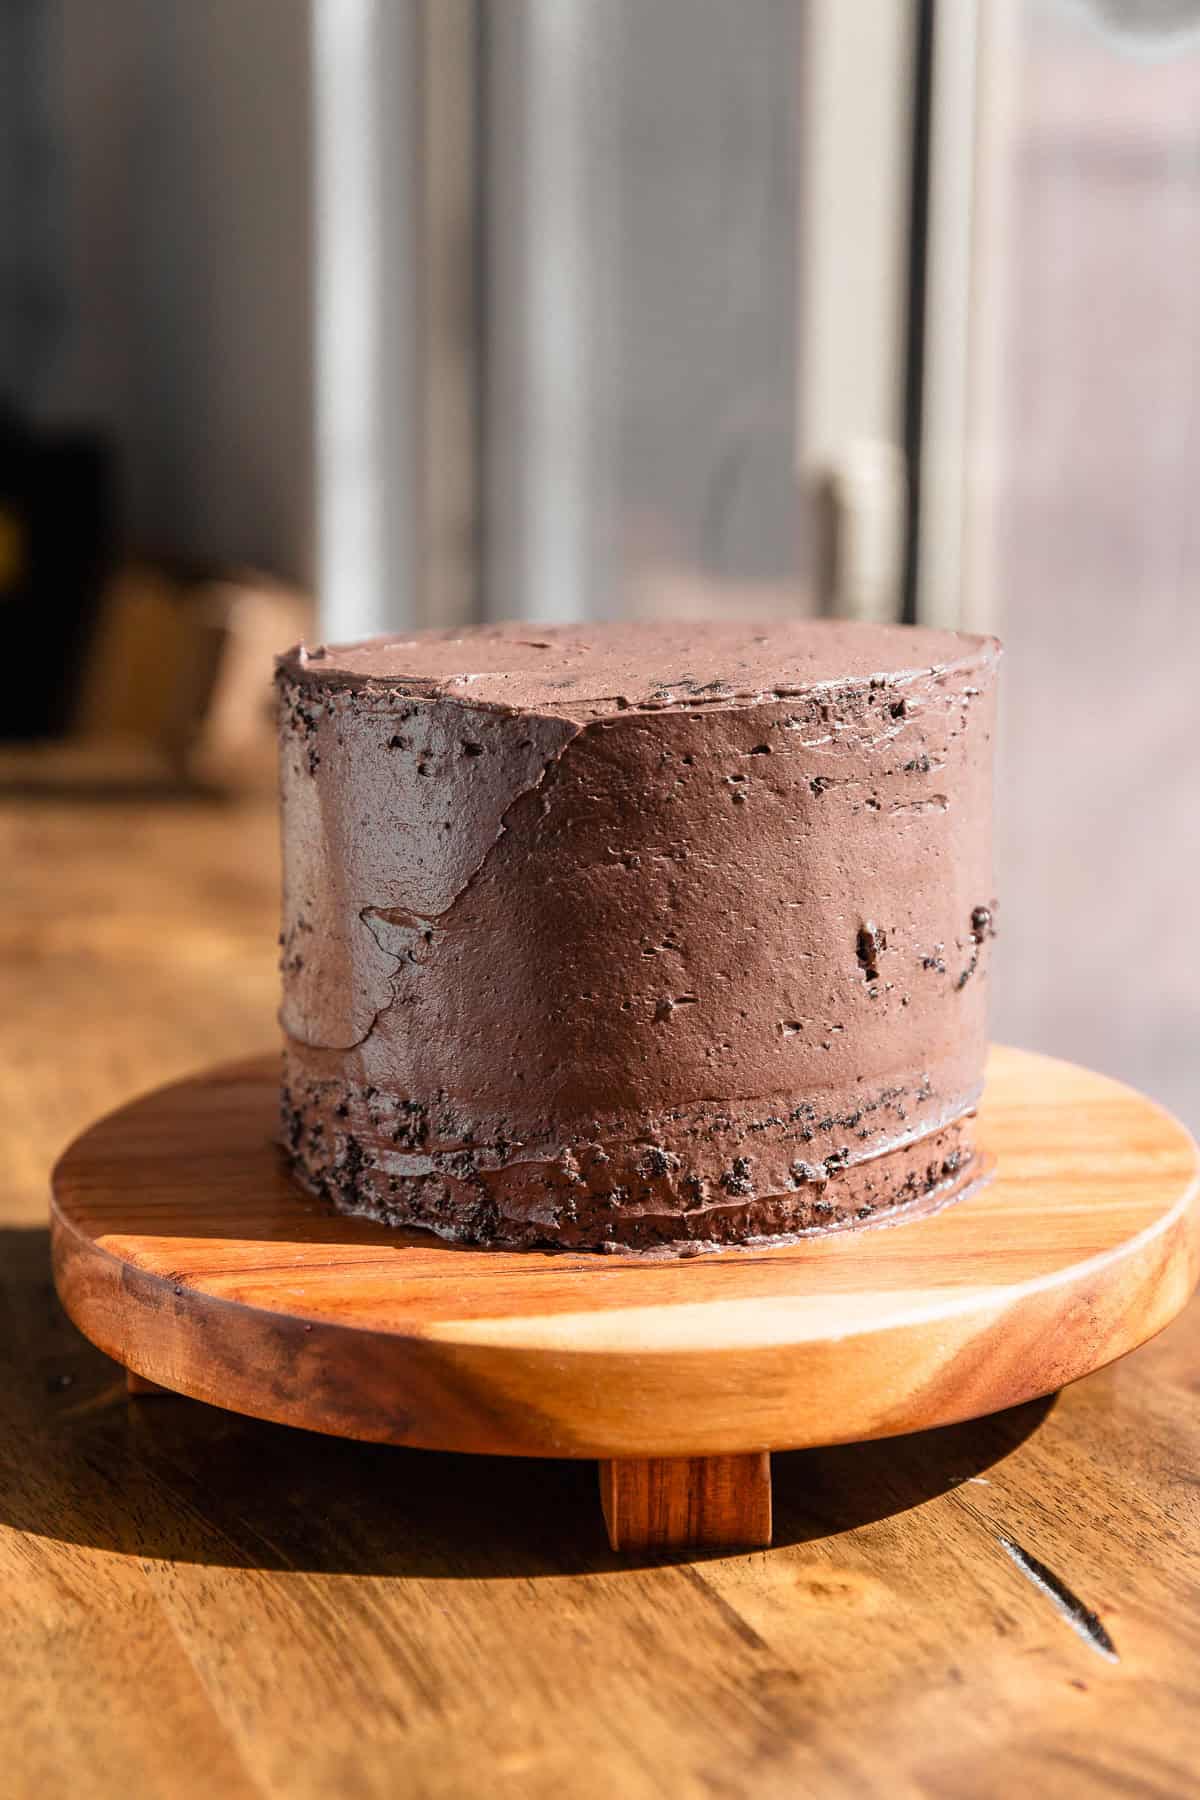
3
Layer the cake layers with the black cocoa buttercream frosting. Once assembled, cover the cake in a thin layer of frosting (shown above). Then, chill in the fridge until set.
This keeps the layers firm and prevents them from sliding around while you decorate the cake.
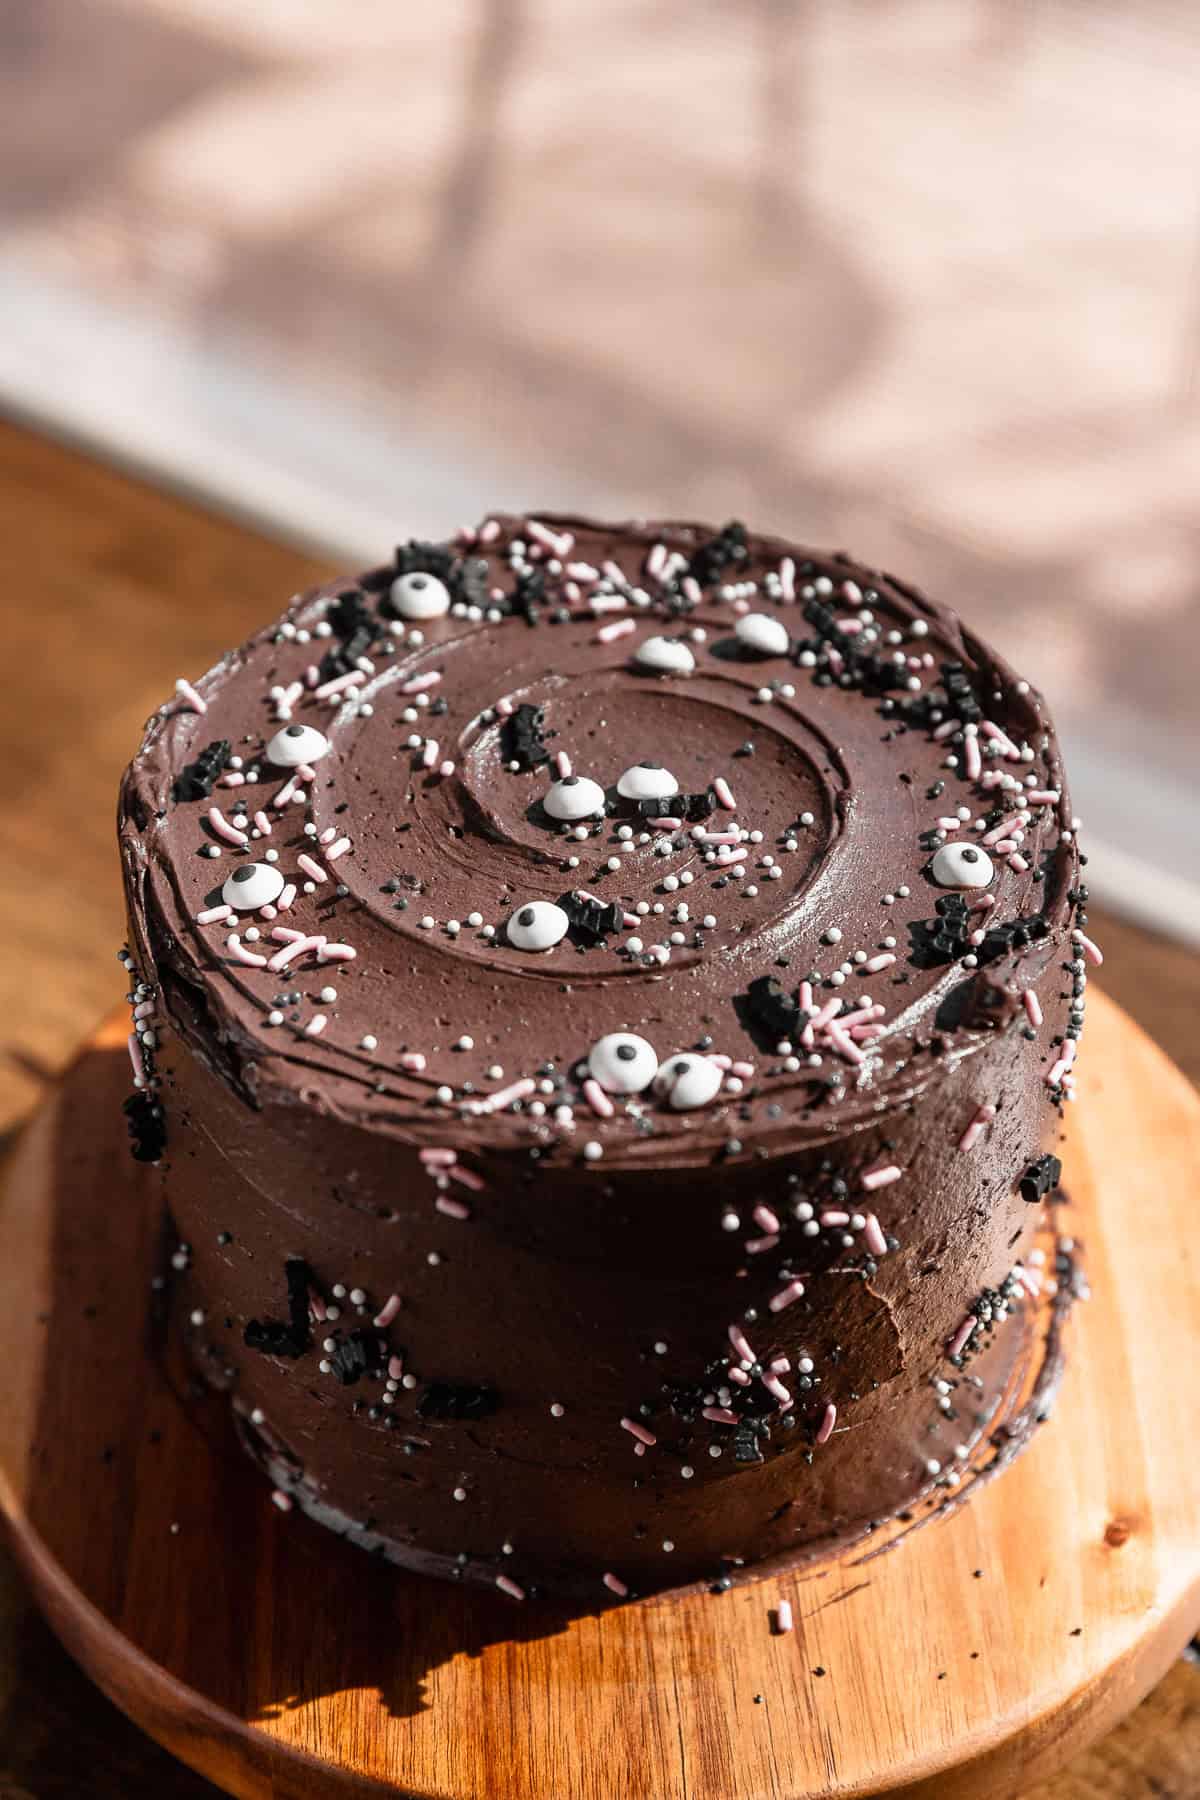
4
Cover the entire cake with the remaining frosting, then decorate with sprinkles. I always make this cake for Halloween, so I use a mix of fun sprinkles like eyeballs and black bats.
But you could also go more classic with colorful sprinkles instead.
While this cake is perfect for a Halloween spread, readers make it for birthdays and celebrations all year long!
That’s one of my favorite things about baking with black cocoa: it can feel extra spooky here, but completely classic when you bake it into other recipes like my Oreo cupcakes.
Enjoy!
— Cambrea 🫶🏻
If you tried this or any other recipe on my website, please let me know how it went in the comments; I love hearing from you! Also, please leave a star rating while you’re there! You can also tag me on Instagram or Facebook so I can check it out!
Black Velvet Cake
Equipment
- three 6 inch cake pans
Ingredients
Black Cocoa Cake Batter
- 1 2/3 cup all-purpose flour, *See notes below for measuring*
- 3/4 cup black cocoa powder
- 1 teaspoon baking soda
- 1 teaspoon fine sea salt
- 2 cups granulated sugar
- 1/2 cup neutral oil, like canola, vegetable, or avocado
- 1 cup buttermilk, room temperature
- 2 large eggs, room temperature
- 1 teaspoon vanilla extract
- 2/3 cup hot coffee, substitute hot water
Black Cocoa Frosting
- 2 cups unsalted butter, room temperature
- 2 cups powdered sugar
- 1/2 cup black cocoa powder
- 3 tablespoons heavy cream
- 1 teaspoon vanilla bean paste or extract
- Pinch of fine sea salt
- Sprinkles for decorating
Instructions
Make the Cake Batter
- Line three 6-inch cake pans with a round of parchment paper on the bottoms. Preheat the oven to 350 F/180 C.
- Whisk together the flour, black cocoa powder, baking soda, and salt until combined. Set aside.1 2/3 cup (210 g) all-purpose flour, 1 teaspoon baking soda, 1 teaspoon fine sea salt, 3/4 cup (75 g) black cocoa powder
- In a large bowl, whisk together the oil and sugar. Whisk in the buttermilk, eggs, and vanilla extract. Then whisk in the dry ingredients until smooth.2 cups (400 g) granulated sugar, 1/2 cup (100 g) neutral oil, 1 cup (227 g) buttermilk, 2 (110 g) large eggs, 1 teaspoon vanilla extract
- Then, whisk the hot coffee into the cake batter until just combined.2/3 cup (145 g) hot coffee
- Evenly distribute the cake batter into the prepared cake pans. This is best done with a food scale for accuracy; each pan should hold roughly 400 grams.
- Bake for 25-35 minutes, or until a toothpick inserted into the center comes out covered in a few moist crumbs. Let the pans cool on a wire rack, then run an offset spatula around the edges and flip them out onto the rack.
Make the Black Cocoa Buttercream
- Cream the butter in a stand mixer bowl until smooth. Then, mix in the powdered sugar. Beat on medium-low speed until the frosting is light and airy. Then, mix in the black cocoa powder, heavy cream, vanilla, and salt until combined.2 cups (452 g) unsalted butter, 2 cups (300 g) powdered sugar, 1/2 cup (50 g) black cocoa powder, 3 tablespoons (36 g) heavy cream, 1 teaspoon vanilla bean paste or extract, Pinch of fine sea salt
Assembly
- Place the first cake layer on your serving board. Pipe an even layer of the black frosting on the top. Continue alternating the cake layers and frosting, placing the last layer upside down. Then, cover the cake with a thin layer of frosting to crumb coat. Chill the cake in the fridge for 15-20 minutes, or until the frosting is firm.
- Use the remaining frosting to cover the top and sides of the cake. Decorate as desired and enjoy!Sprinkles for decorating











I would LOVE to make it into cupcakes! New to baking so I can’t imagine what would change besides equipment & baking times ? Id experiment myself but I procrastinated & gave myself zero time to make these (birthday) cupcakes 🙂 lol I appreciate any time spent helping me out <3
Hi Valerie! You could definitely make them into cupcakes. I would fill the liners 2/3-3/4 full and start checking for doneness around 18 minutes. Hope you love them!
Hi!
How mamy cupcakes you think this recipe will make?
Thanks!
It should make around 12-14 cupcakes!
Hi! If I wanted this to be a sheet cake, what dimensions
Should I use and would there be any alterations?
Thank you, it sounds DELICIOUS!! Can’t wait!
Great question! I haven’t tested it myself, but I would try it in a square 9×9 baking pan. I think the cake would be too thin in a 9×13. Let me know how it turns out if you try it!
Cambrea! I loved this recipe. But I made it with a different frosting about a year ago. Was that with your chocolate buttercream? I can’t remember and I’d love to make the original!
Please let me know, and thank you so much. All your recipes are so amazing!
Hi Suzanne, yes! That was with my chocolate buttercream with black cocoa powder instead of regular cocoa powder. I wanted the new frosting to be much richer which is why I changed it. Let me know if you need me to email it to you!
Thank you so much for letting me know! And yes, I’d love for you to email it to me.
I will try the new recipe, but so hooked on the OG, I wanted it for my recipe book.
Much appreciate, and again, can not rave enough about your recipes, you make me look very good and my guests very happy!
Absolutely! I just sent the recipe your way, check your spam folder if you don’t see it in your inbox. Thank you so much for your kind words, I’m so happy to hear you enjoy them!!
Making this for our twins’ birthdays this week!
I would love the OG recipe as well if you would email it to me. Thank you in advance!
Hey, lovely recipe! Could you please suggest any replacement for eggs??
Hi Shruti! Unfortunately, I don’t recommend substituting out the eggs as this recipe was designed to use them.
So freaking delicious! I used this recipe to craft 24 stunning cupcakes, and they were so good!! The taste was rich and fudgy, but not overly sweet. Perfect for Halloween or any gothic style cakes. It was so nice to have a black dessert that didn’t discolor lips or teeth!! 10/10 will make this again. Thank you!!
Sooo happy to hear that Jessica, thank you so much for trying the recipe! 🙂
Hi! I have two 9inch cake pans on hand. Can I make this using those pans instead? Going to make today with my son! Thanks
Hi Mallory! Definitely, I would watch them while baking, and start checking for doneness around 20-22 minutes!
Hello!
Follow up question from the above – Does this mean I can do three 8 inch pans without changing the recipe – I just have to watch the time? I saw your note in the recipe but wasn’t sure about the difference between two 9 inch pans and 3 8 inch pans after seeing this comment. Thank you 🙂
Hi Shannen! I would follow the notes for altering the baking soda and baking powder for 3, 8 inch cake pans!
I just wanted you to know that I found your site when I went looking for an alternative to ovenly’s blackout cake recipe (loved the frosting but the cake was dry) so I made this one (as three layers using your instructions for altering leavener amounts) and it is absolutely delicious and moist. Everybody loved it, huge hit. Only small issue is my oven took way longer to bake three 8″ layers than 18 to 20 minutes ended up being closer to 30 and it was still suuuuuper moist and soft and rich. Can’t believe how little oil is in this cake and it still tastes so decadent.
Thank you so much for sharing this! I’m thrilled the cake worked out so well for you and was such a hit. Really appreciate you trying the recipe and taking the time to write a review!
Can you use for cupcakes?
Definitely!
If I wanted to do these as cupcakes for a Halloween party, would I need to make any changes?
Hi Jessica! I would just watch the bake time on them in the oven, start checking them around 15-18 minutes!
Haven’t made yet, but I’m looking for 1 layer– how can I adjust the cake to just be 1 6″ cake pan, instead of 3?
Hi Alex! Unfortunately, it can’t be scaled down to a 1 layer recipe as the ingredient amounts will be really hard to measure with accuracy. I recommend baking the full recipe and freezing the other two layers for later!
I’ve made this cake twice now! Both for birthdays. Once with the chocolate buttercream and once just a vanilla and added coconut flakes. Perfect! Perfect! Perfect. I do use vanilla paste instead of vanilla extract in my buttercream!
Thanks for the recipe!
This recipe is better than any other chocolate cake recipe i’ve ever tried in my entire life and i’ve tried a lot of recipes! super moist, velvety, and a perfect black cocoa flavor.
What a fun cake for Halloween, with all these little eyes looking at you! This will be a hit for the kids! Thanks for sharing!
What a beauty! I was looking for a lovely chocolate cake to make with cocoa power, and I will give this a go this Sunday! It just looks so irresistible. Will let you know how it turns out 🙂
This is such a fun Halloween idea! And it looks so moist and delicious too! Definitely making this cake ASAP!
This cake was absolutely delicious – and more importantly (maybe) – adorable! The eyes were just the perfect touch. Love it!
So cute and the kids would have fun decorating the cake with all of the eyes.