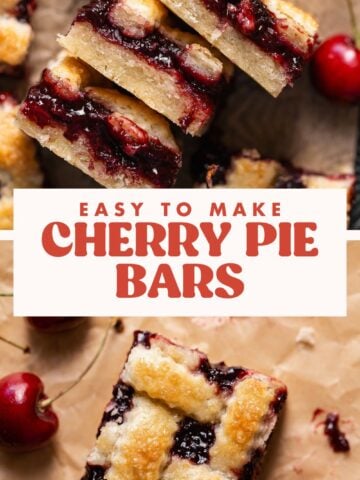
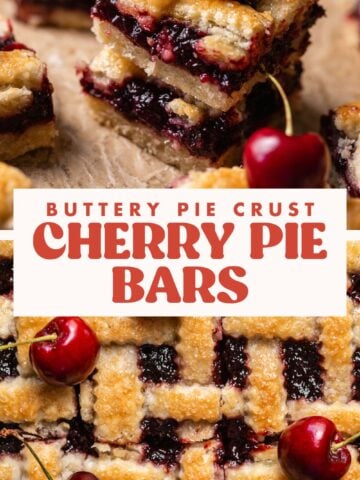
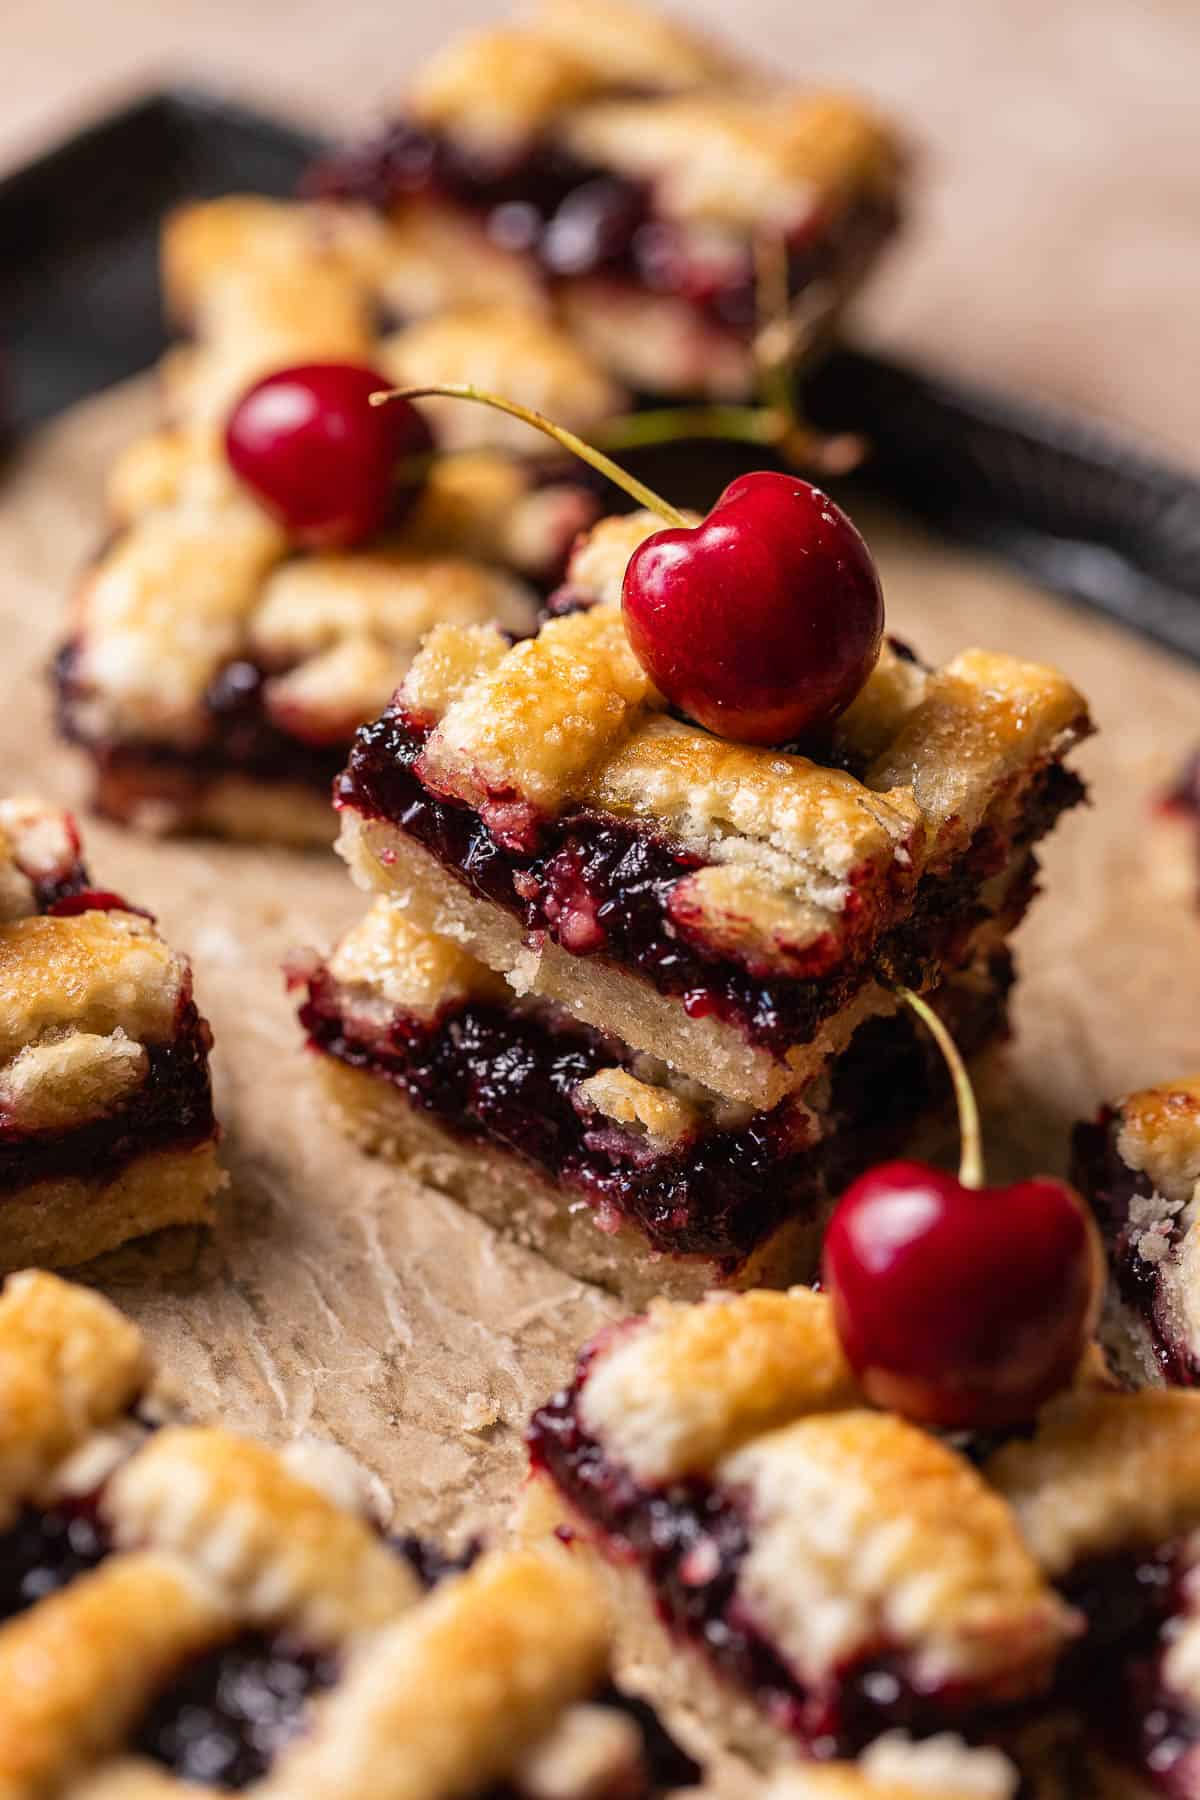
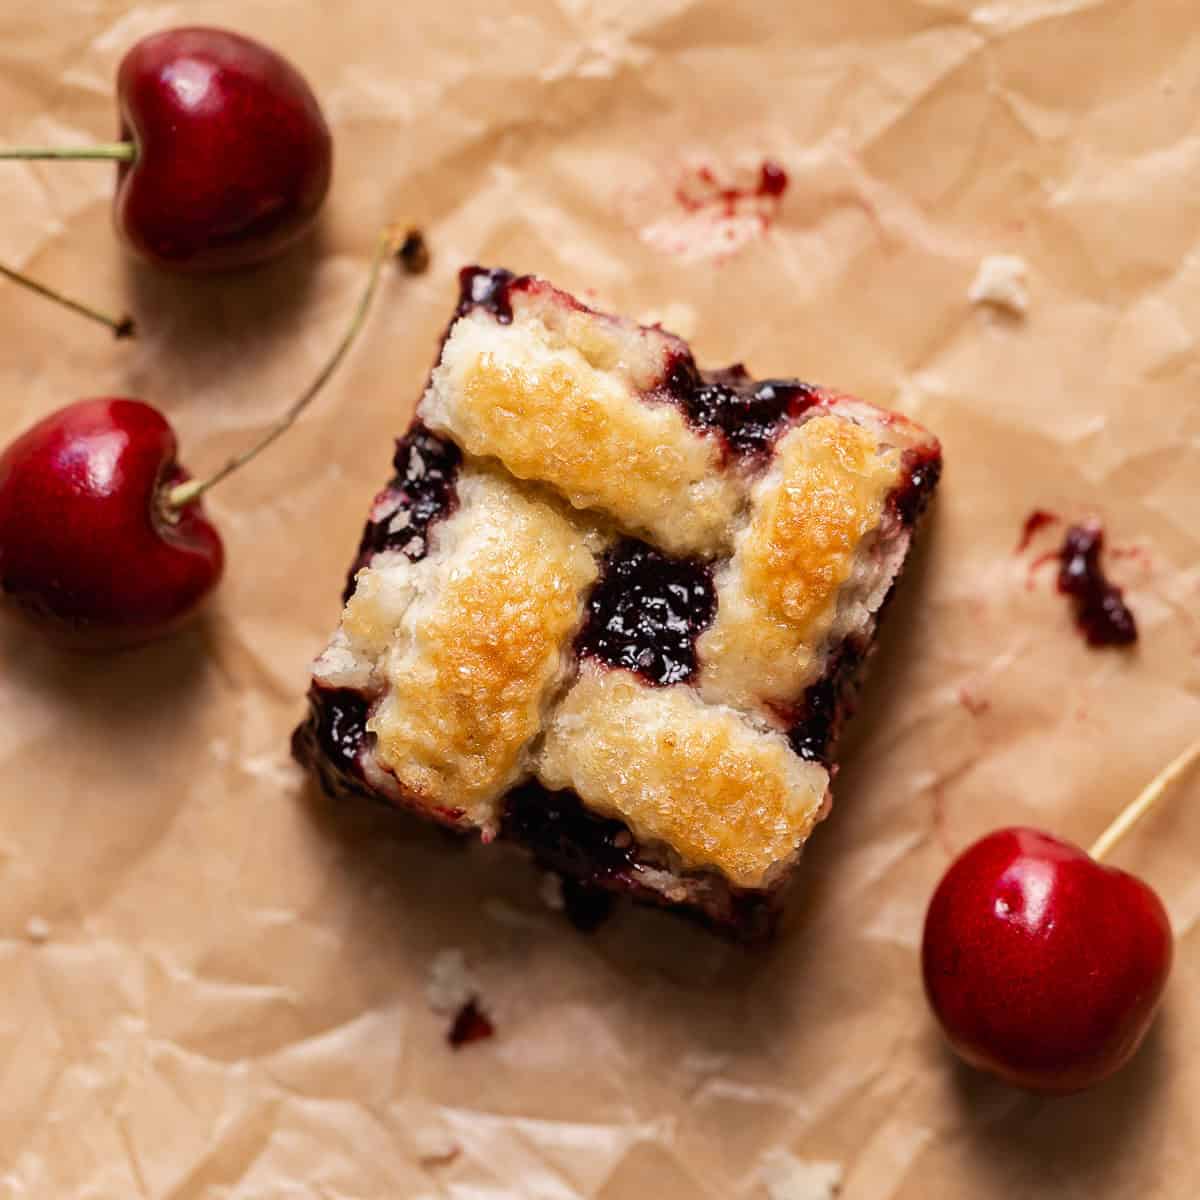
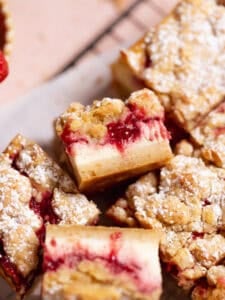
There’s something about cherry pie that just feels like summer, and these cherry pie bars, a cherry-filled take on my popular blueberry pie bars, are my favorite easy way to get there. I make them from scratch with buttery pie dough, homemade cherry pie filling (with frozen cherries!), and a playful little lattice top, just like the bakery pies I baked for years professionally.
They slice beautifully and serve like a dream. Honestly, they’re perfect when you’re craving cherry pie but want something easier to share!
Homemade or bakery case? With these bars and my cherry cheesecake cupcakes with cherry filling, you’re basically running your own dessert shop!
Recipe Instructions
Step 1: Mix the butter into the dry ingredients. I always freeze two butter sticks the night before, then use a food processor with the grater attachment or grate them by hand into the mixing bowl with the dry ingredients. Then, it’s just a quick mix until the butter is coated in flour. (Image 1 below)
Step 2: Mix in the ice water. It’s crucial to use ice water to keep the butter chunks cold and prevent them from melting. Stream the water into the mixing bowl until the dough starts to clump together. Don’t add too much; the dough should feel soft, hydrated, and never sticky. (Image 2 below)
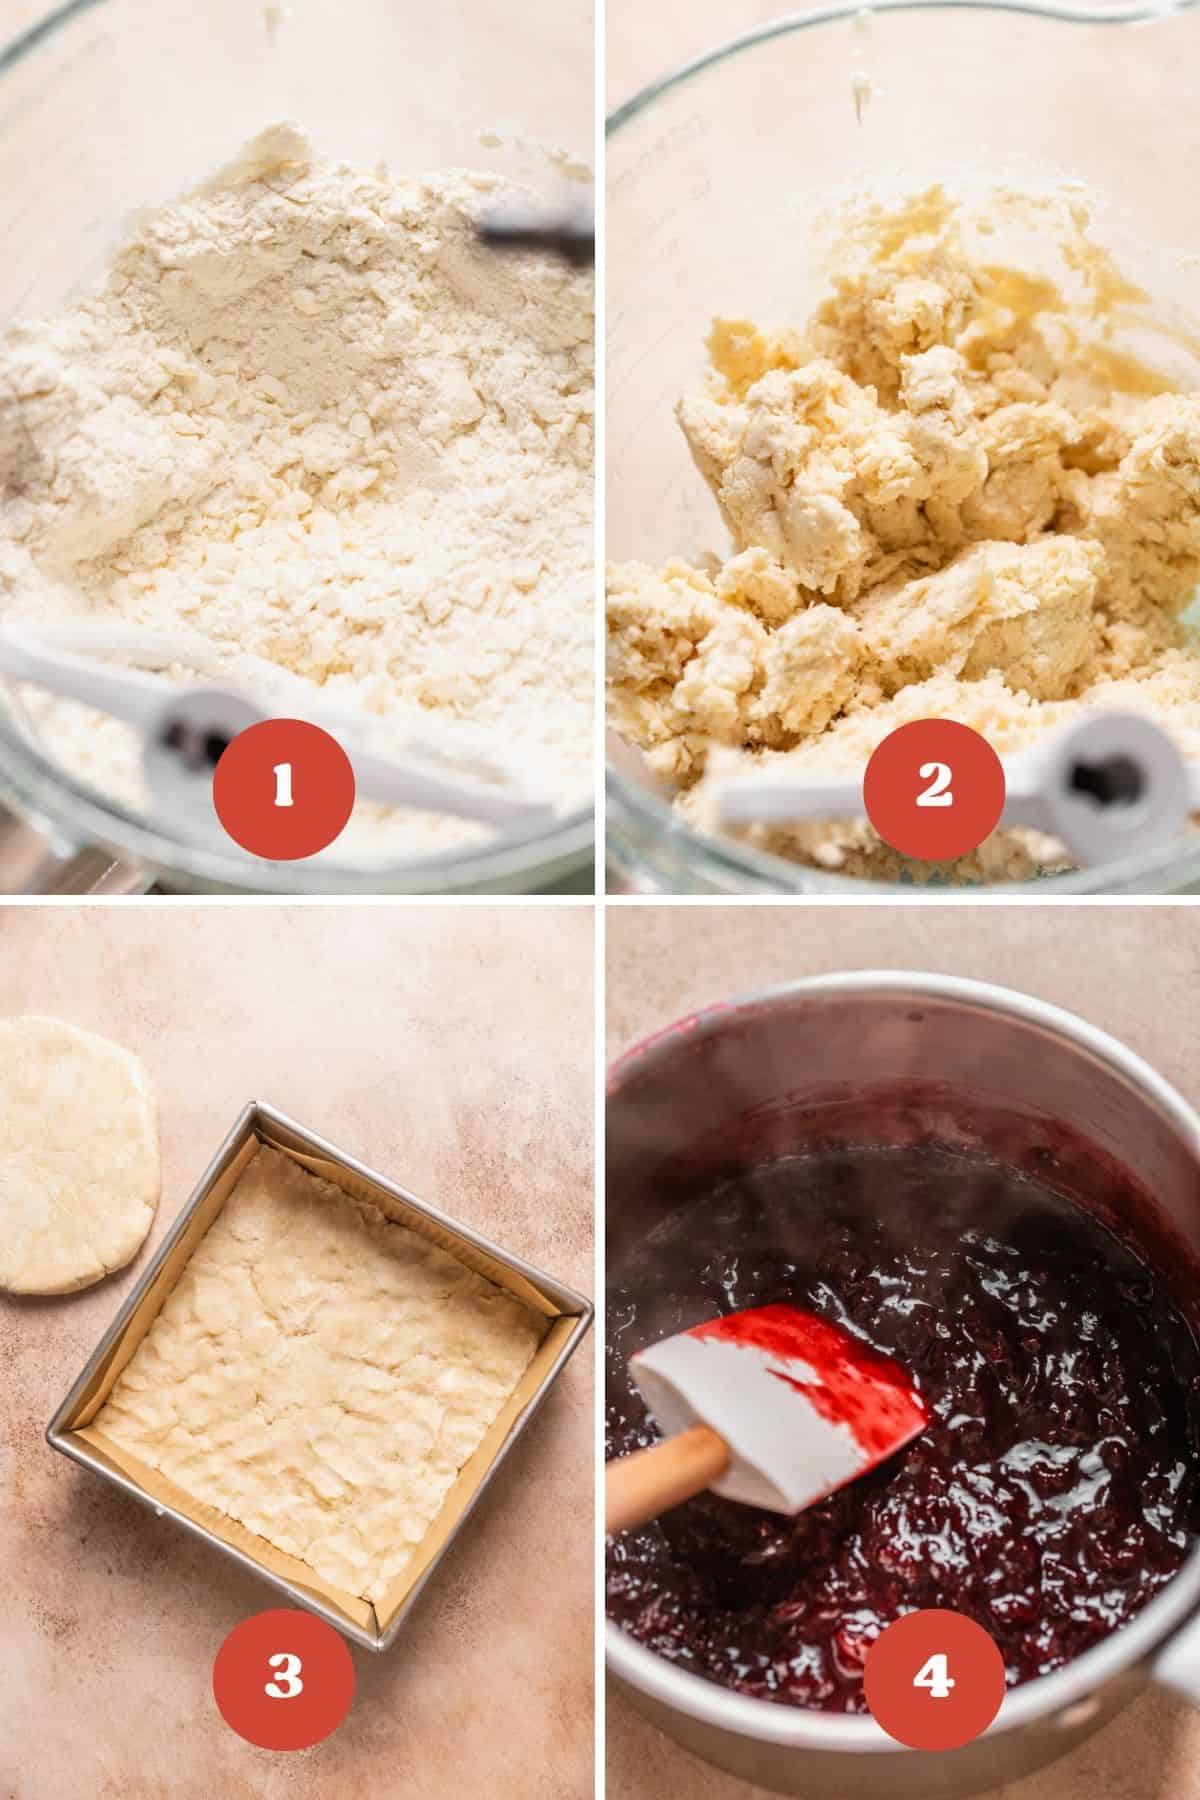
Step 3: Chill the pie dough. Press half of the pie dough evenly into the 8×8 baking pan. Then, wrap the other half in plastic wrap and use a rolling pin to roll it into a flat slab. Chill both in the fridge for 30 minutes. (Image 3 above)
Step 4: Make the cherry pie filling. Cook the cherries, sugar, and lemon juice, mashing occasionally until the cherries have released their juices and are bubbling. Stir in the cornstarch slurry, cook a few minutes longer until thickened, then set aside. (Image 4 above)
Step 5: Assemble the lattice top. Roll the pie dough slab into a 9×9″ square. Use a pizza cutter, a fluted cutter, or a knife to cut it into 1/2″ strips. Place 8 strips down first, then weave another 8 strips together into the lattice. Freeze until ready to use. (Image 5 below)
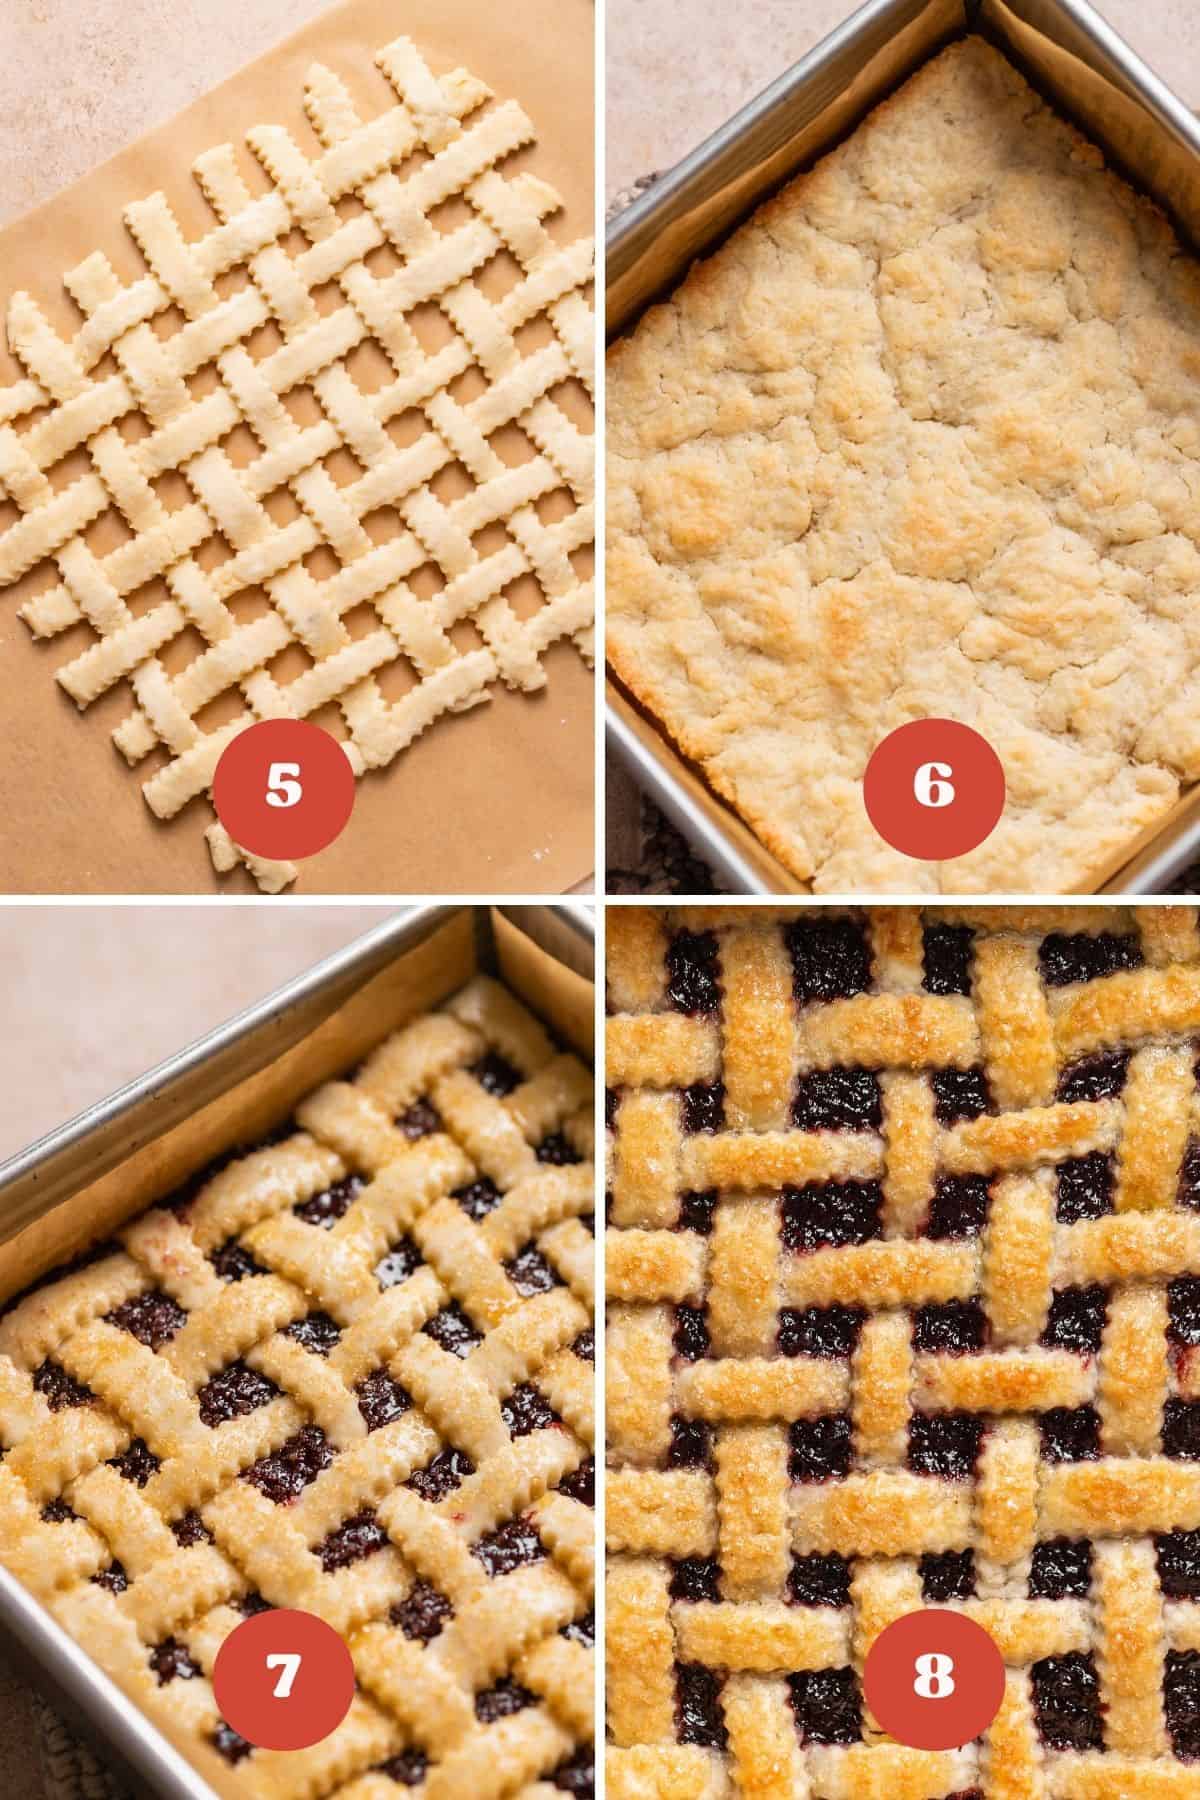
Step 6: Bake the bottom crust. Once chilled, bake the pan of pie crust until the top and edges are golden brown. (Image 6 above)
Step 7: Assemble the bars. Evenly spread the cherry filling on top of the baked crust. Then, transfer the lattice on top. (Image 7 above)
Step 8: Bake! Brush the top of the lattice with egg wash and sprinkle with turbinado sugar. Bake until the top crust is golden brown, then let cool for at least 2-3 hours before slicing. (Image 8 above)
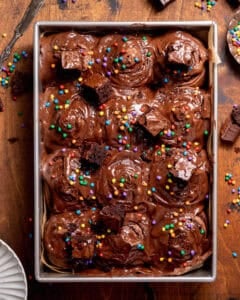
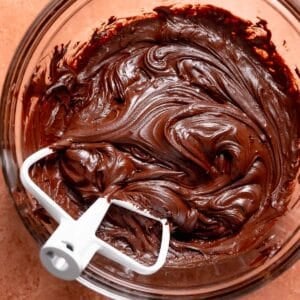
Once you’re hooked on the cherry flavors here, you’ll want to dive into my rich chocolate cherry cake next. It’s the ultimate mix of deep cocoa and bright, juicy cherries!
If you tried this or any other recipe on my website, please let me know how it went in the comments; I love hearing from you! Also, please leave a star rating while you’re there! You can also tag me on Instagram or Facebook so I can check it out!
Cherry Pie Bars with Pie Crust (From Scratch!)
Equipment
Ingredients
Pie Dough
- 1 cup frozen unsalted butter
- 2 1/2 cups all-purpose flour, *see notes below for measuring*
- 3 tablespoons granulated sugar
- 1 teaspoon fine sea salt
- 1 teaspoon vanilla paste or extract
- 1 tablespoon vodka, optional
- 7-10 tablespoons ice water
Cherry Pie Filling
- 2 1/2 cups frozen sweet red cherries, *see notes below for fresh*
- 2 tablespoons granulated sugar
- 1 teaspoon lemon juice
- 1 tablespoon cornstarch
- 1 tablespoon water
- 1 egg, lightly beaten
- Turbinado sugar, optional
Instructions
- Grate the frozen sticks of butter into a bowl and keep in the freezer until ready to use.1 cup (226 g) frozen unsalted butter
- Line a metal 8×8 baking pan with parchment paper to cover all four sides. Set aside.
- In a stand mixing bowl, whisk together the flour, sugar, and salt.2 1/2 cups (325 g) all-purpose flour, 3 tablespoons (36 g) granulated sugar, 1 teaspoon fine sea salt
- Mix in the frozen grated butter on low speed until coated in flour. Then mix in the vanilla, vodka, and 7-10 tablespoons of the water, and as needed, until the dough starts to clump together. It should feel soft and hydrated, never sticky.1 teaspoon vanilla paste or extract, 1 tablespoon vodka, 7-10 tablespoons ice water
- Separate the dough into equal parts (about 355 grams each). Press one half into a slab and wrap it tightly in plastic wrap. Press the other half of the dough into the bottom of the lined pan. Chill both in the fridge for 30 minutes. While the dough is chilling, preheat the oven to 375°F/190°C and make the cherry pie filling.
- Combine the cherries, sugar, and lemon juice in a pot. Cook over medium heat for 15-20 minutes, stirring and mashing occasionally, until the cherries have released all of their juices, are bubbling, and starting to thicken. Stir in the cornstarch slurry and cook 2-3 minutes longer until thickened. Set aside until ready to use.2 1/2 cups (350 g) frozen sweet red cherries, 2 tablespoons (28 g) granulated sugar, 1 teaspoon lemon juice, 1 tablespoon cornstarch, 1 tablespoon water
- When the dough is chilled, bake the bottom crust for 25-35 minutes or until the edges are golden brown and the top looks dry.
- While the bottom crust is baking, roll out the second slab of pie dough on a lightly floured surface into a 9×9” square. Cut the dough into 1/2-inch strips.
- On a parchment-lined baking sheet, assemble the lattice top by weaving the strips of pie dough together. For reference, see the post or video below.
- Trim each side of the lattice square for clean edges so that it is roughly 7.5×7.5”. Freeze until ready to use. The lattice should feel very firm and be able to be picked up as one.
- When the crust is done, evenly spread the cherry filling, then transfer the lattice crust on top. Brush the lattice with the egg wash and sprinkle with turbinado sugar. Bake for 25-30 minutes or until the lattice crust is golden brown.1 egg, Turbinado sugar
- Let the pan cool on a wire rack for 1-2 hours, until completely cooled, then cut into 16 small bars or 6-8 large ones. Enjoy!


OMG tried these cherry pie bars and the crust was my favorite part. It was buttery and flaky.
I love how the crust and cherry filling was is from scratch instead of pre-made like other recipes. Highly recommend making whipped cream with it.