
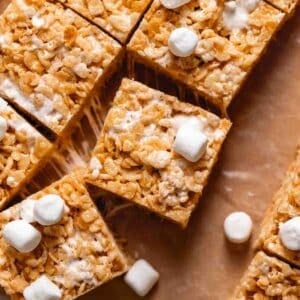
Baked in a pan, dipped in royal icing, and decorated with festive sprinkles, these soft and chewy Christmas sugar cookie bars are your favorite classic sugar cookies in bar form!
Baking and decorating Christmas cookies as a pastry chef inspired this recipe. These Christmas sugar cookie bars capture the essence of decorated sugar cookies, with the same flavors and textures, but are quicker and easier to make!
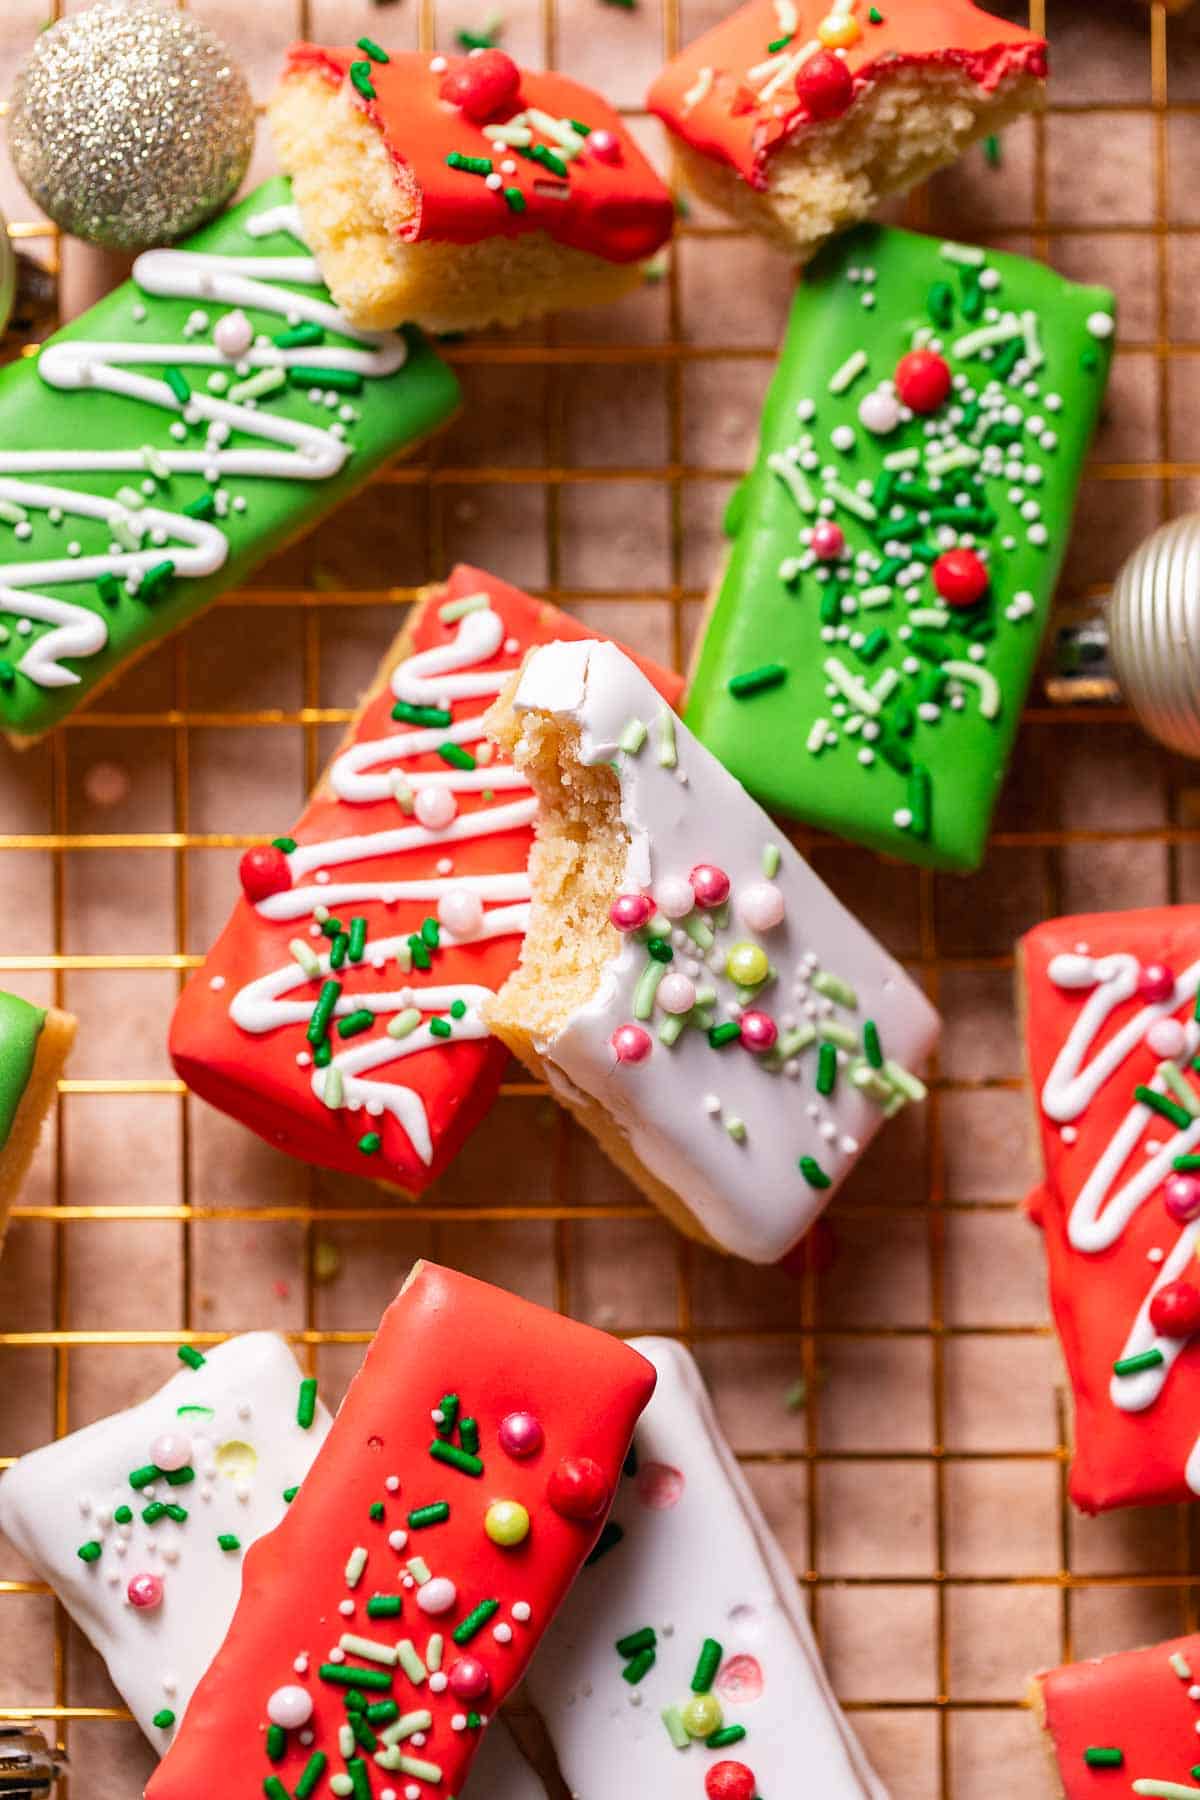
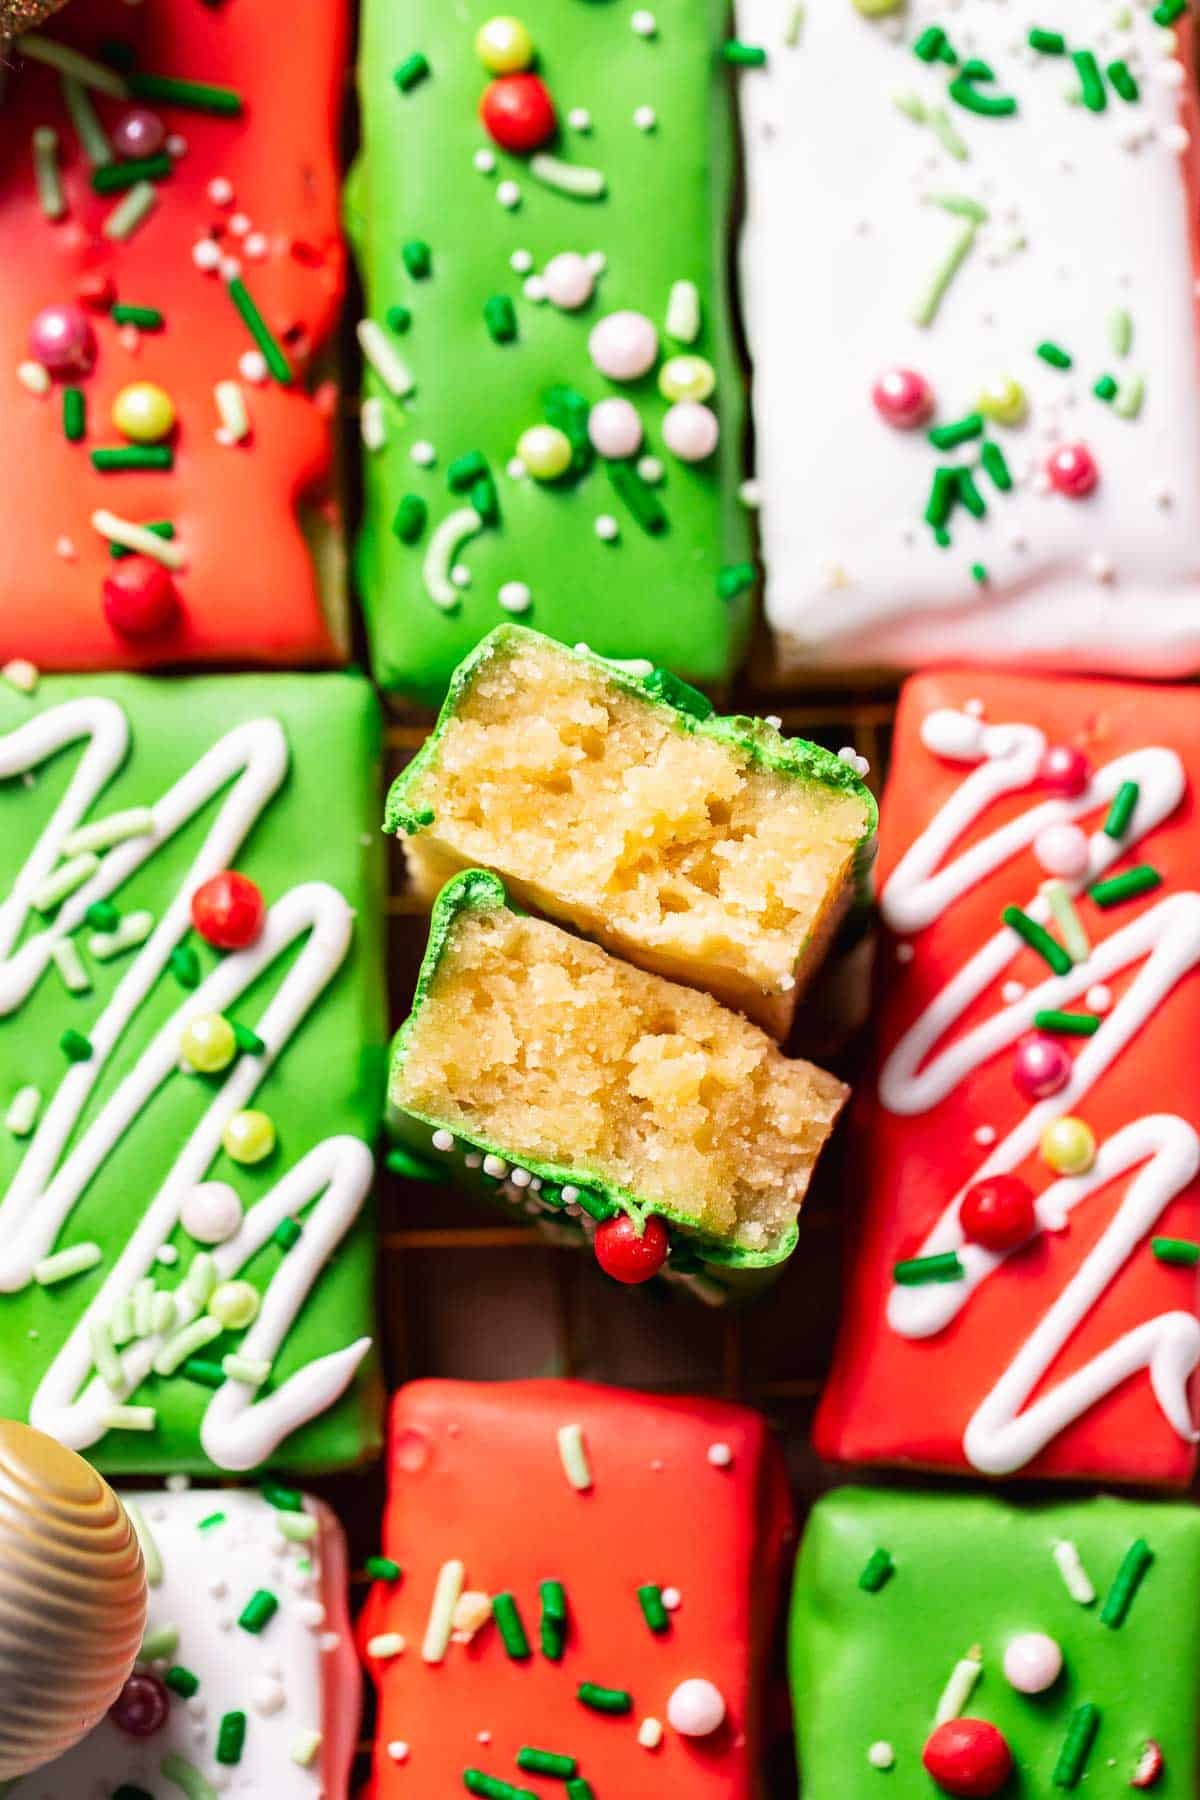
They have that melt-in-your-mouth texture like the middle of a sugar cookie, complete with the royal icing top that keeps them soft and chewy for days.
If you love sugar cookies, try our Christmas cookie cake next!
Table of Contents
Why We Love Christmas Sugar Cookie Bars
- Super soft, and extra chewy– just like your favorite soft sugar cookies.
- No rolling pin, dough scooping, dough chilling, or cookie cutters are required.
- You only need one bowl and a whisk to make the cookie dough.
- Great for adding to your Christmas cookie boxes!
- Perfect for serving a crowd for the holiday season or other festive celebrations- this recipe makes 3 dozen Christmas cookie bars!
Ingredient Notes and Substitutions

Butter: Using melted butter rather than creamed butter sets these Christmas cookie bars apart. During testing, we found that melted butter yields a chewier and denser texture, which more resembles a traditional sugar cookie.
Cornstarch: The addition of cornstarch softens the gluten in the flour, resulting in a light and chewy texture.
Meringue powder: This takes the place of raw egg whites in traditional royal icing. It creates a stable icing that hardens quickly on top of the cookie bars. Don’t skimp on the meringue powder– lower-quality brands can have a gross flavor. We love Genie’s Meringue Powder!
Food coloring: Gel coloring, like Americolor, is recommended for the best colors.
Recipe Instructions
Find the full list of ingredients, measurements, and instructions in the recipe card below!
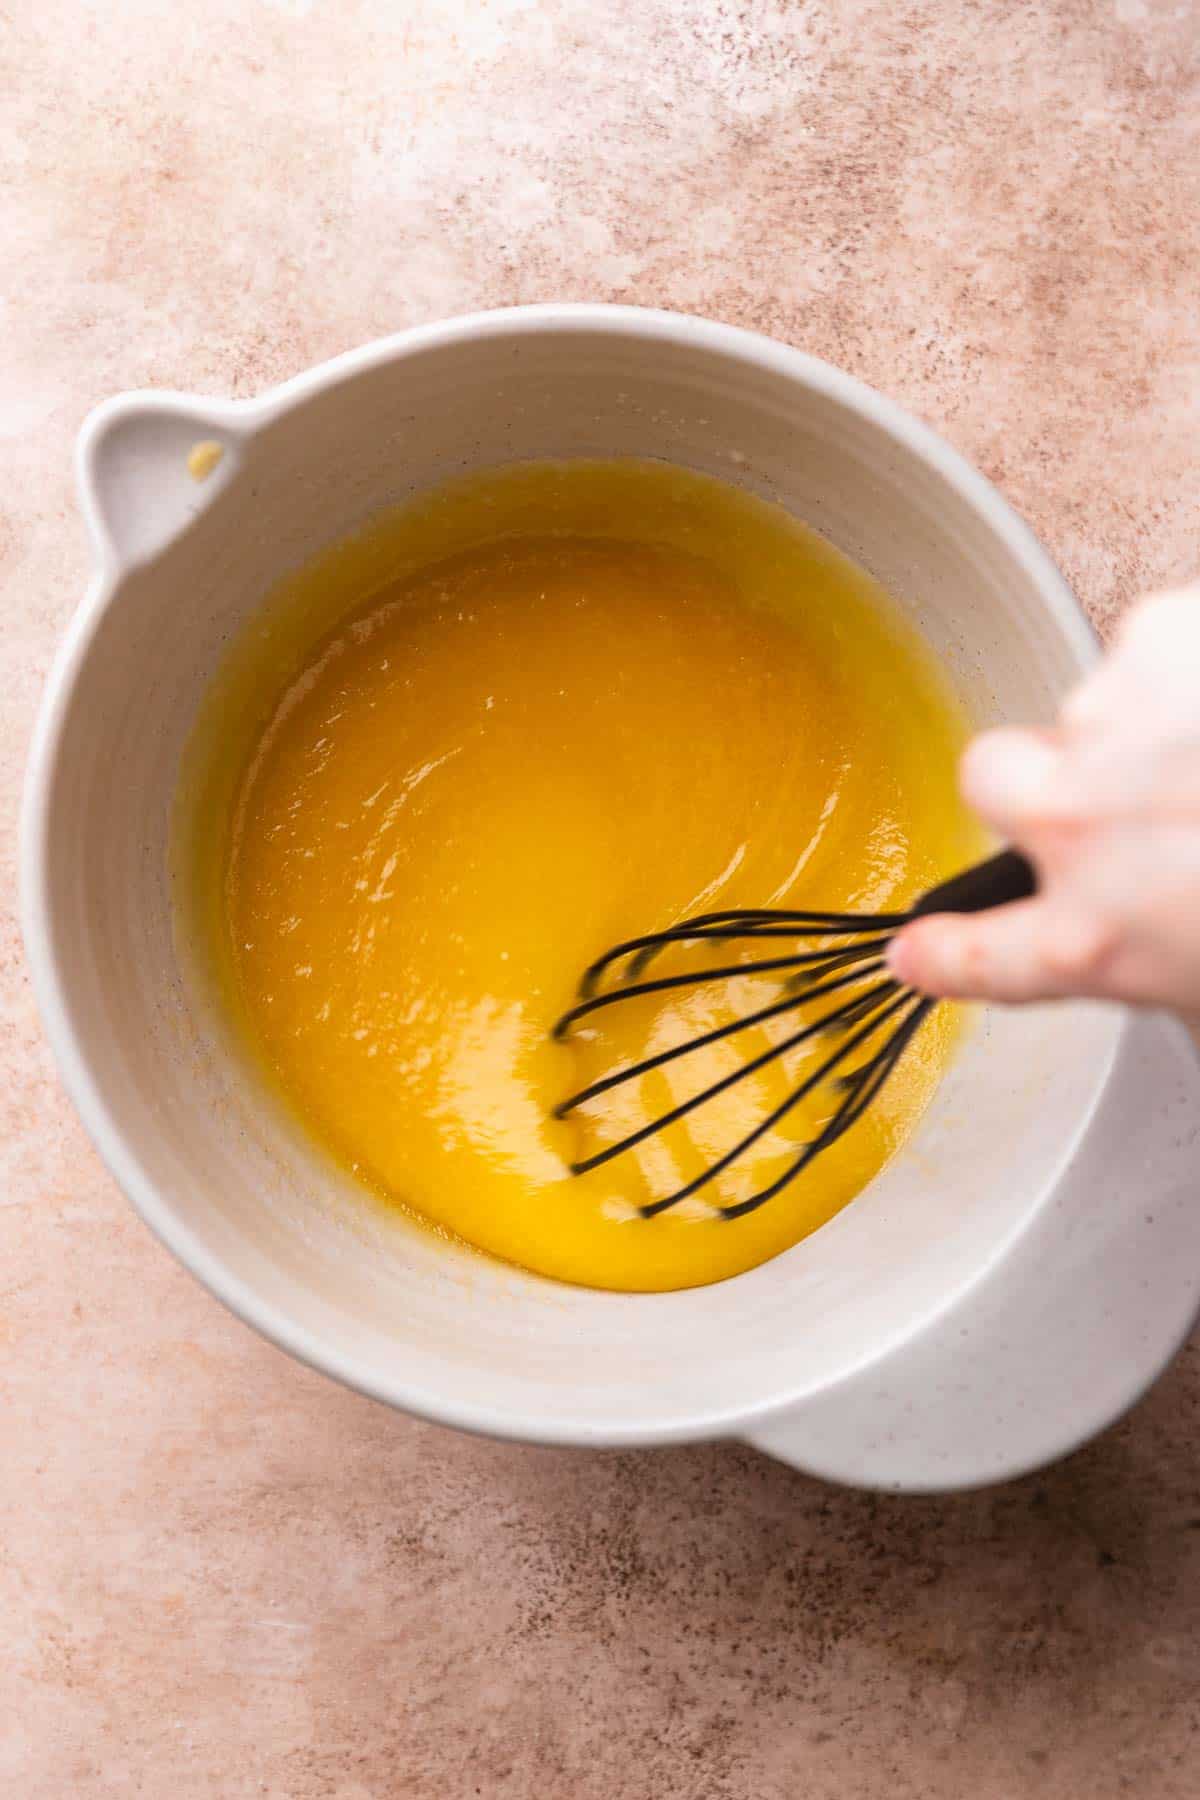
Step 1: Mix the wet ingredients. In a large bowl, whisk together the melted butter and sugar, then whisk in the eggs and vanilla extract.
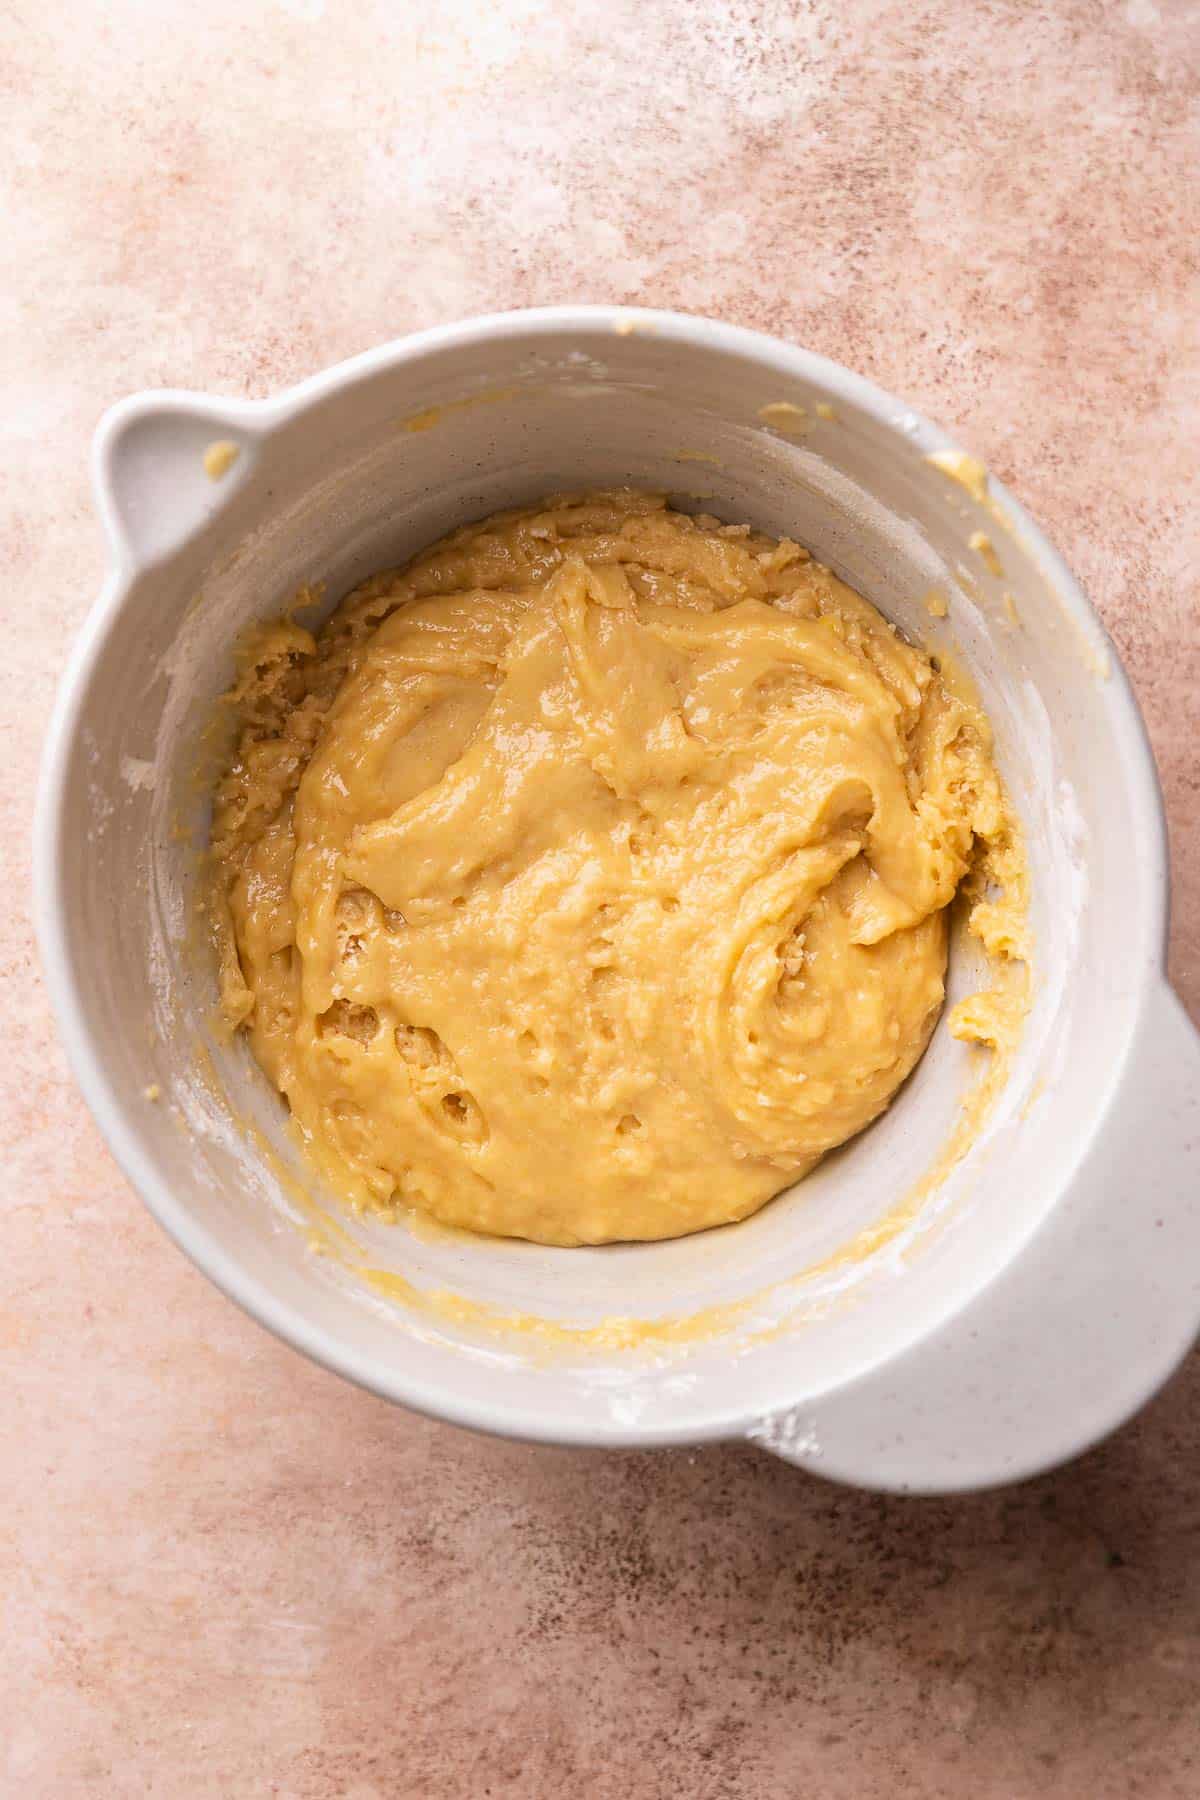
Step 2: Fold in the dry ingredients. Use a rubber spatula to fold in the all-purpose flour, salt, and cornstarch until just combined. Do not over-mix!
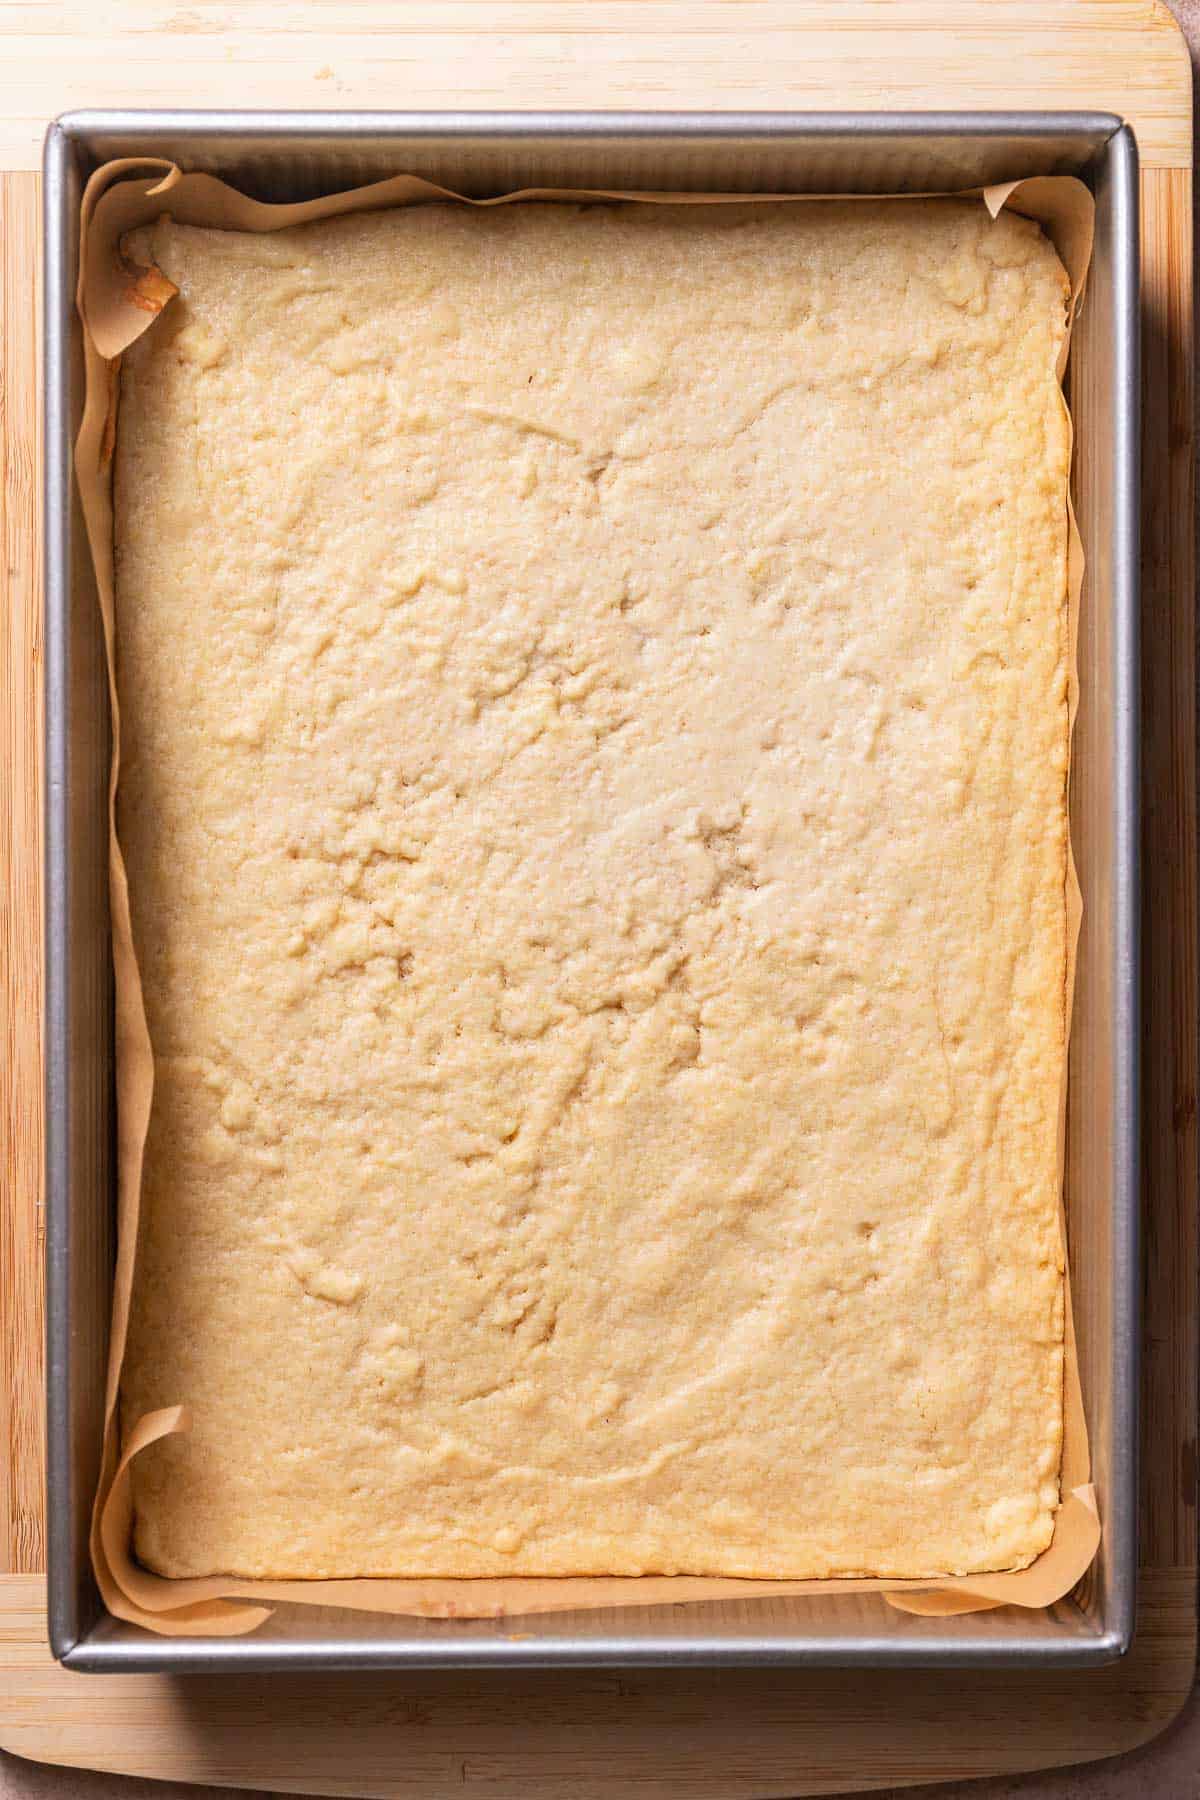
Step 3: Bake the sugar cookie bars. Evenly press the sugar cookie dough into a 9×13 baking pan. Bake the bars until the edges are just barely golden brown (image shown above). Let the pan cool completely on a wire cooling rack before cutting.
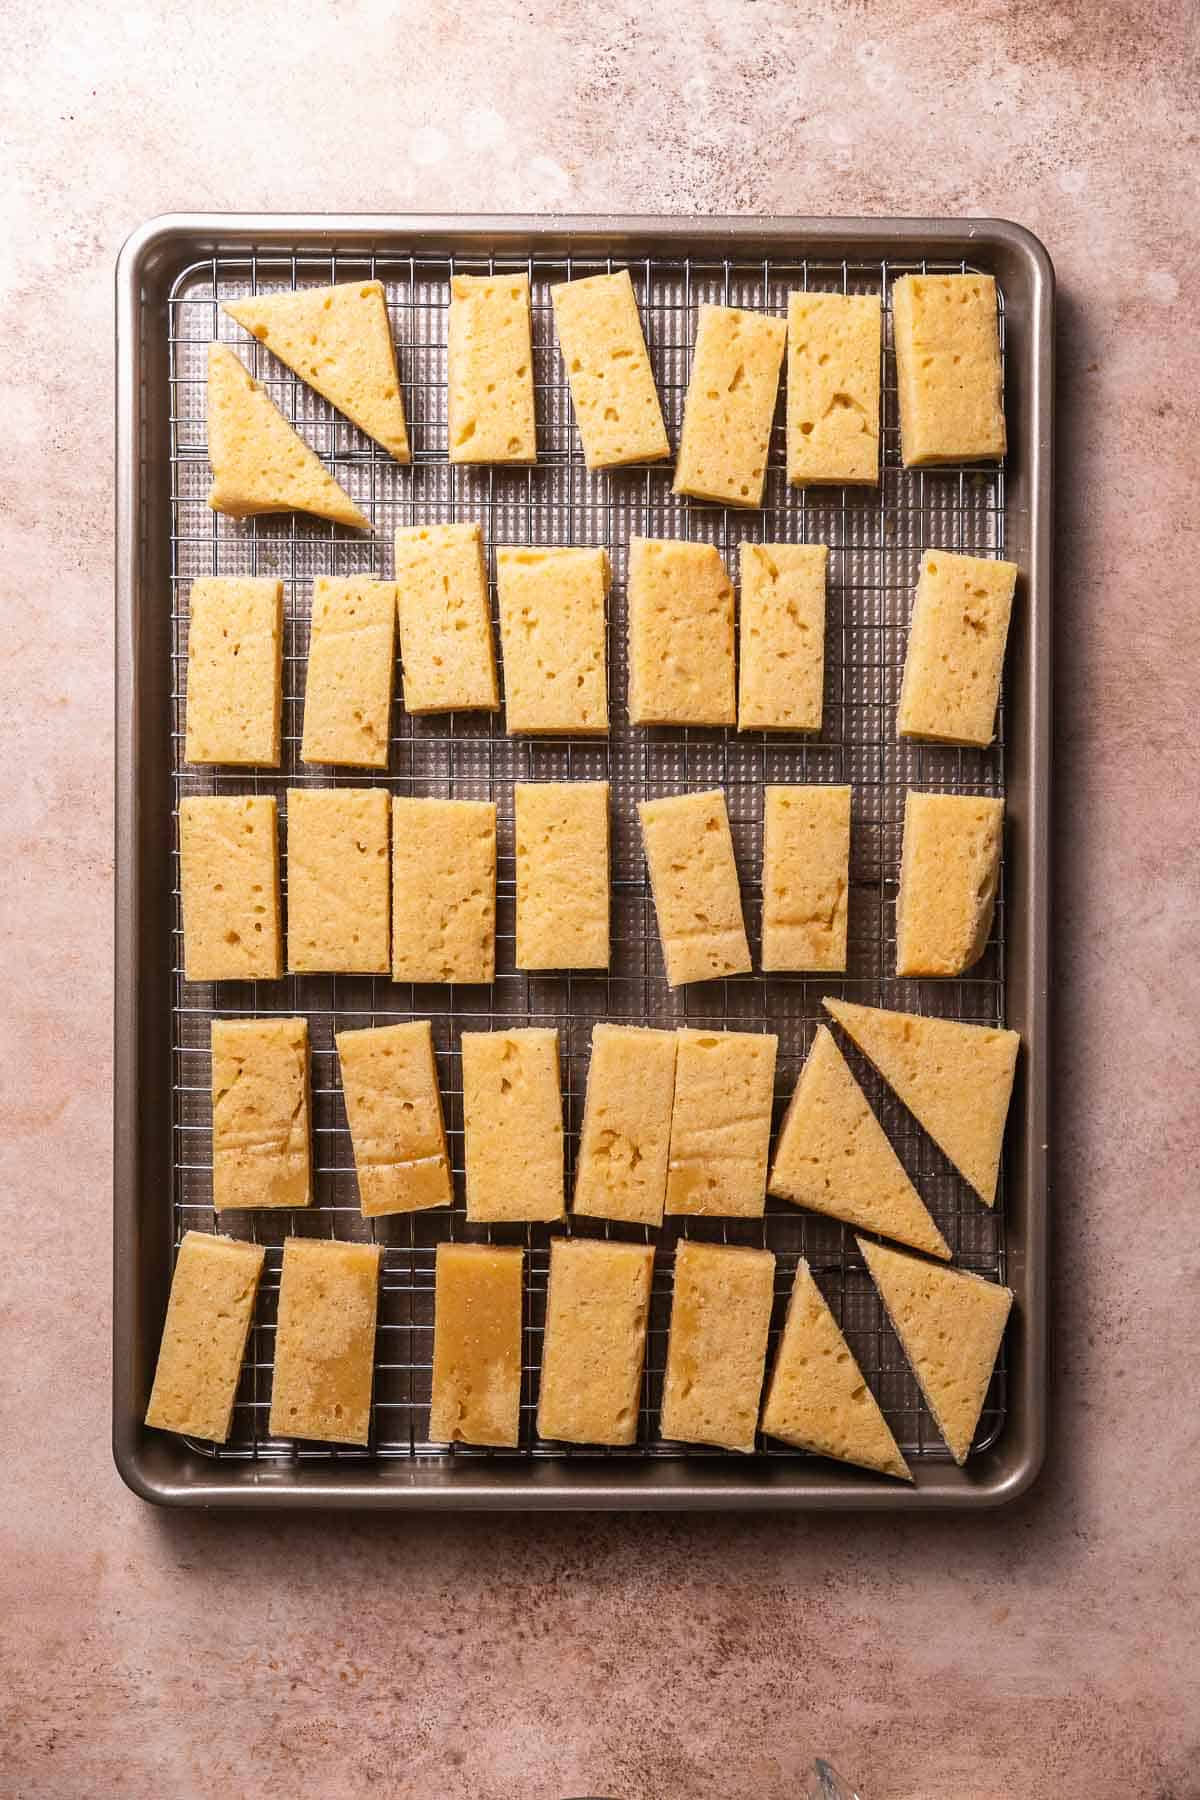
Step 4: Cut the bars. Once cooled, flip the pan upside down onto a cutting board. Cut into rectangles, squares, or triangles. Place the bars onto a wire rack with a sheet pan underneath.
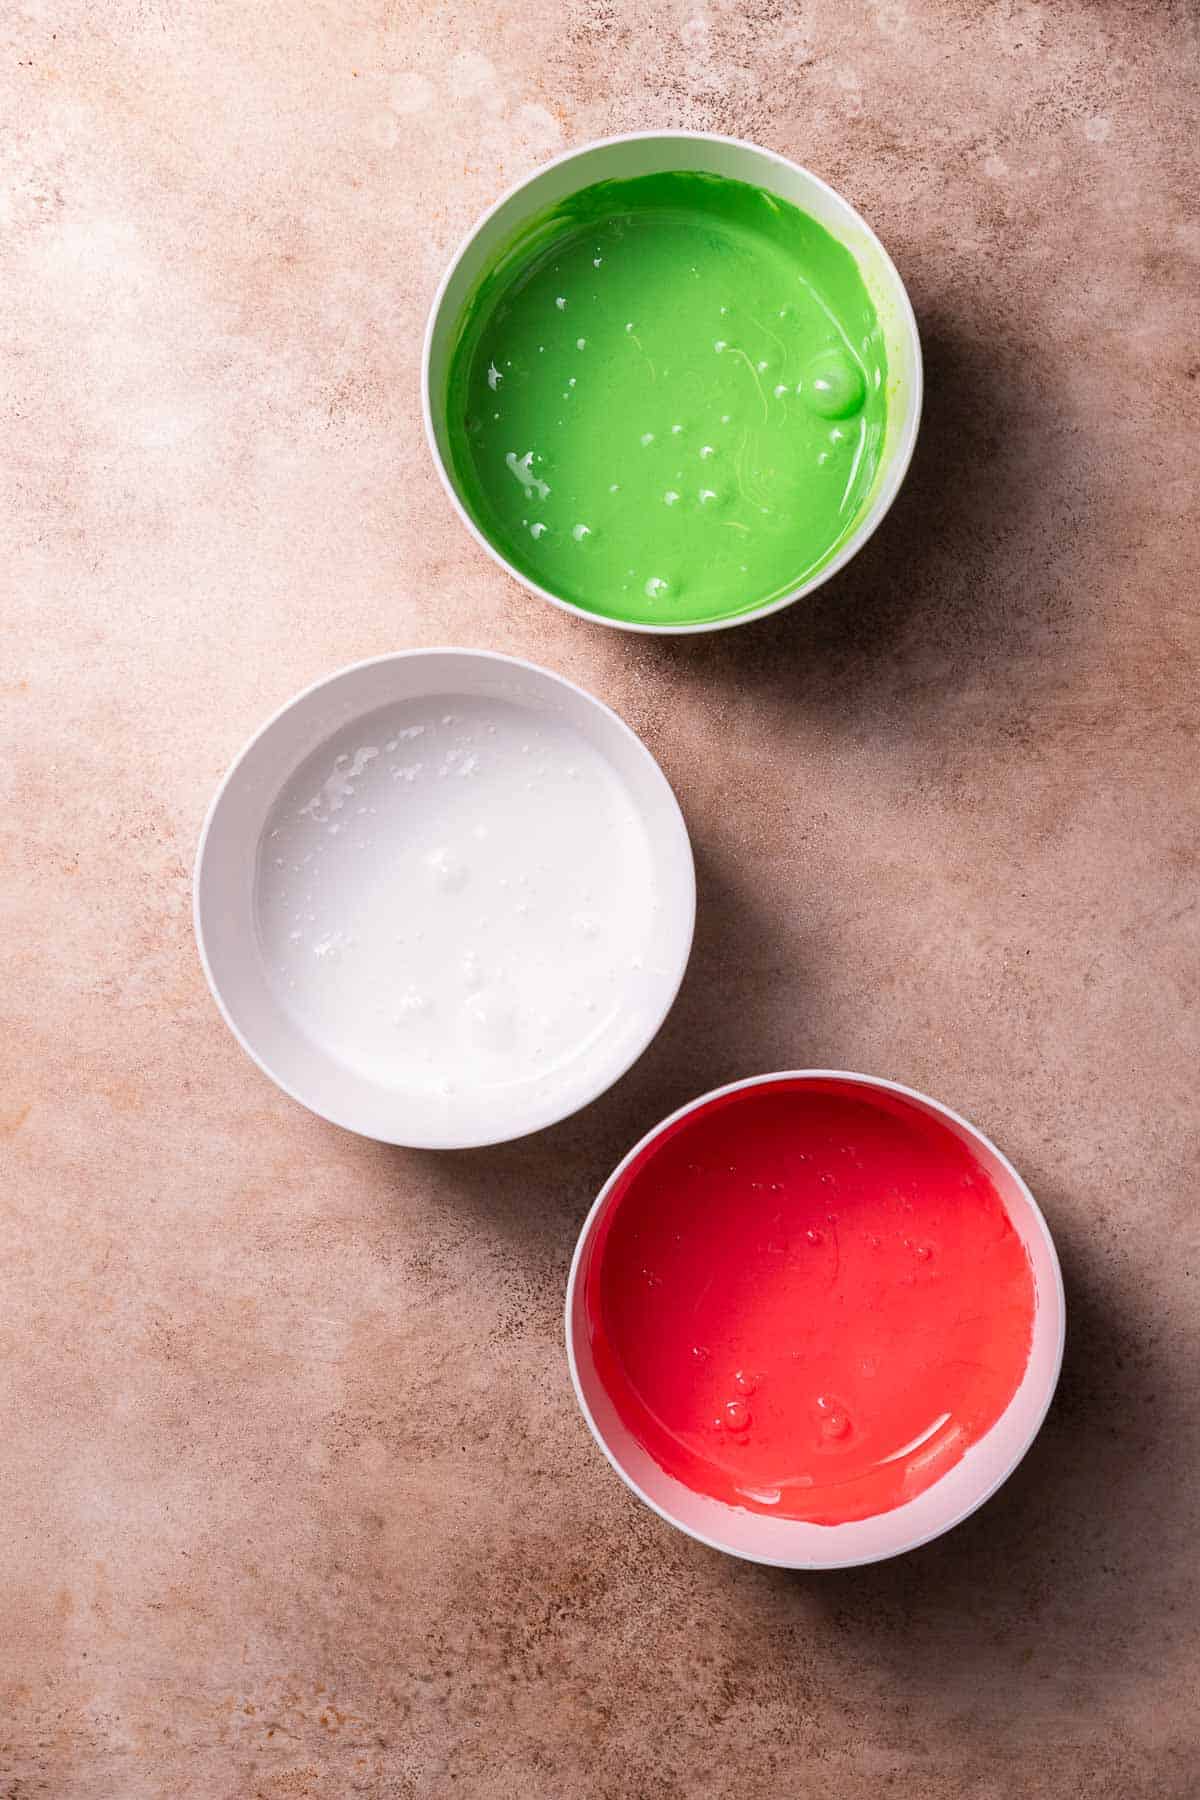
Step 5: Make the frosting. In a stand mixing bowl or with a hand mixer, whisk together the powdered sugar, meringue powder, vanilla extract, and water until light and fluffy.
Split the icing into bowls and color as desired.
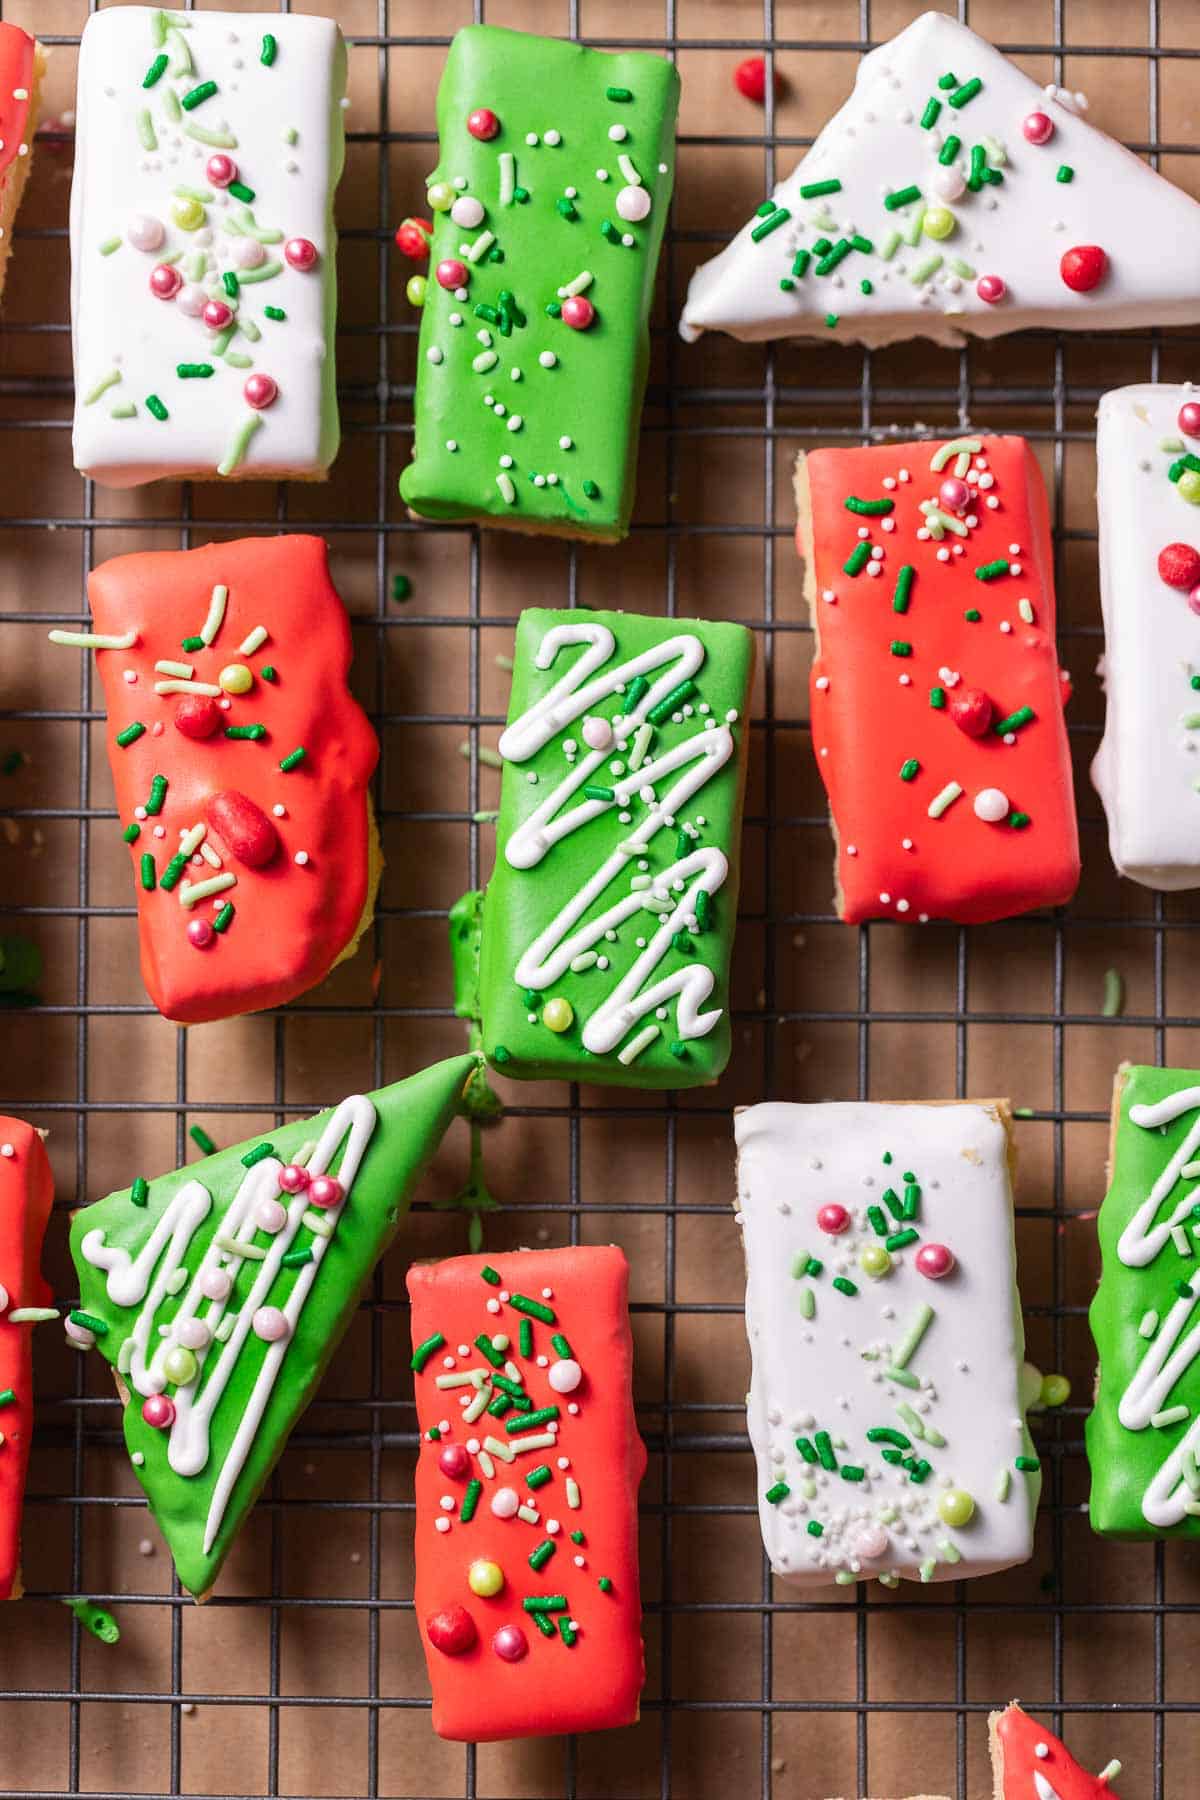
Step 6: Frost the sugar cookie bars. Dip the flat bottom of the cookie bar into the icing, scraping off any excess glaze. Decorate with sprinkles, let the icing set, then enjoy your Christmas sugar cookie bars!
Decorating Ideas and Variations
- Icing: If you are super short on time, skip the royal icing, and spread vanilla buttercream on top of the cookie bars before cutting. It’s still cute and festive!
- Toppings: Instead of sprinkles, sprinkle the top with chopped nuts, M&M’s, or crushed candy canes.
- Extract flavors: Add a small amount of almond extract or peppermint extract.
- Valentine’s Day: Color the icing different shades of pink and decorate with pink heart sprinkles.
- Birthdays: Add rainbow sprinkles to the cookie dough and decorate with rainbow sprinkles (similar to our pop tart cookie bars).
Tips for Perfect Sugar Cookie Bars
- Use a kitchen scale. Baking with a scale is much more accurate than cup measurements. To convert this recipe, click the “metric” button next to the ingredients title on the recipe card. If you do not have a scale, use a spoon to fluff the flour first, then spoon it into your measuring cup.
- Do not over-mix! Mixing too much will develop more gluten, resulting in dry and dense bars.
- Do not over-bake. Look for the edges of the bars to be a very light golden brown.
- Let the butter cool before using, it should feel warm but not hot.
- Use room temperature ingredients: this creates a smooth, fully blended dough that will result in a uniform texture and even baking.
Tips for Working with Royal Icing
- Adjust the consistency if needed. If it’s too thick, add more water. If it’s super thin and watery, beat in more powdered sugar.
- Keep the icing covered with plastic wrap when not in use. This will keep the icing from hardening!
- Be mindful of adding water, it’s easier to add more than it is to take it away!
- Before use, stir the icing, especially if it has been sitting for a while or overnight.
Where to Find Cute Holiday Sprinkles
Check out stores like Michaels, Target, or online on Amazon! These are some of my favorite sprinkles mixes for Christmas bars:
- Sweet Tooth Fairy Sprinkle Mix
- Sweetapolita
- Fancy Sprinkles
FAQs
Once the icing is completely set, store the cookie bars in an airtight container at room temperature. They are even softer the next day from the moisture in the icing! They will stay soft and chewy for 3-4 days.
I don’t recommend freezing them after they are covered in icing. However, the bars can be frozen and then defrosted before decorating.
Absolutely! I have included instructions for using an 8×8 baking pan in the recipe card below.
I recommend dropping balls of it into the pan, then using your hands to smoosh it together. You can lightly grease your hands to keep it from sticking, then use an offset spatula at the end to smooth the top.
If you love these cookie bars, try our monster cookie bars, cookie dough bars, or nutella bars!
More Holiday Cookie Recipes
If you tried this or any other recipe on my website, please let me know how it went in the comments below, I love hearing from you! Also, please leave a star rating while you’re there! You can also tag me on Instagram or Facebook so I can check it out!

Christmas Sugar Cookie Bars
Equipment
Ingredients
Sugar Cookie Dough
- 1 cup unsalted butter, melted
- 1 1/2 cup granulated sugar
- 2 large eggs, room temperature
- 1 tbsp vanilla extract
- 3 1/4 cups all-purpose flour, *See notes below for measuring*
- 2 tsp cornstarch
- 1 tsp fine sea salt
Royal Icing Frosting
- 2 1/2 cups powdered sugar
- 1 tbsp + 1 tsp meringue powder
- 3-5 tbsp water
- 1/4 tsp clear vanilla extract
- Christmas colored sprinkles
- Red and green gel food coloring, *See notes below for specific names*
Instructions
- Before you start. Line a metal 9×13 baking pan with parchment paper and preheat the oven to 350 F/180 C.
- Whisk the butter and sugar. In a large bowl, whisk together the melted butter and granulated sugar until well combined.1 cup (226 g) unsalted butter, 1 1/2 cup (300 g) granulated sugar
- Whisk in the wet ingredients. Whisk in the eggs and vanilla extract.2 (100 g) large eggs, 1 tbsp vanilla extract
- Fold in the dry ingredients. Fold in the flour, cornstarch, and salt until just combined.3 1/4 cups (408 g) all-purpose flour, 1 tsp fine sea salt, 2 tsp cornstarch
- Press the dough into the pan. Press the sugar cookie dough into the pan, using lightly greased hands, then use an offset spatula to smooth the top and evenly spread it to fill the pan.
- Bake the cookie bars. Bake in the preheated oven for 18-25 minutes, or until the cookie dough is set and the edges near the pan are barely golden brown. Baking them past this point will result in more crispy/less soft cookie bars. Let the pan cool on a wire cooling rack completely.
- Cut the bars. Flip the cookie bars onto a cutting board so that the bottom is now the top. Cut into rectangles, squares, or triangles (for Christmas trees). See notes below for specific measurements! Transfer the cut bars to a wire rack with a sheet pan underneath. It's best to distribute them amongst 2 pans to keep them from crowding.
- Make the royal icing. Combine the powdered sugar, meringue powder, vanilla extract, and water in a stand mixing bowl. Whisk on medium speed for 3 minutes until fluffy. At this point, you can set aside a few tablespoons of the icing for piping. You won't need much unless you plan on more intricate designs. If the icing is too thick, add 1 teaspoon of water at a time until it's thick but pipeable.2 1/2 cups (300 g) powdered sugar, 1 tbsp + 1 tsp (11 g) meringue powder, 3-5 tbsp (54 g) water, 1/4 tsp clear vanilla extract
- Color the icing. Split the rest of the icing into thirds, scooping each portion into its own bowl and immediately covering the top with plastic wrap. Working with one bowl at a time, add about 2-3 teaspoons of water to the icing and use a spoon to mix it in well. It should have a consistency of runny peanut butter! Add red and green food coloring to two bowls, leaving the last one white.Red and green gel food coloring
- Decorate the sugar cookie bars. Dip the flat side of the bars into the icing, using your finger to gently scrape off any excess glaze. Place the frosted bar back onto the wire rack. Decorate with sprinkles. If using the thick icing, you can color it or keep it white. Fill it into a piping bag with a very small round tip and use it to pipe on the frosted tops.Christmas colored sprinkles
- Allow to set before packaging. Allow the cookies to be fully set before boxing or packaging them, otherwise, it will ruin the icing. Depending on the humidity in your kitchen, this can take about 1-2 hours.
- Store leftover cookie bars in an airtight container at room temperature for 3-4 days. The frosted cookies should not be frozen, however, they can be frozen and defrosted before decorating!
Video
Notes
The calorie information provided for the recipe is an estimate. The accuracy of the calories listed is not guaranteed.


Hi! How many tsp of food coloring per bowl do you suggest using?
Hi Laura! If you’re using gel coloring, you really only need a few drops because of how potent they are!
Hi. I’m going to try this recipe next week with my grandchildren. Can you use a sheet pan instead of a 9×13? I like a crispier cookie.
Hi Patti! I haven’t tested it in a sheet pan but I’m sure it would work. I would really watch it while it bakes so it doesn’t burn. You could also still use the 9×13 pan and just bake it a few minutes longer until golden brown on top, that would give you a crispier cookie!