Crisp edges, soft centers, and buttery flavor—these cut out sugar cookies rival any from a bakery. They’re ideal for decorating, making them perfect for holidays!

As a former pastry chef, I’ve perfected making homemade sugar cookies with clean cuts, bakery-level texture, and unbeatable flavor. This post guides you through everything from prepping the dough to rolling and baking festive holiday shapes.
Use your favorite cookie cutters and decorate with simple royal icing for birthday parties, Christmas, and beyond! If you prefer a more classic drop cookie, try my soft sugar cookies instead!
Don’t miss my Christmas sugar cookie bars or sugar cookie cake for even more holiday inspiration!
Table of Contents
Secrets to Bakery Style Texture
Freeze before baking. This is key to soft and chewy sugar cookies that also hold their shape when baking!
Perfect the bake time. Bake until the edges are set and the tops look matte (not wet!). You want little to no color for them to be soft and chewy.
Key Ingredients for Success
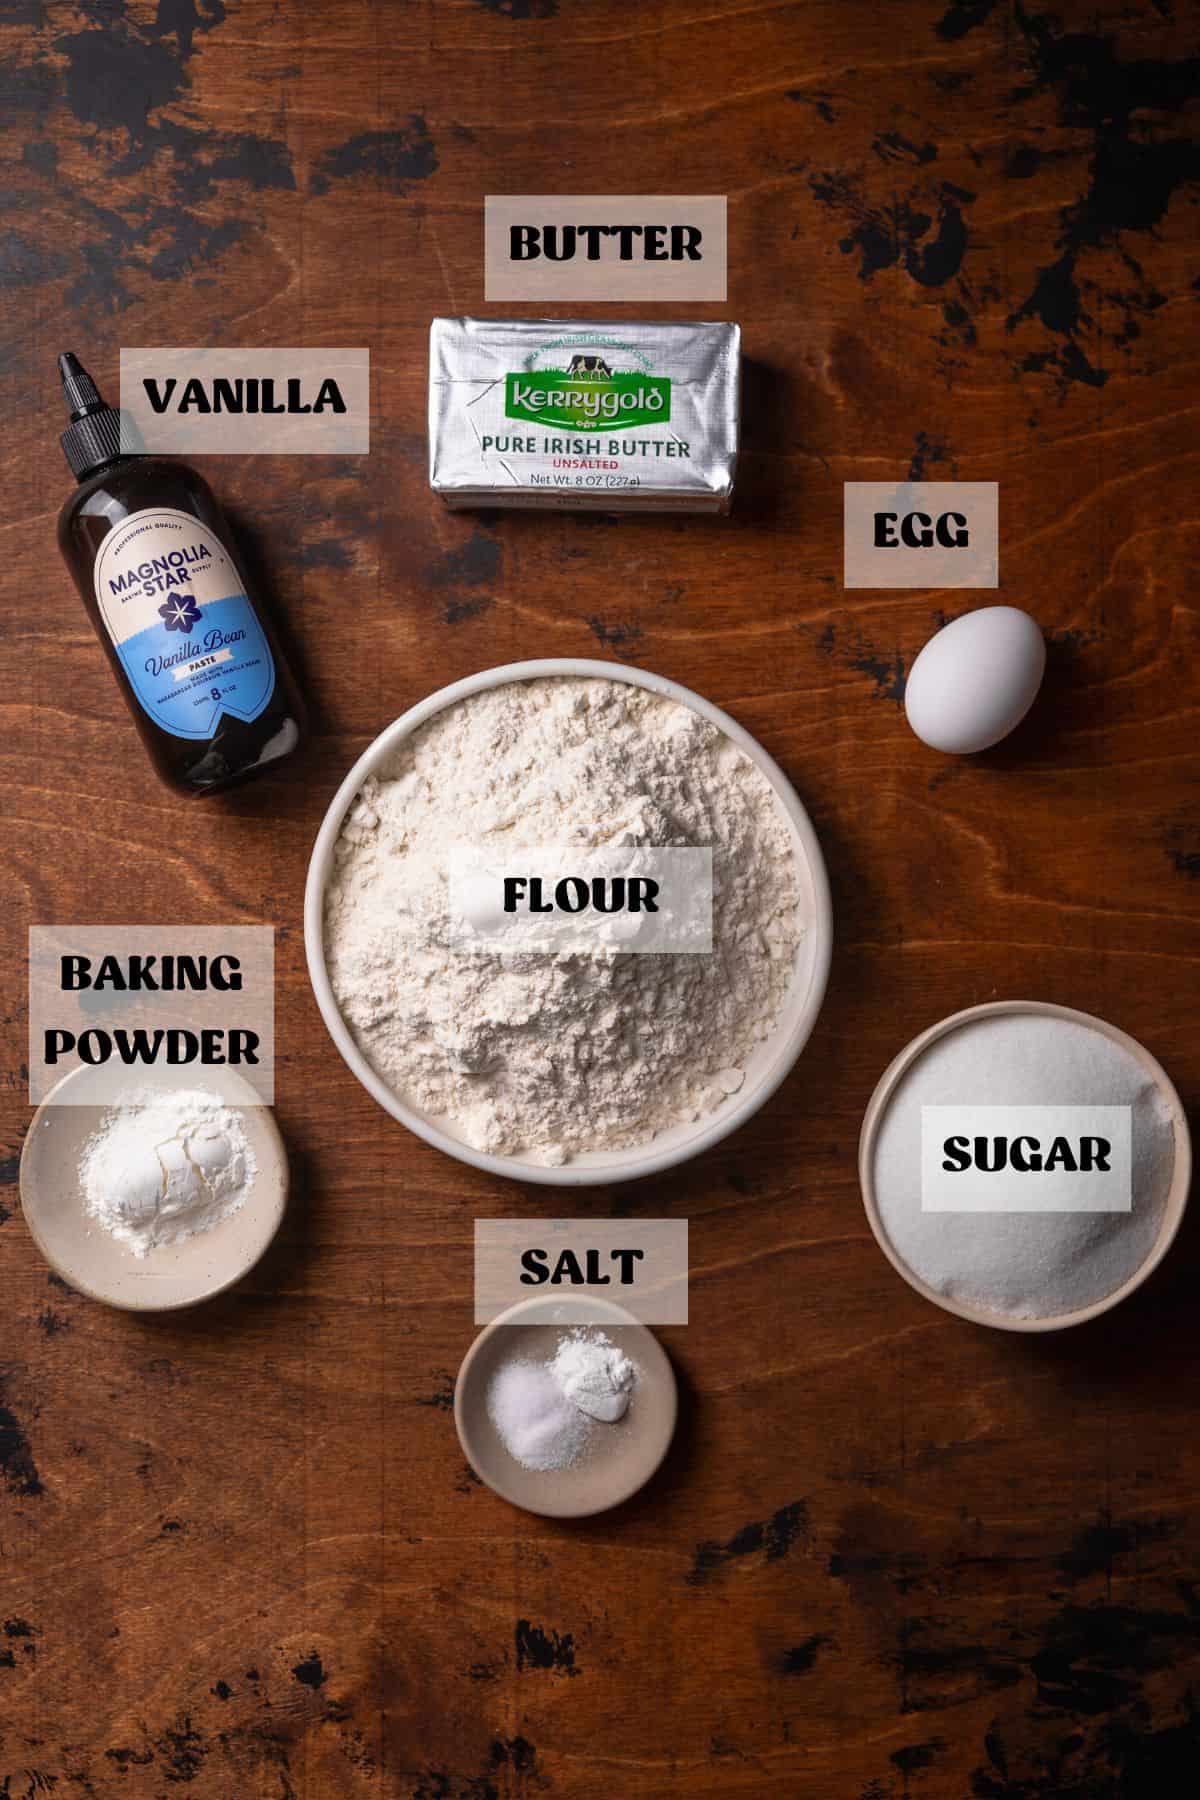
High-quality butter: European butter like Kerrygold gives the cookies a rich flavor. It’s my go-to ingredient for that melt-in-your-mouth texture!
Vanilla: Opt for pure vanilla extract or vanilla paste and avoid imitation vanilla, which can lack the depth of flavor. Pure vanilla extract provides that signature warmth and aroma that elevates sugar cookies. You can also add a splash of almond extract!
Prepping the Cookie Dough
1
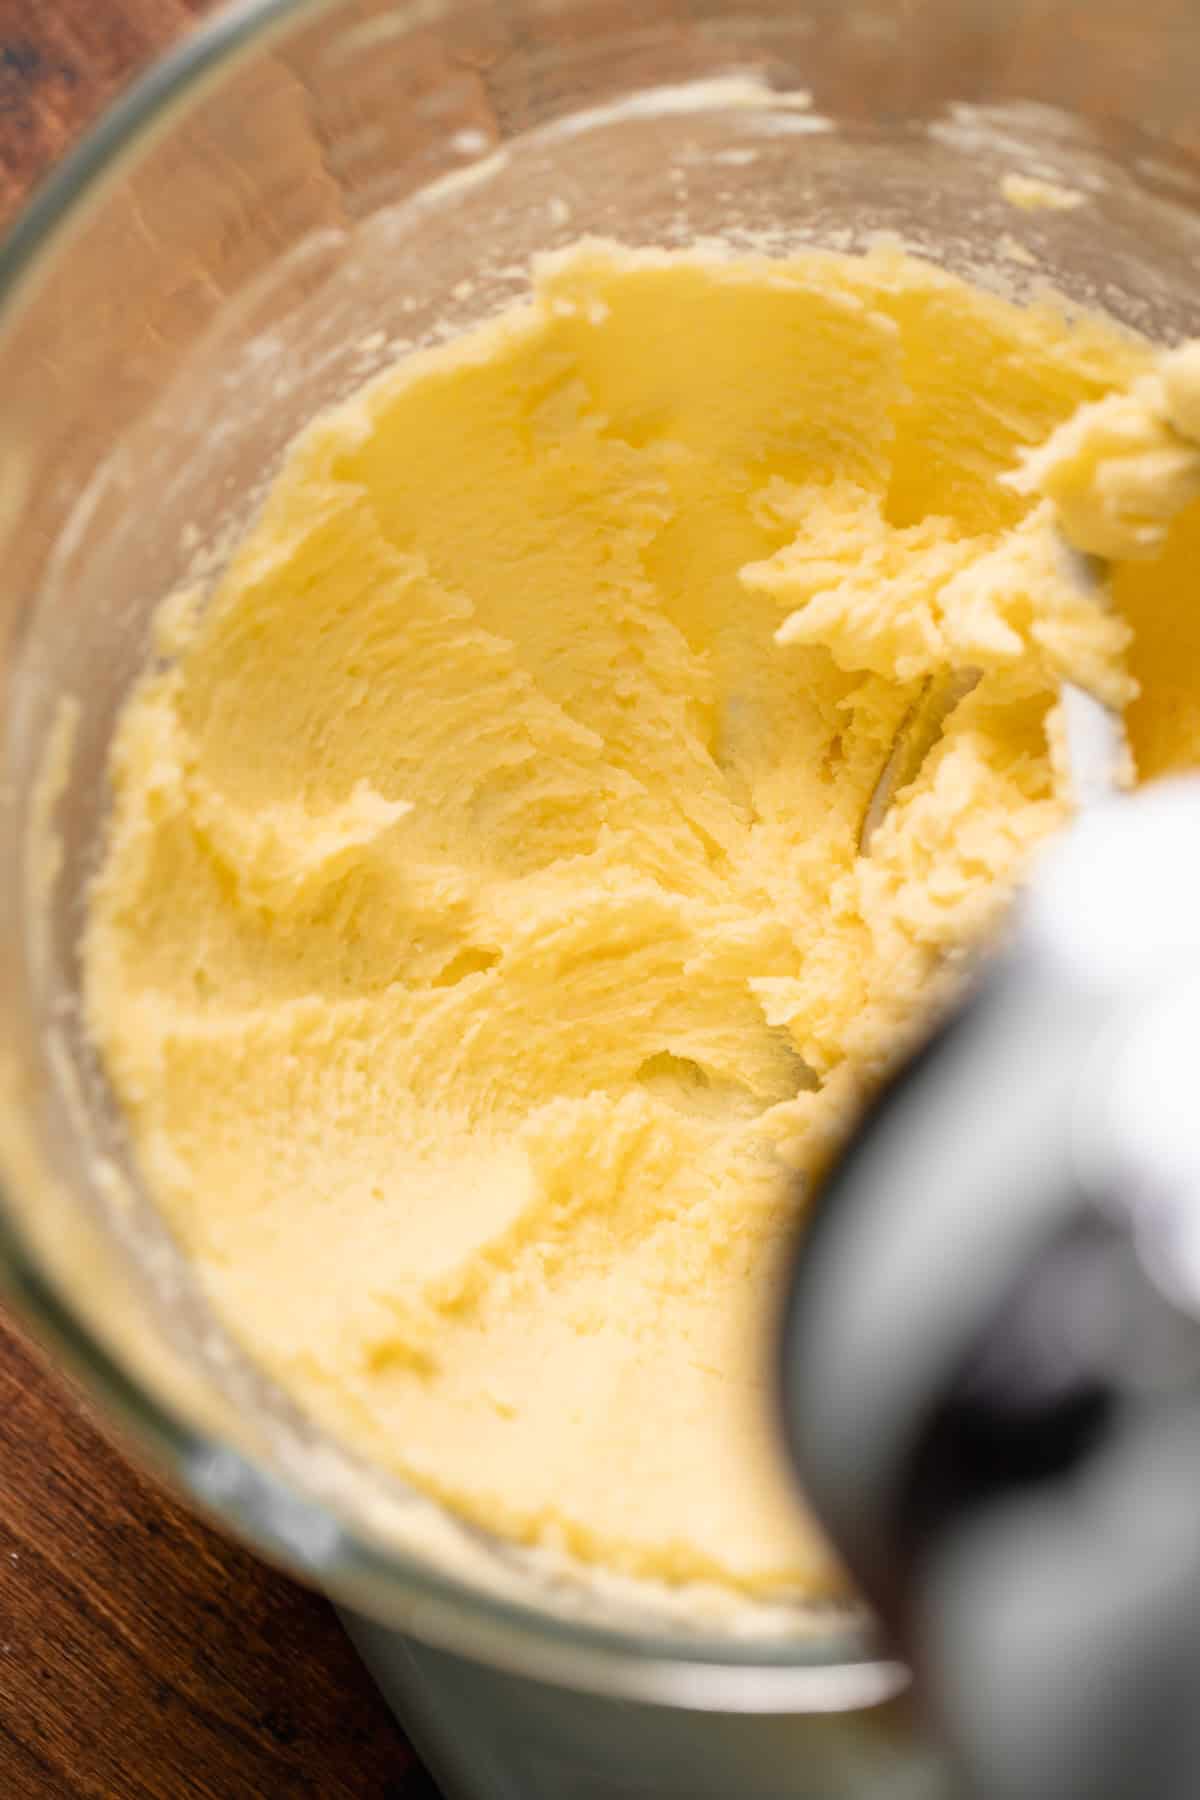
Cream the butter and sugar. Beat the butter and sugar until fluffy to create the right texture.
2
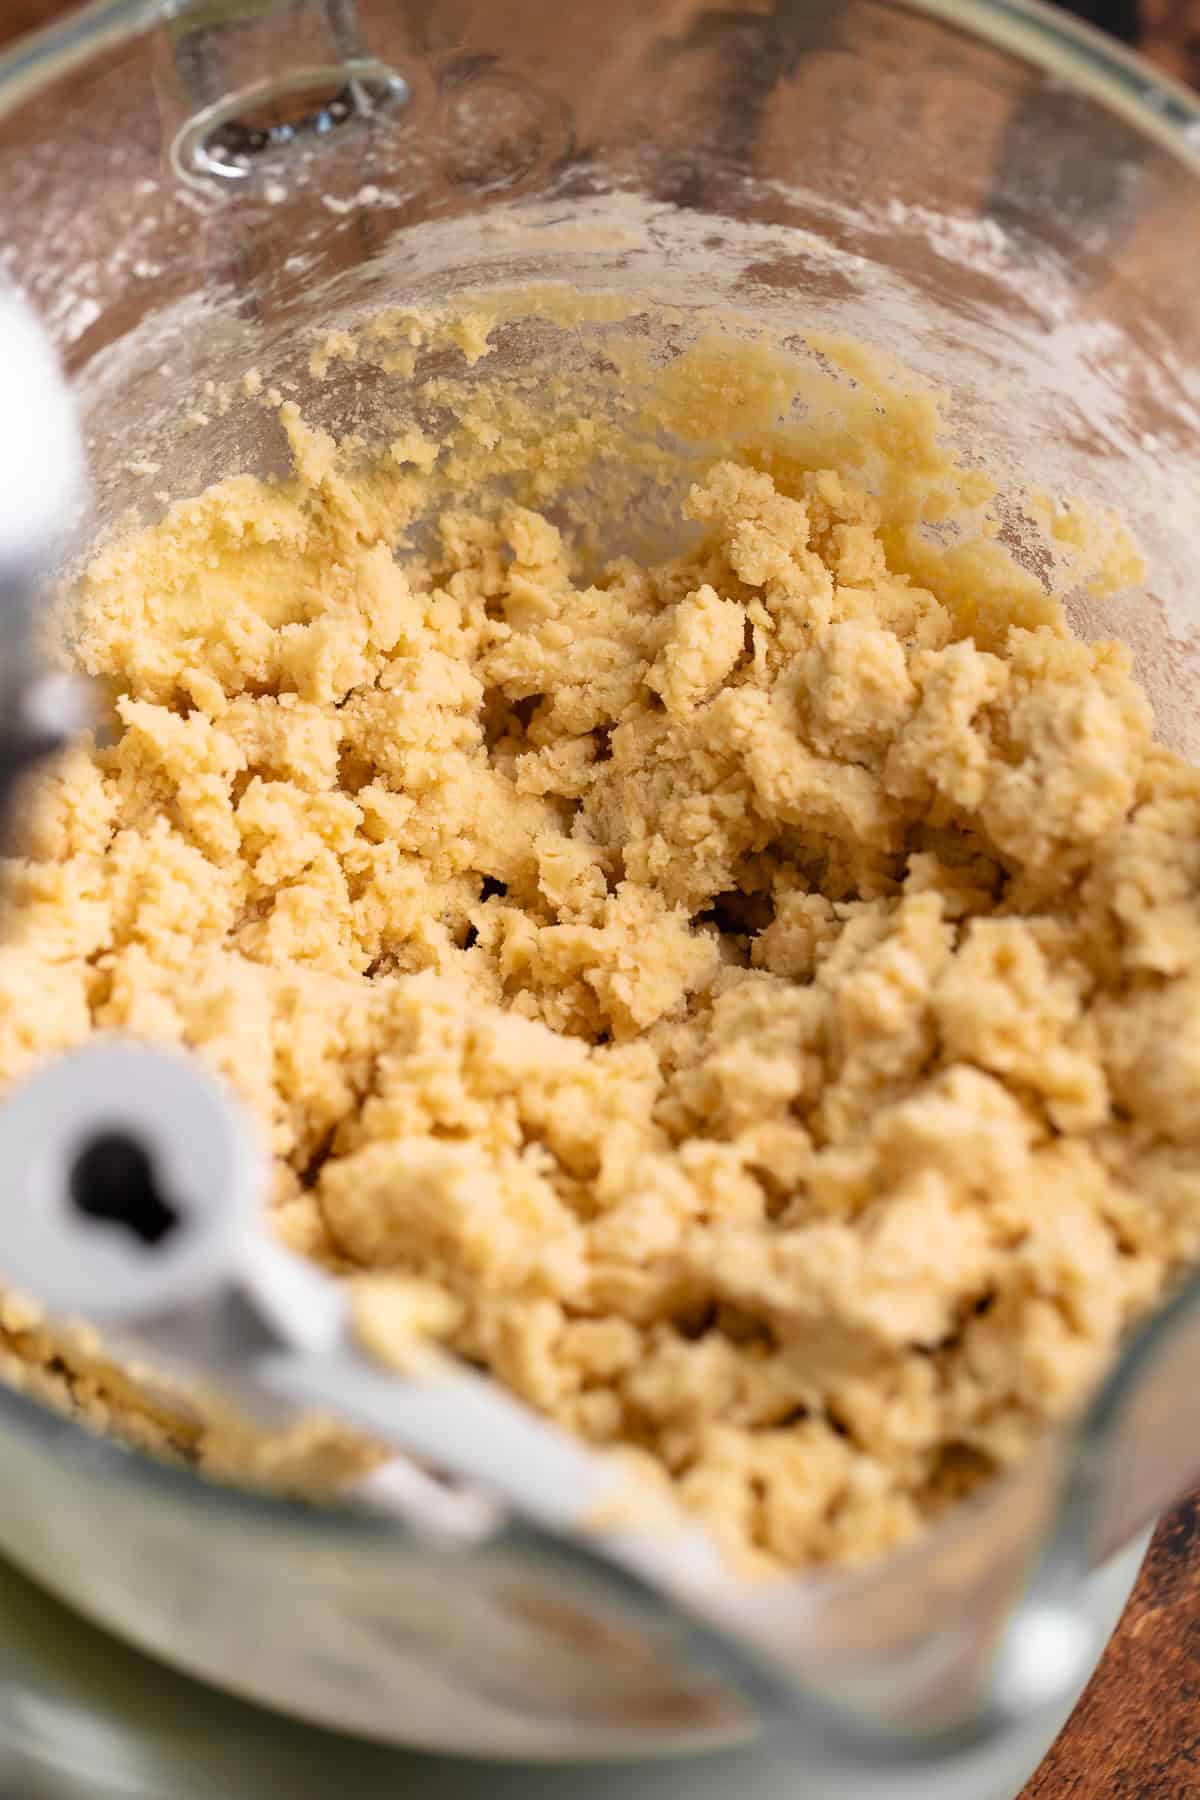
Mix in the dry ingredients. Mixing in the flour just until incorporation prevents overworking the dough, ensuring a soft, tender cookie—just like the cookies you’d get at a bakery!
Cutting for Clean Edges
3
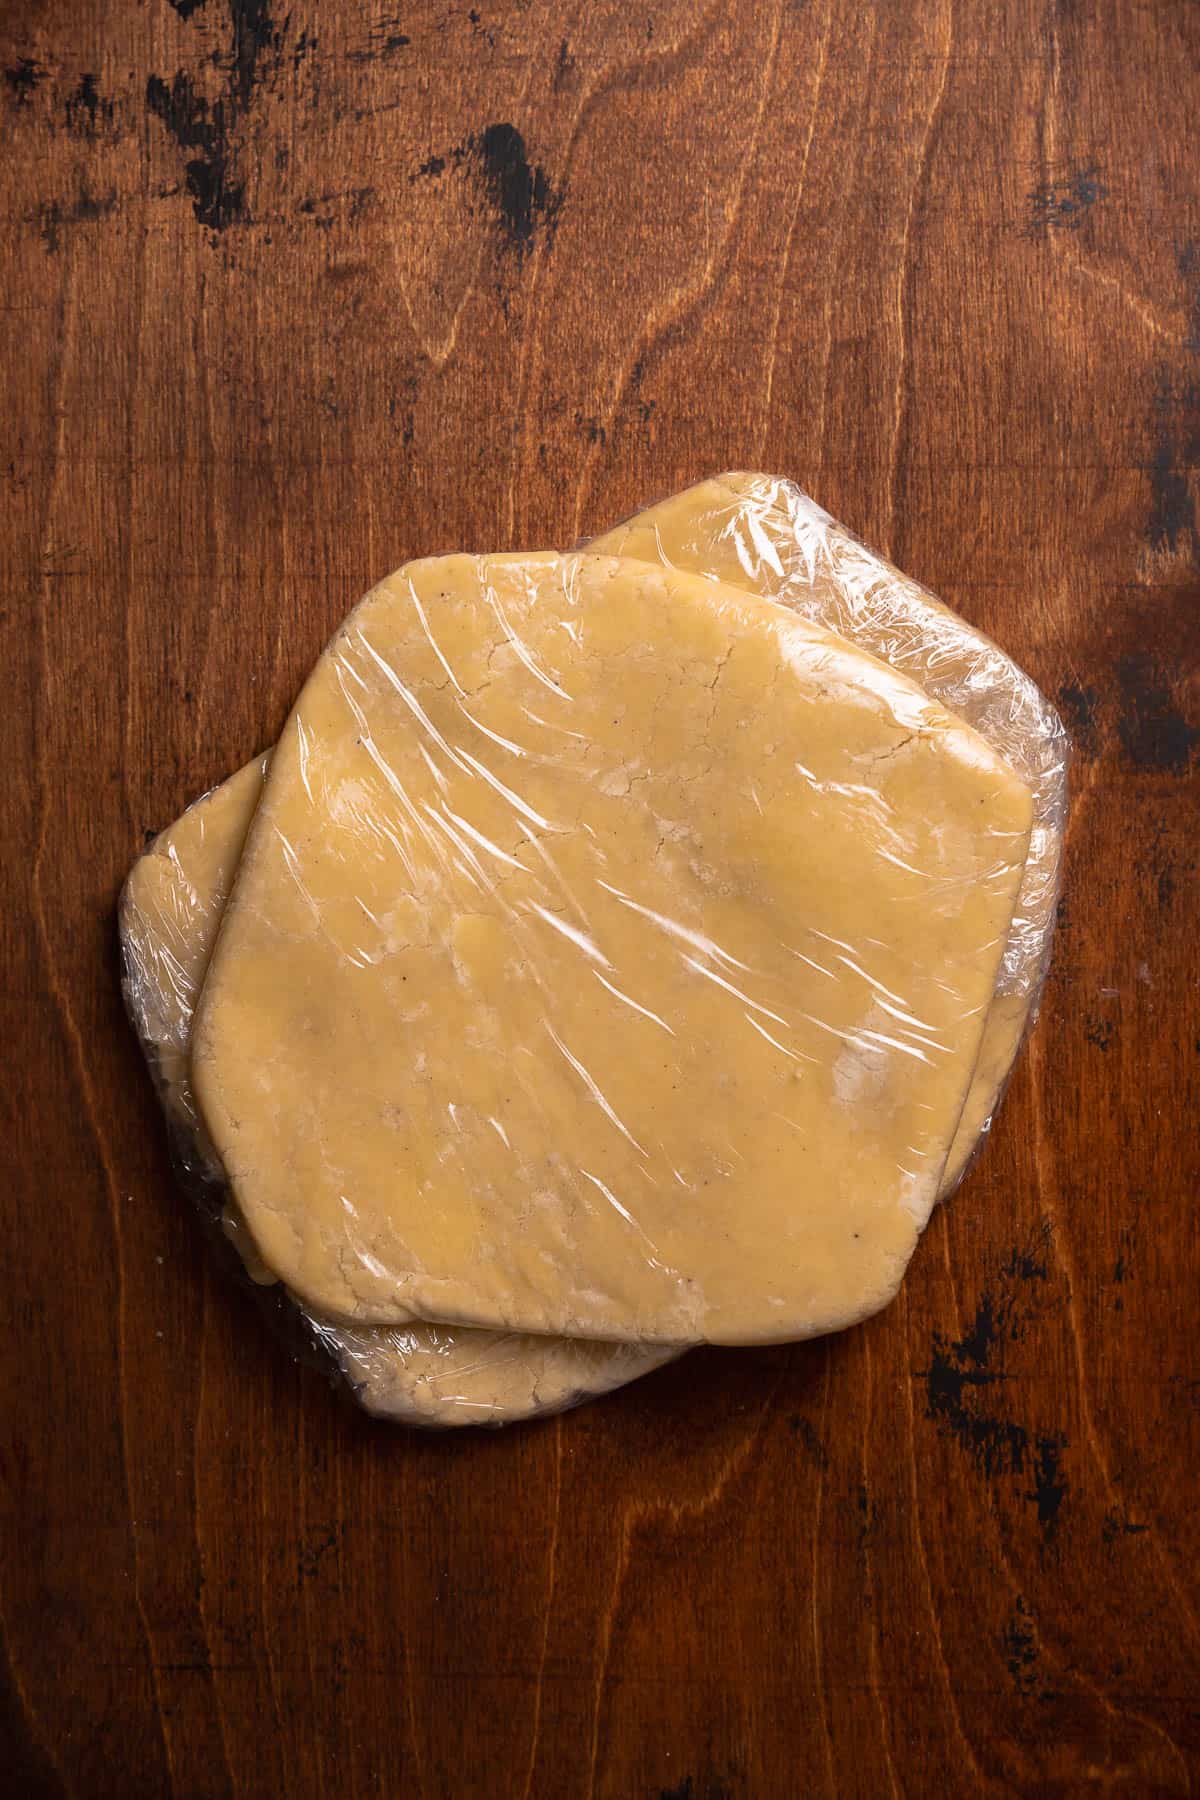
Chill before rolling. This step firms the butter, making it easier to roll out and get clean cuts! The dough should feel firm but soft enough to roll out without cracking.
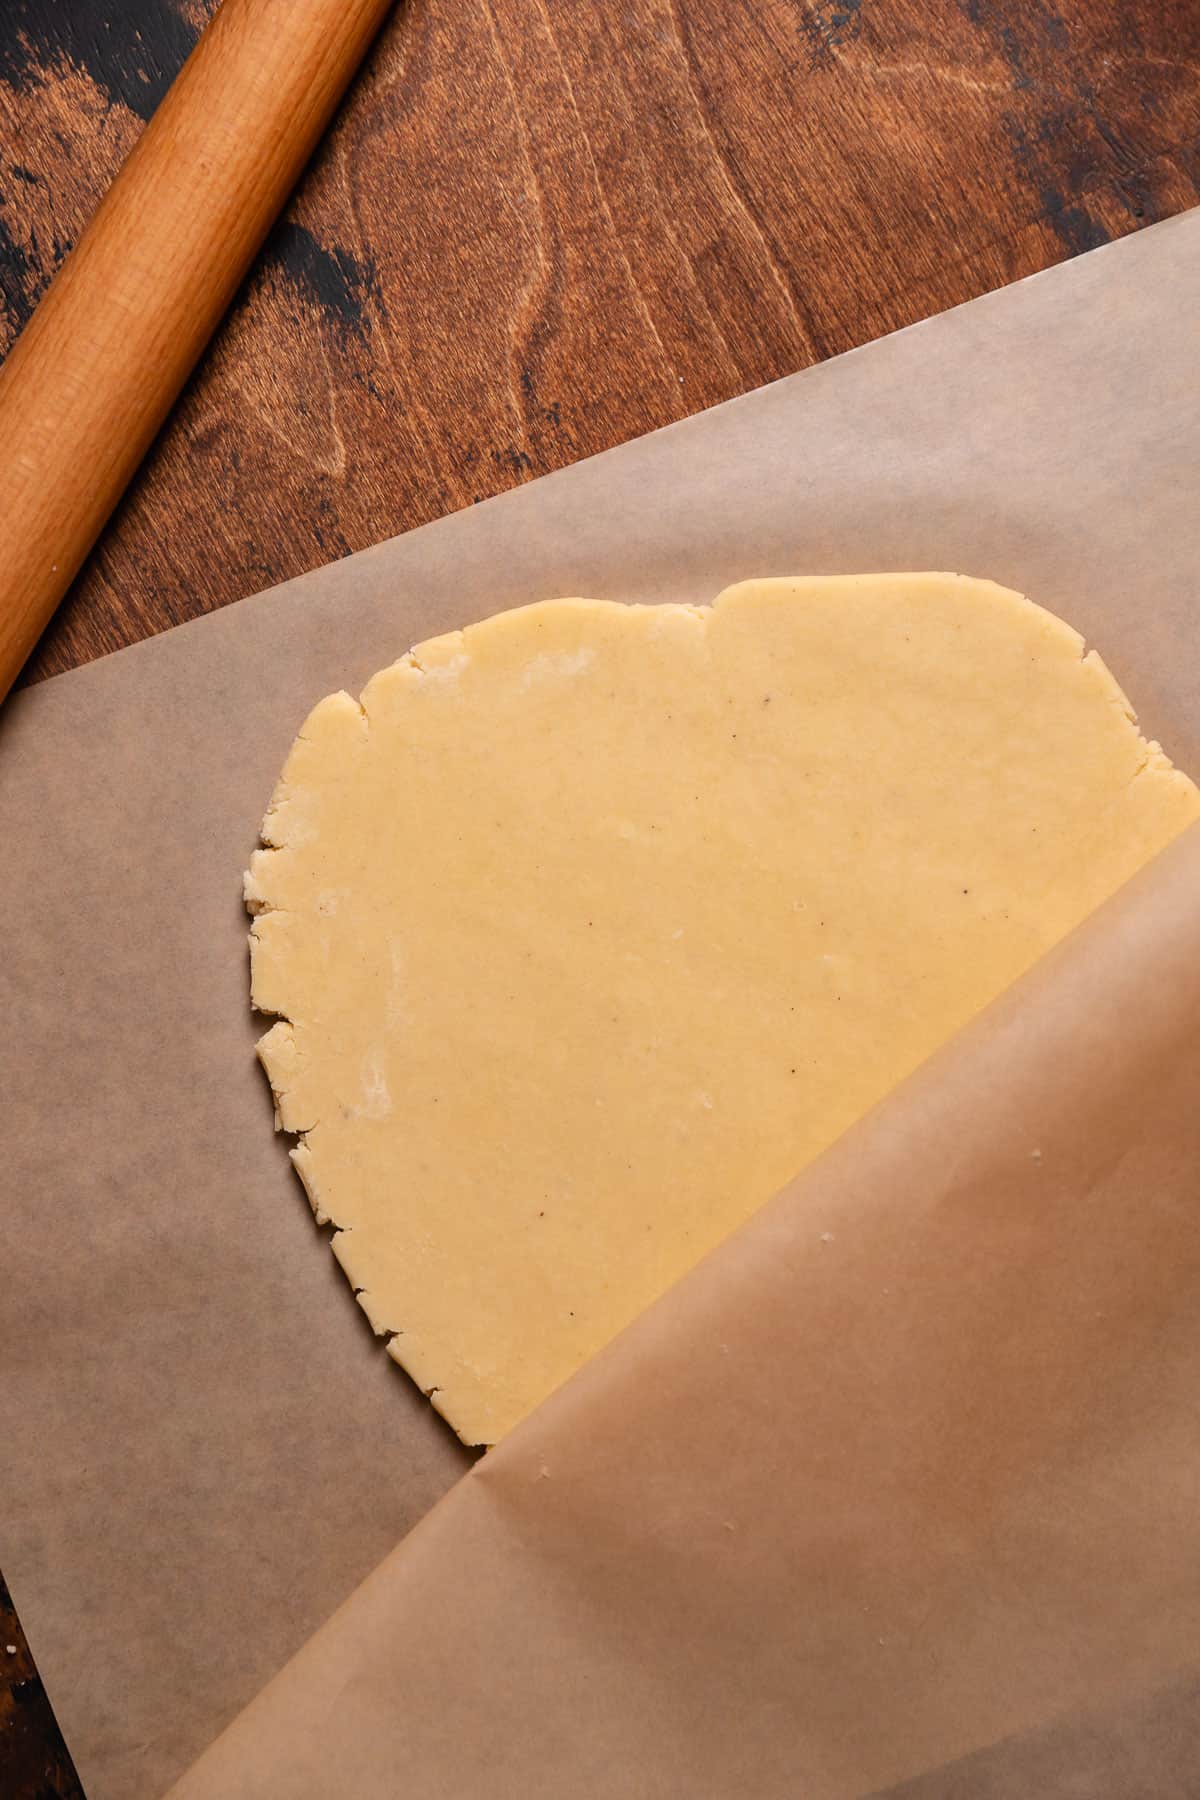
4
Roll to a consistent thickness. Roll each slab of dough between two sheets of parchment paper to 1/4 inch-1/2 inch thickness. You can use a guided rolling pin for assistance!
Baking Sugar Cookies
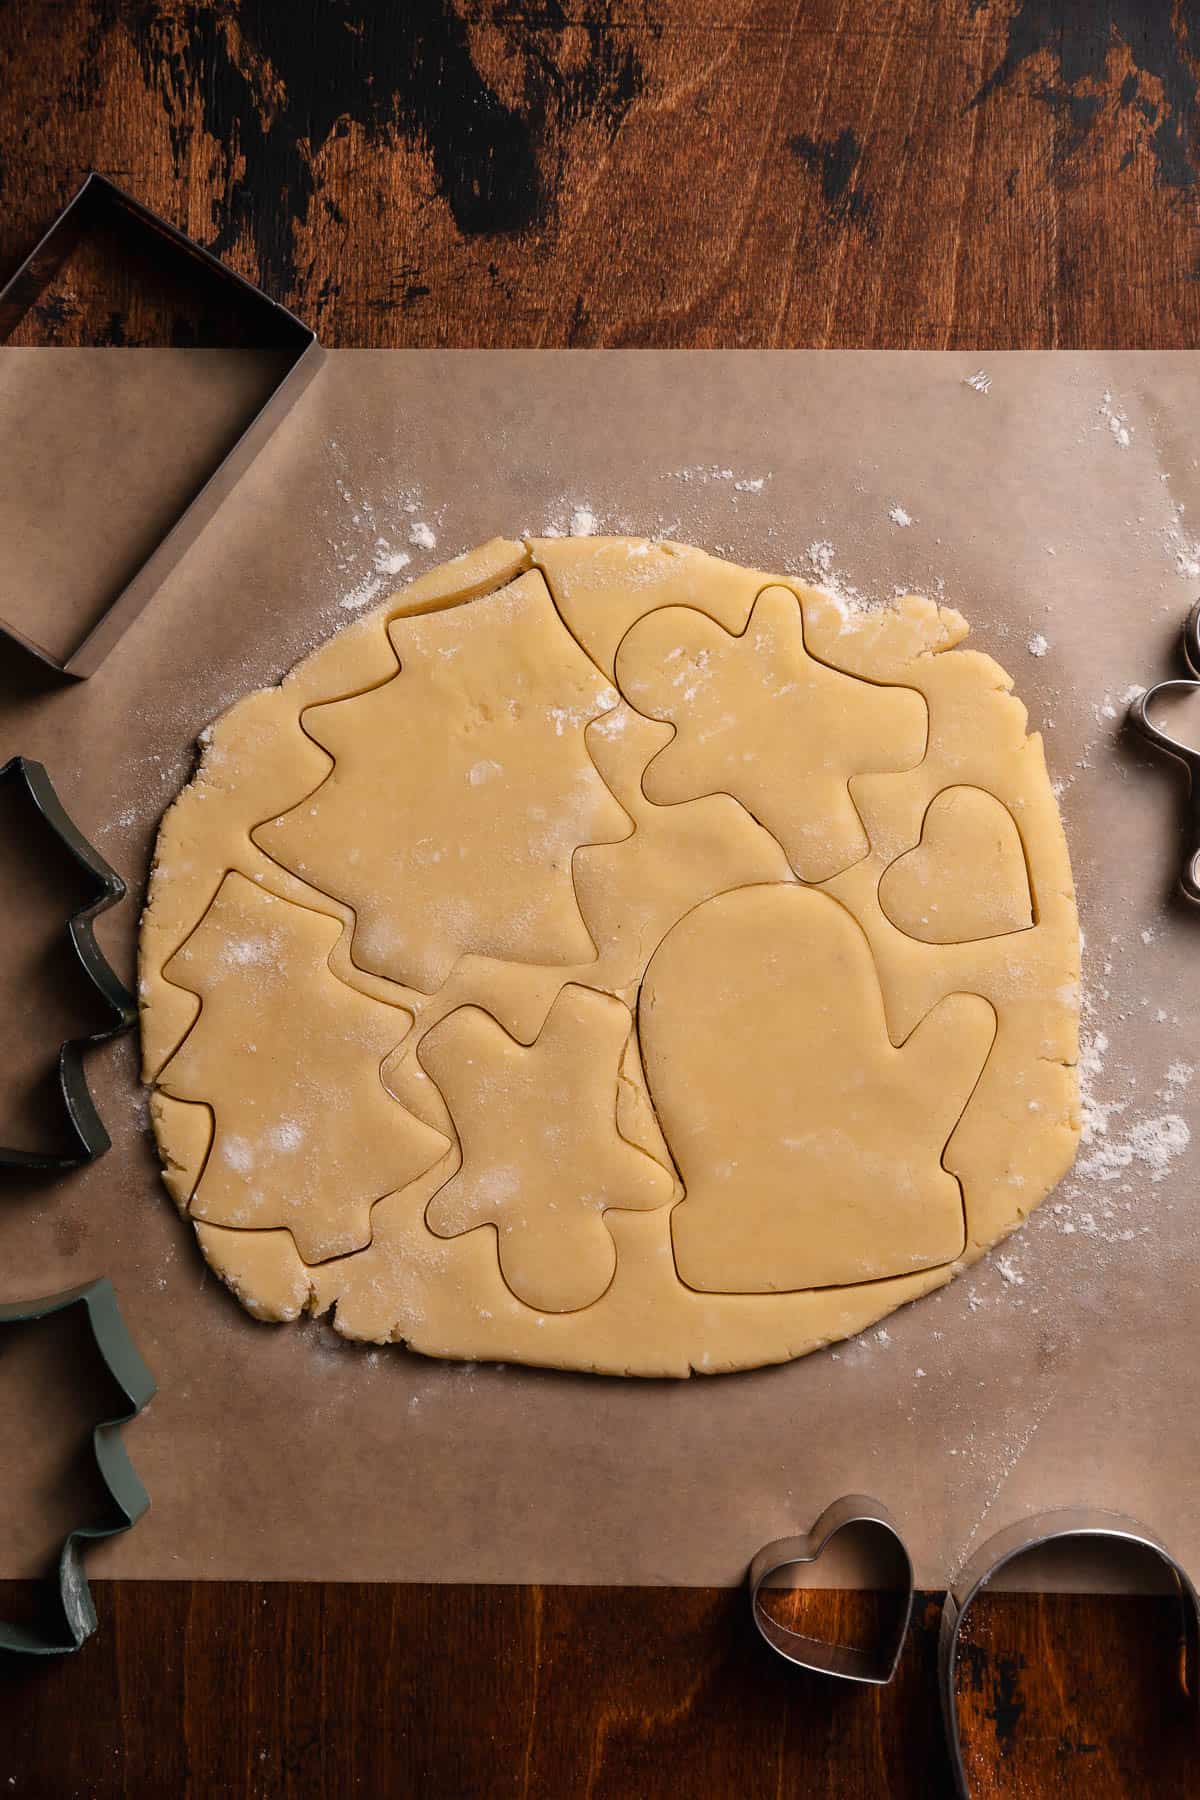
5
Cut with confidence. Press the cutters firmly and lift them straight up to keep the edges clean.
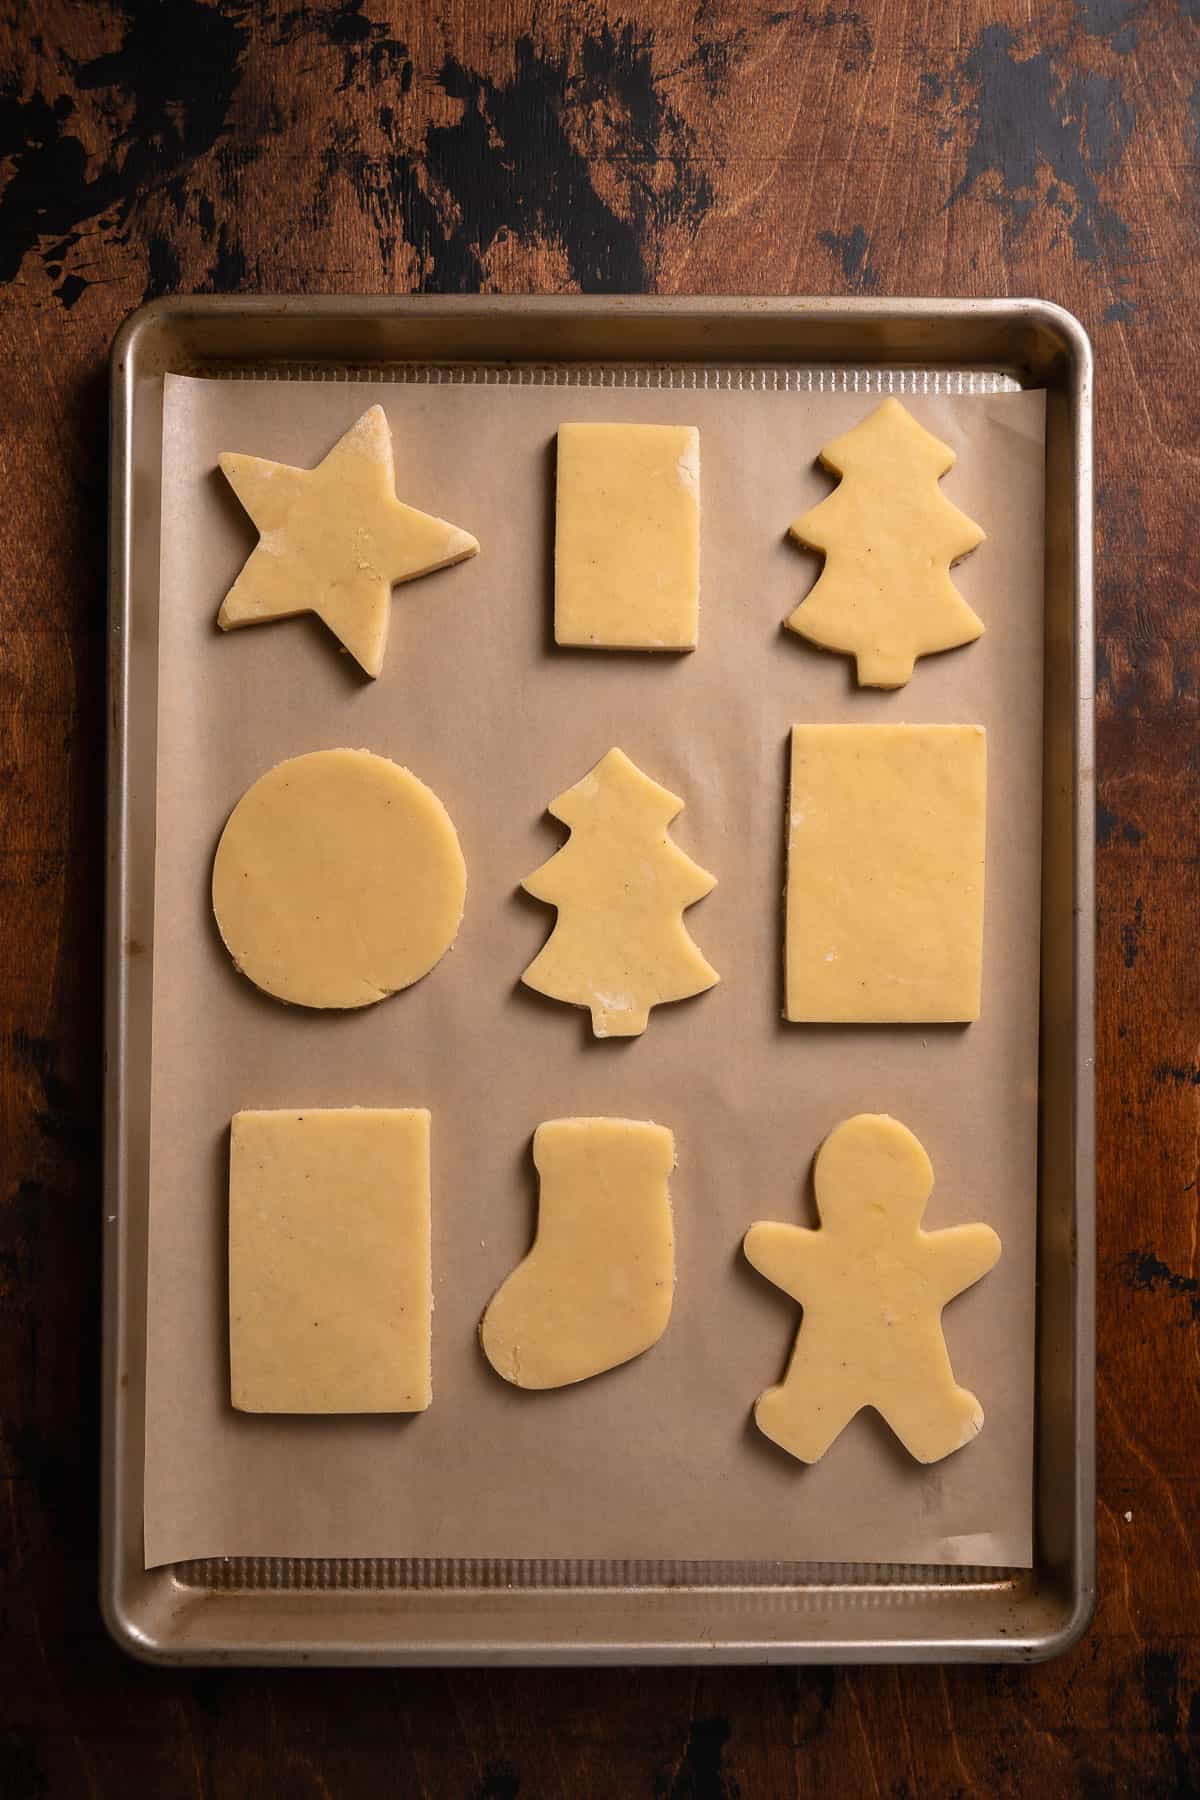
6
Chill before baking. Arrange the cookies on a baking sheet, spacing them evenly. They will puff up some, so don’t crowd the pan.
Freeze until solid before baking—it’s key to reducing spread.
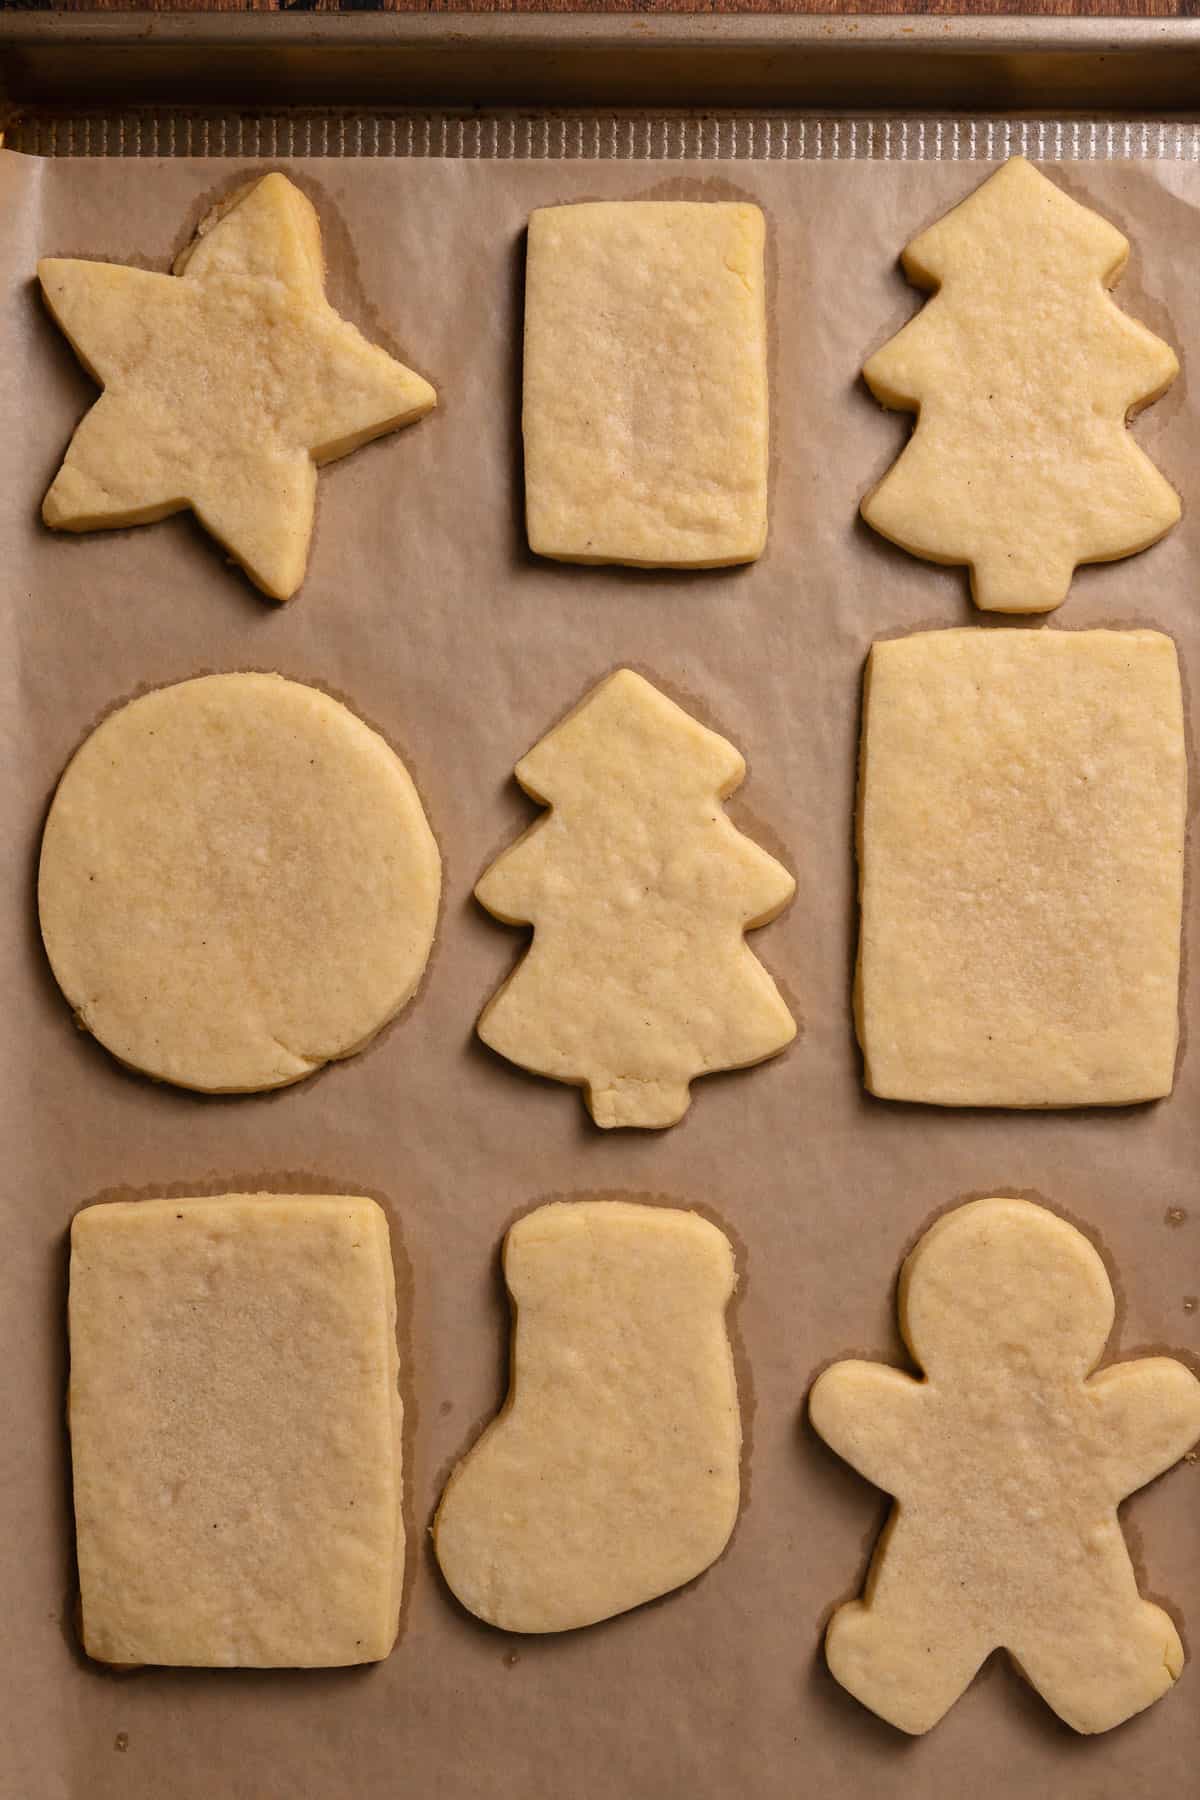
7
Bake to perfection. It’s better to underbake them if you want soft and chewy centers. There should be little to no color on them! Once frosted, they will continue to soften even more.
Let them cool completely on a wire rack before decorating.

8
Decorate for any occasion. For decorating inspo, check out my suggestions below or my guide to decorating sugar cookies.
Decorating & Gifting Inspiration
Royal icing is best for achieving a professional finish. If this is your first time, check out my post on decorating sugar cookies for all the tips you need!
If you’re not into royal icing, you can use cream cheese frosting, decorate with colored sugar or sprinkles, or dip cookies in chocolate for extra indulgence. These simple touches will make your cookies truly shine!
Package cookies in clear bags or decorative boxes with a ribbon and tag for easy gifting. They make perfect gifts!
3 Sugar Cookie Tips
Roll the dough between parchment paper. This is my top tip when working with sugar cookies! It prevents sticking, reduces the need for extra flour, ensures even thickness, and makes cleanup a breeze.
Keep the dough chilled when not in use. If you’re rolling out multiple batches, keep any extra slabs of dough in the fridge when not in use.
Freeze before baking. Freezing the cut cookies before baking prevents excessive spreading and ensures clean, sharp edges. This is a crucial step for cookies that hold their shape in bakeries!

How to Avoid Common Mistakes
Don’t overwork the dough. Overmixing can make your cookies tough. The dough may appear crumbly, but it will come together with gentle handling, ensuring a soft and tender texture!
Watch your oven temperature. An oven that’s too hot or cold can cause uneven baking. In bakeries, we always use an oven thermometer for consistent results!
Measure the flour correctly. All-purpose flour works best, but using too much can make cookies dense. Measure carefully with a kitchen scale for perfect results!
Storage & Make-Ahead
Storage: Store decorated cookies in an airtight container at room temperature for up to 3 days.
Freezing: You can freeze the unbaked sugar cookies for up to three months.
Make ahead: Once the shapes are cut and frozen, leave them overnight in the freezer and bake them the next day!
FAQs
This can happen if the flour wasn’t measured accurately or the dough wasn’t chilled long enough before rolling it out.
This can happen if you use too much flour. That’s why I always recommend using a kitchen scale to weigh your ingredients!
There are a few possible reasons: The butter was too warm when making the dough (the ideal temperature is 64-68°F). Your oven runs cooler than it should, causing the cookies to spread. The cookies weren’t chilled or frozen before baking. There wasn’t enough flour in the dough.

More Holiday Cookies
If you tried this or any other recipe on my website, please let me know how it went in the comments; I love hearing from you! Also, please leave a star rating while you’re there! You can also tag me on Instagram or Facebook so I can check it out!

Cut Out Sugar Cookies
Ingredients
Sugar Cookie Dough
- 3 1/4 cups all-purpose flour, *See notes below for measuring*
- 1 teaspoon fine sea salt
- 1 teaspoon baking powder
- 1 cup unsalted European butter (like Kerrygold), room temperature
- 1 1/4 cups granulated sugar
- 1 large egg, room temperature
- 2 teaspoons vanilla extract or vanilla bean paste
Royal Icing
- 4 cups powdered sugar
- 3 tablespoons meringue powder
- 6-10 tablespoons water, plus more to thin
- 1/2 teaspoon vanilla extract, use clear vanilla for a pure white color
- Gel food coloring
Instructions
Making the Cookies
- In a medium bowl, whisk together the flour, salt, and baking powder. Set aside.3 1/4 cups (395 g) all-purpose flour, 1 teaspoon fine sea salt, 1 teaspoon baking powder
- In a stand mixing bowl, cream the butter and sugar with the paddle for 2 minutes.1 cup (226 g) unsalted European butter (like Kerrygold), 1 1/4 cups (250 g) granulated sugar
- Mix in the egg and vanilla on low until just combined. Scrape down the bowl.1 (50 g) large egg, 2 teaspoons vanilla extract or vanilla bean paste
- Mix in the dry ingredients on low until just combined and the dough starts to come together.
- Divide the dough in half. Wrap each half loosely in plastic wrap, and use a rolling pin to roll them into a flat disc. Refrigerate until firm, about 1-2 hours.
- Once firm, unwrap the dough, lightly flour both sides, and place each slab between two sheets of parchment paper. Roll the dough between 1/4 inch-1/2 inch thick. Then, cut out cookies. Transfer any cut cookies with an offset spatula to a lined baking sheet. The dough scraps can be rerolled twice! You can have multiple layers of cookies on a baking sheet as long as there is parchment in between them. Then, freeze the cut out cookies for at least 3 hours or until they are completely frozen solid. I like to do this step the day before and let them freeze overnight.
- When ready to bake, preheat the oven to 355°F. Bake the cookies for 9-12 minutes or until the edges are set and the tops no longer look wet. You do not want the edges to be brown; otherwise, the cookies will be more crunchy than soft and chewy. Let the pan cool on a wire rack before decorating.
Making the Icing
- Combine the powdered sugar, meringue powder, vanilla extract, and water in a stand mixing bowl. Beat with the paddle attachment on medium speed for 3 minutes until fluffy. At this point, the icing should be thick but still pipeable. If it's too thick, add more water to the icing, one tablespoon at a time.4 cups (480 g) powdered sugar, 3 tablespoons (25 g) meringue powder, 6-10 tablespoons water, 1/2 teaspoon vanilla extract
- Set aside some of the thick icing for borders and designs. To flood the cookies, add more water, one tablespoon at a time, until it has the consistency of runny peanut butter and settles back into itself within 15 seconds.
- Color the icing with gel food coloring and decorate!Gel food coloring
- When not working with royal icing, be sure to cover the top with plastic wrap so that it touches the surface to keep the icing from hardening!








These came out so delicious! Very easy recipe to follow!